Community Unit:
Places + People
What does it mean to be part of a community? This unit will encourage you to think about your community through the lens of art. Consider what is special about your community. Study the people and places around you, connect with local businesses and historians. What is your own unique relationship with your community?
This unit is inspired by the work of students, educators, museum educators, and teaching artists in the Stories of the Land and Its People program.
Curricular Connections:
History
Creative Writing
Historical Fiction
Documentation
Measurements
Scale
Vocabulary:
Composition
Subject
Vantage Point
Foreground / Middle-ground / Background
Texture
Color
Activity:
Notice: Notice a work of art. What story does it tell? What can we learn about the place or setting of the composition? What might it tell about the people who live there? Who or what is left out of this depiction? How might one feel in that place, and why? How do lighting, color, and shape impact our experience?
Follow along with museum educator Andrea Curtis as she notices this work of art by Marguerite Zorach. How does this work of art share a particular story of the land and its people? Consider the identity of the artist, and recognize her perspective. Who might have a different perspective when viewing this scene? Challenge yourself to consider multiple perspectives, and recognize what makes your own perspective unique.
Farnsworth Collection:
Activity:
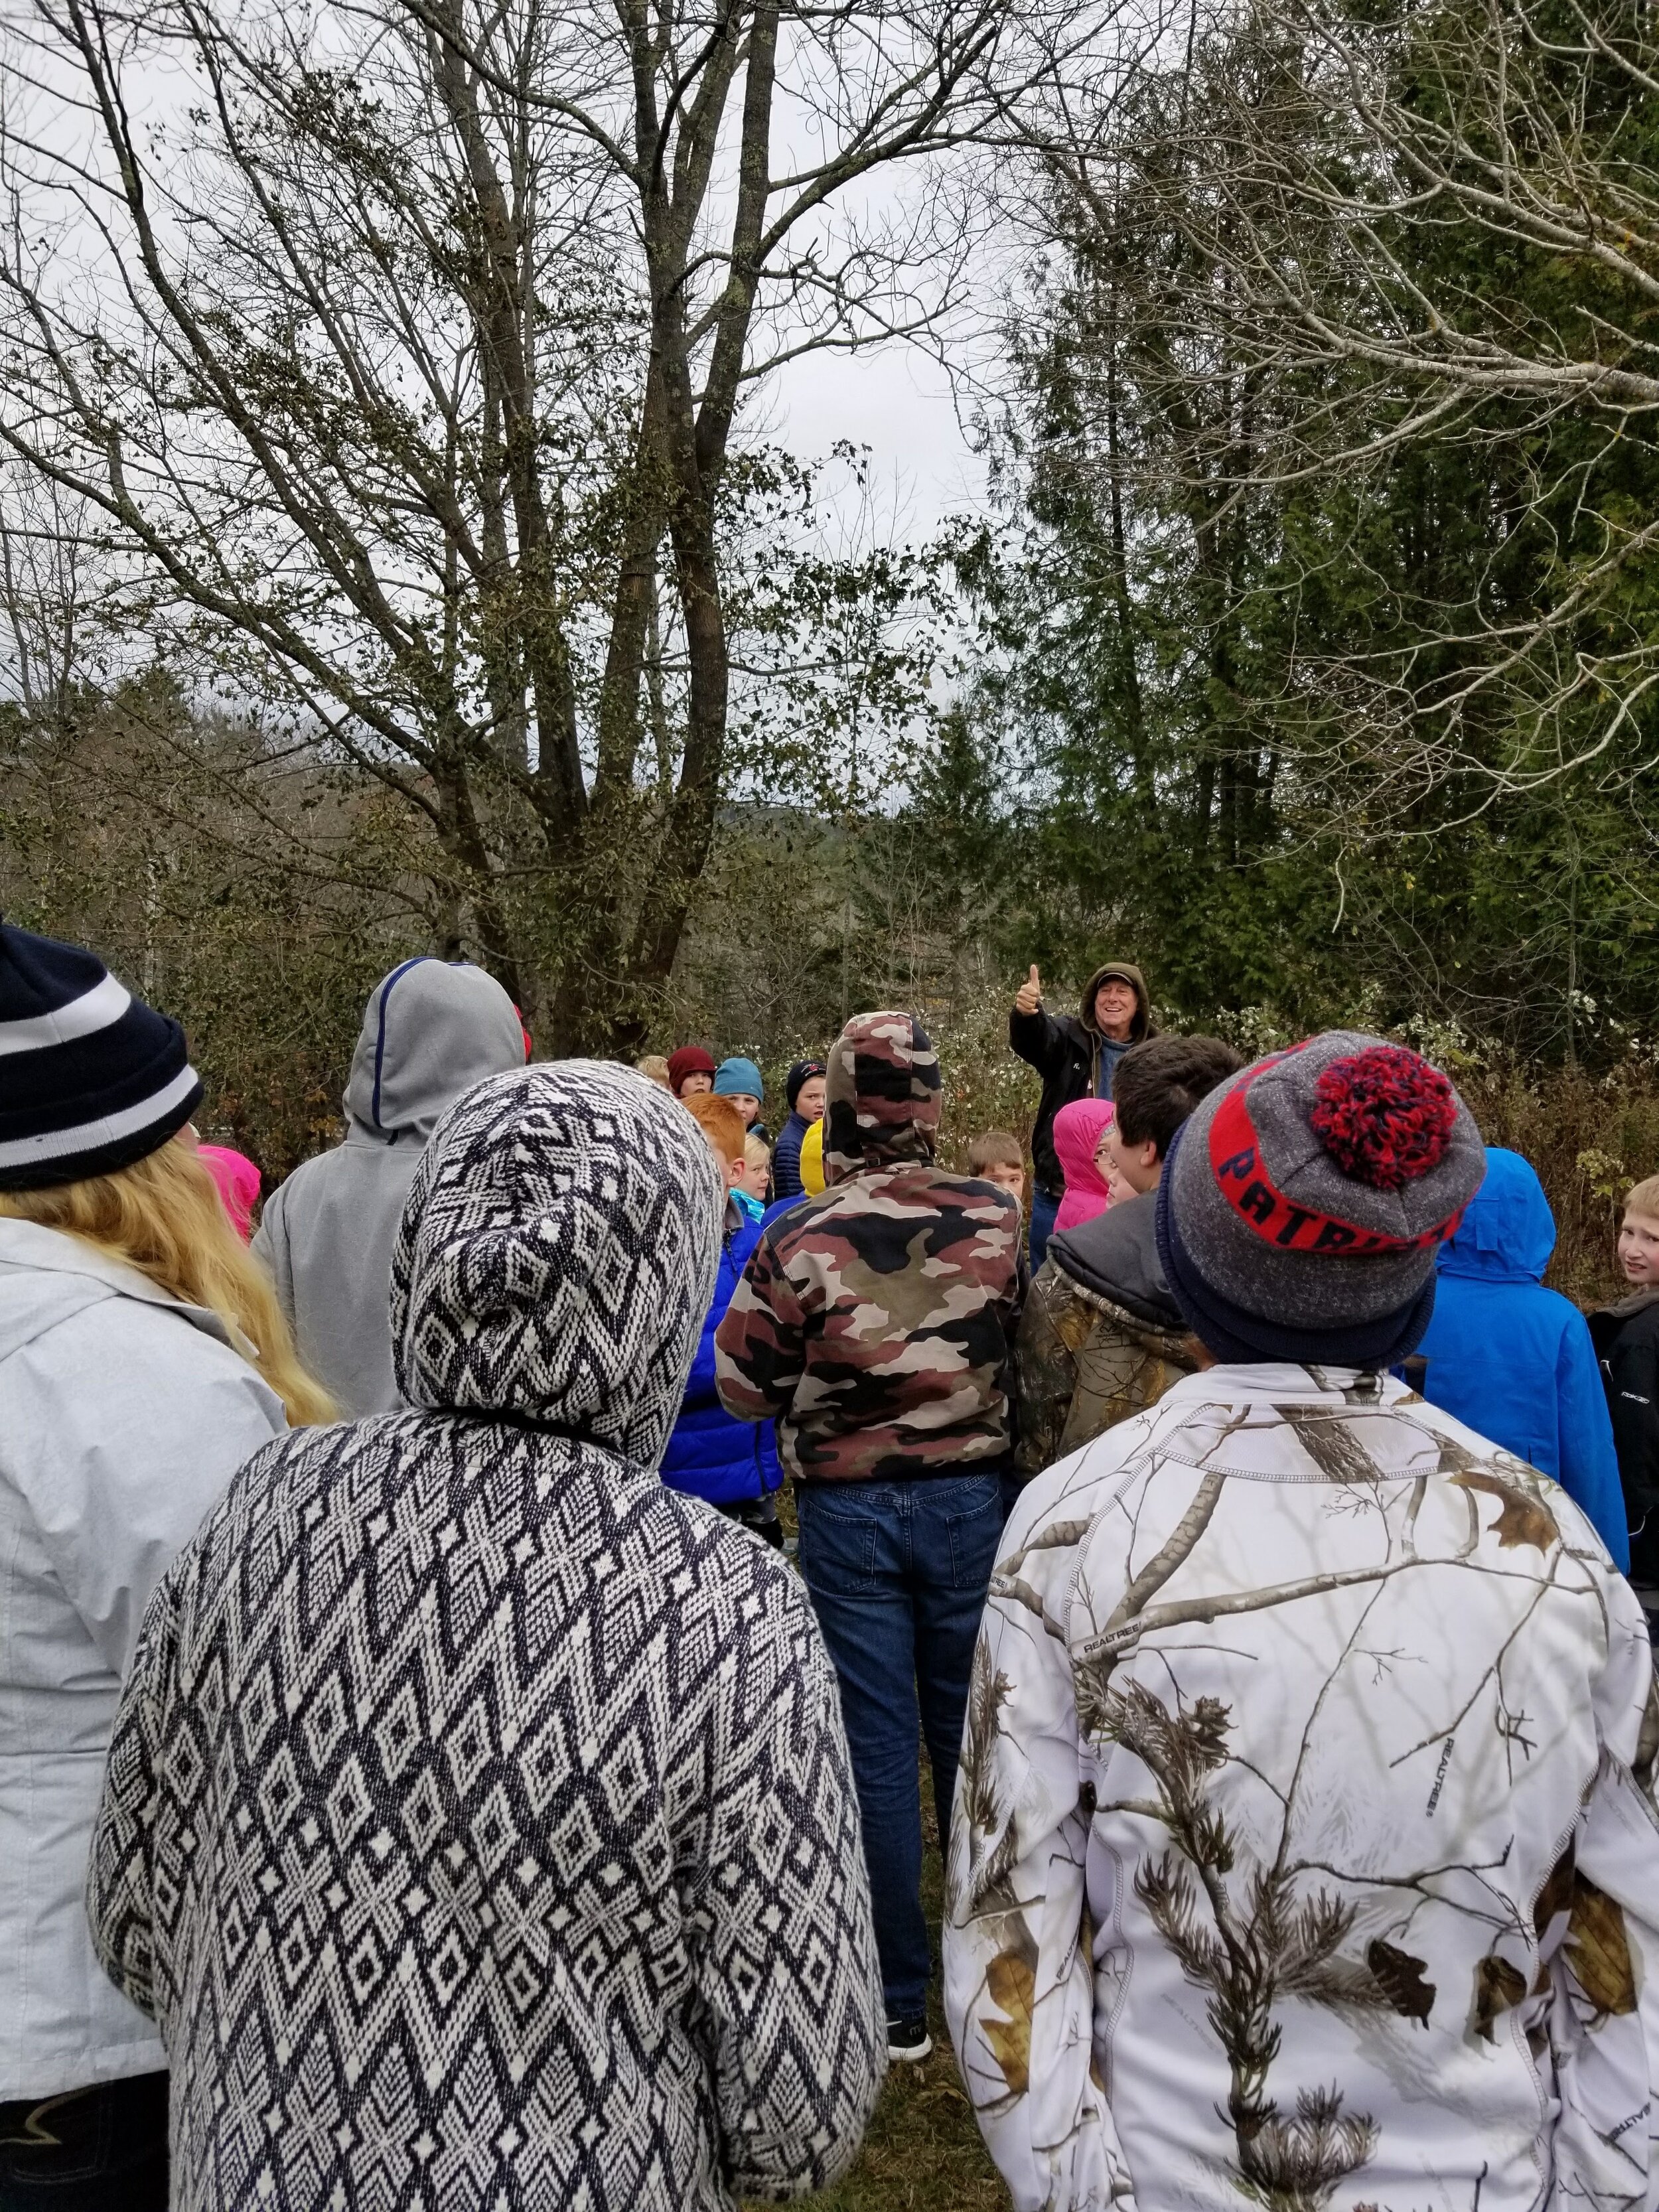
Expedition: Explore and notice places in your community. This may include buildings, land formations, and people! Document what you see by sketching or by taking pictures with a camera.
Inquiry: Take a moment for sensory writing. What do you see, smell, feel, taste, and hear? Use detailed language to describe what you notice. Consider how this may change with each season.
Activity:
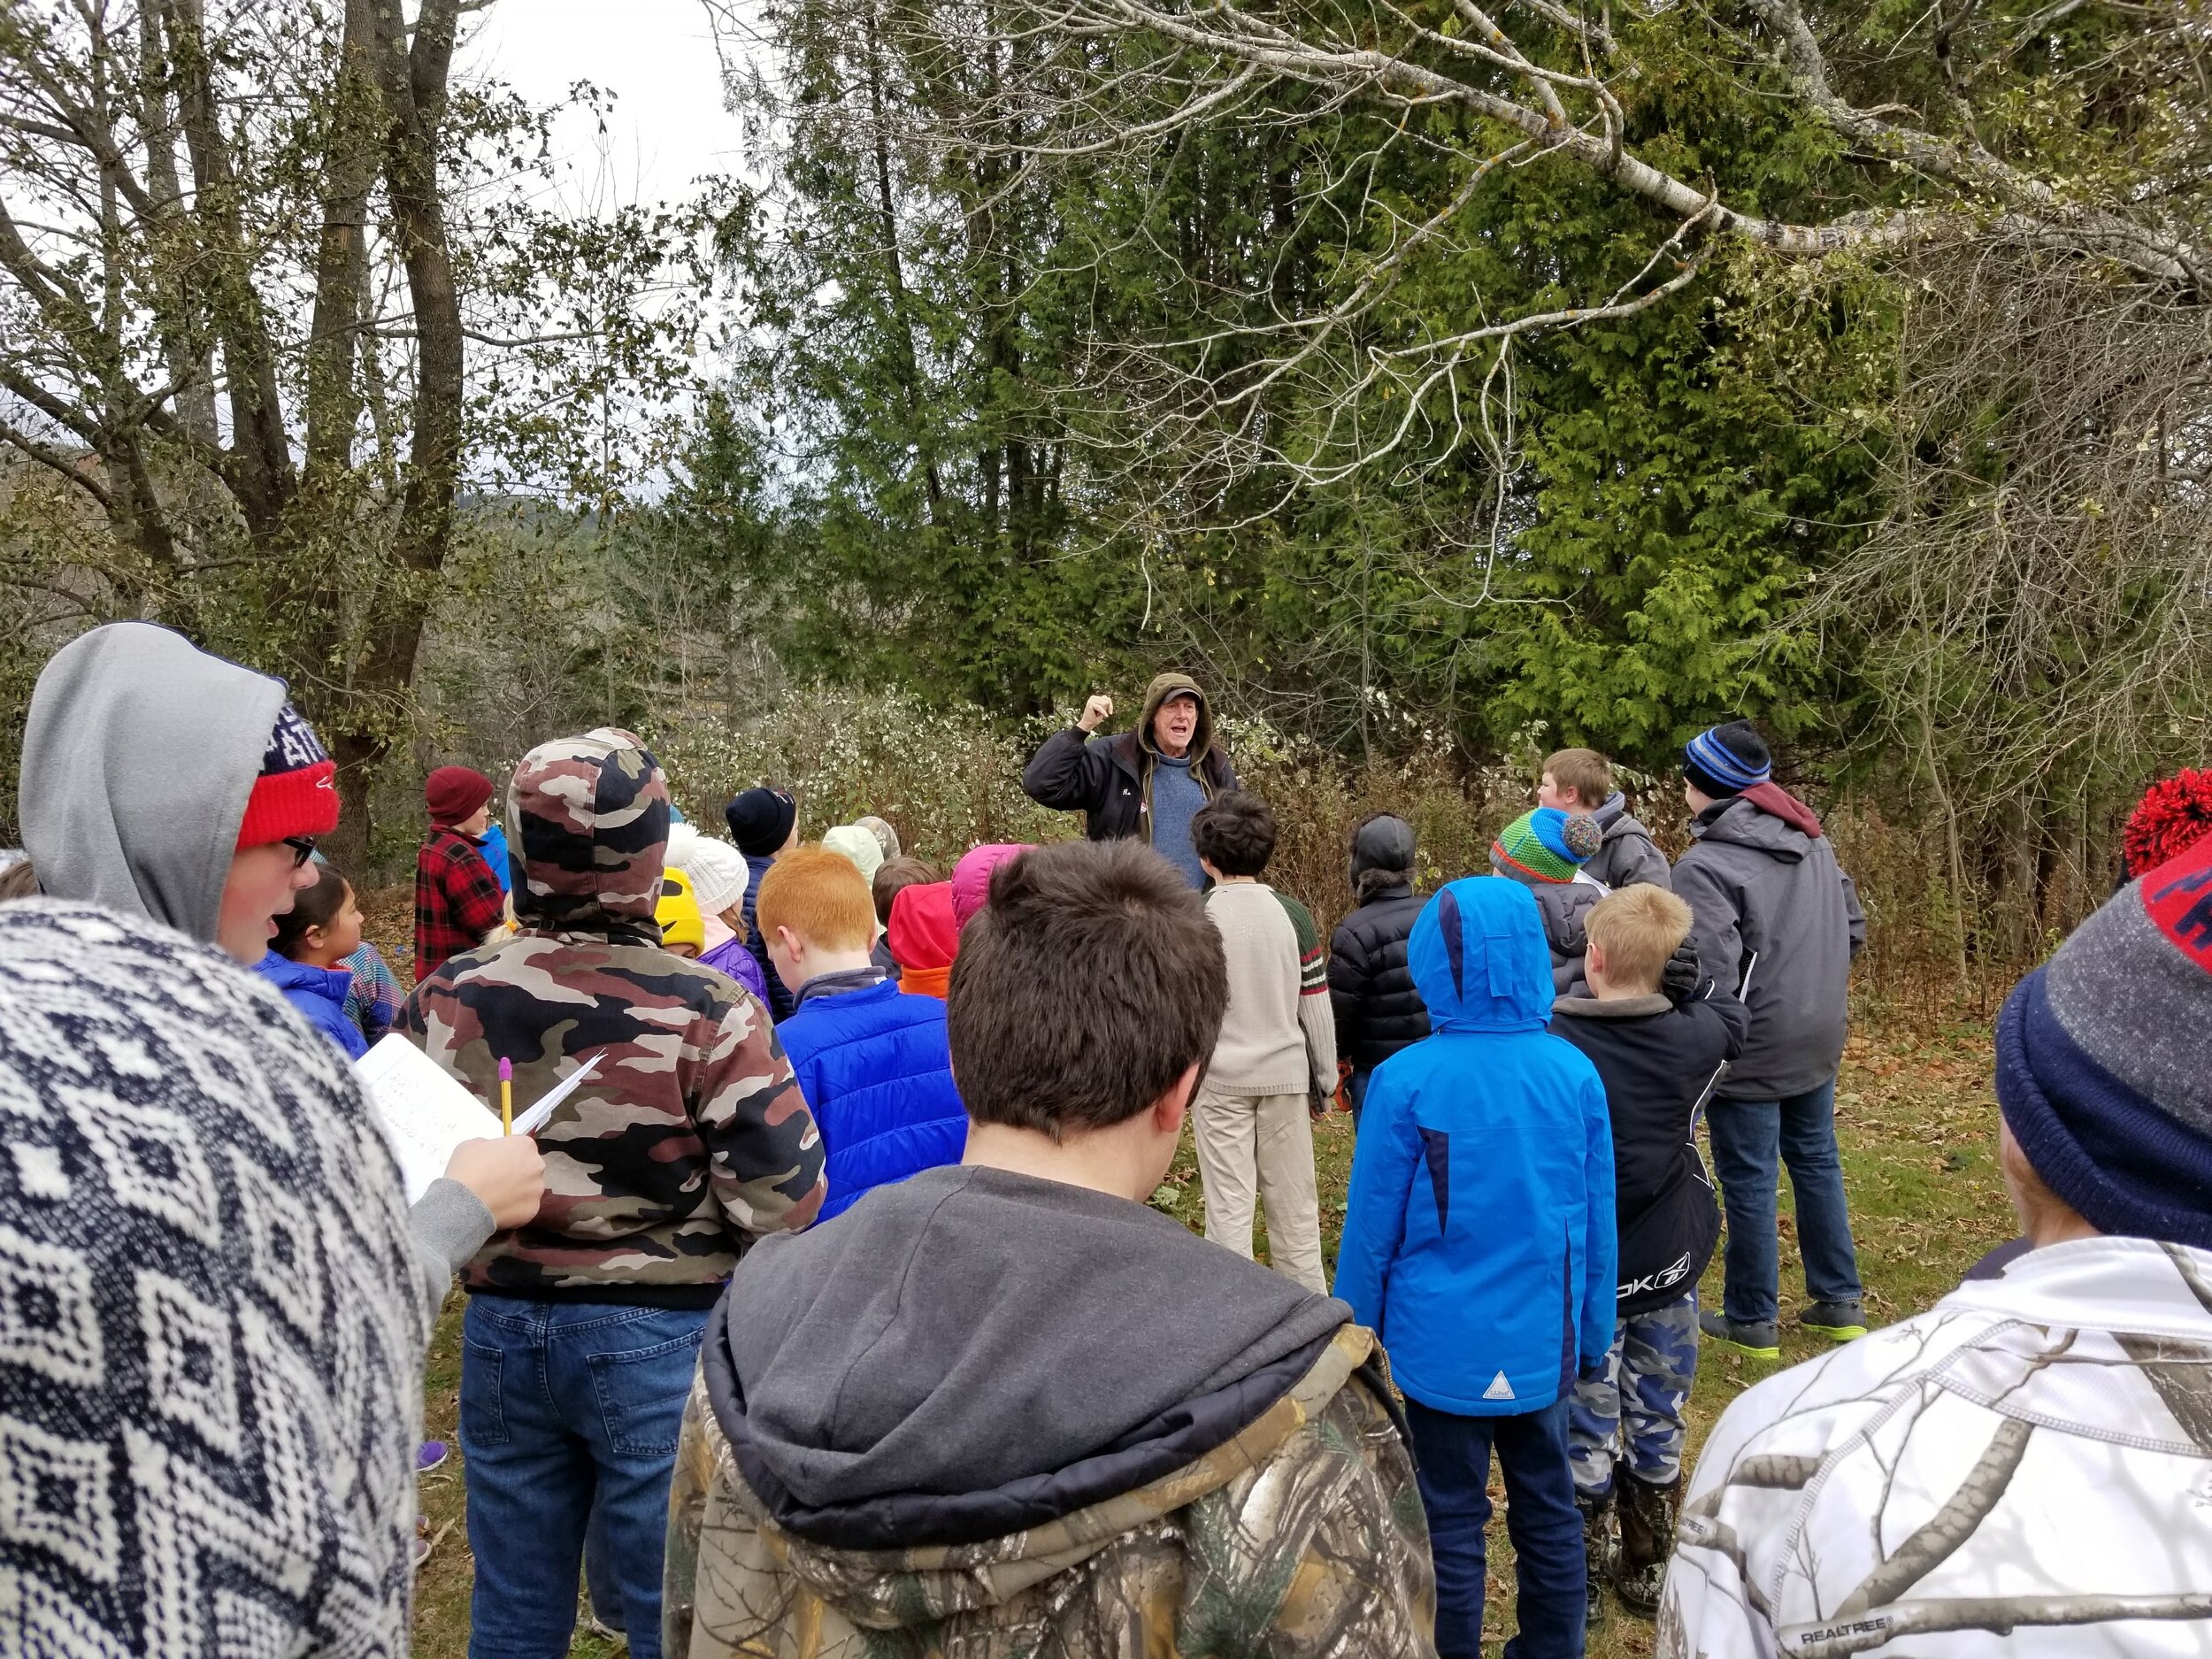
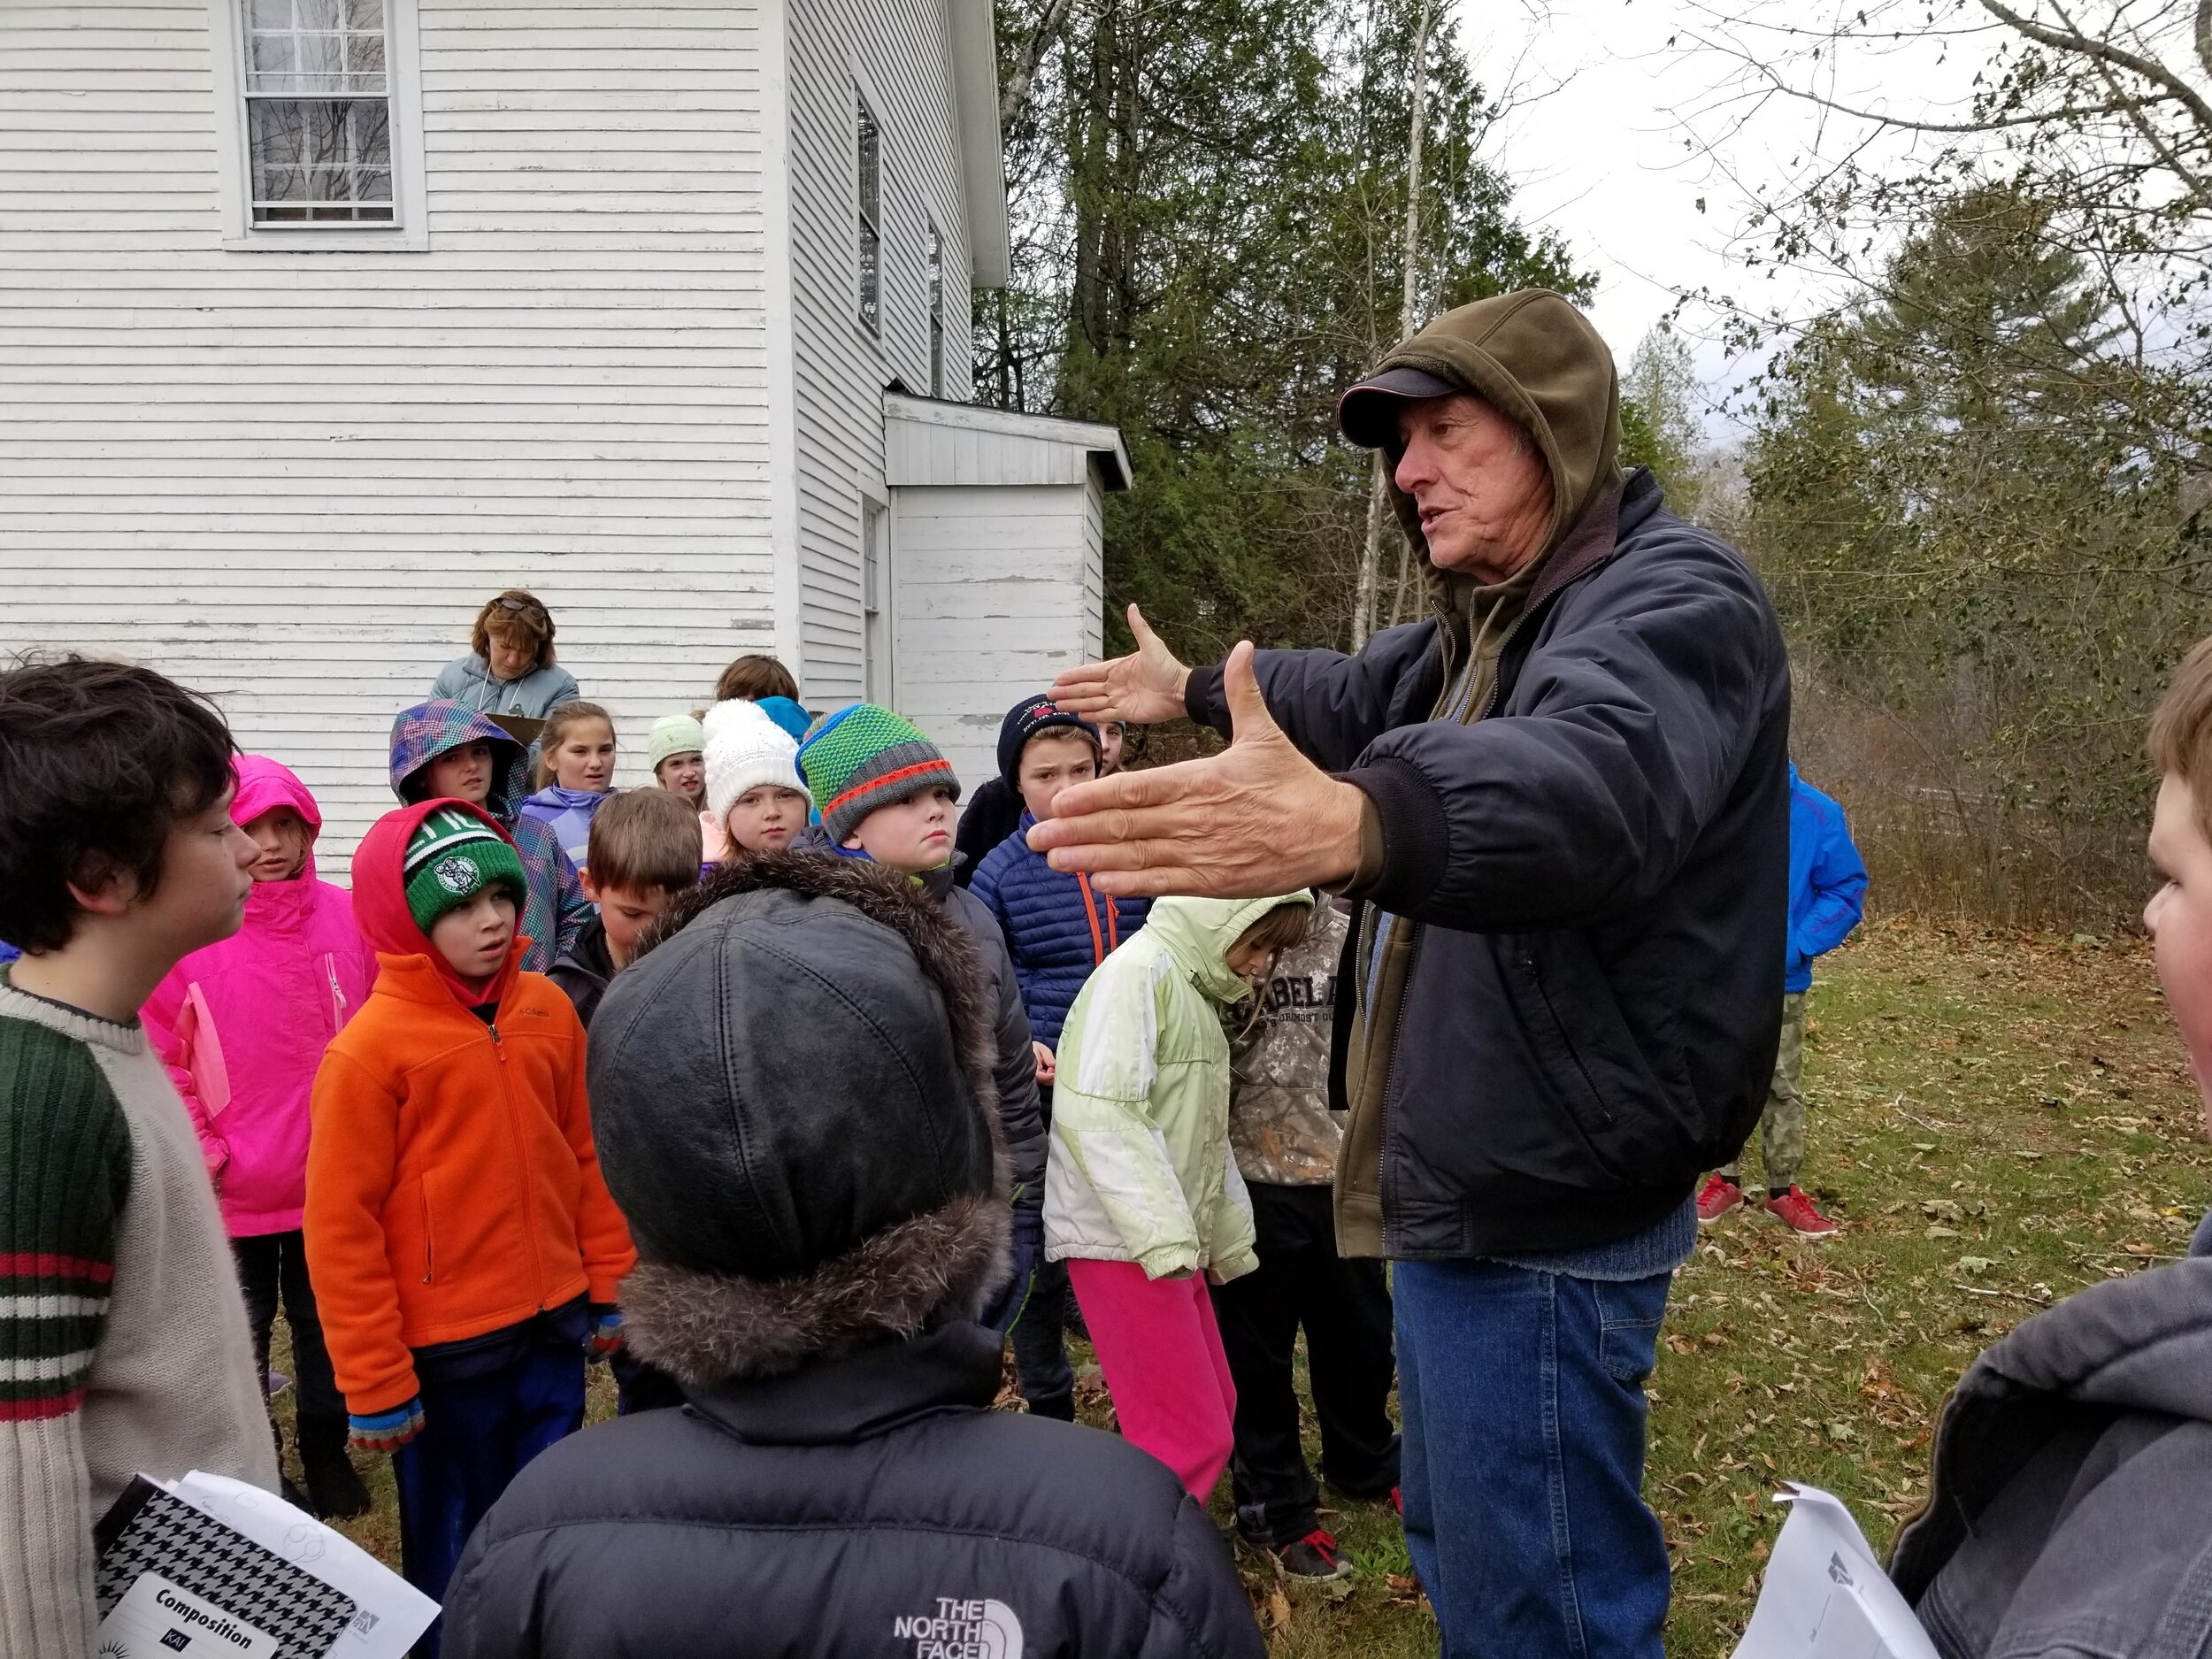
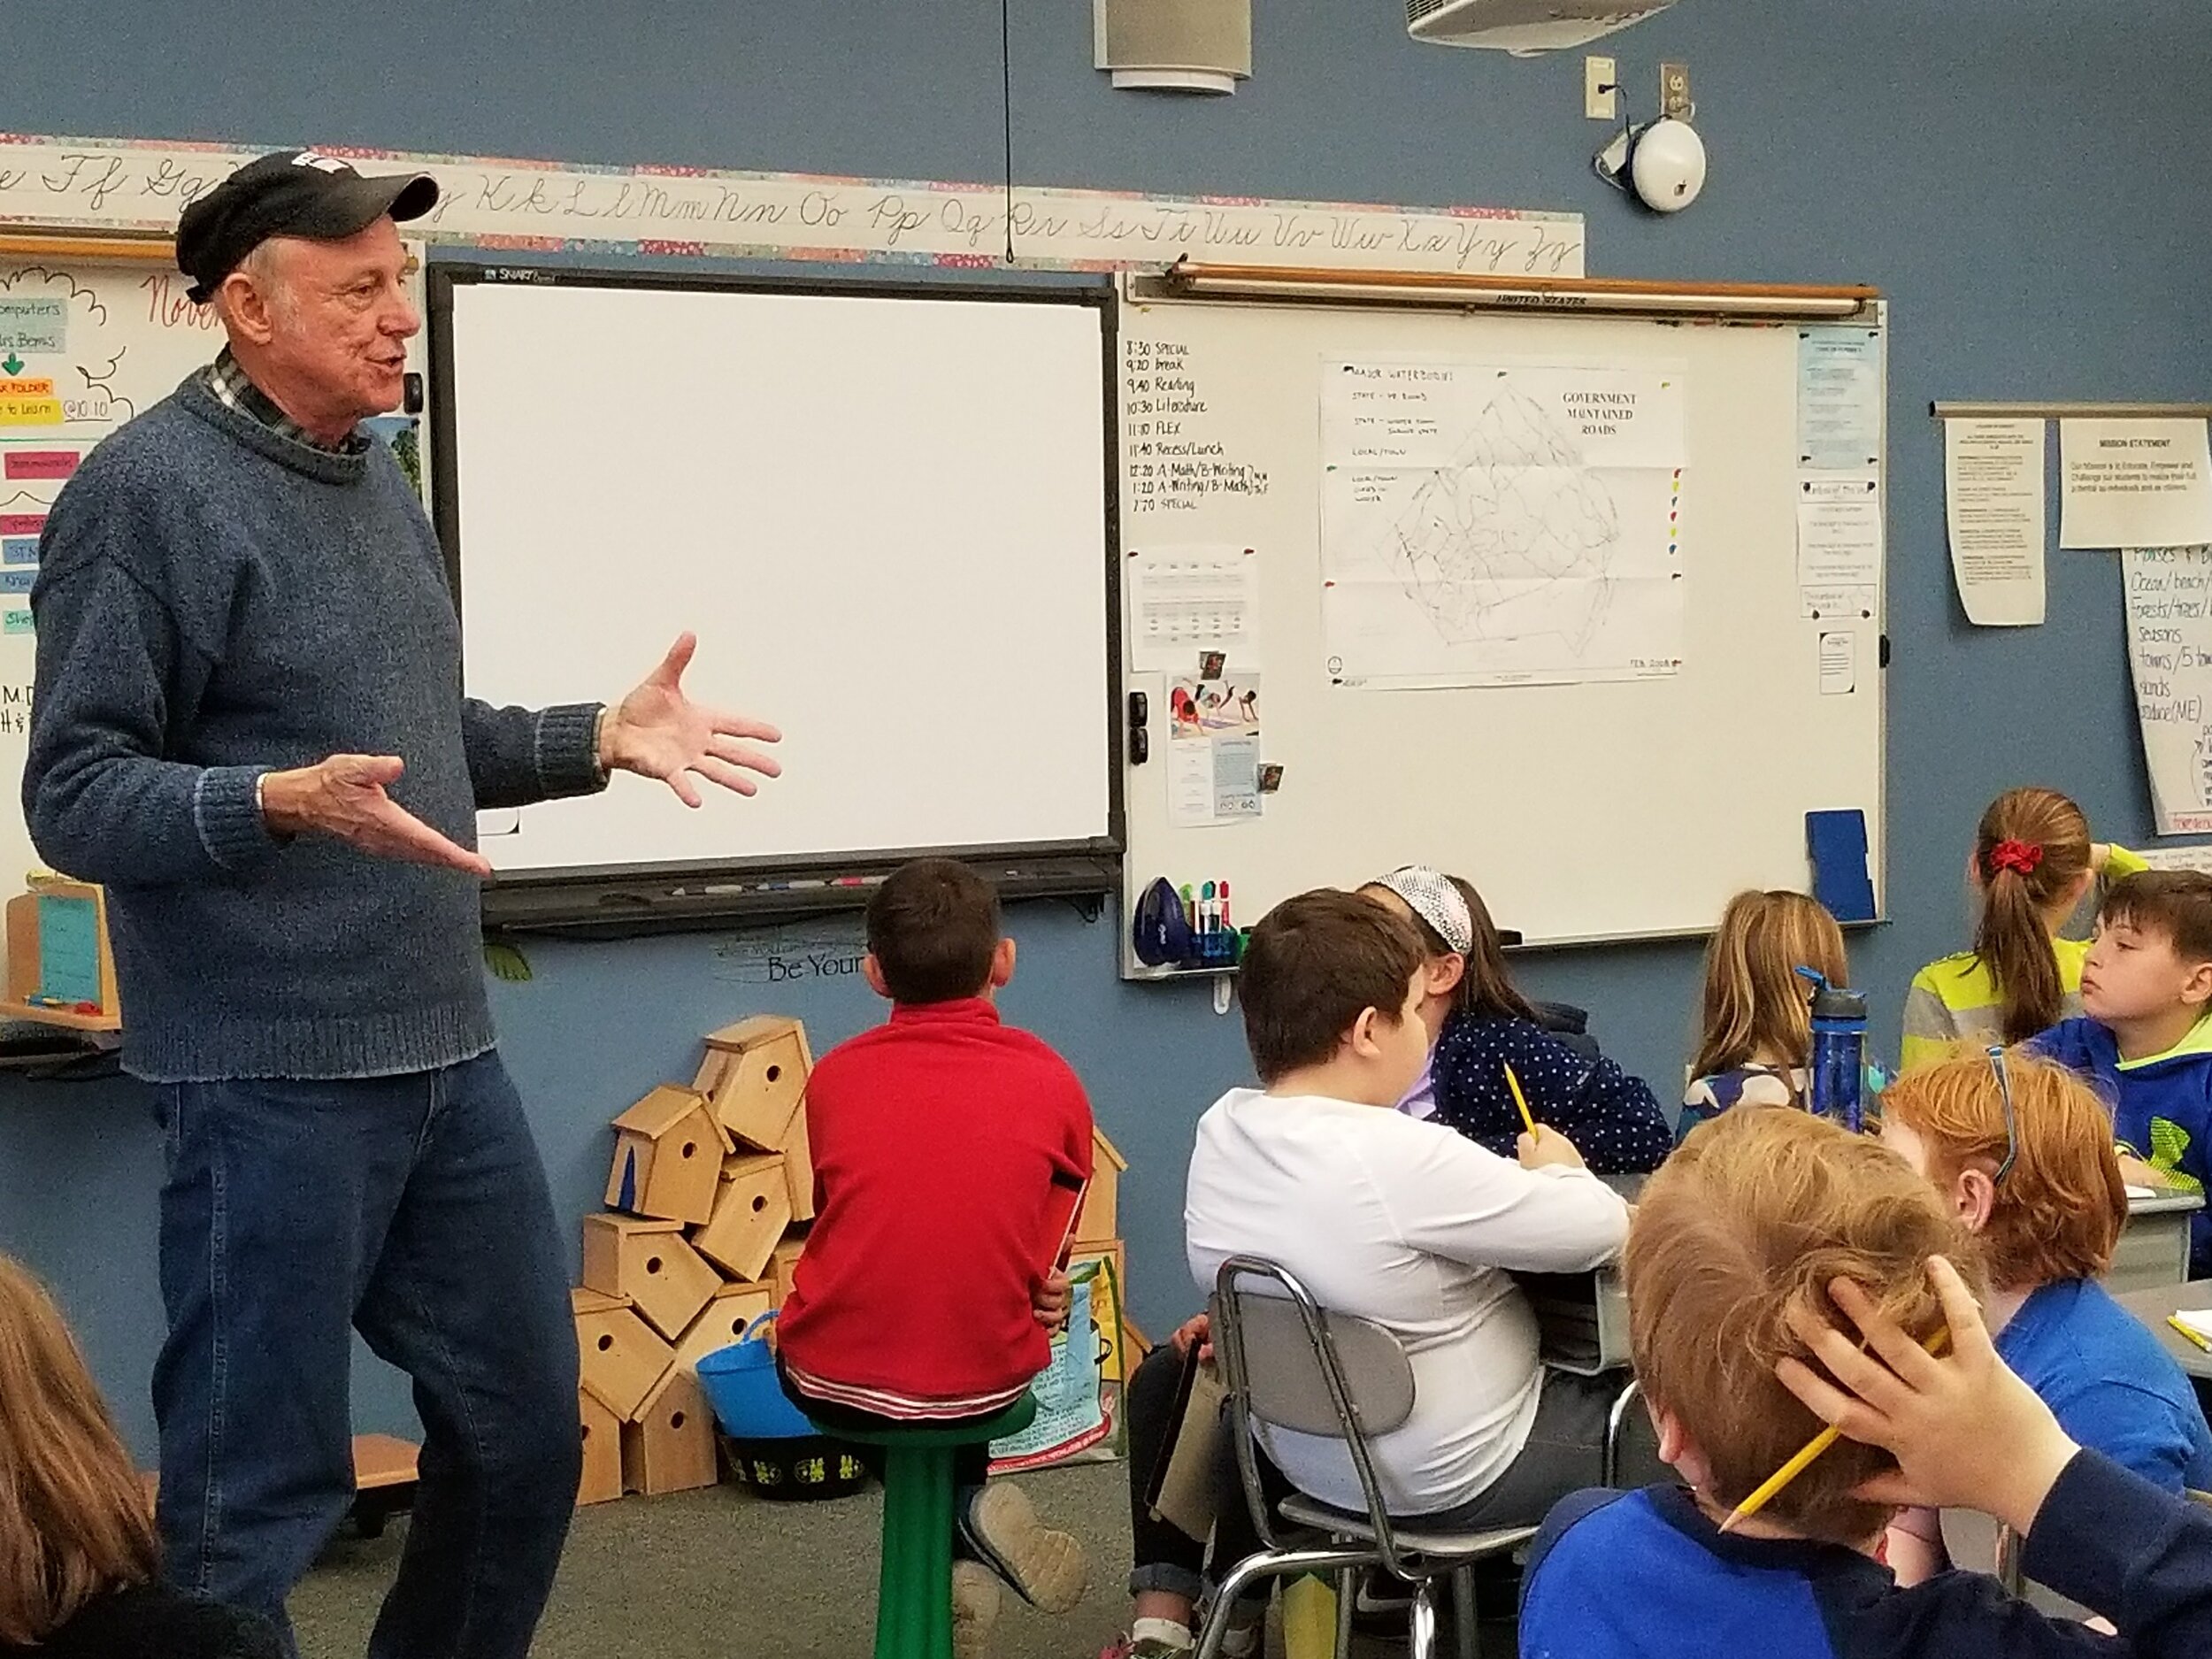
Research, Connect, Reflect: Connect with a local historian or members of your community to learn more about the people of your community in the past and present. Conduct interviews and notice old photographs. Compare and contrast this imagery with your expedition sketches and photographs. How has your community changed? What is similar? What stories may be left untold?
Activity:
Create + Share: Reflect on your research, observational writing, and documentation. Consider how you wish to share your community story. How can you highlight the past and the present story? What do you imagine for the future?
View a few example projects below…
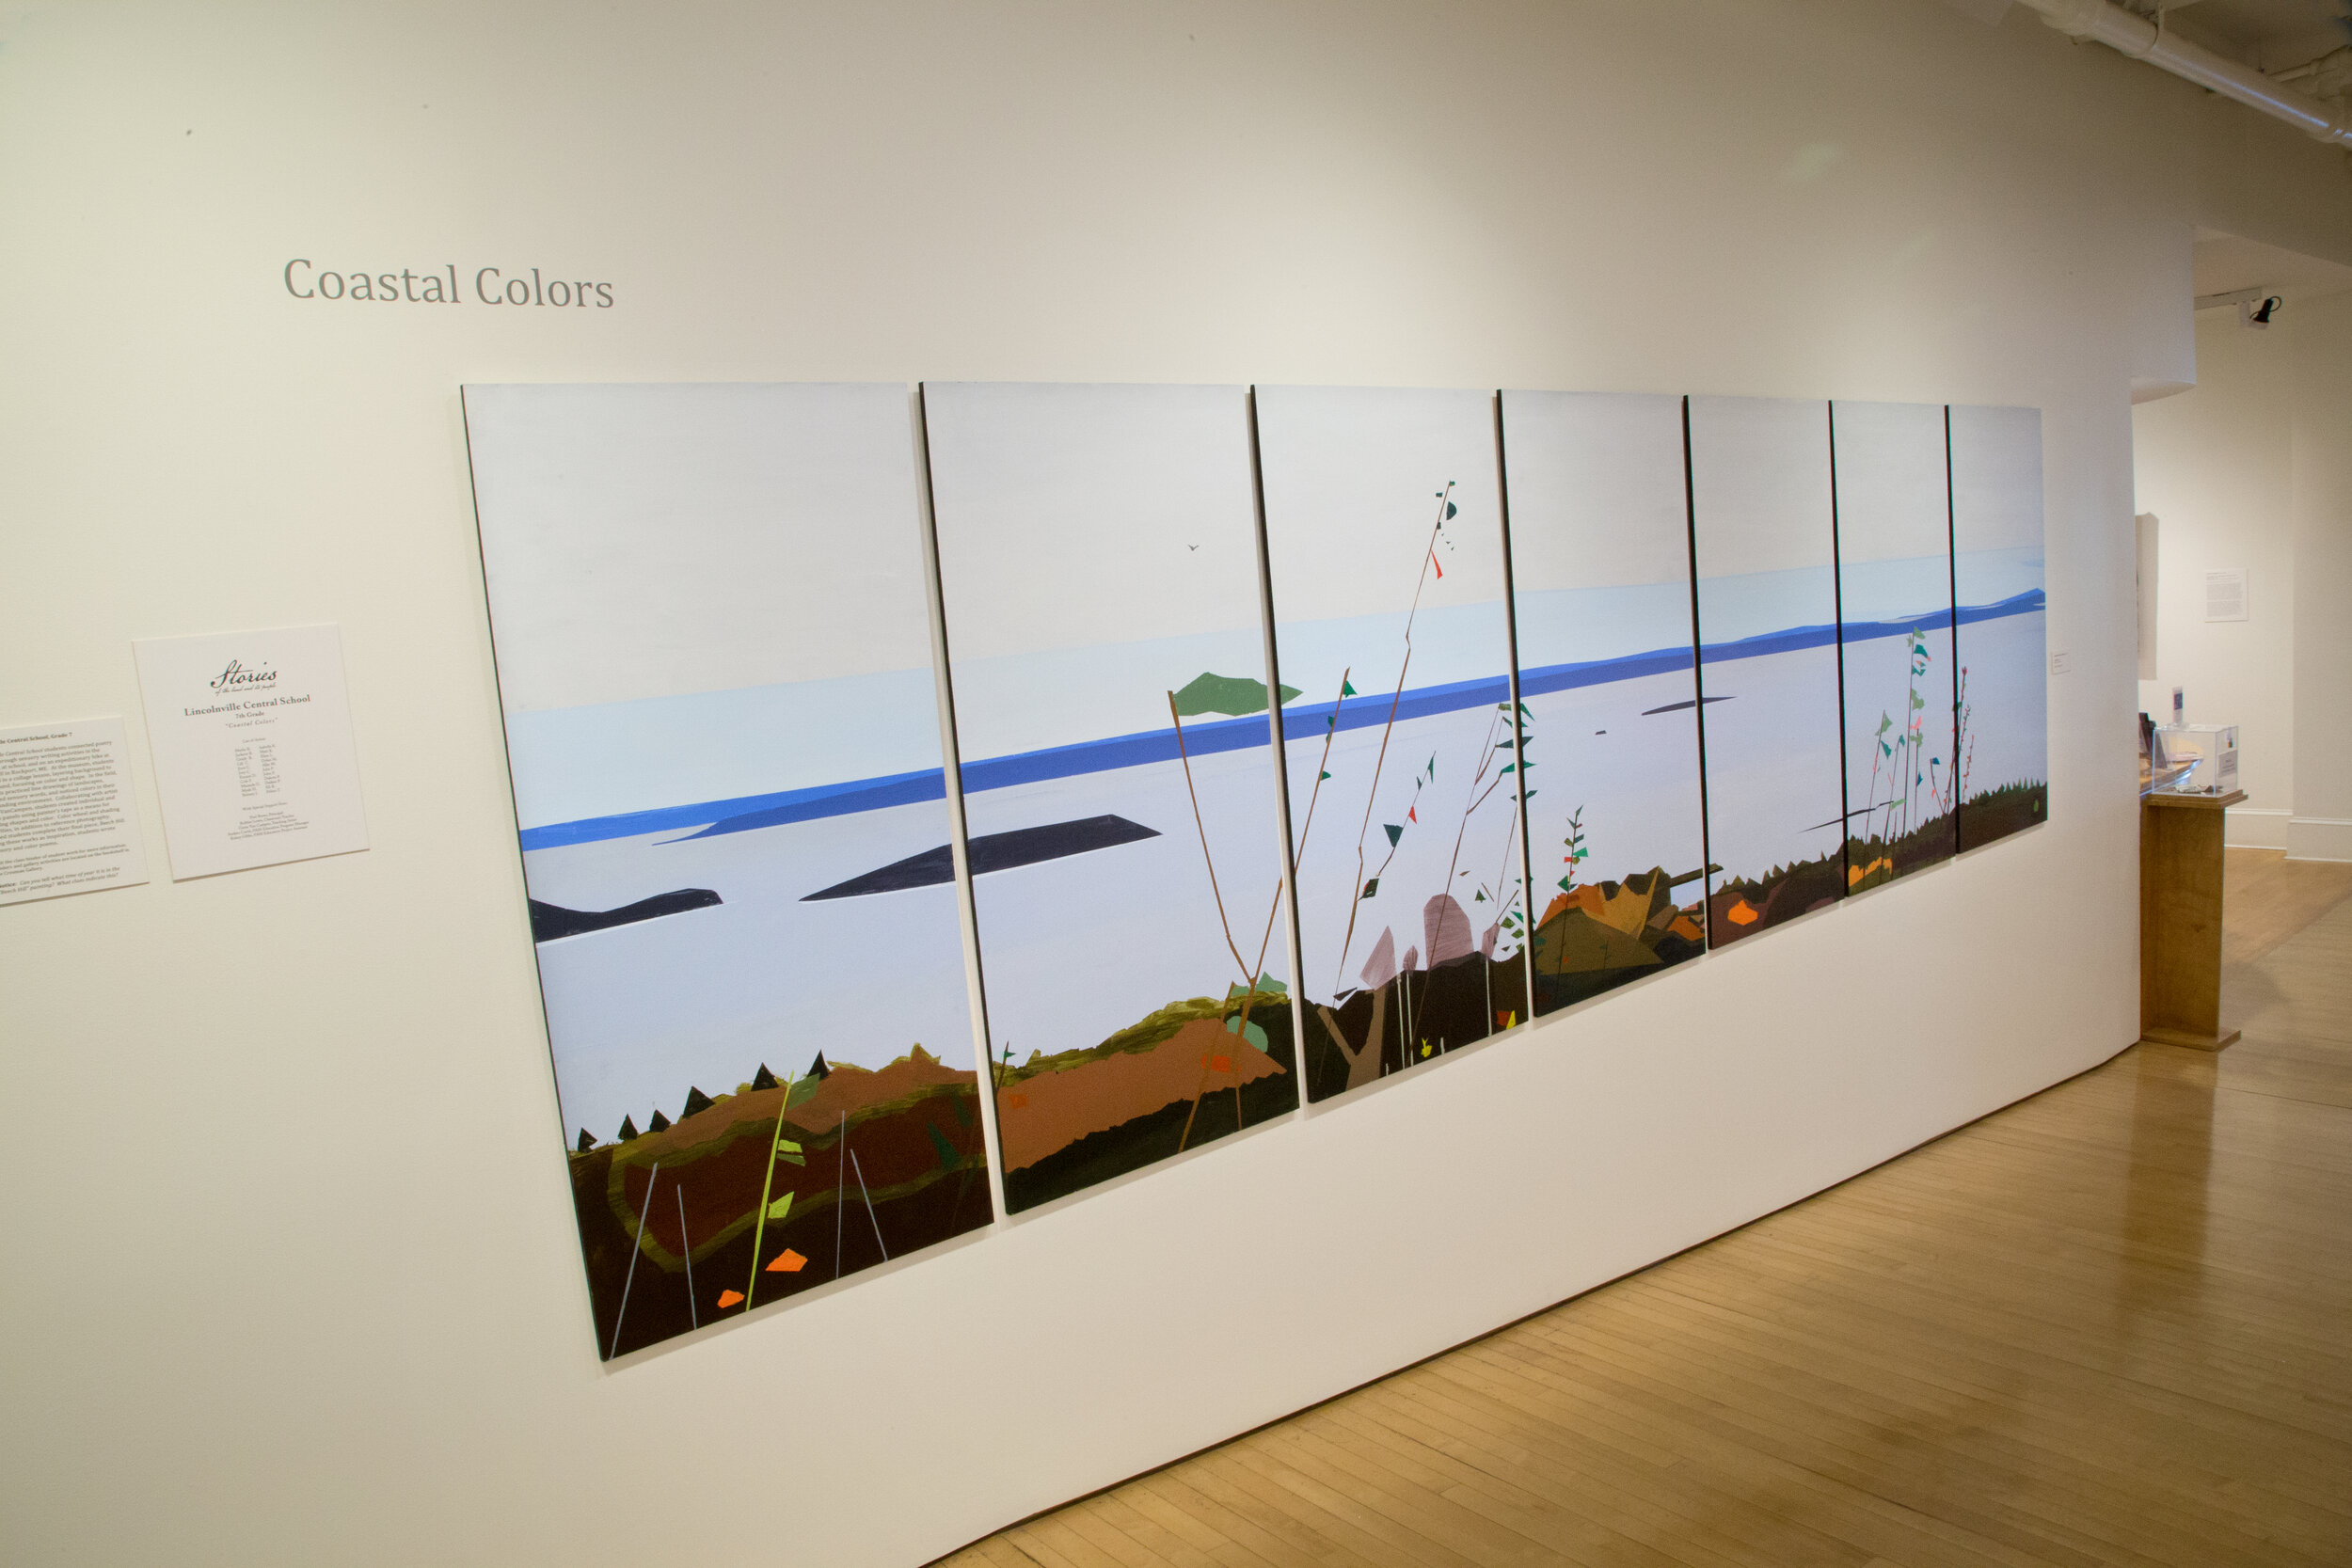
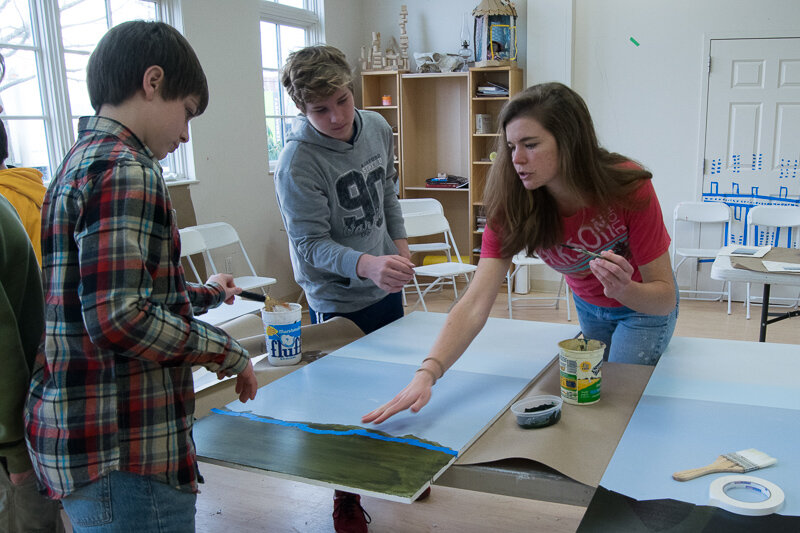
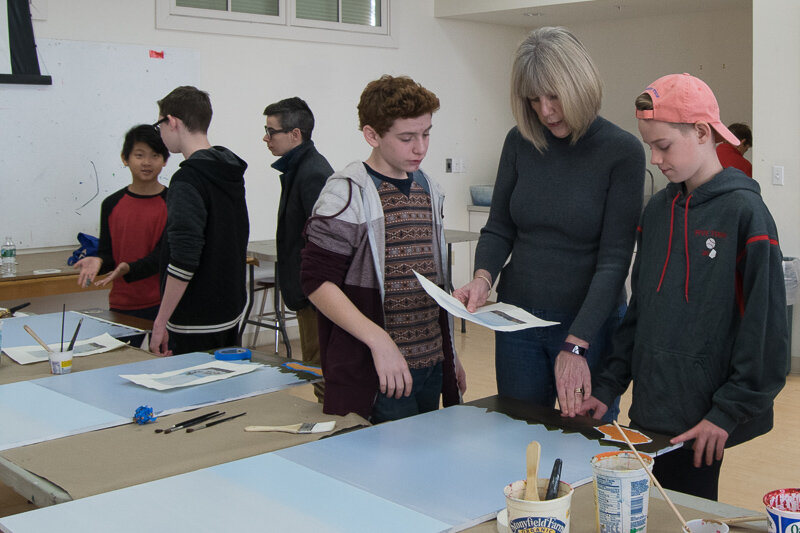
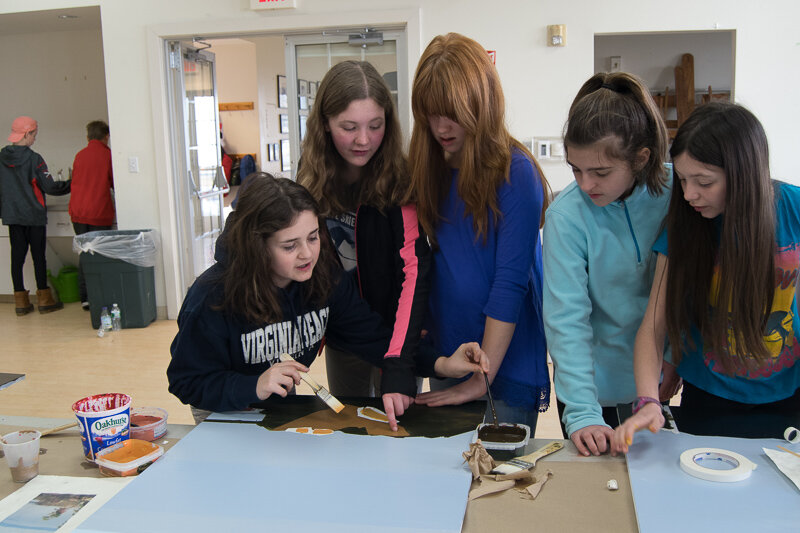
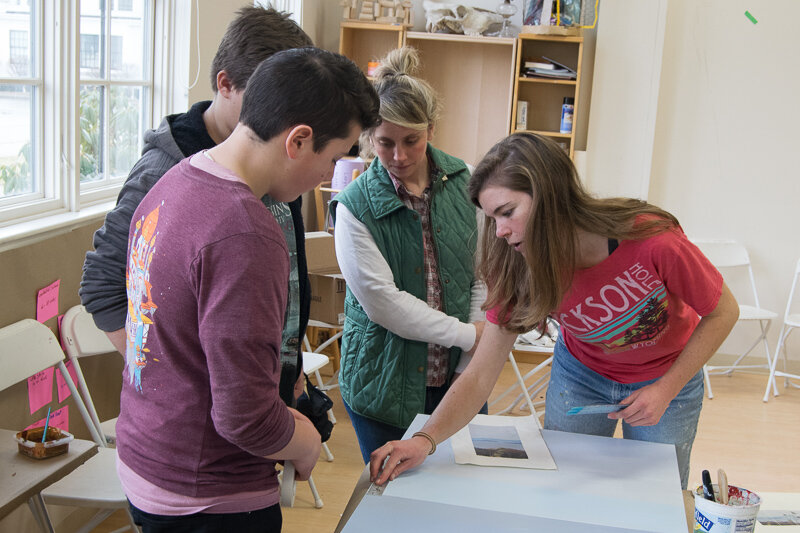
Community Mural
Explore the Community Mural Unit for a complete page of lessons and activities around this community mural project.
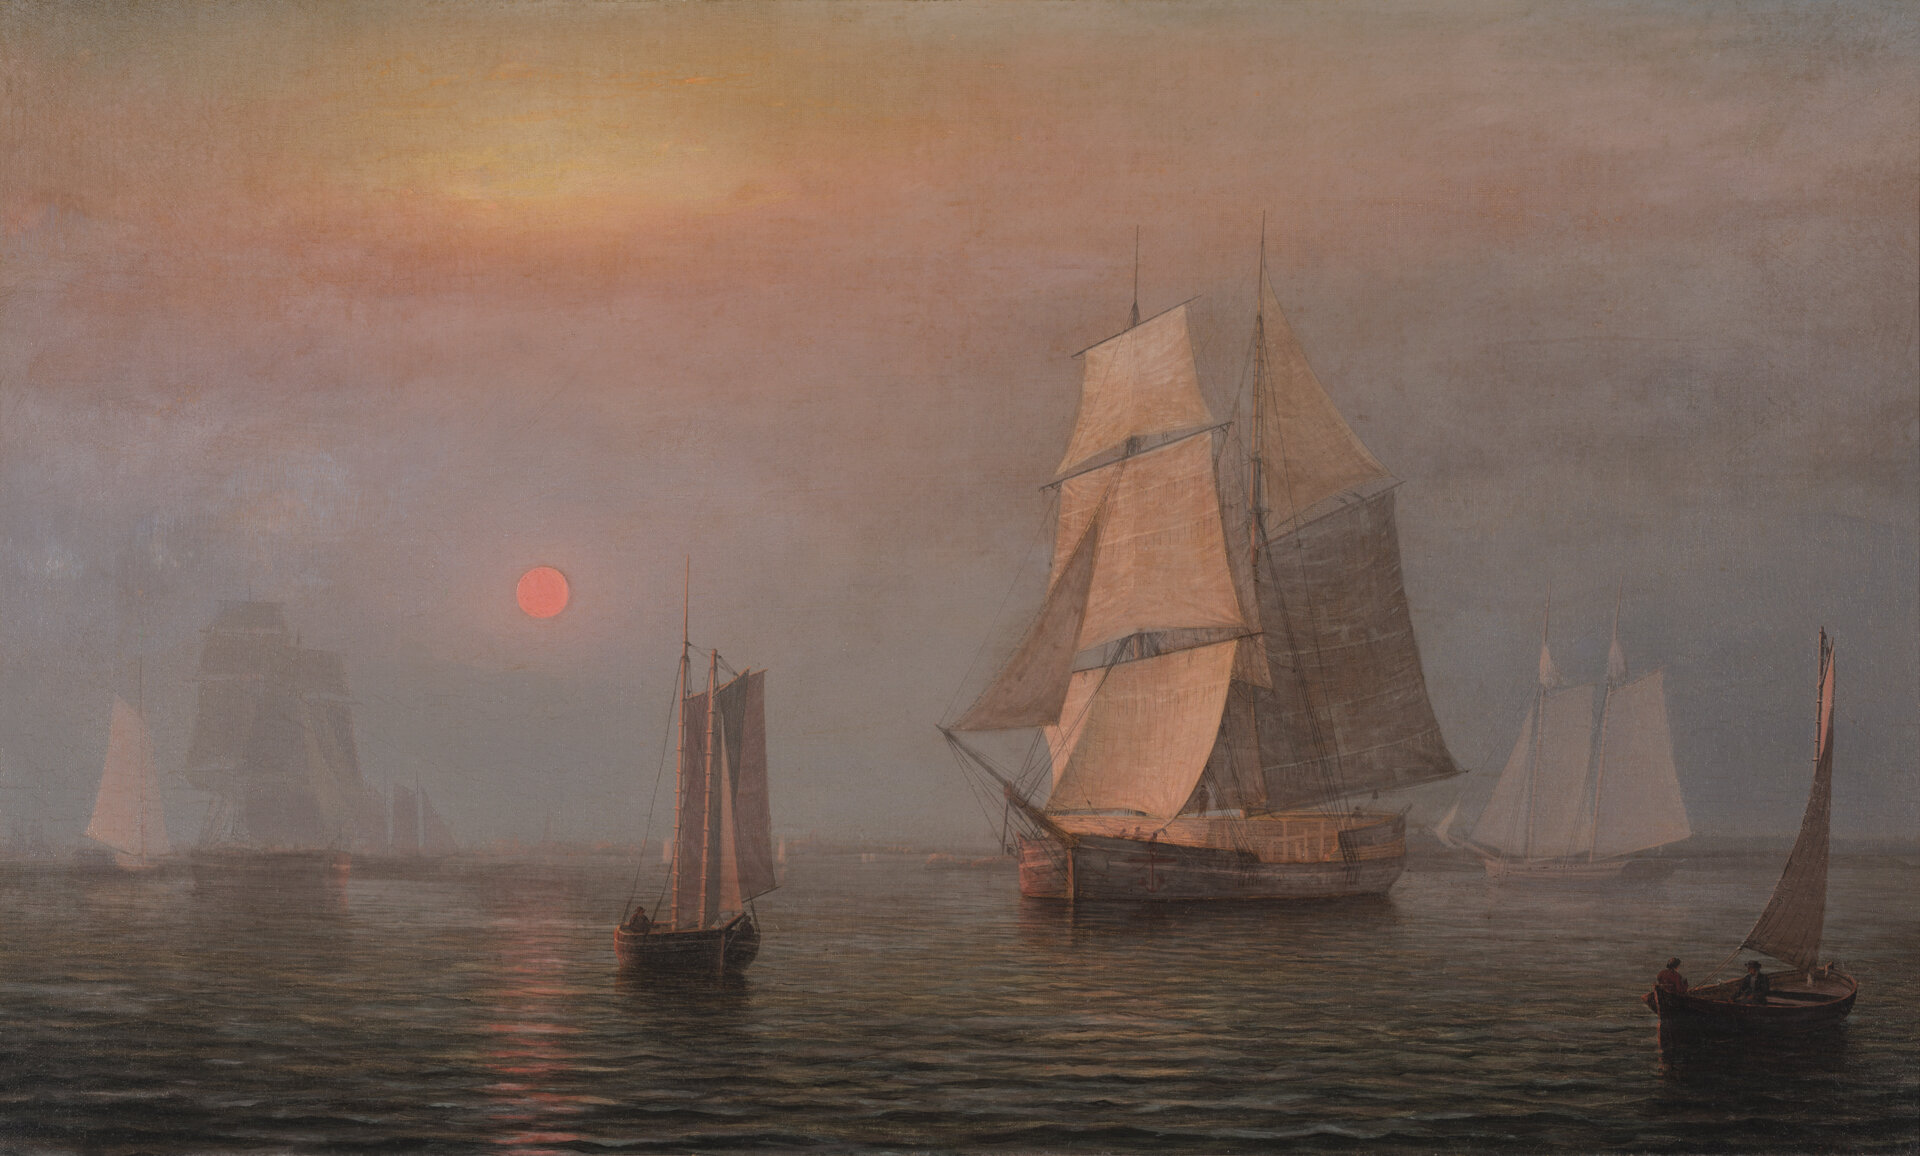
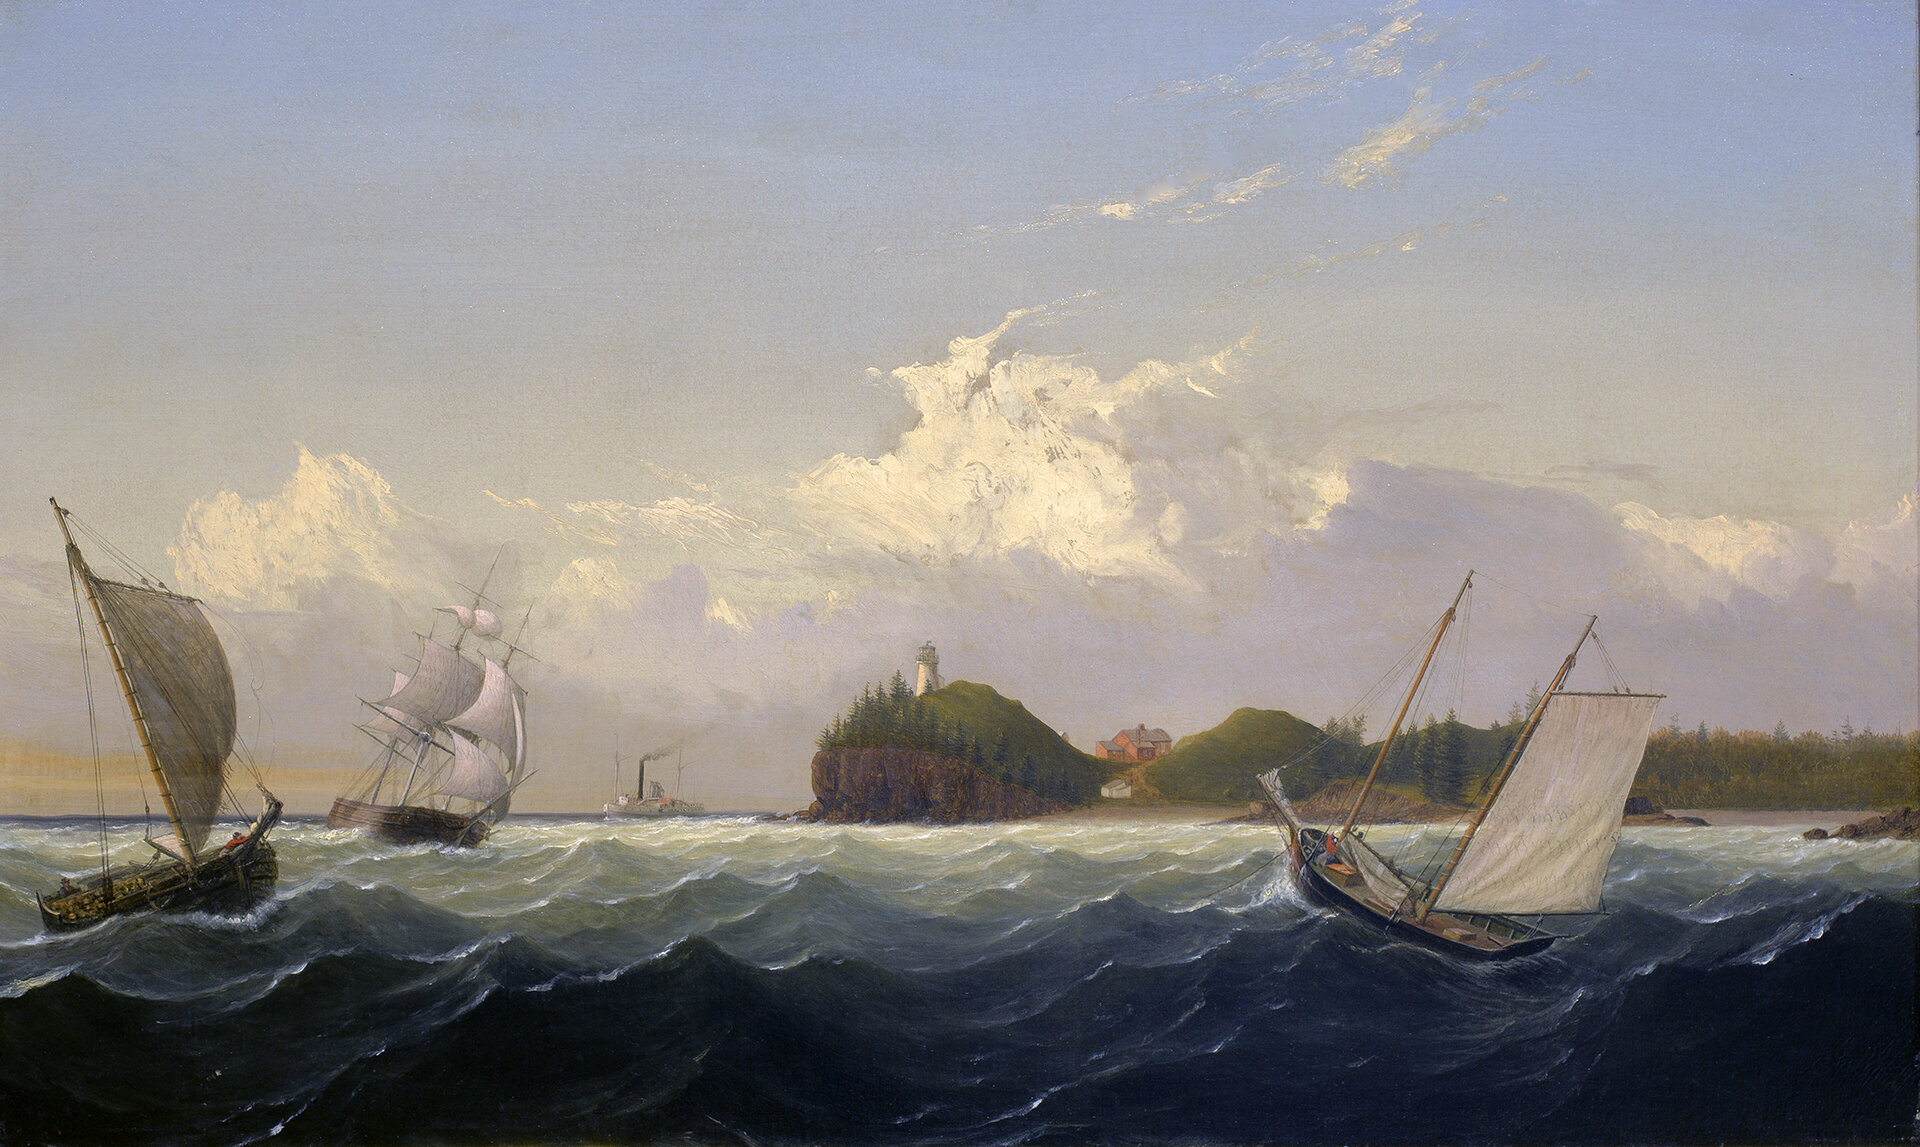
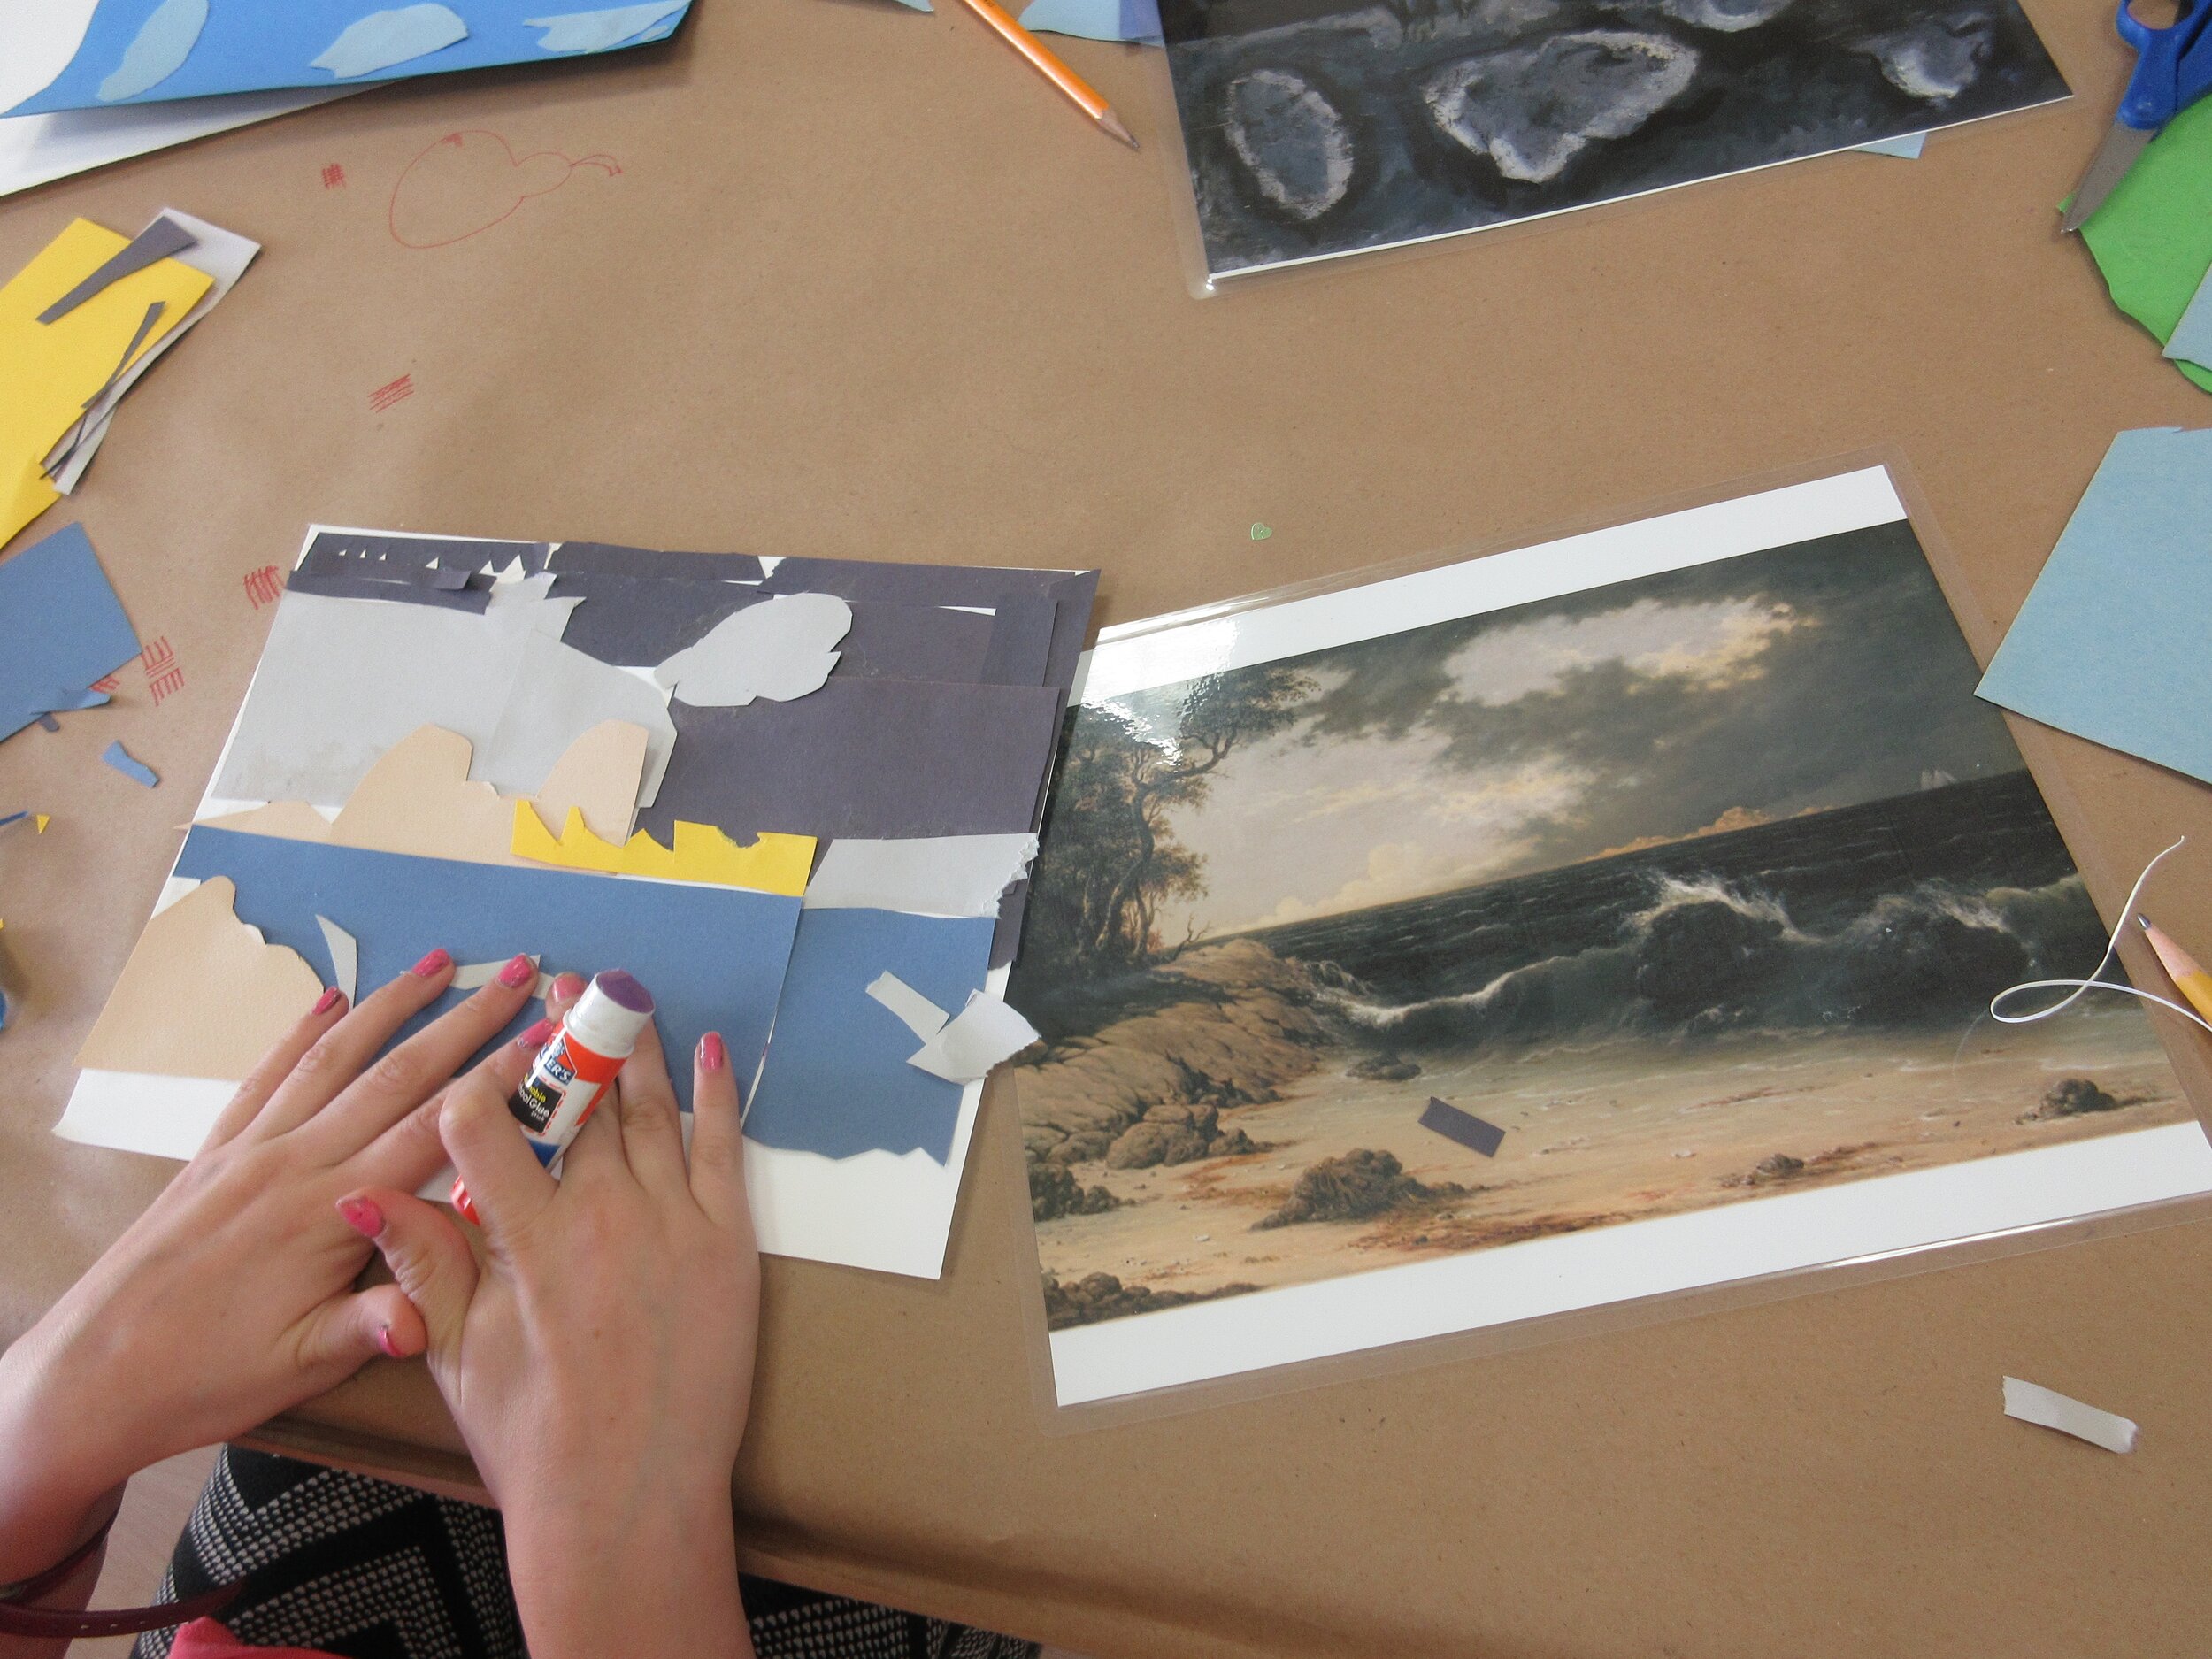
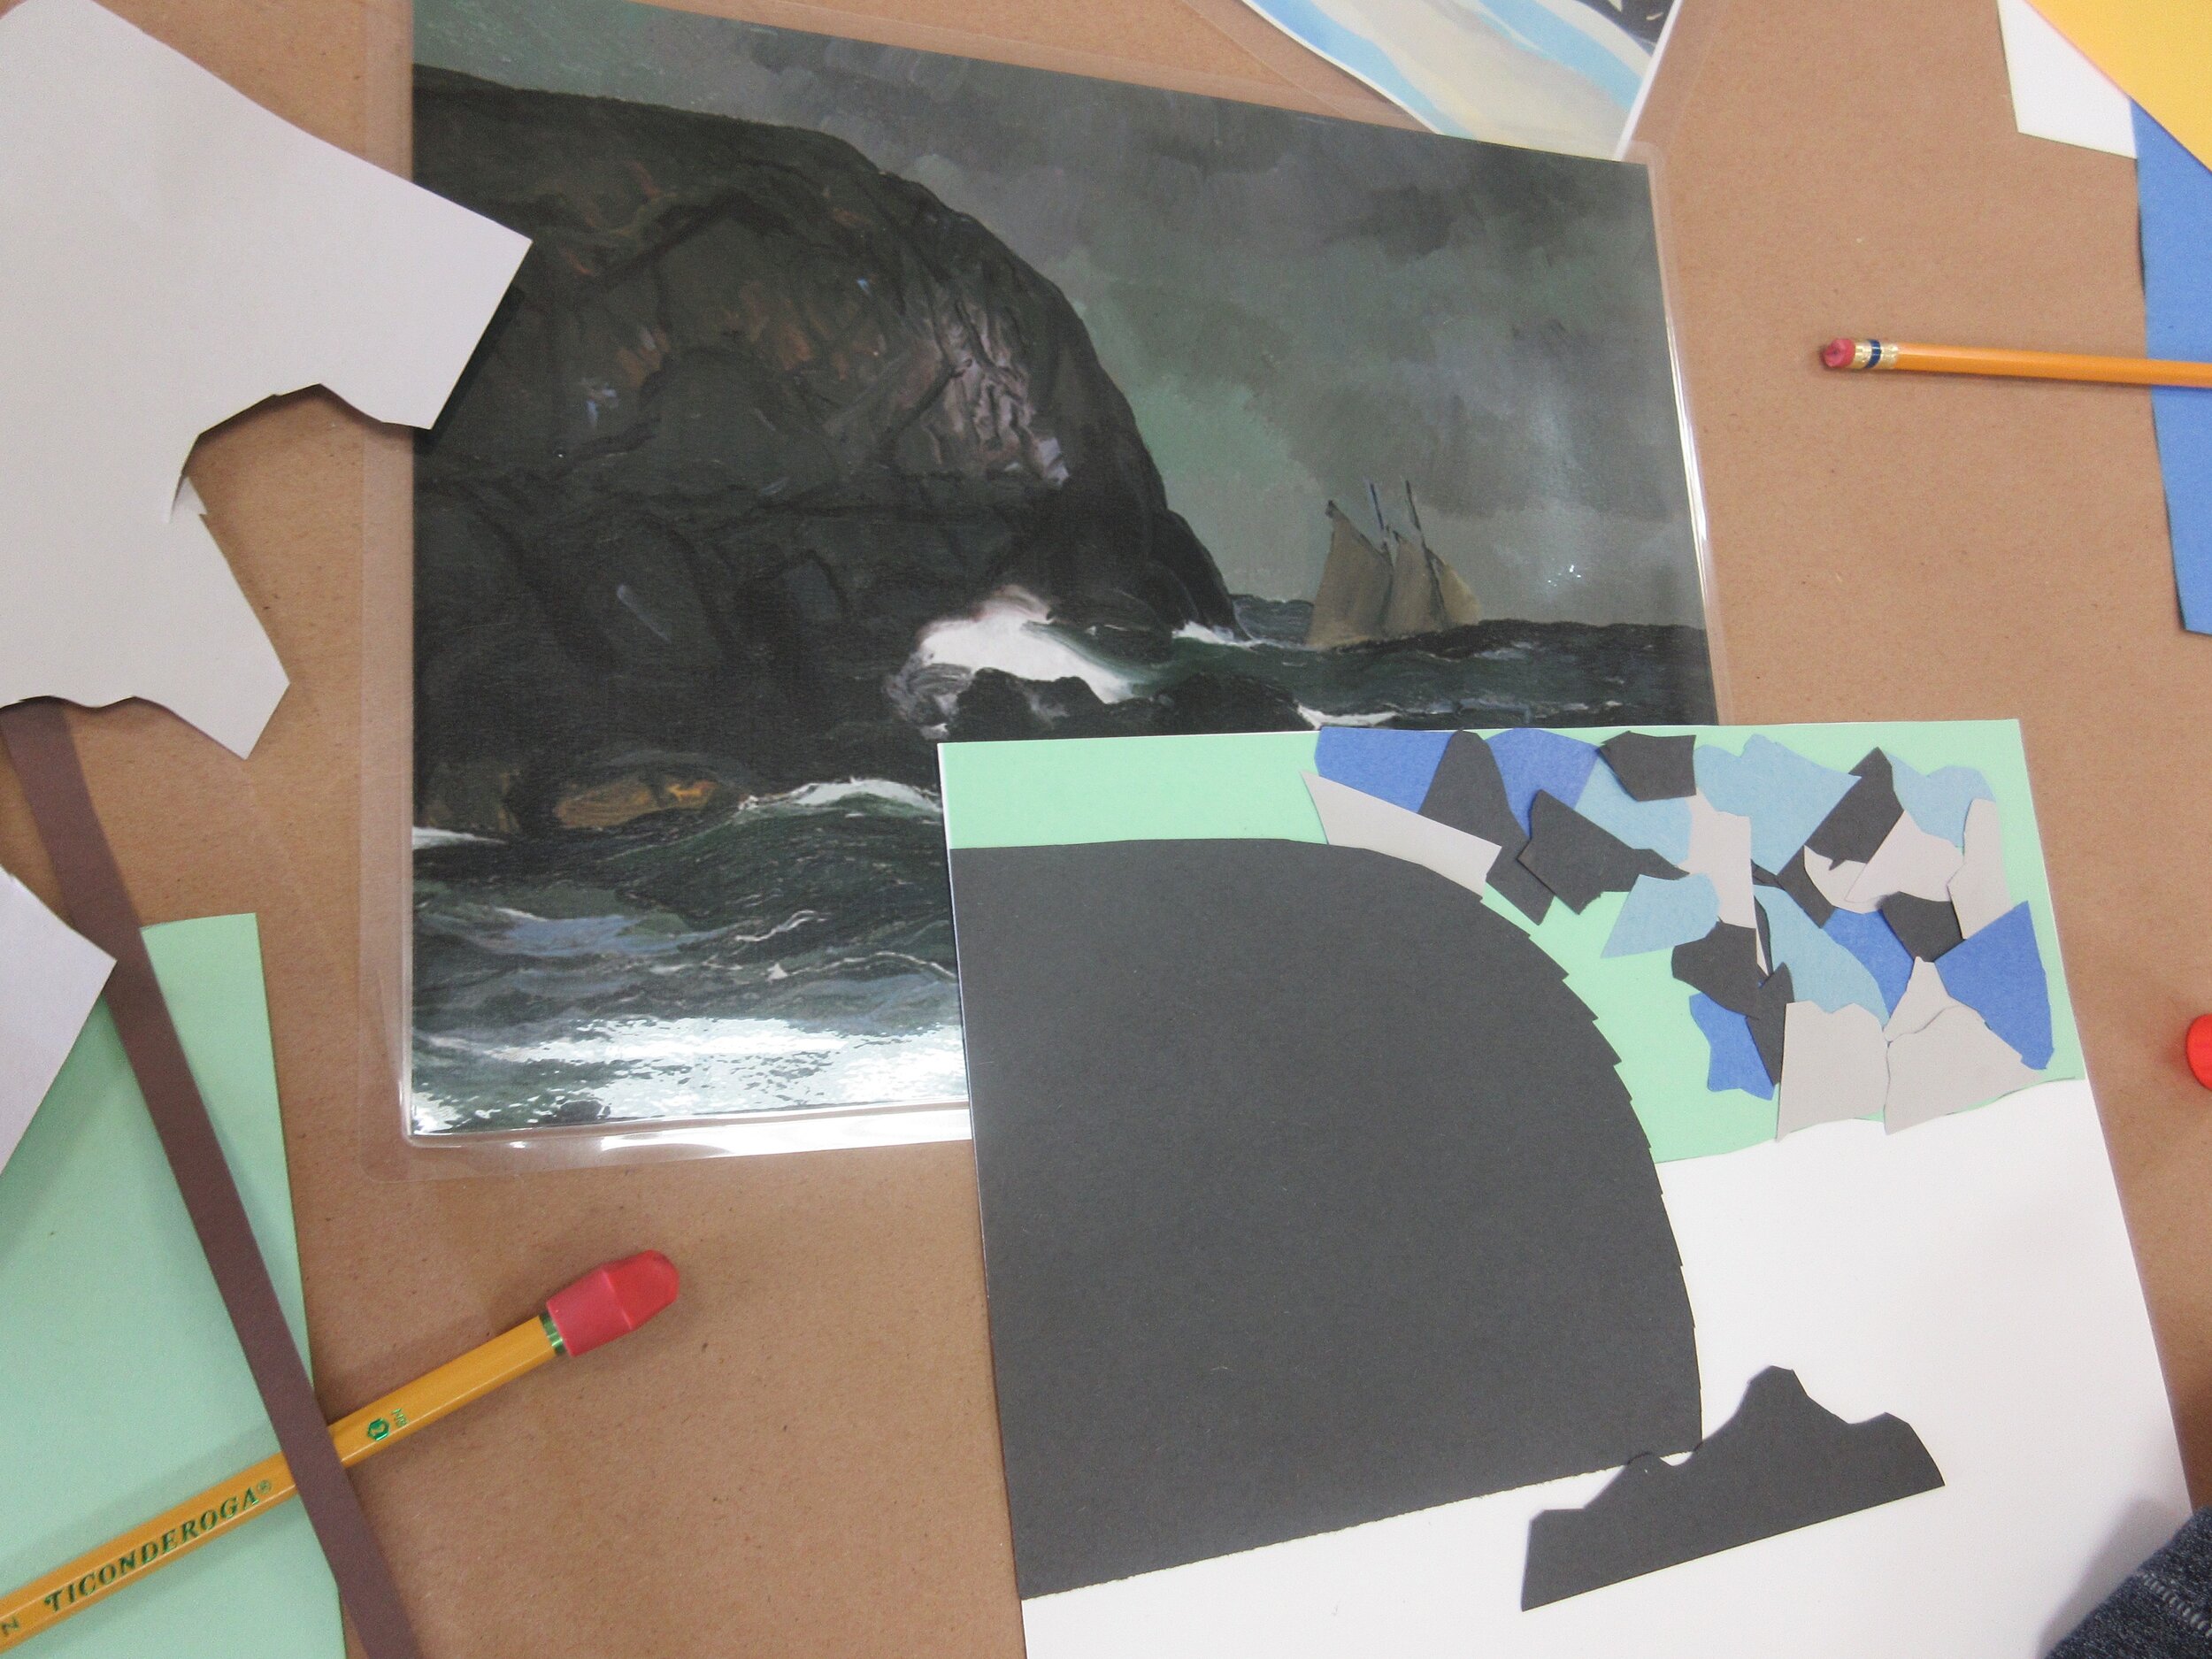
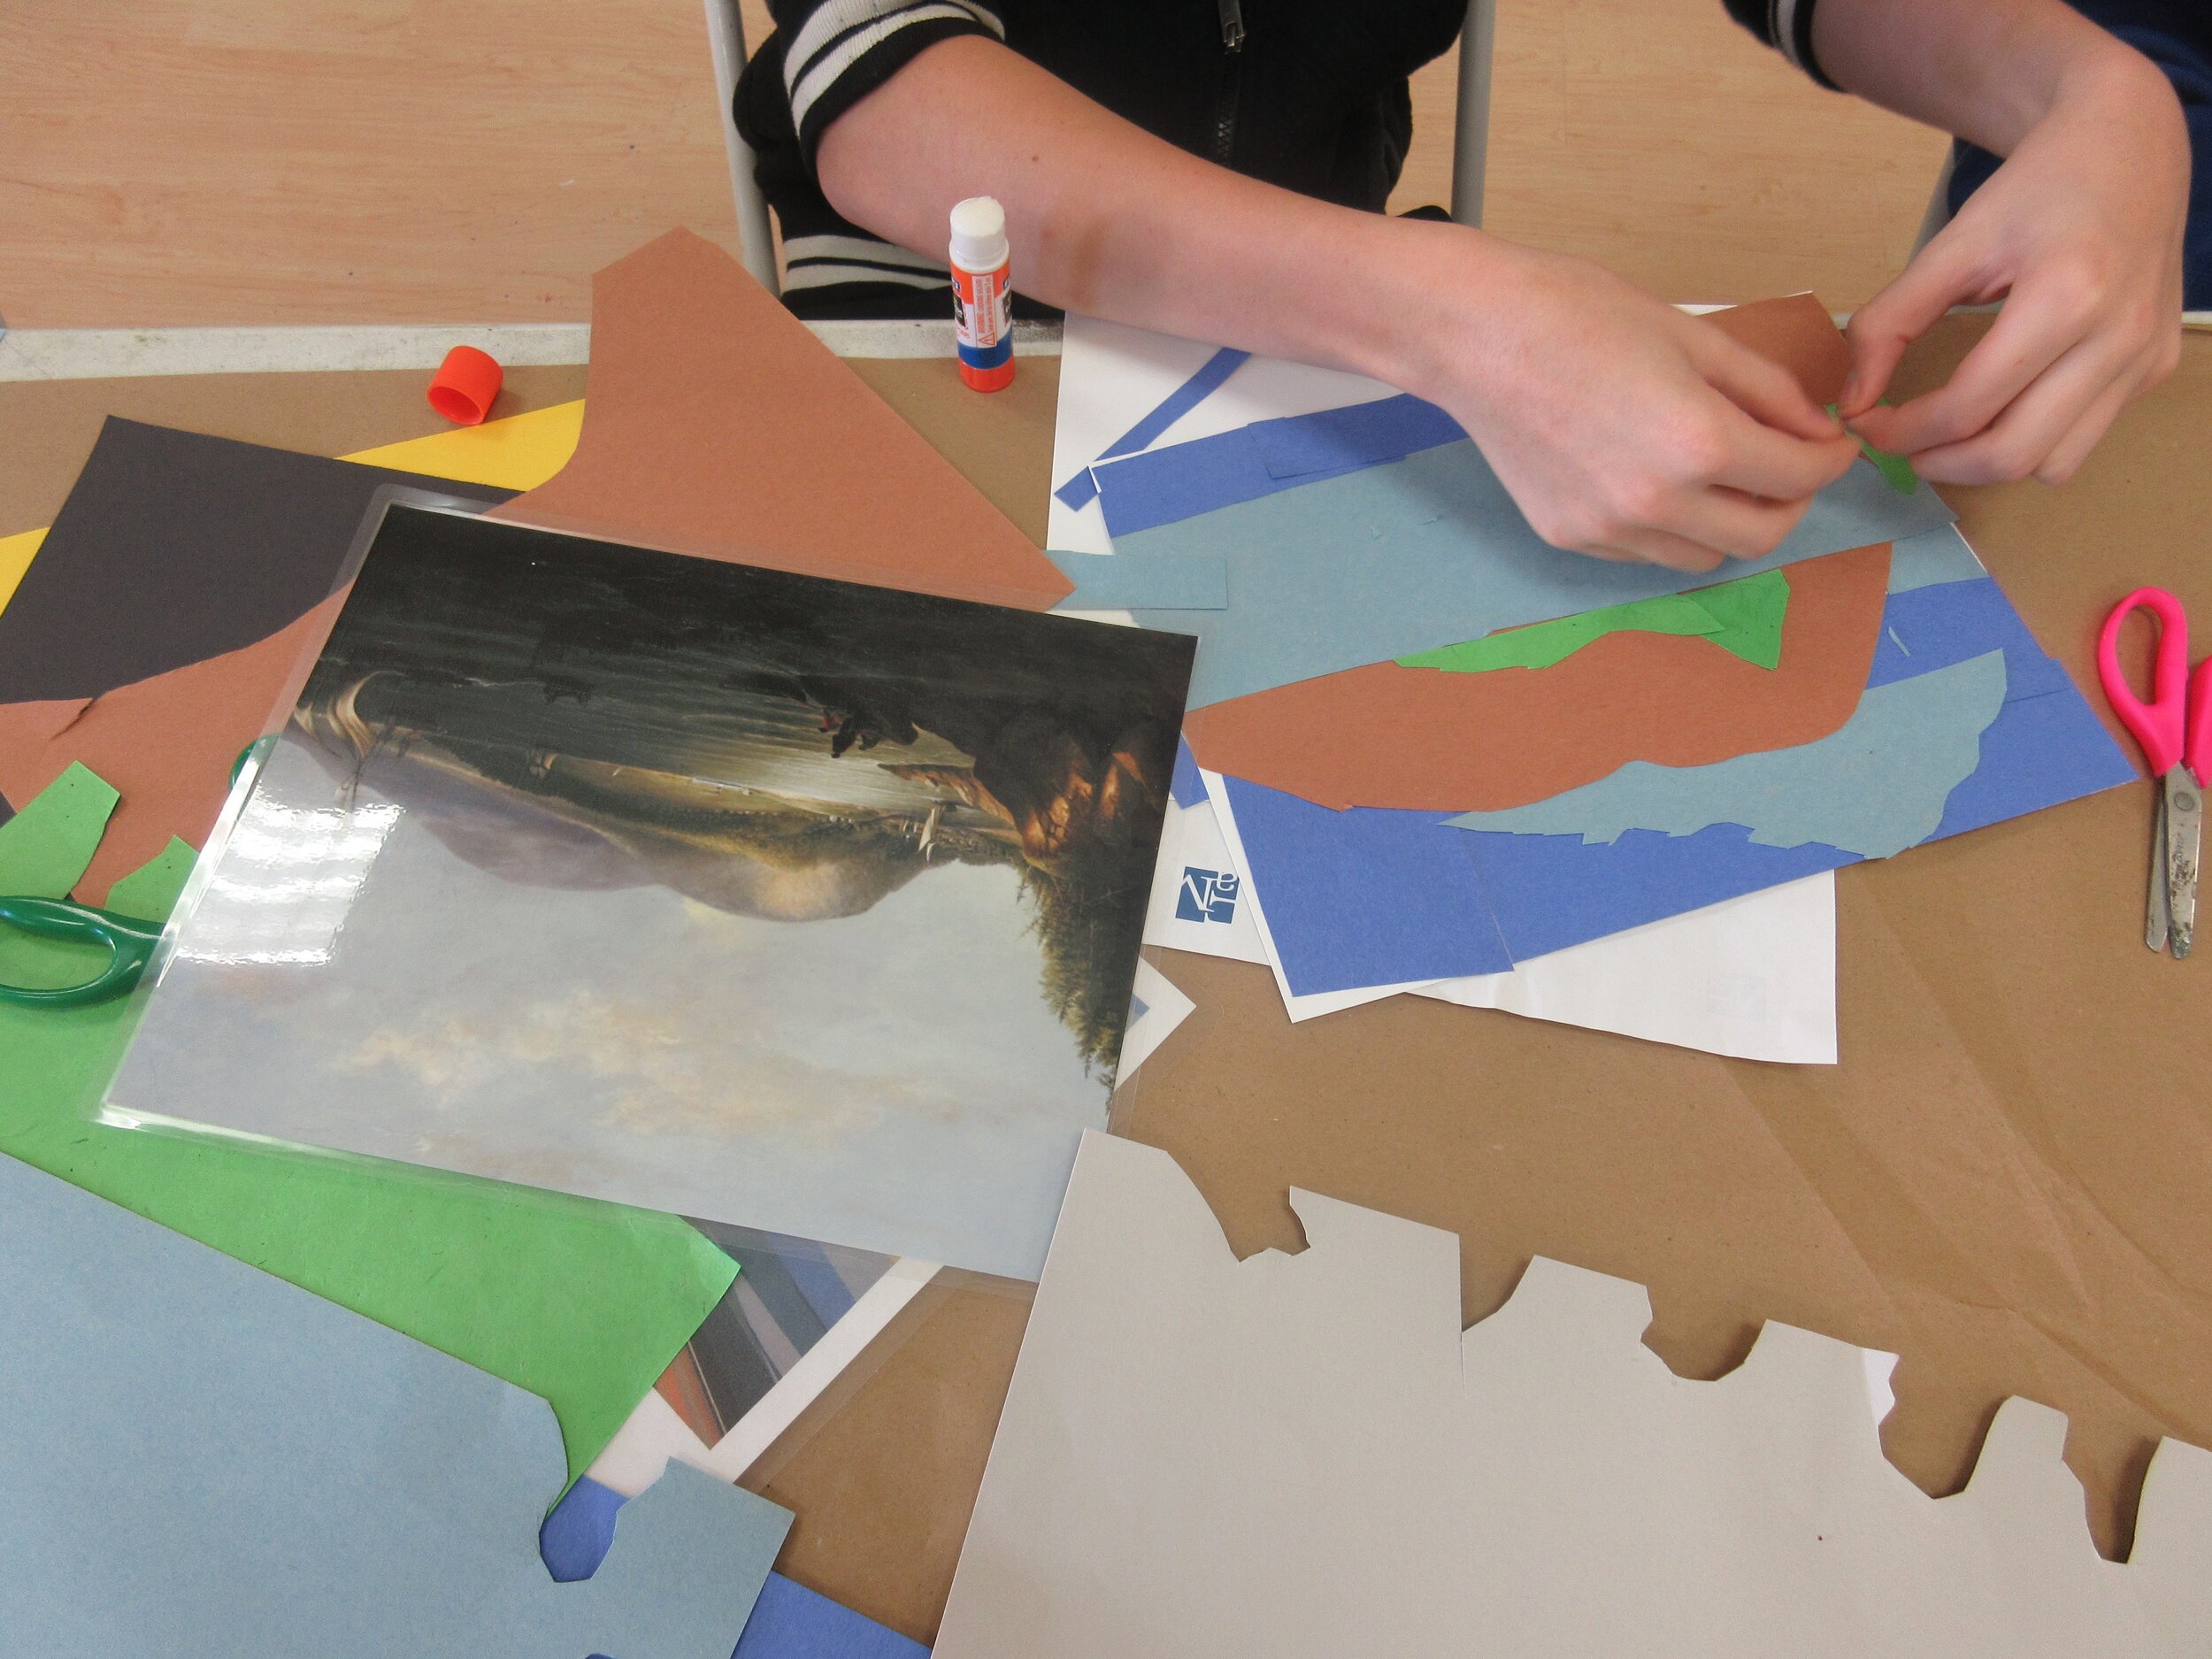
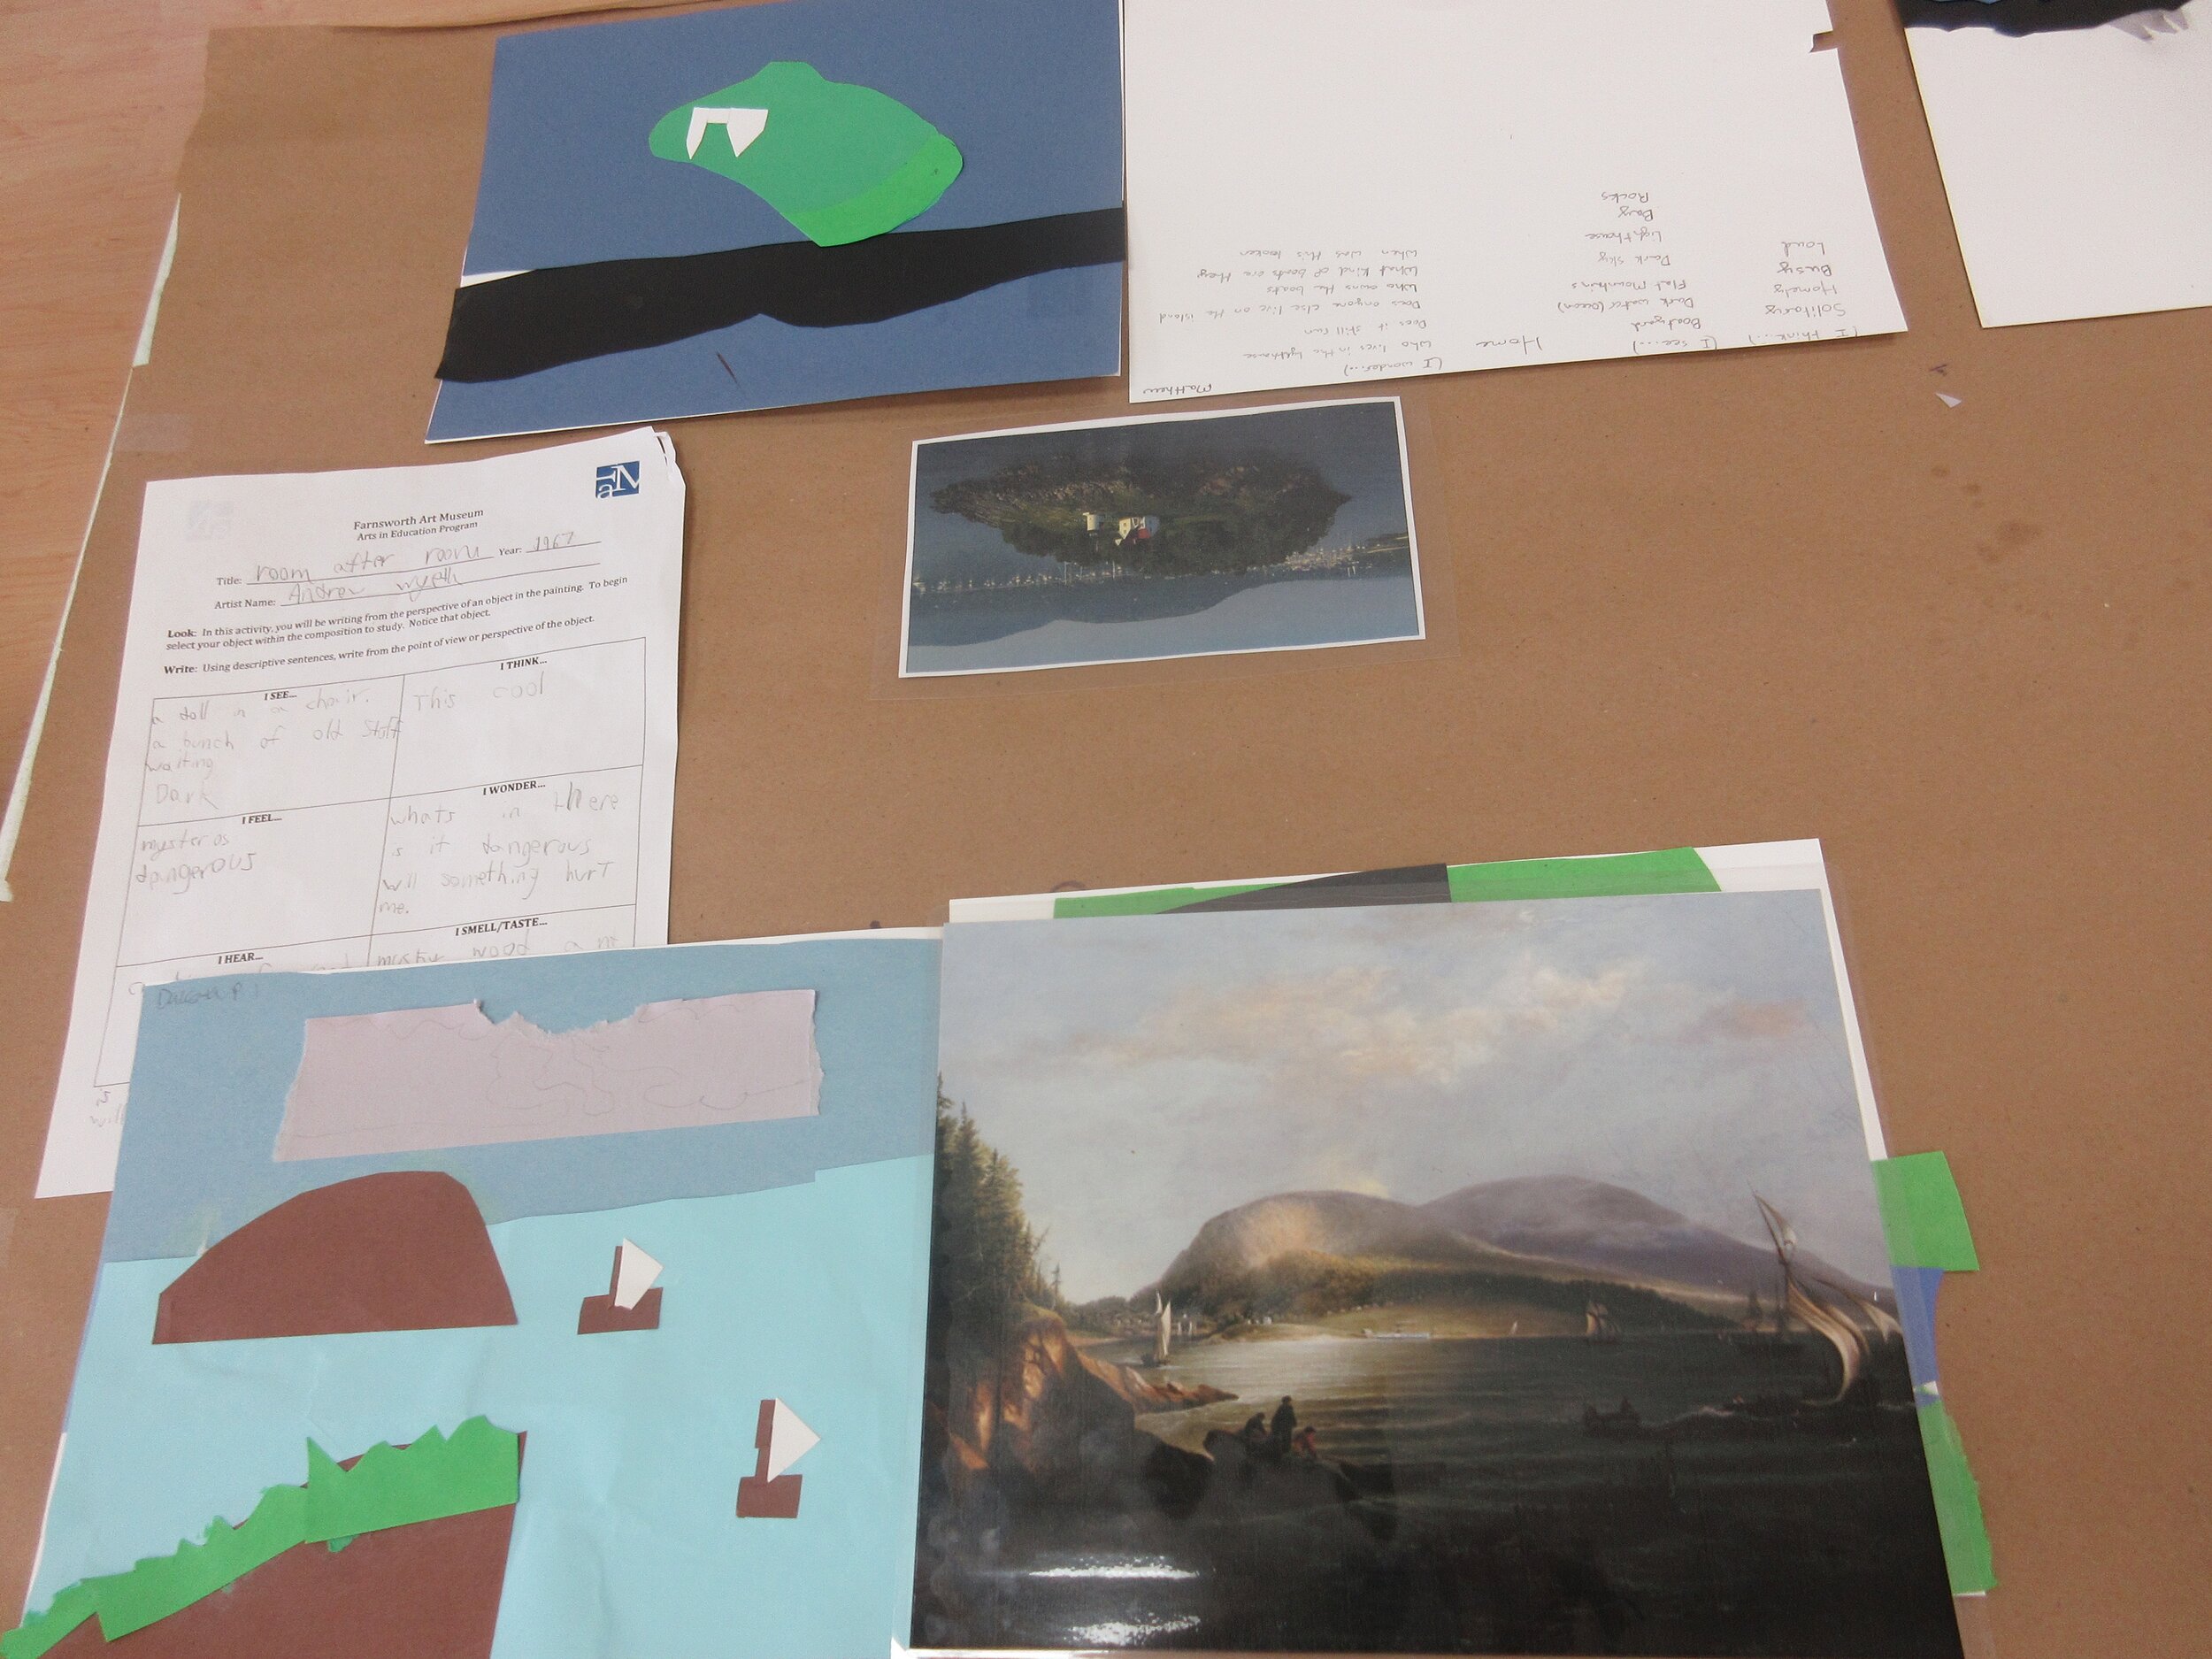
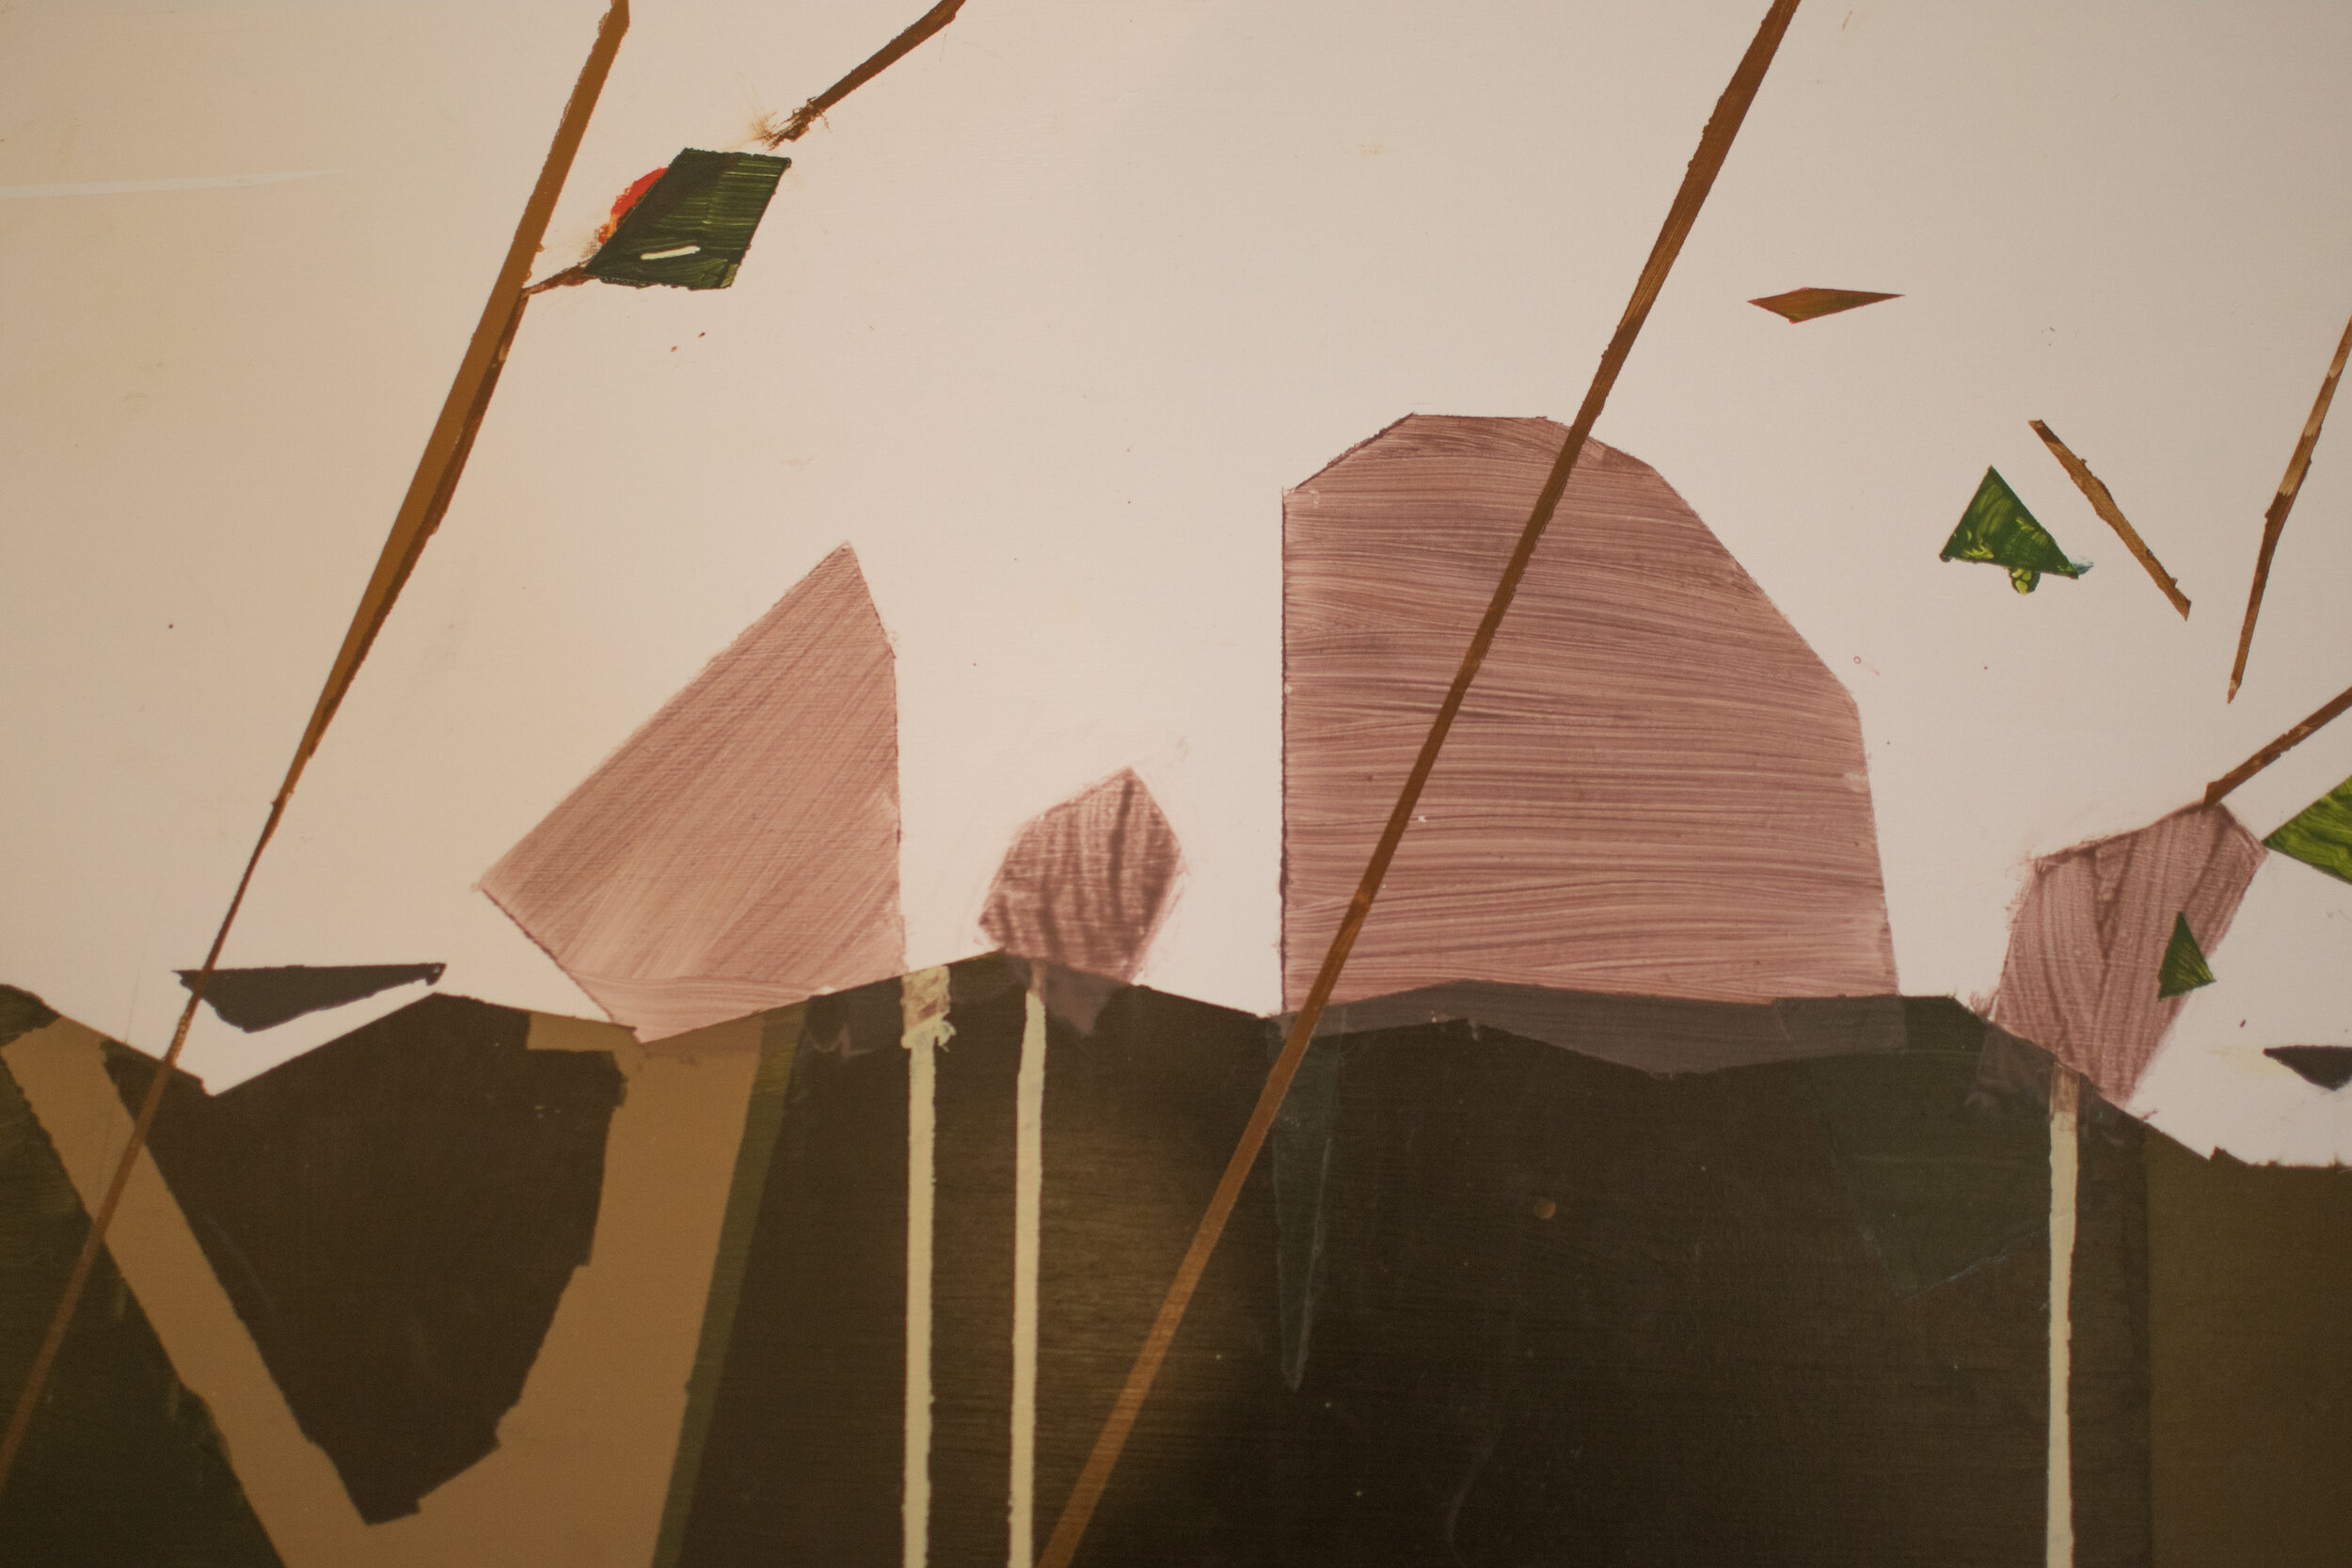
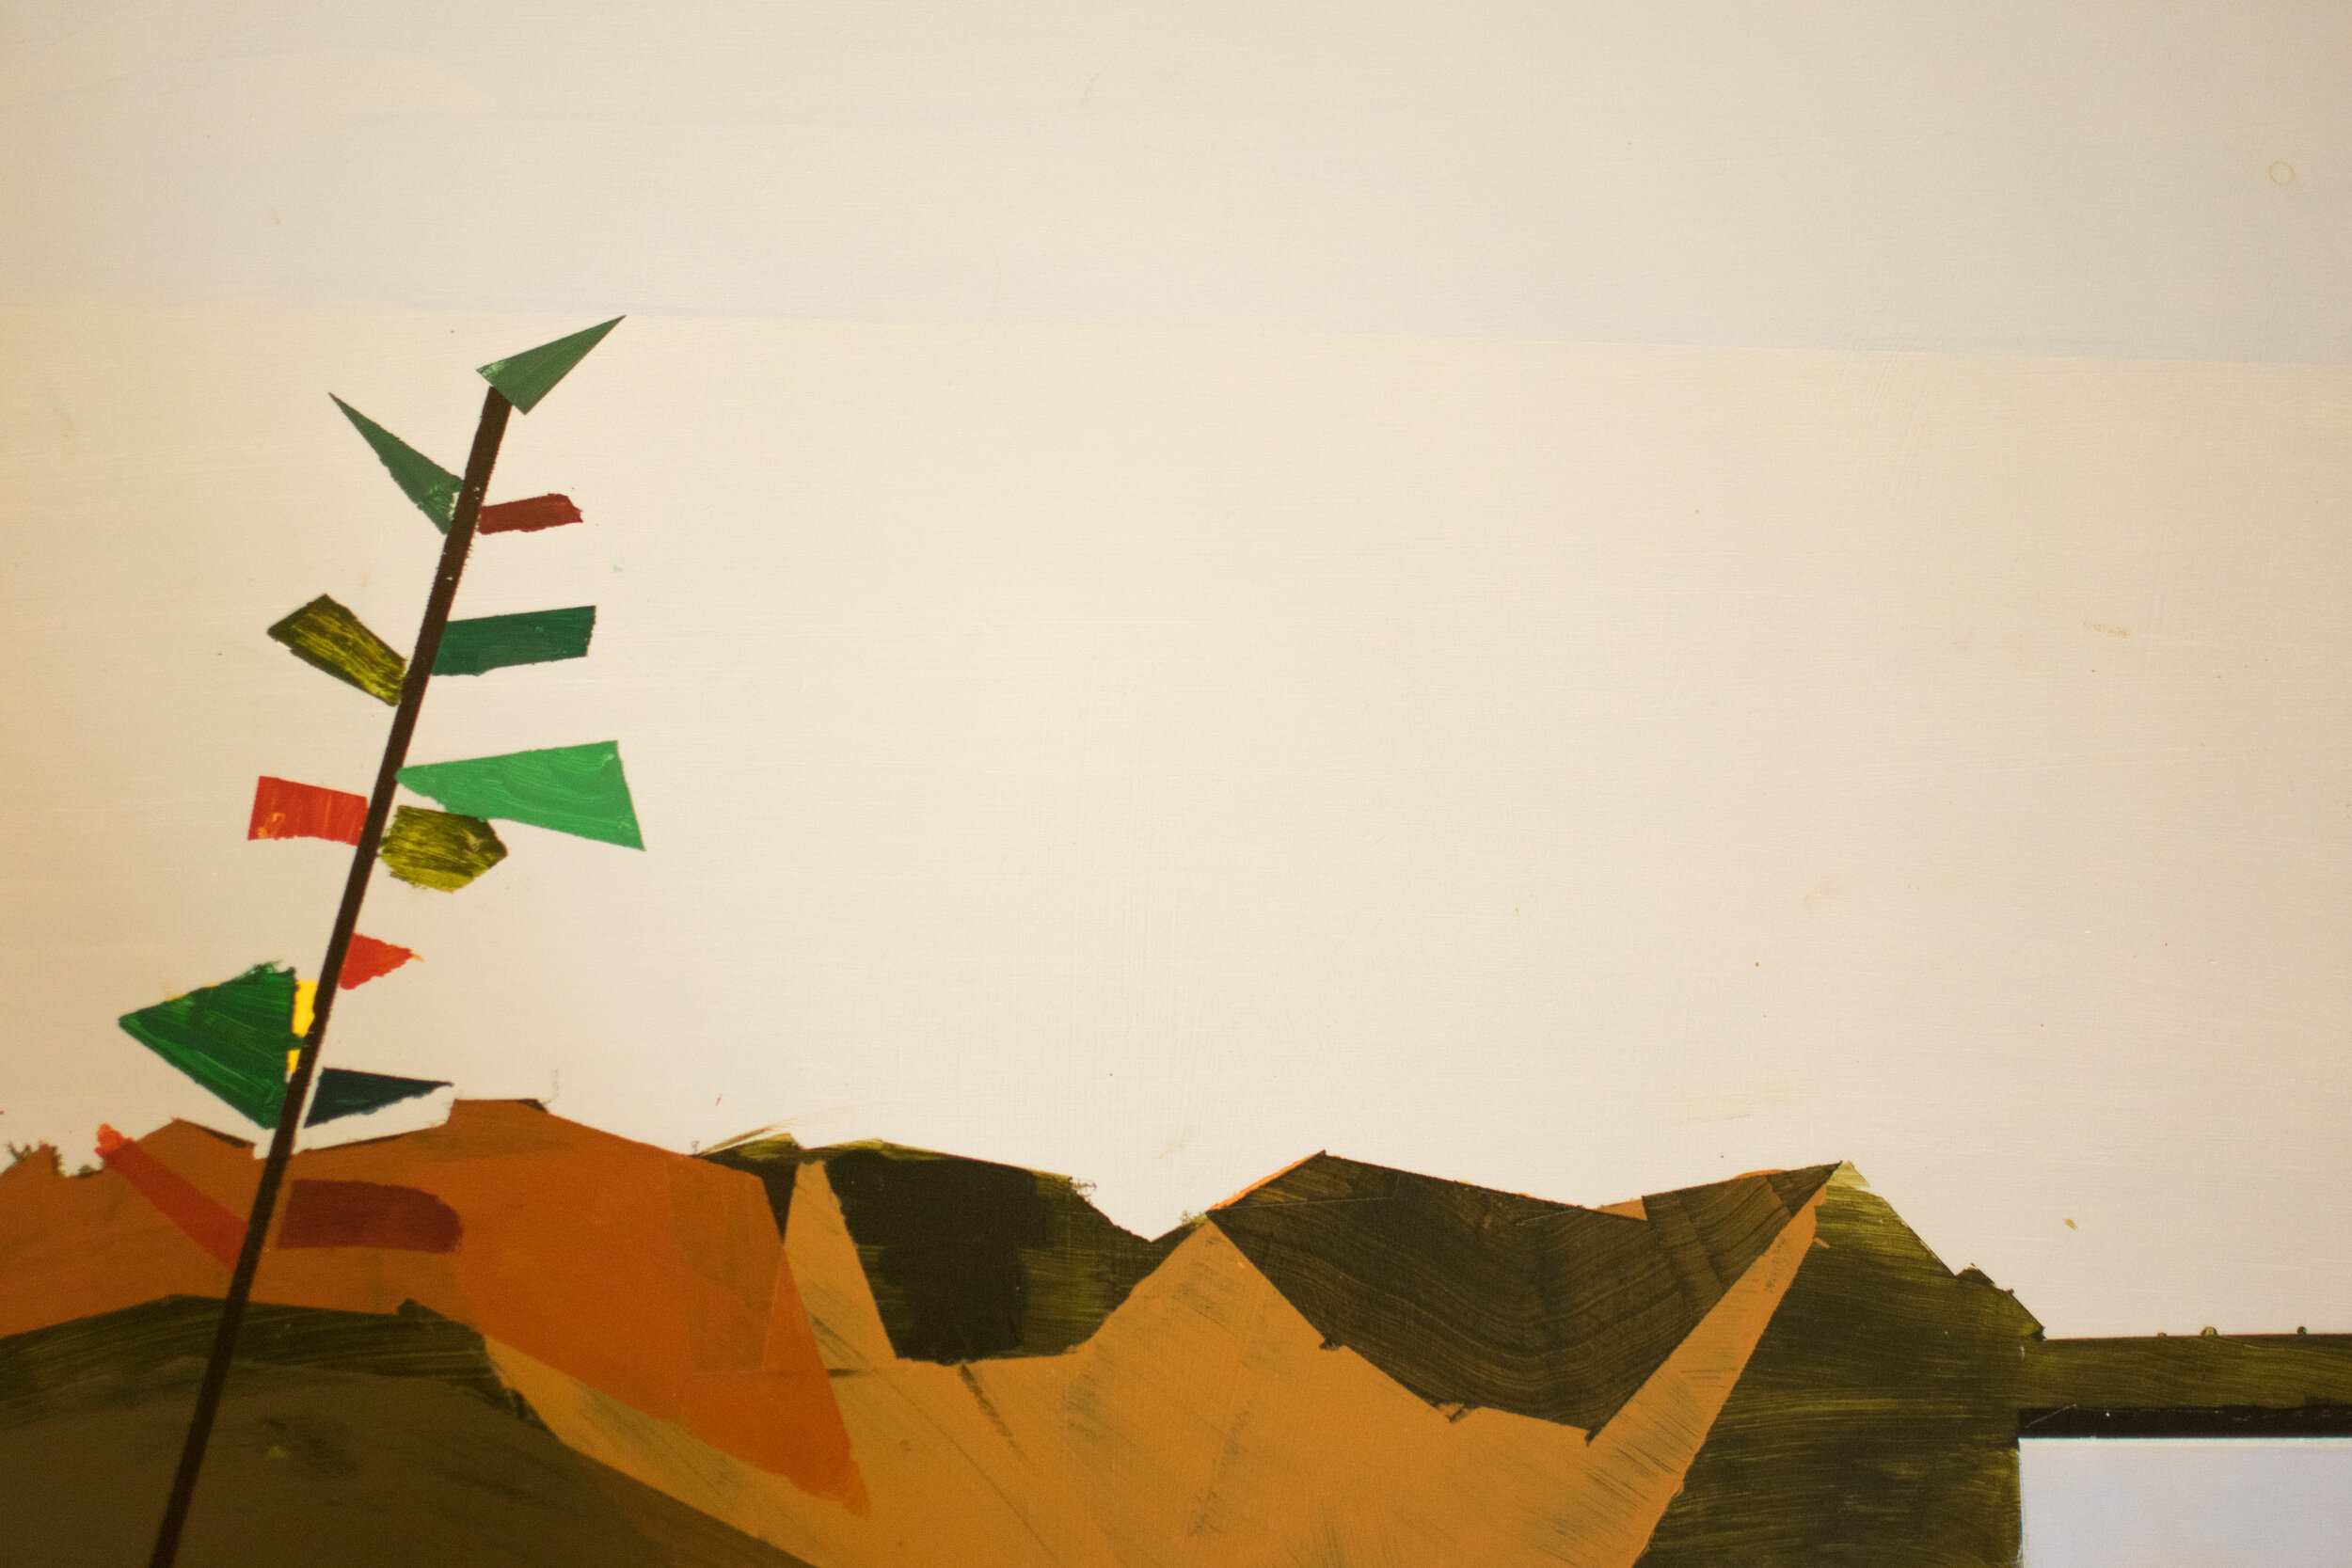
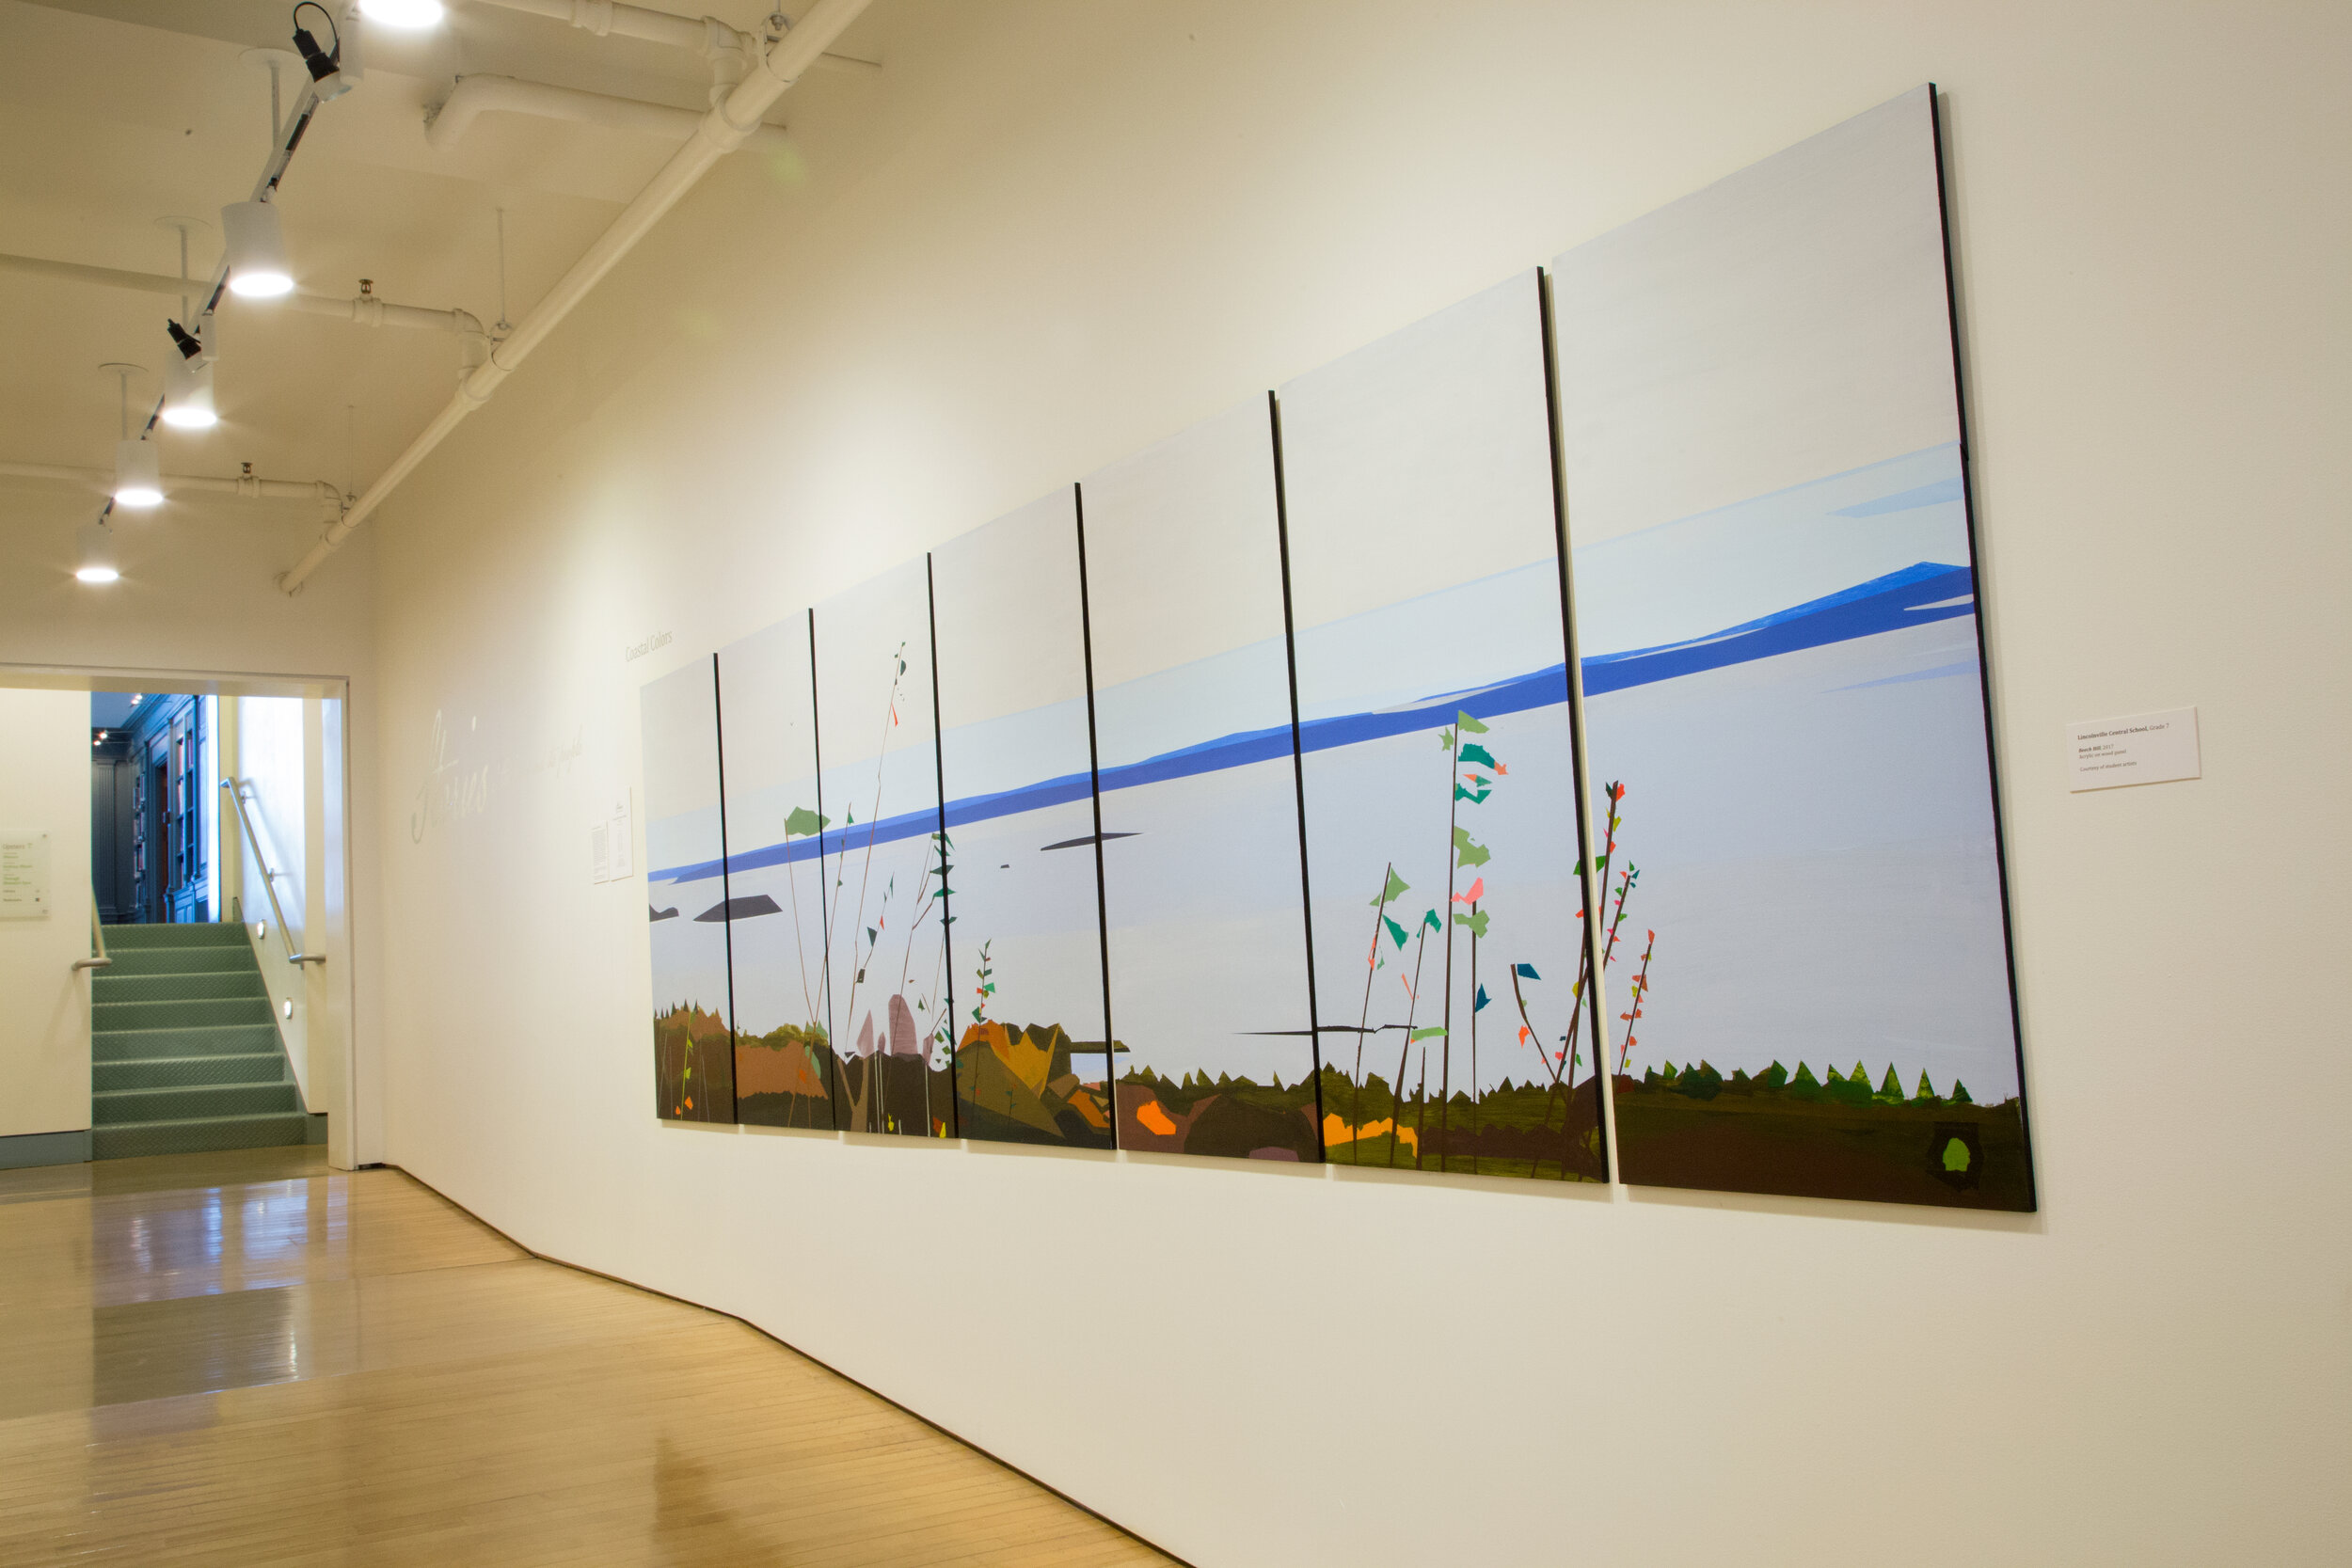
Notice: Notice colors and shapes in landscape works of art. How does a light source impact color? How many shades of color can you identify? Compare what you notice about size and scale of shapes in the foreground and background. What is the perspective or vantage point of this landscape?
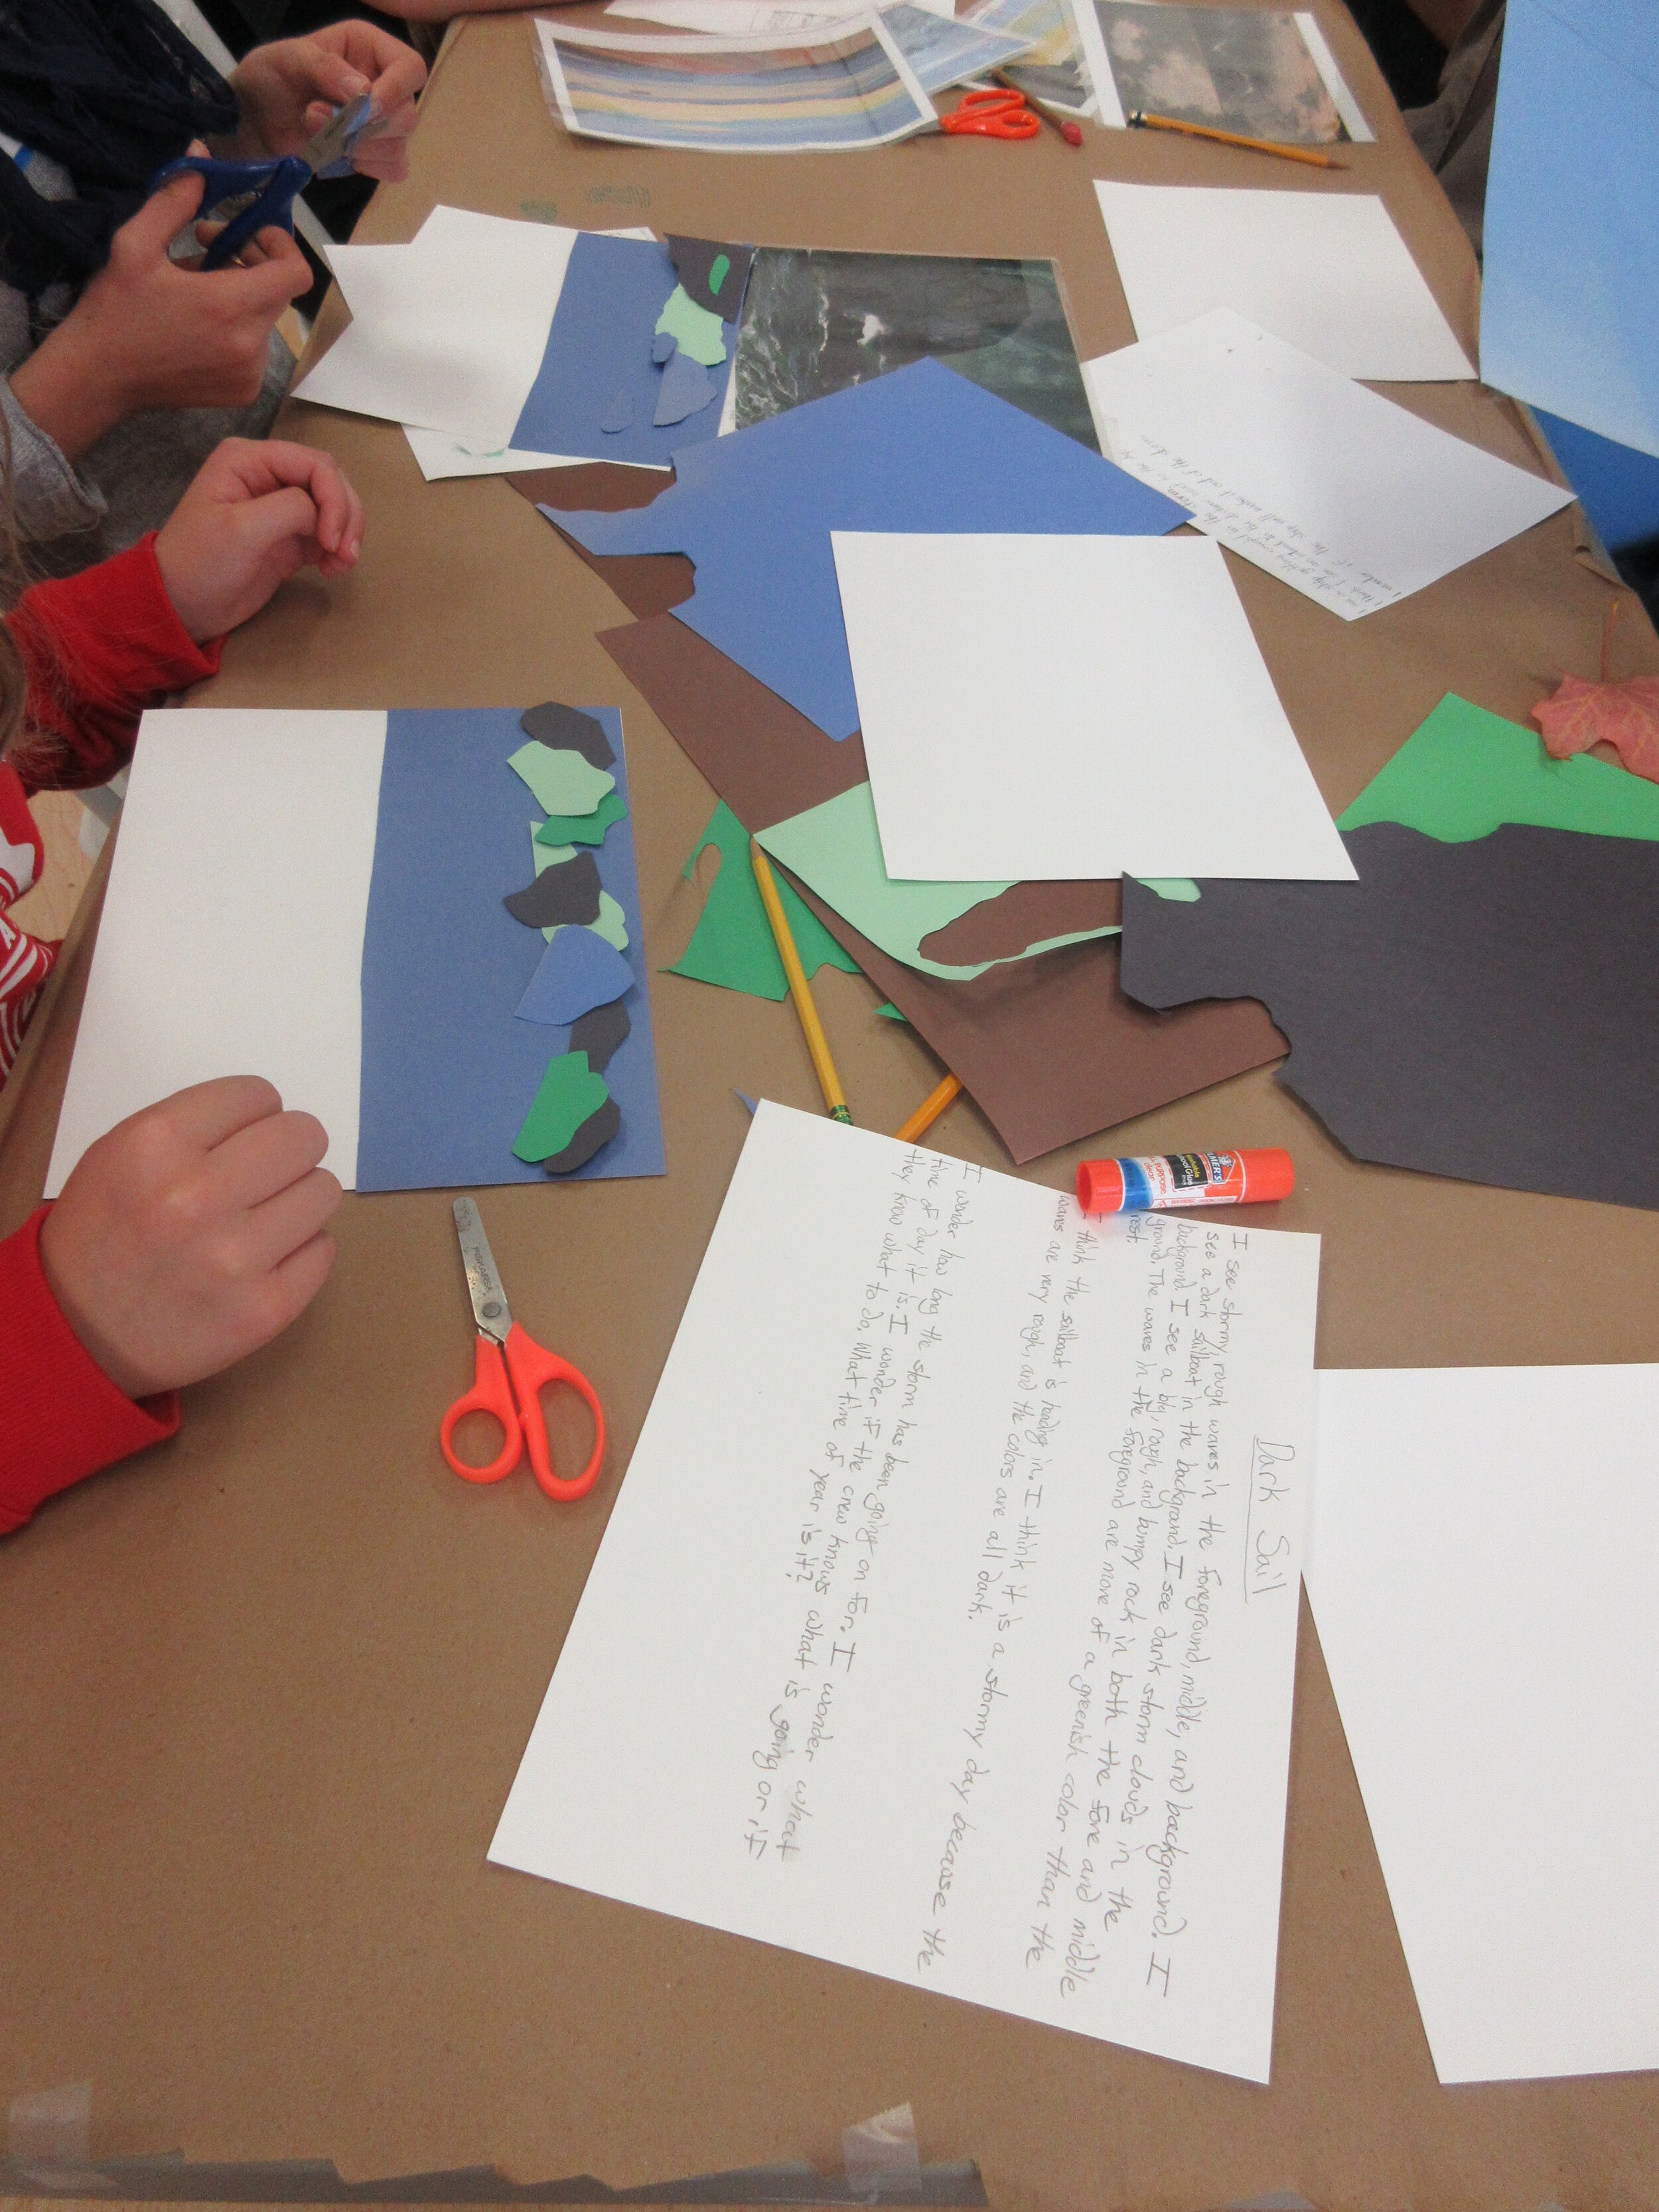
Notice: Use describing words to journal how you feel looking at the work of art. What is the mood? Consider your senses as you list your observations. Create a sensory poem to accompany the painting.
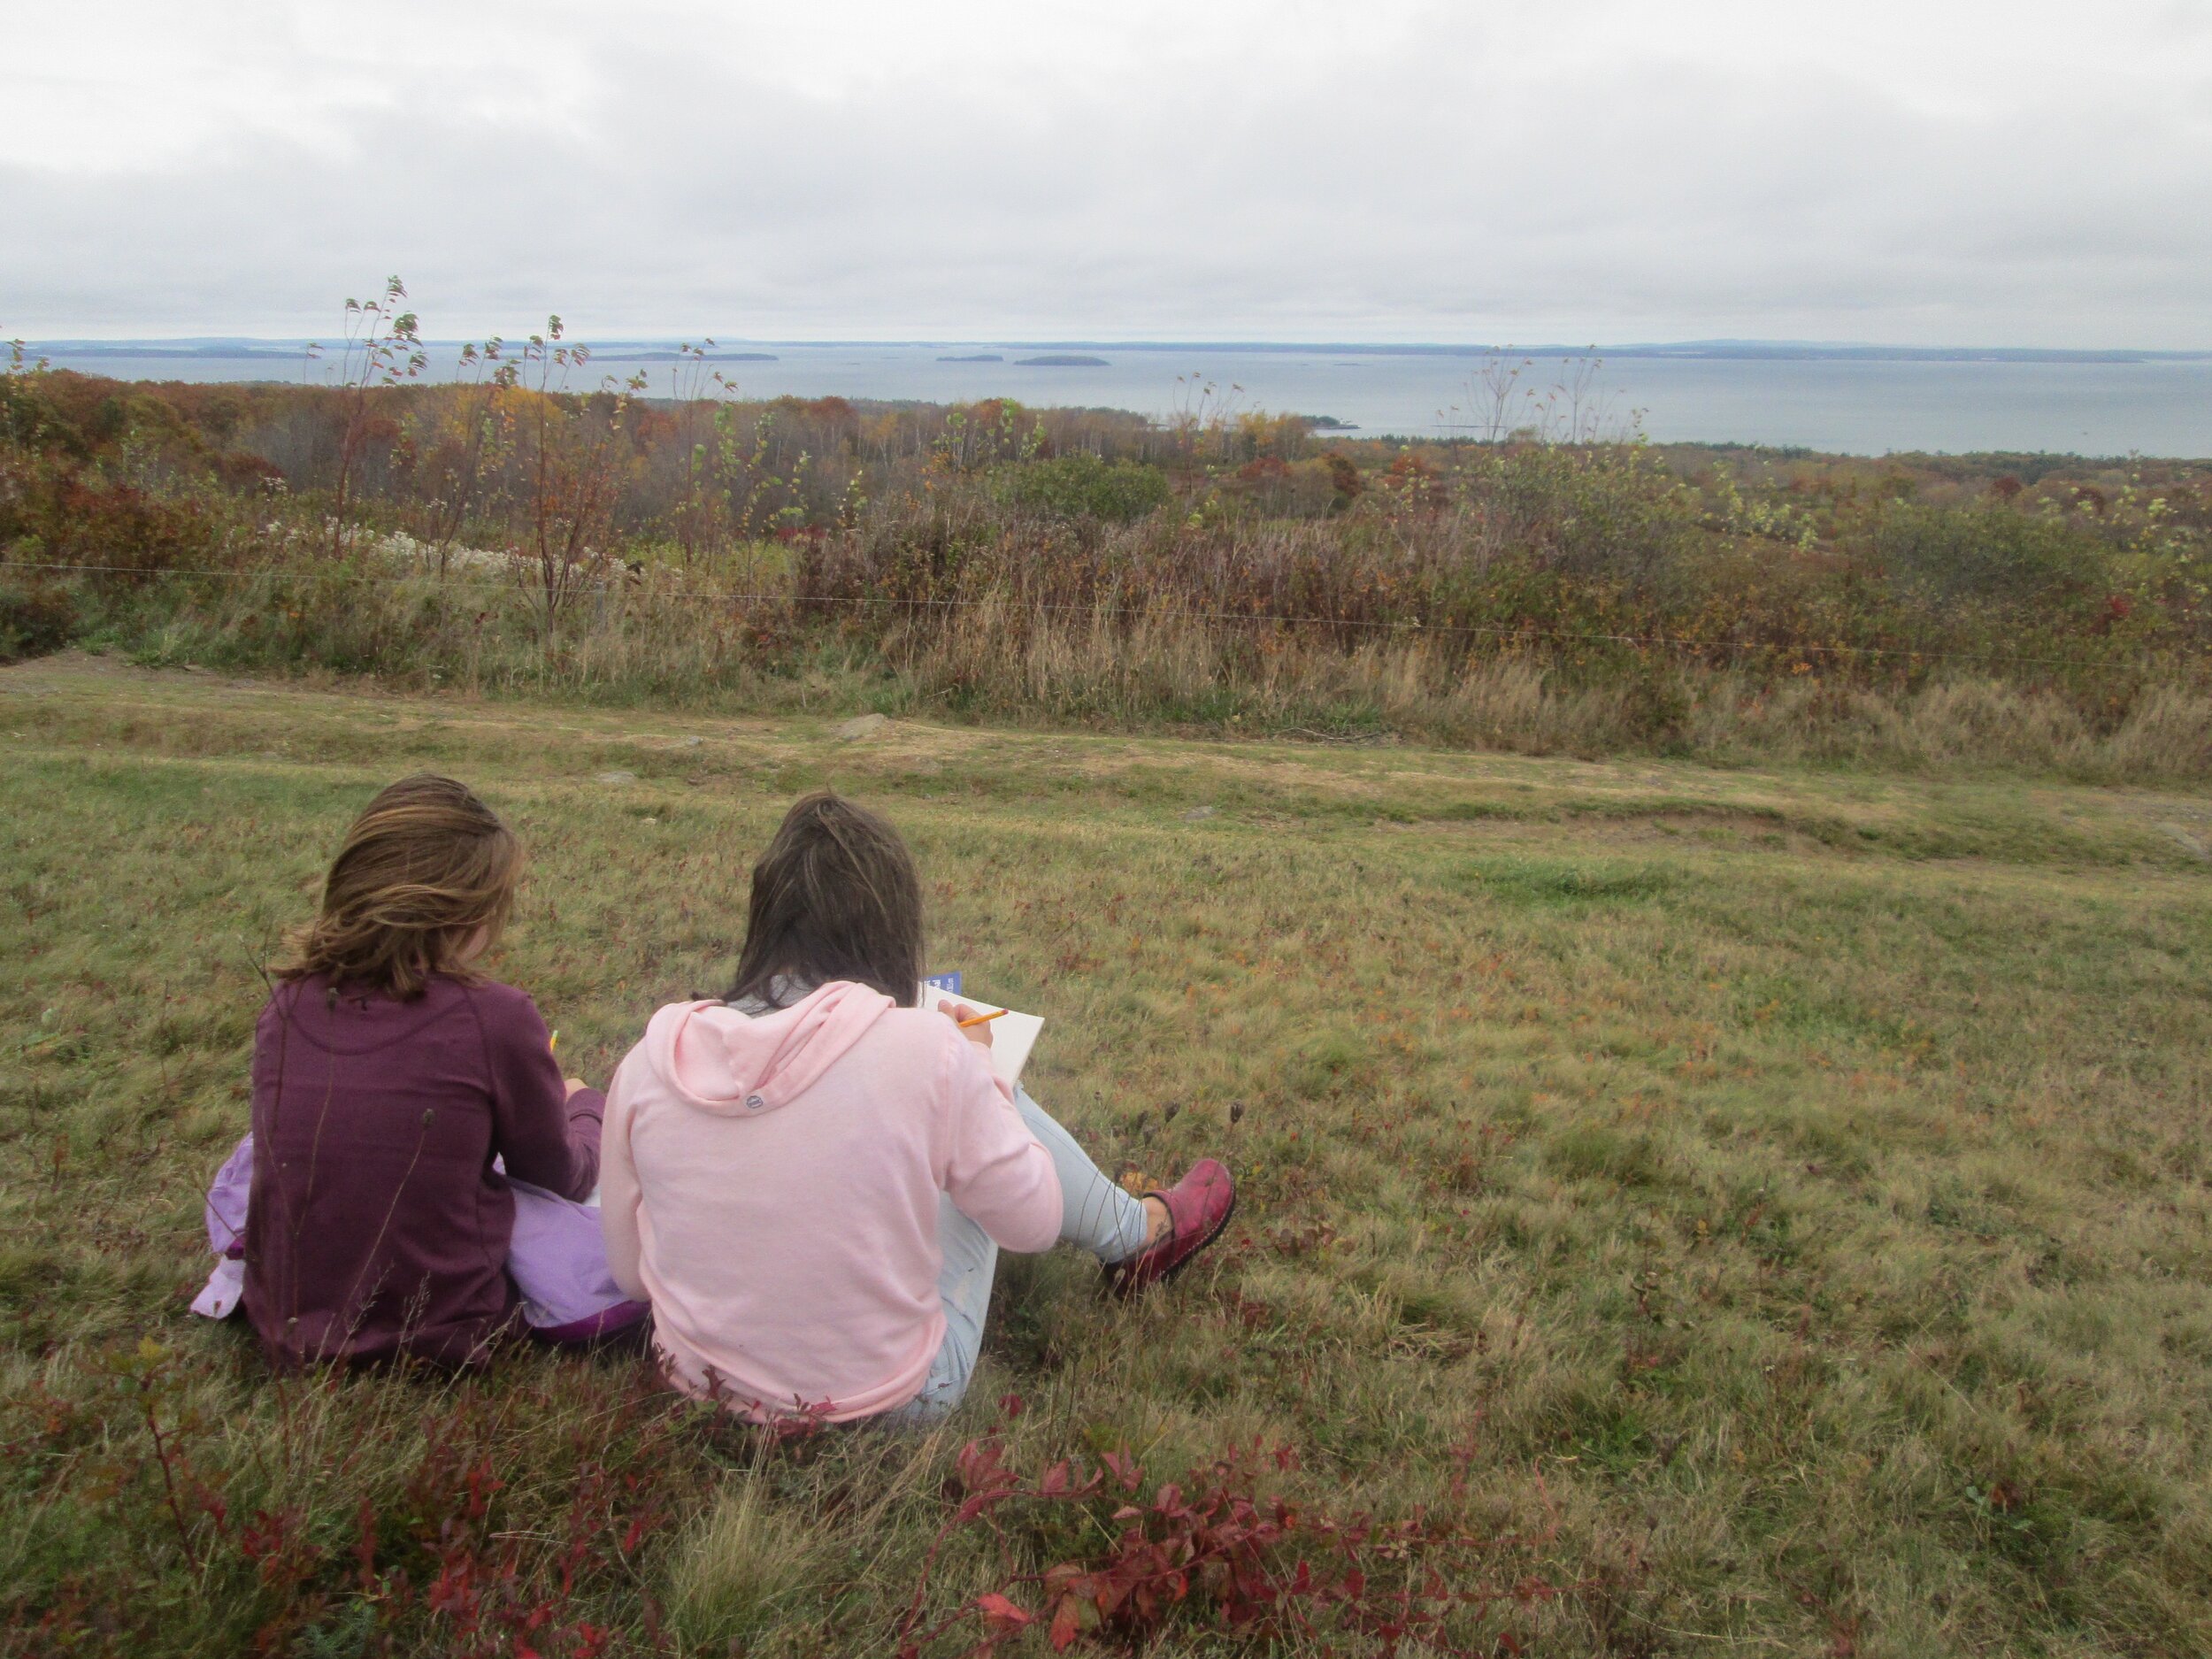
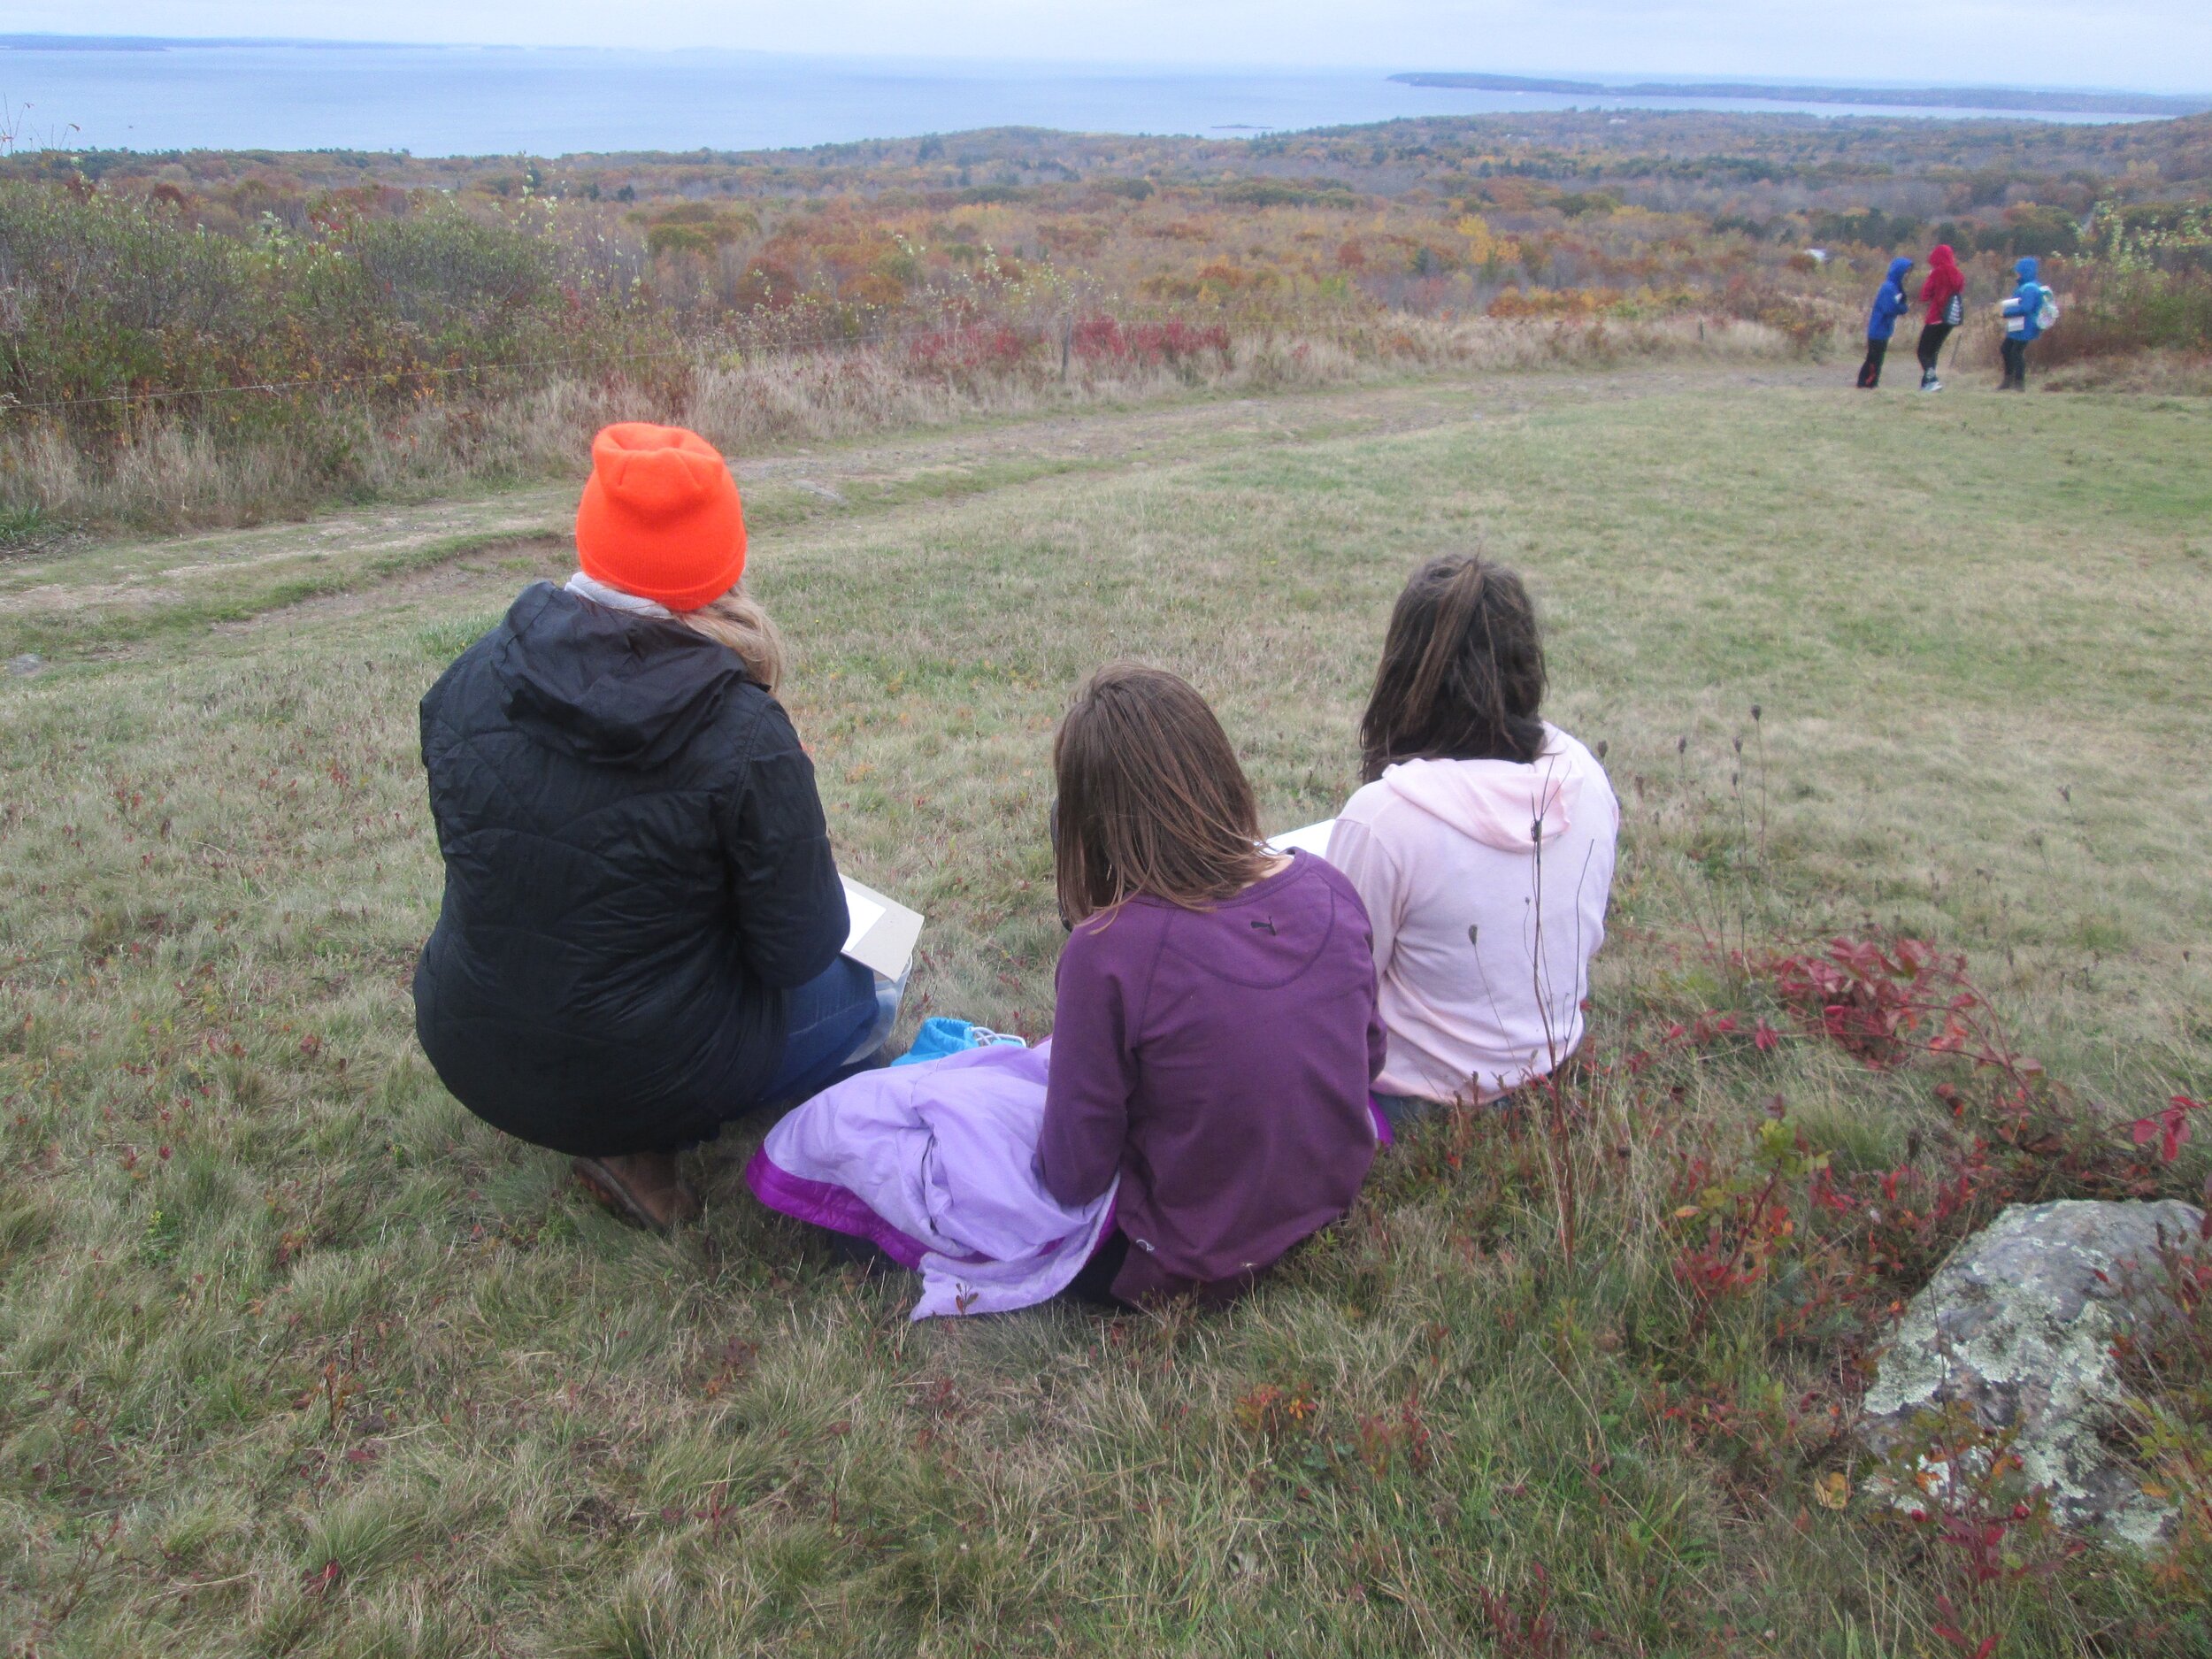
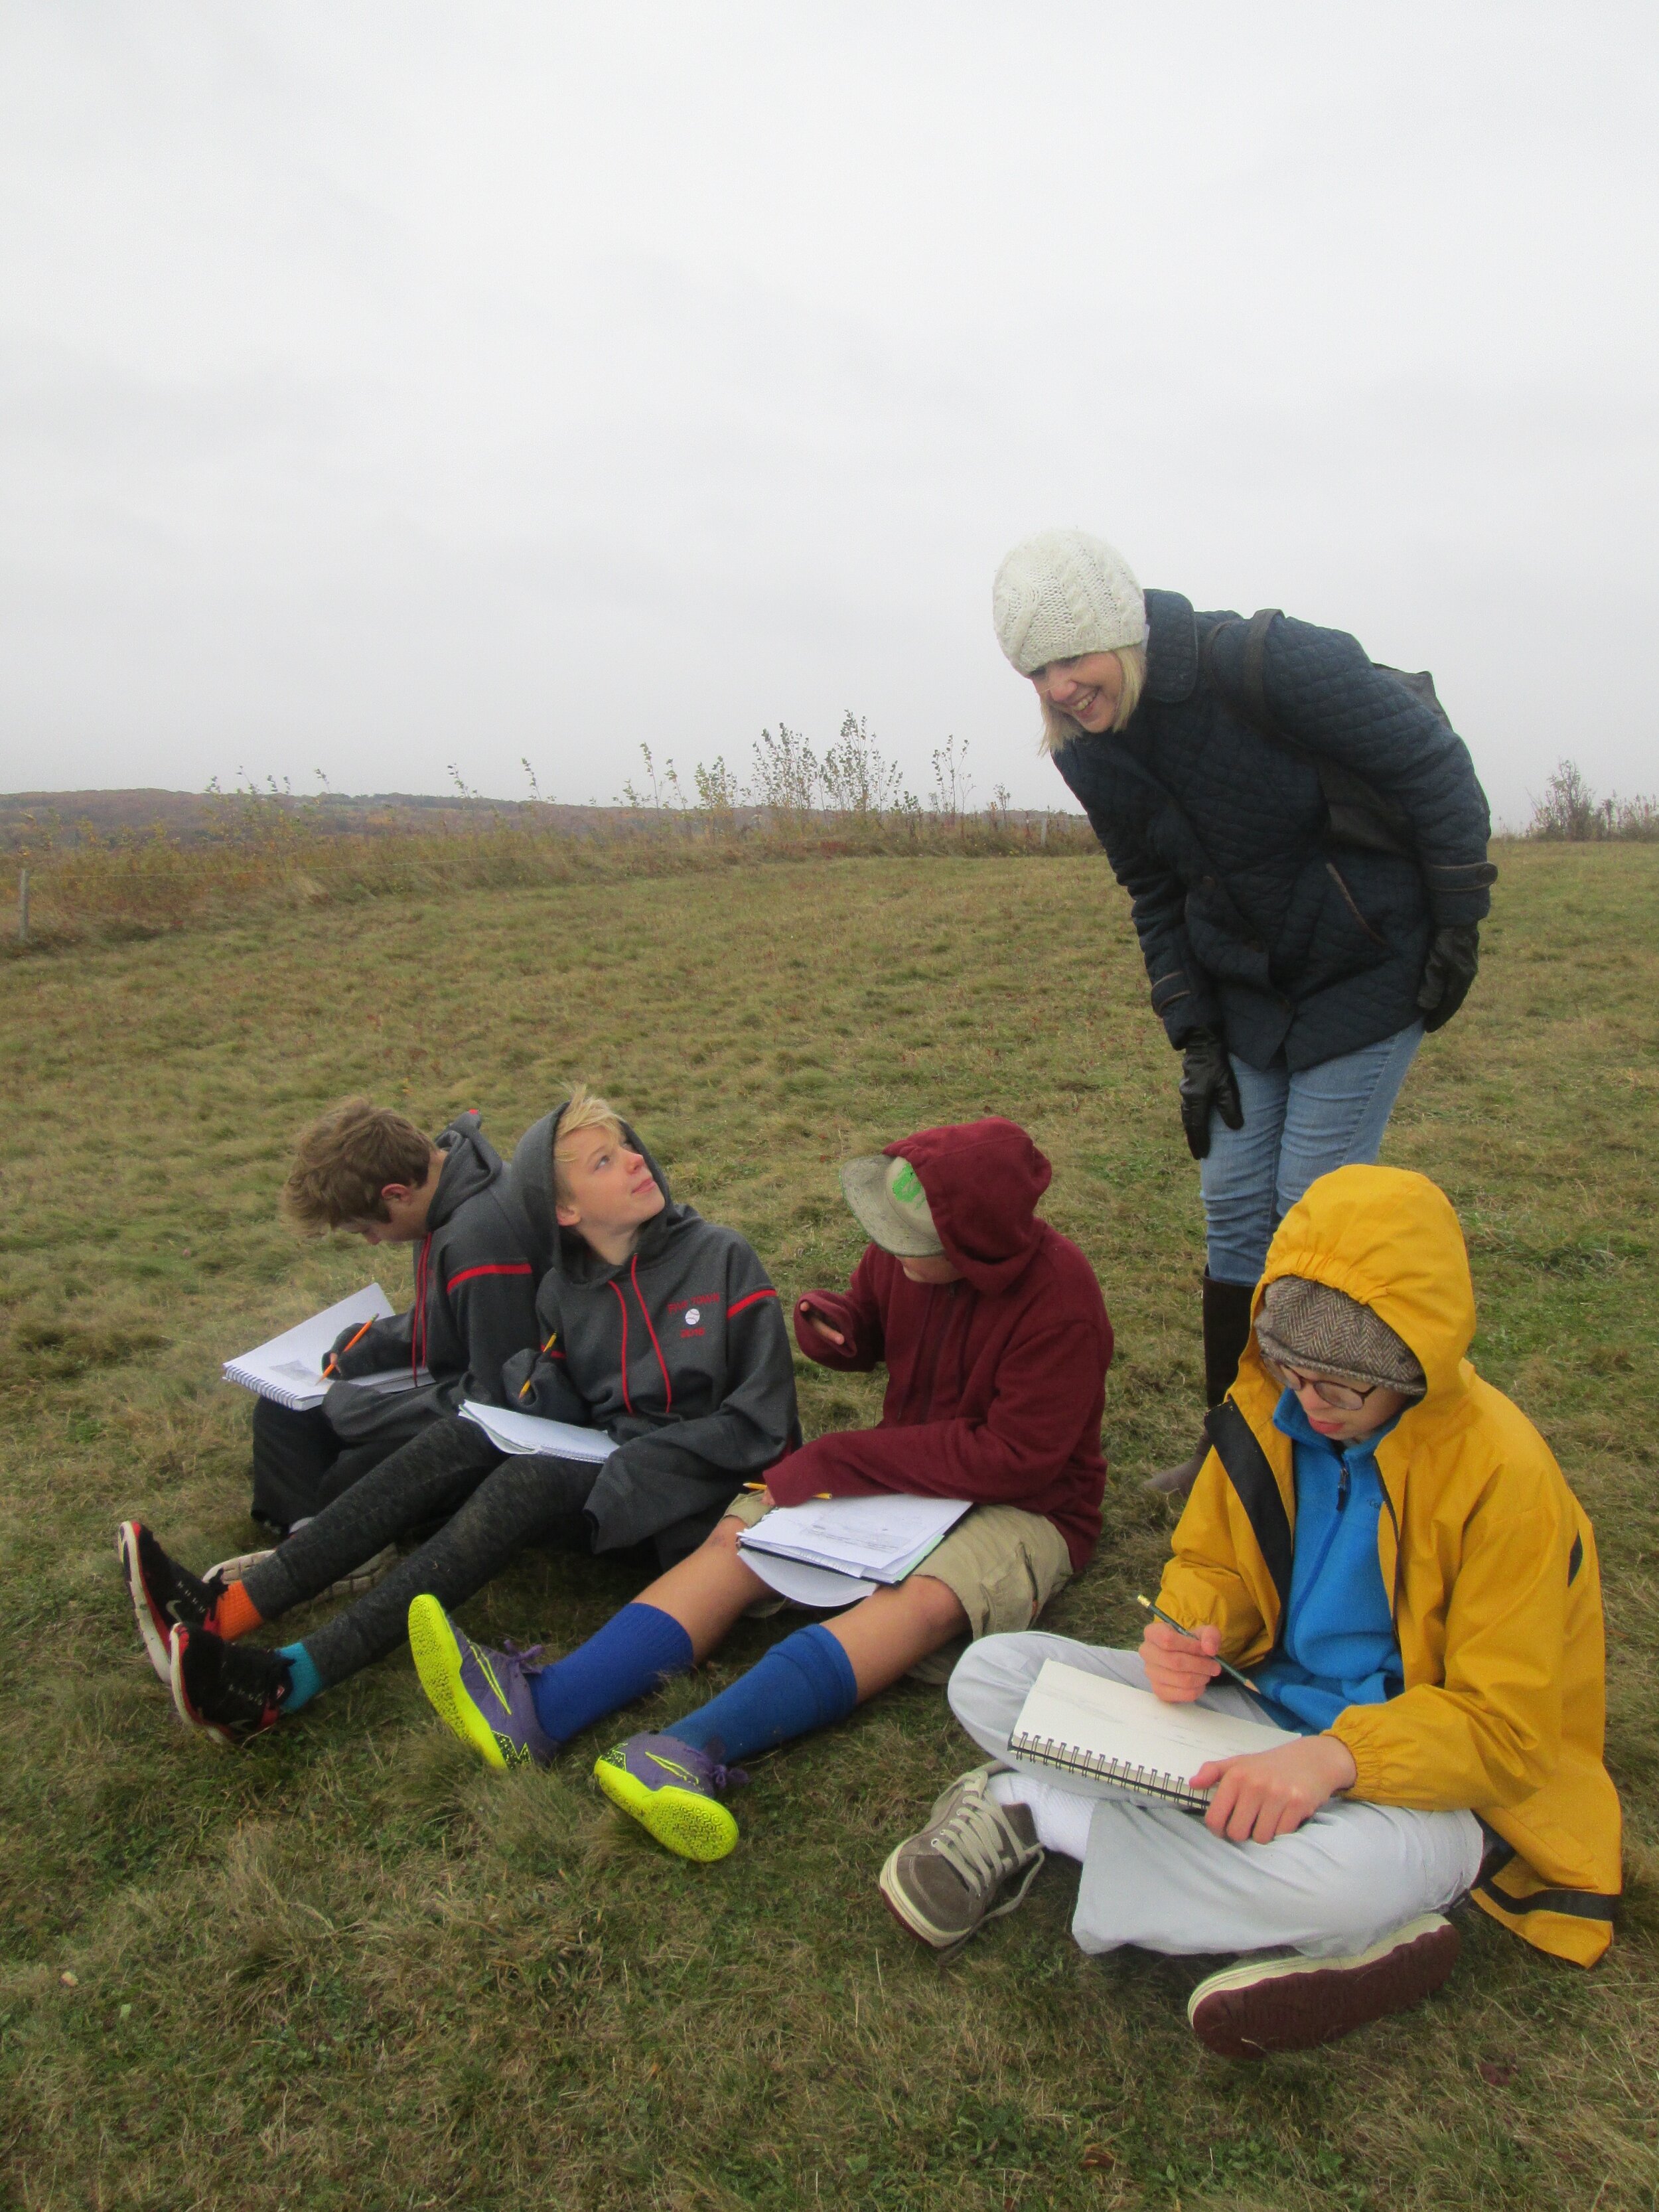
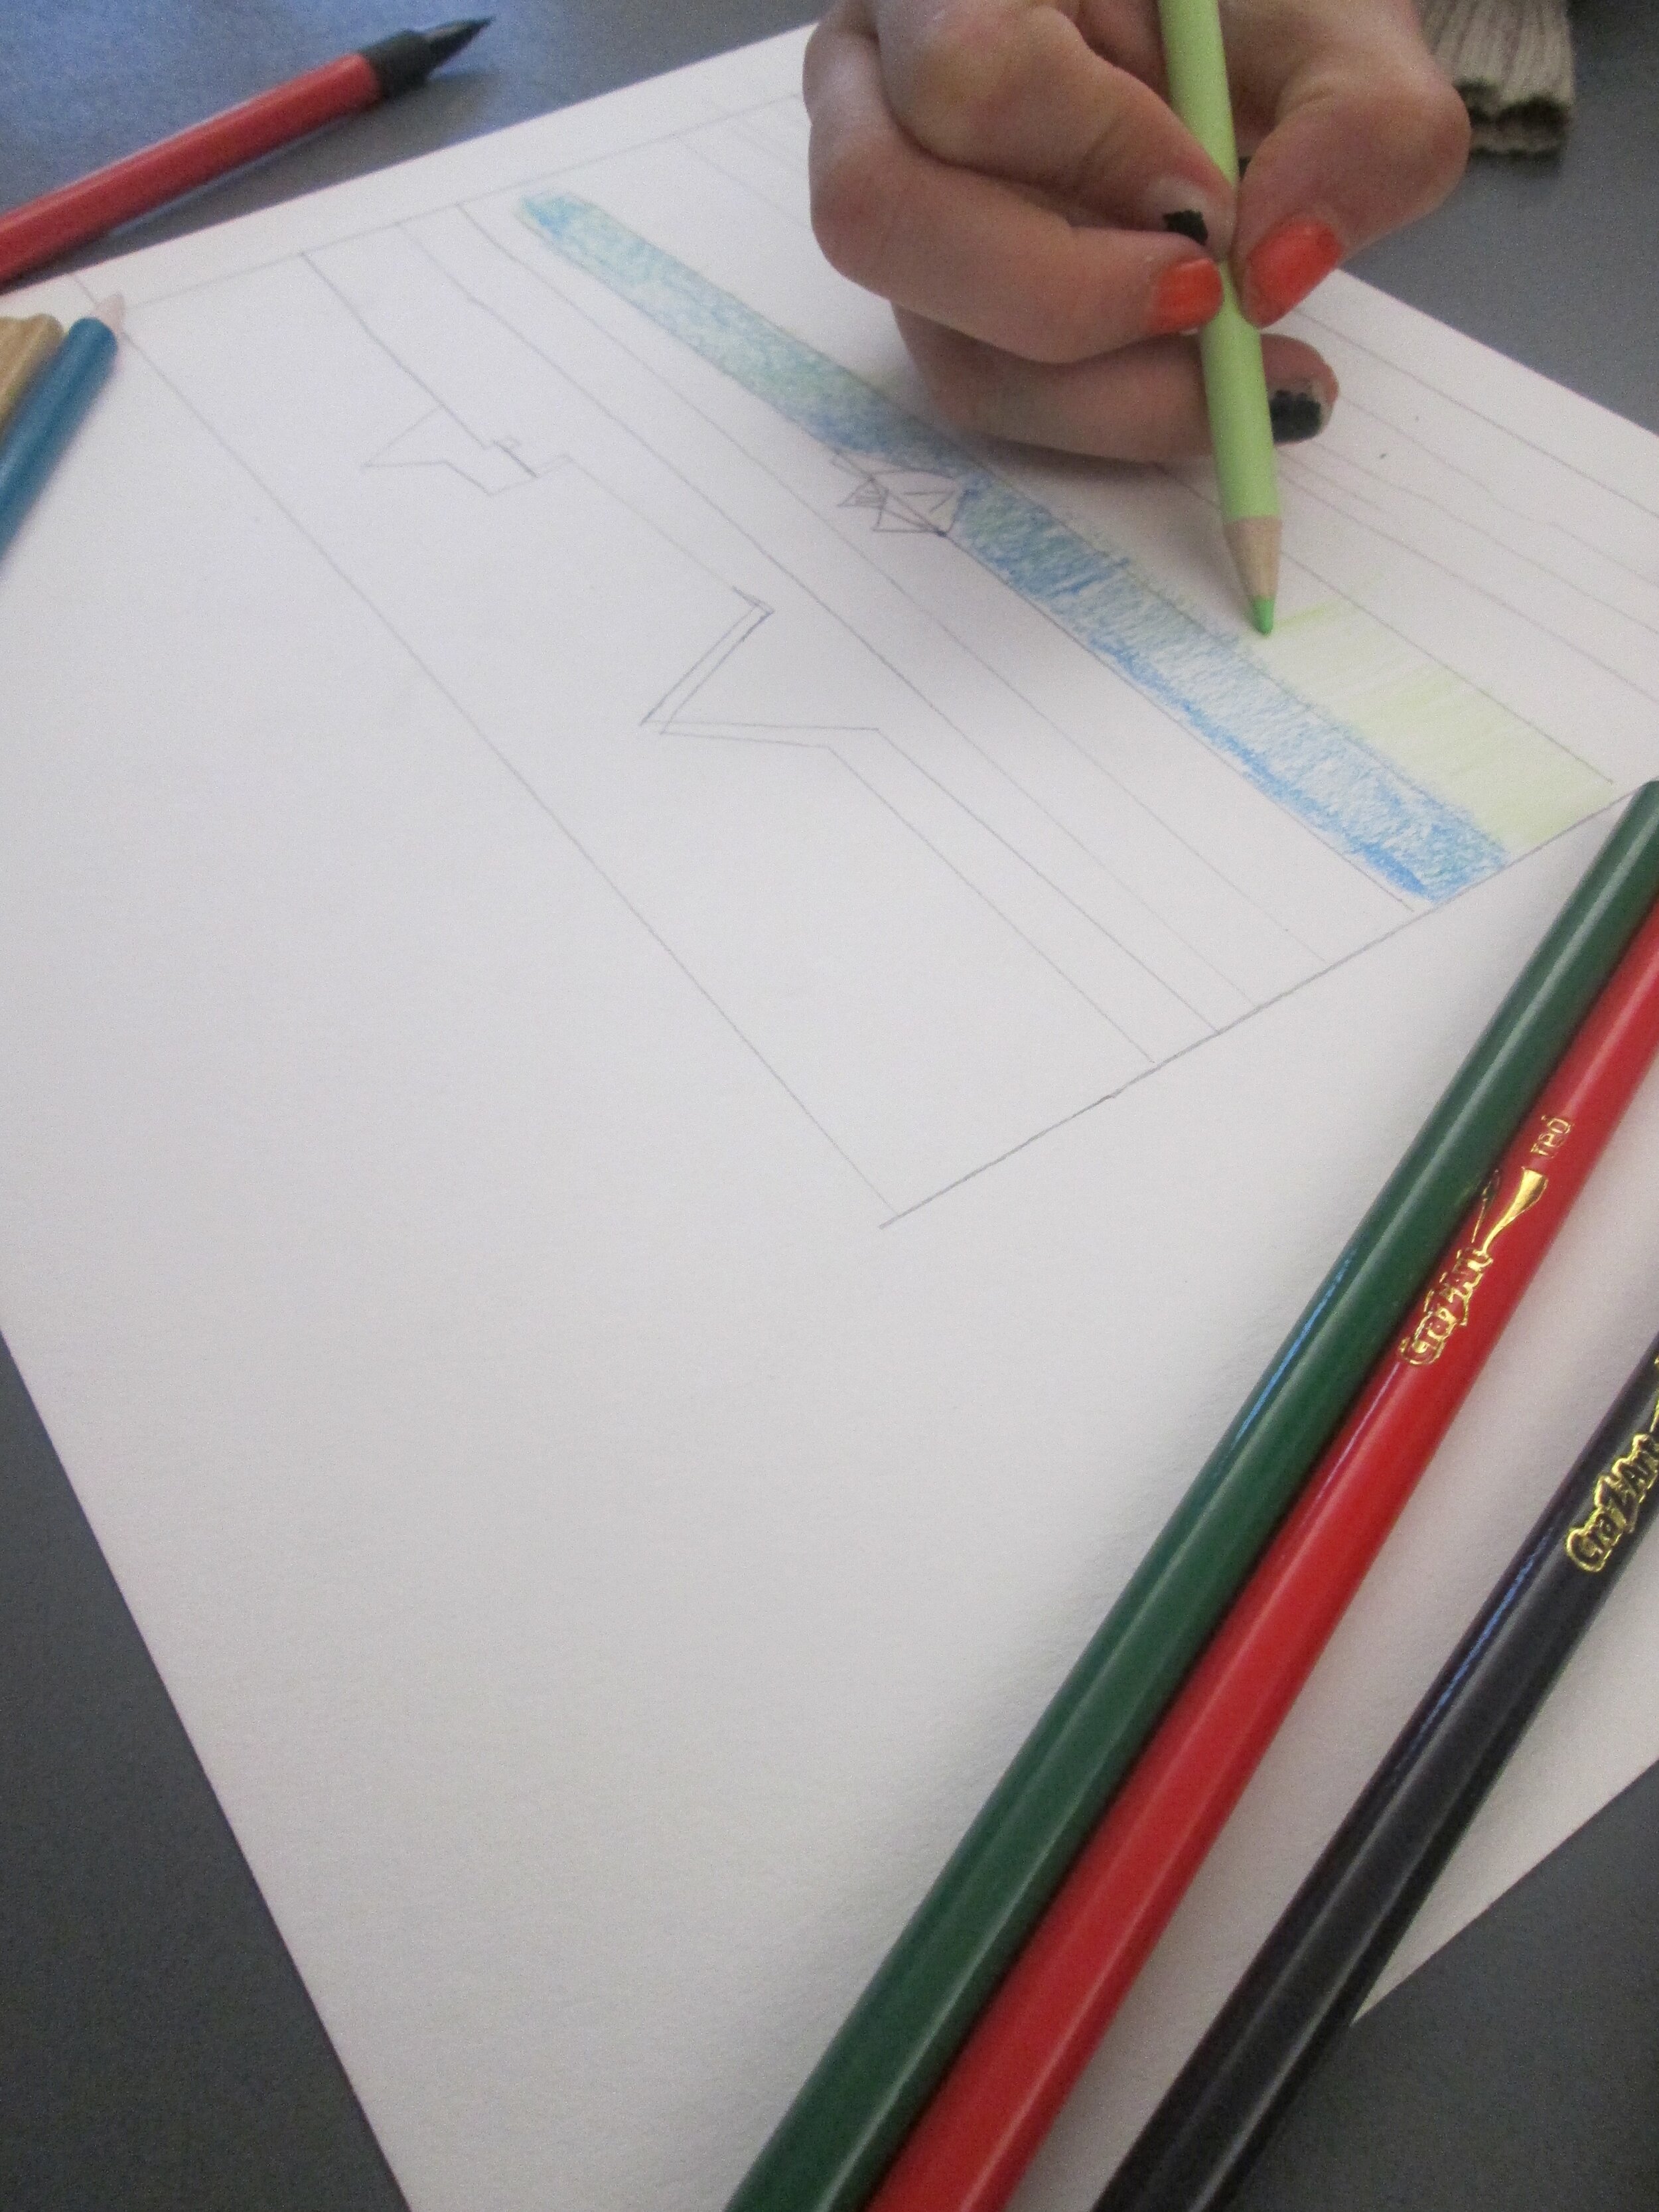
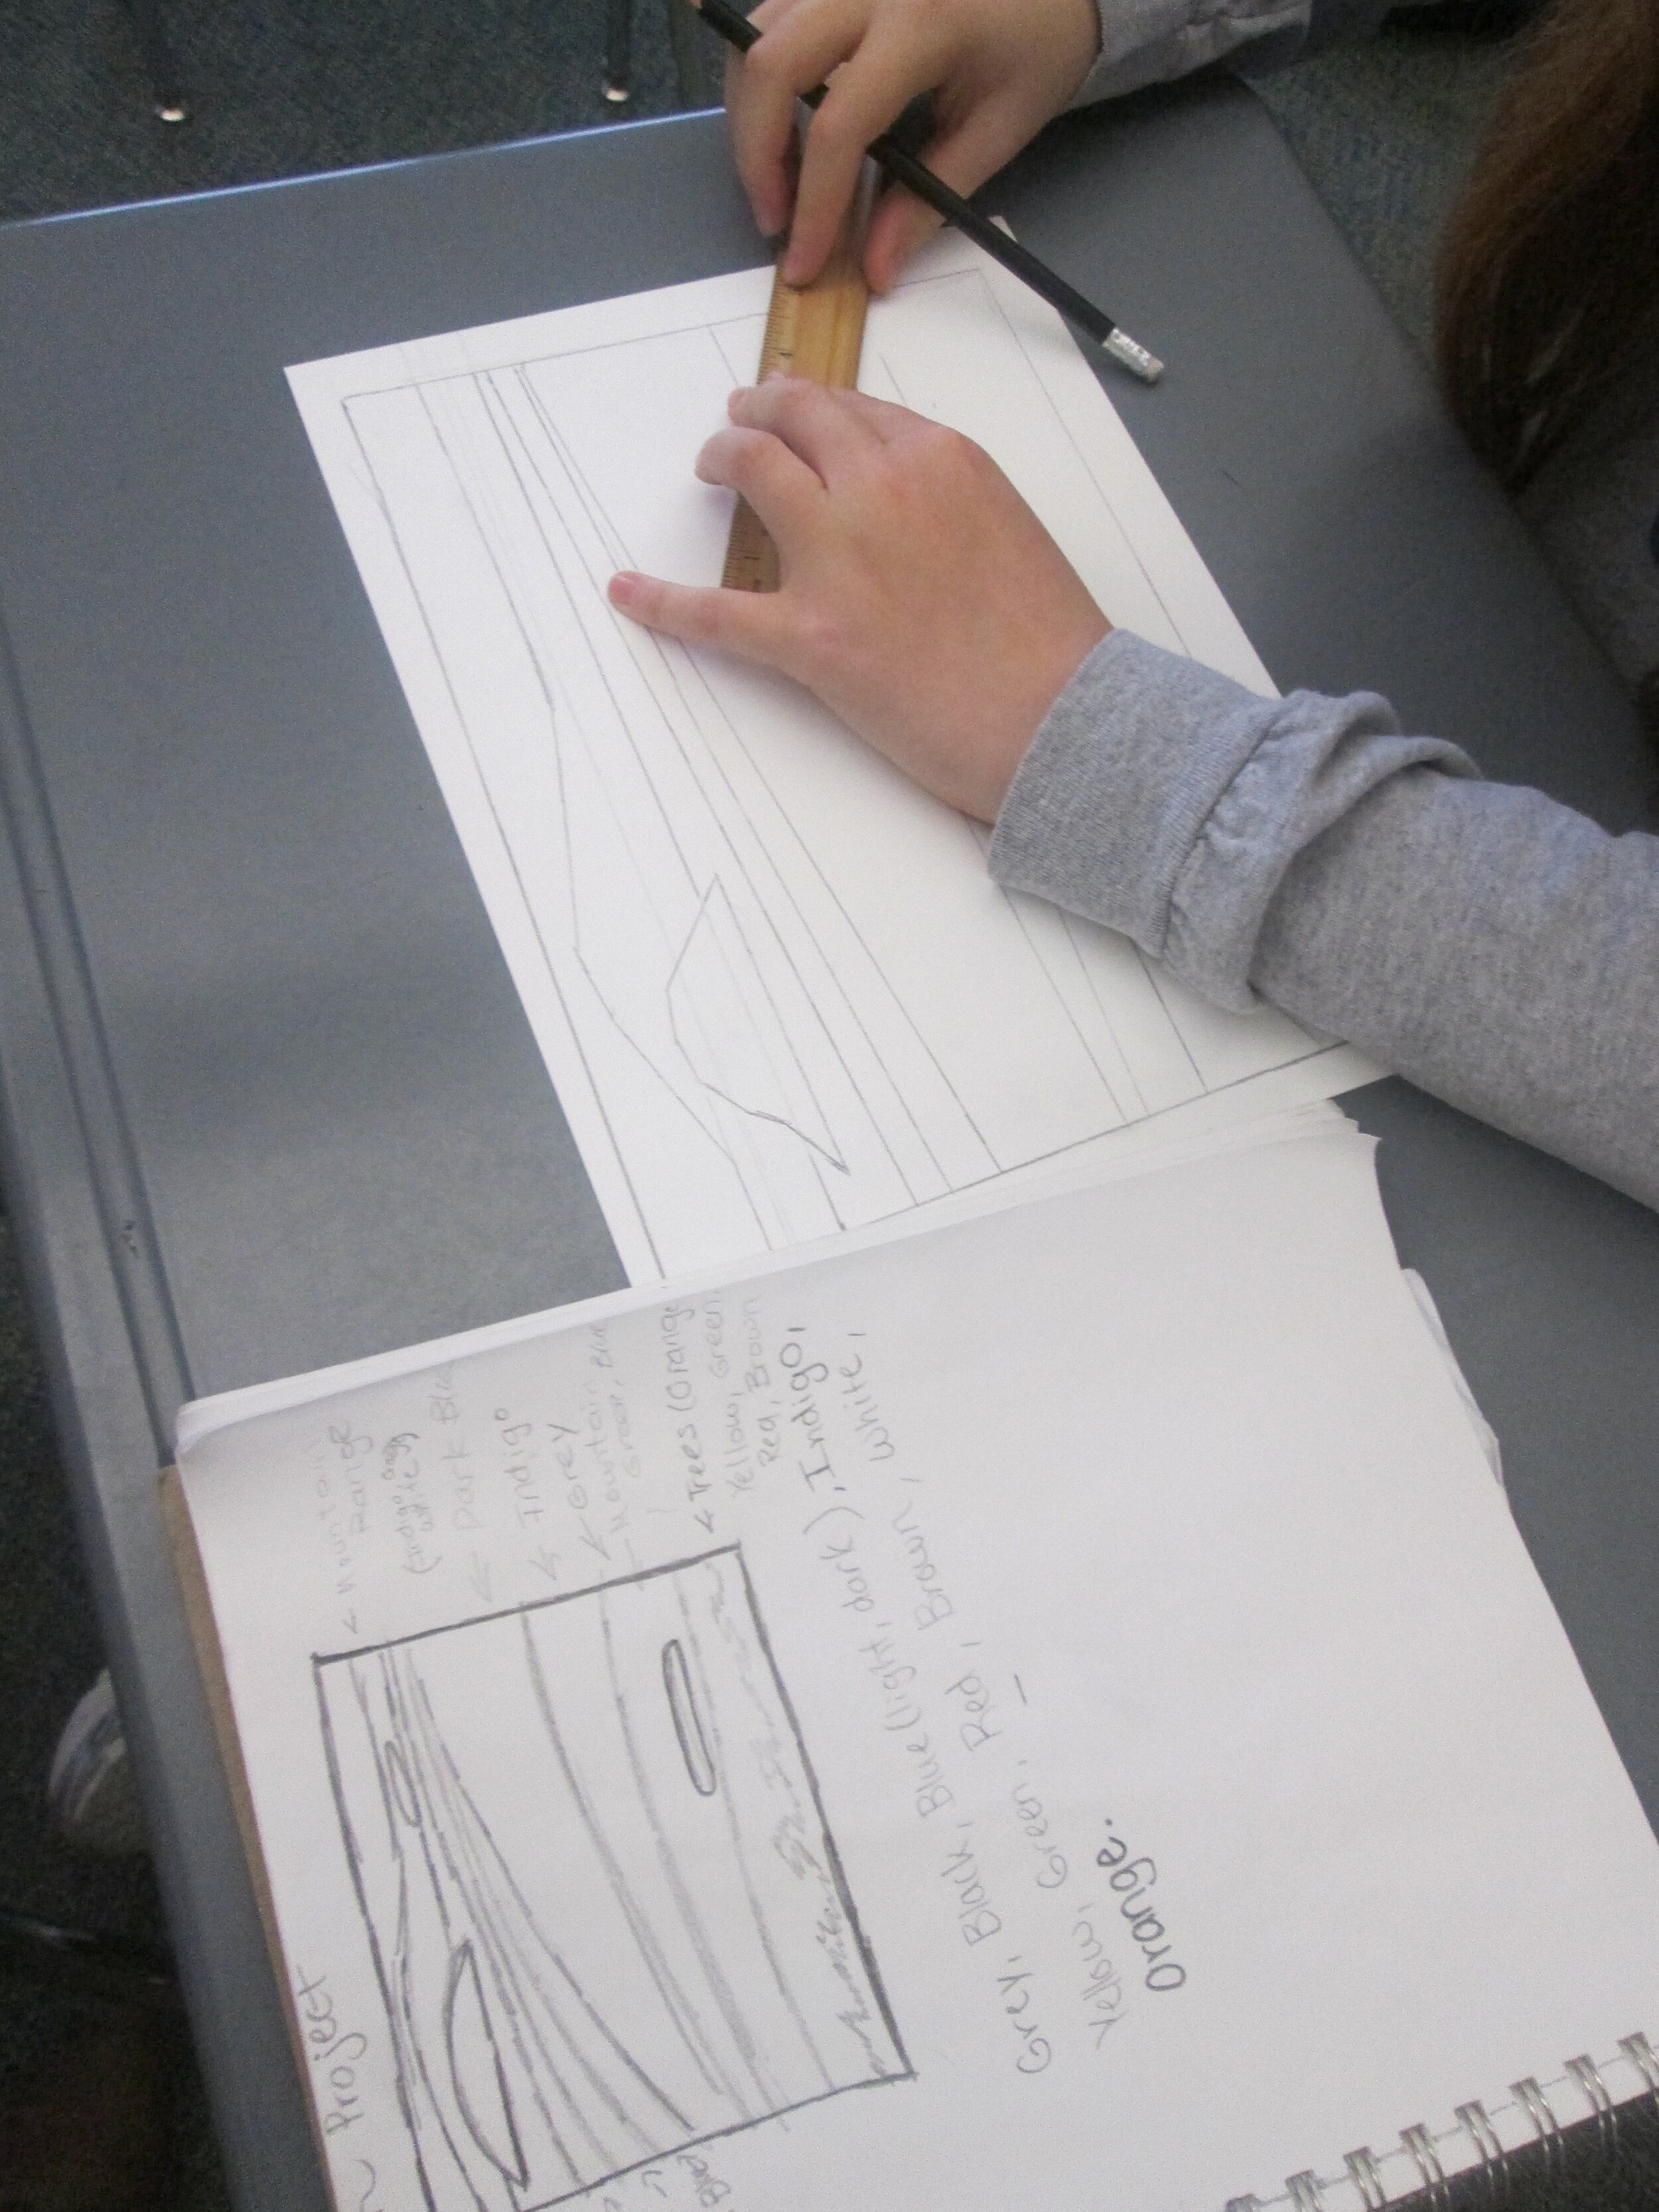
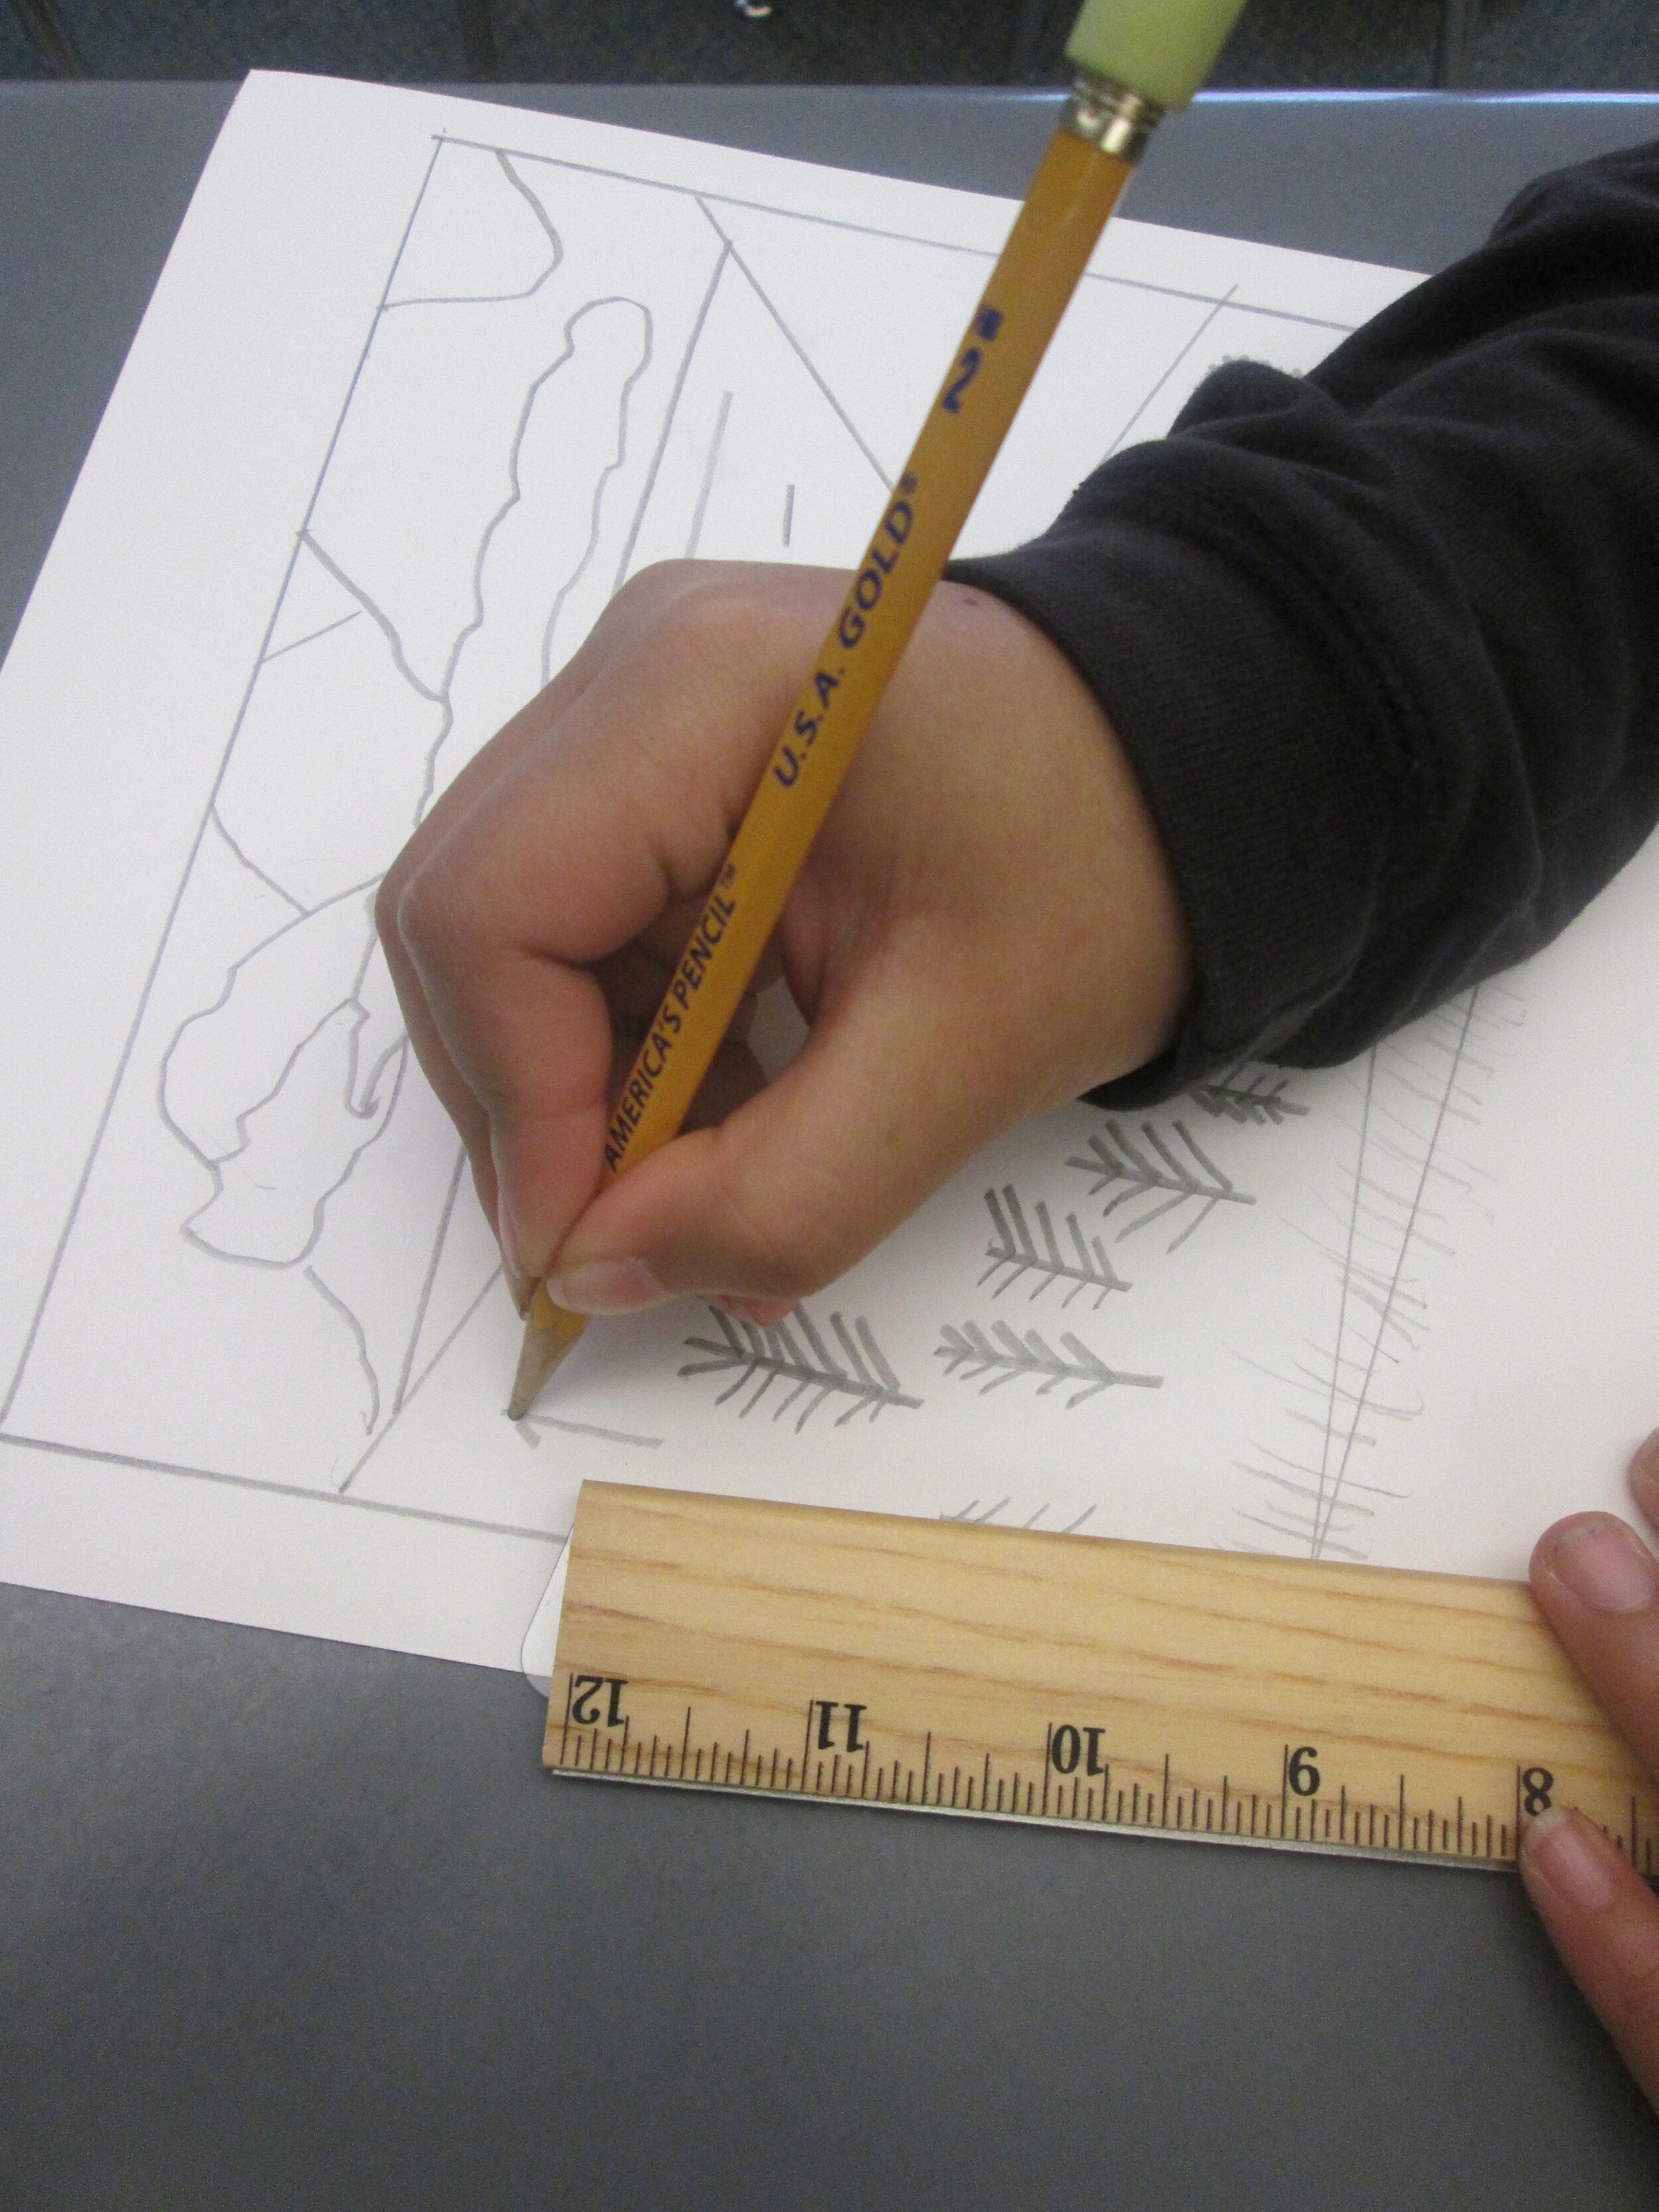
Expedition: Visit a location in your community. Photograph different vantage points of the landscape. Sketch basic shapes of what you see and describe what you notice within the shape. You may use a straight edge or ruler to exaggerate each shape. For example, you may draw a rectangle for the ocean and document that the shades of blue may look lighter along the shoreline and darken into a purple as your eye moves out to sea. As you notice your environment, engage your senses. Include sensory notes in your observations and other important details. Is it windy? What time of day is it?
Curricular Connections: Reflect on your expedition experience and review your observational journal. What did you notice about how you felt while you were there? Create a sensory poem to share your experience. Build on the describing words you practiced looking at works of art.
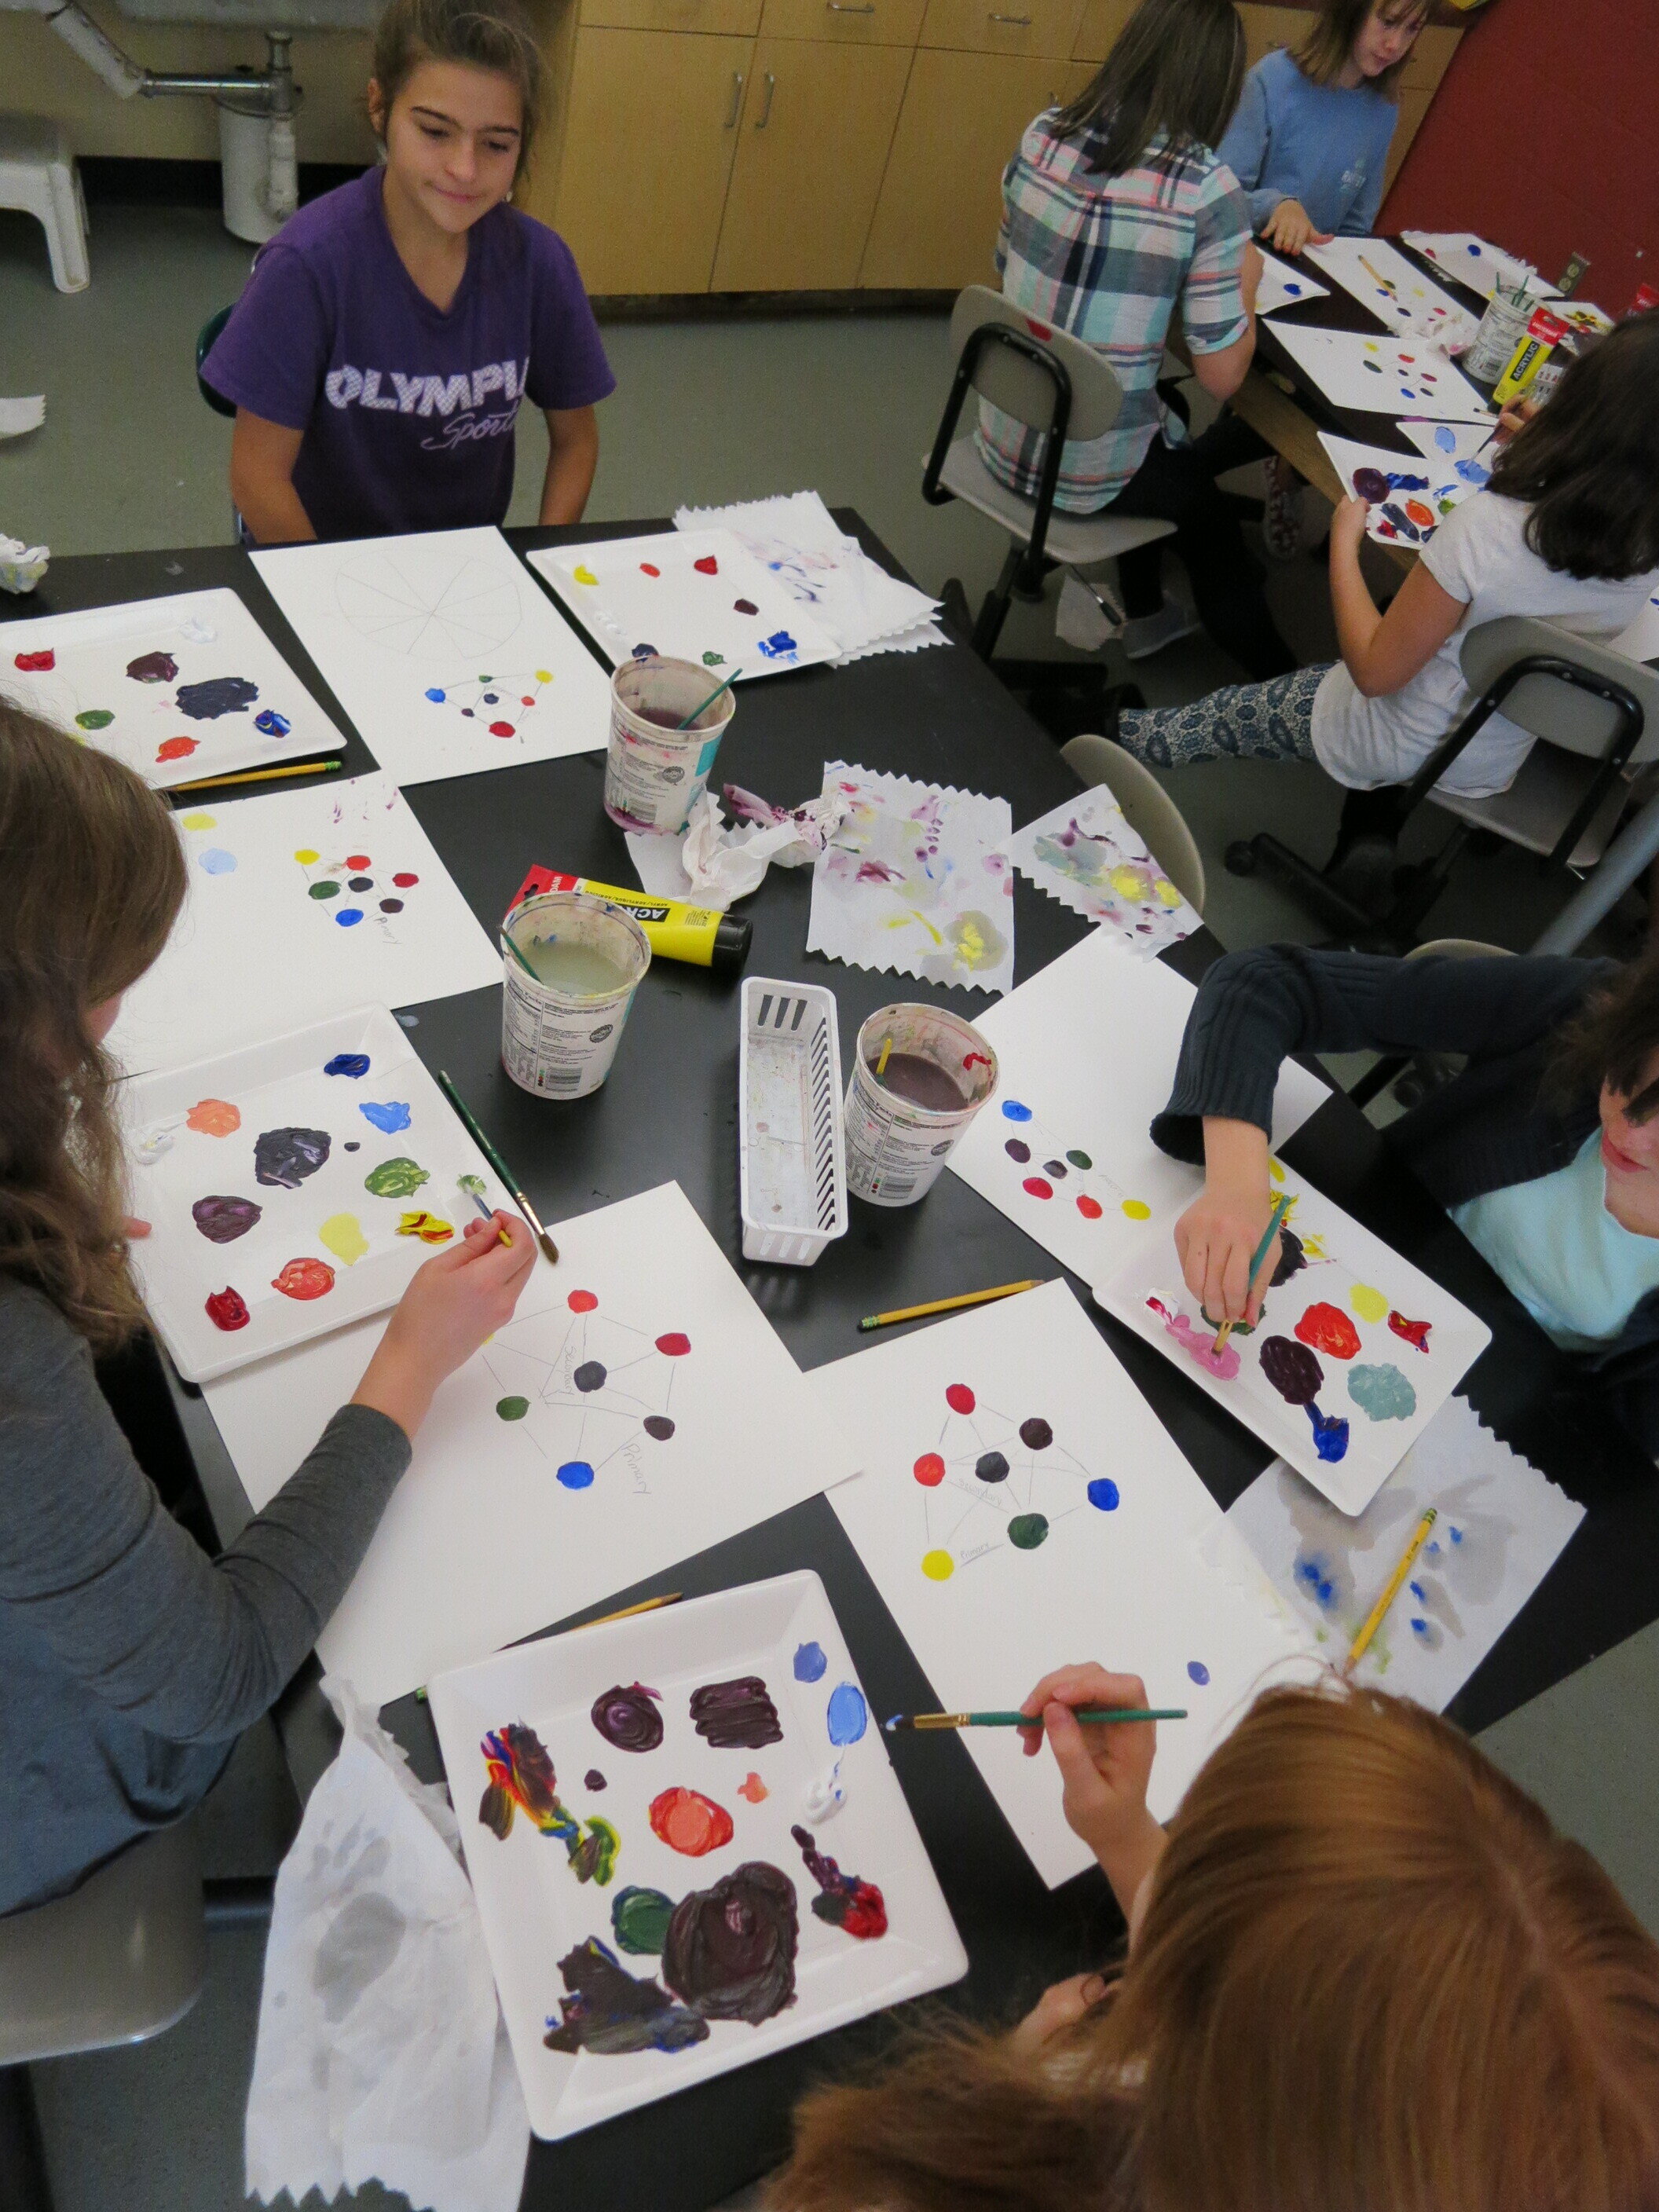
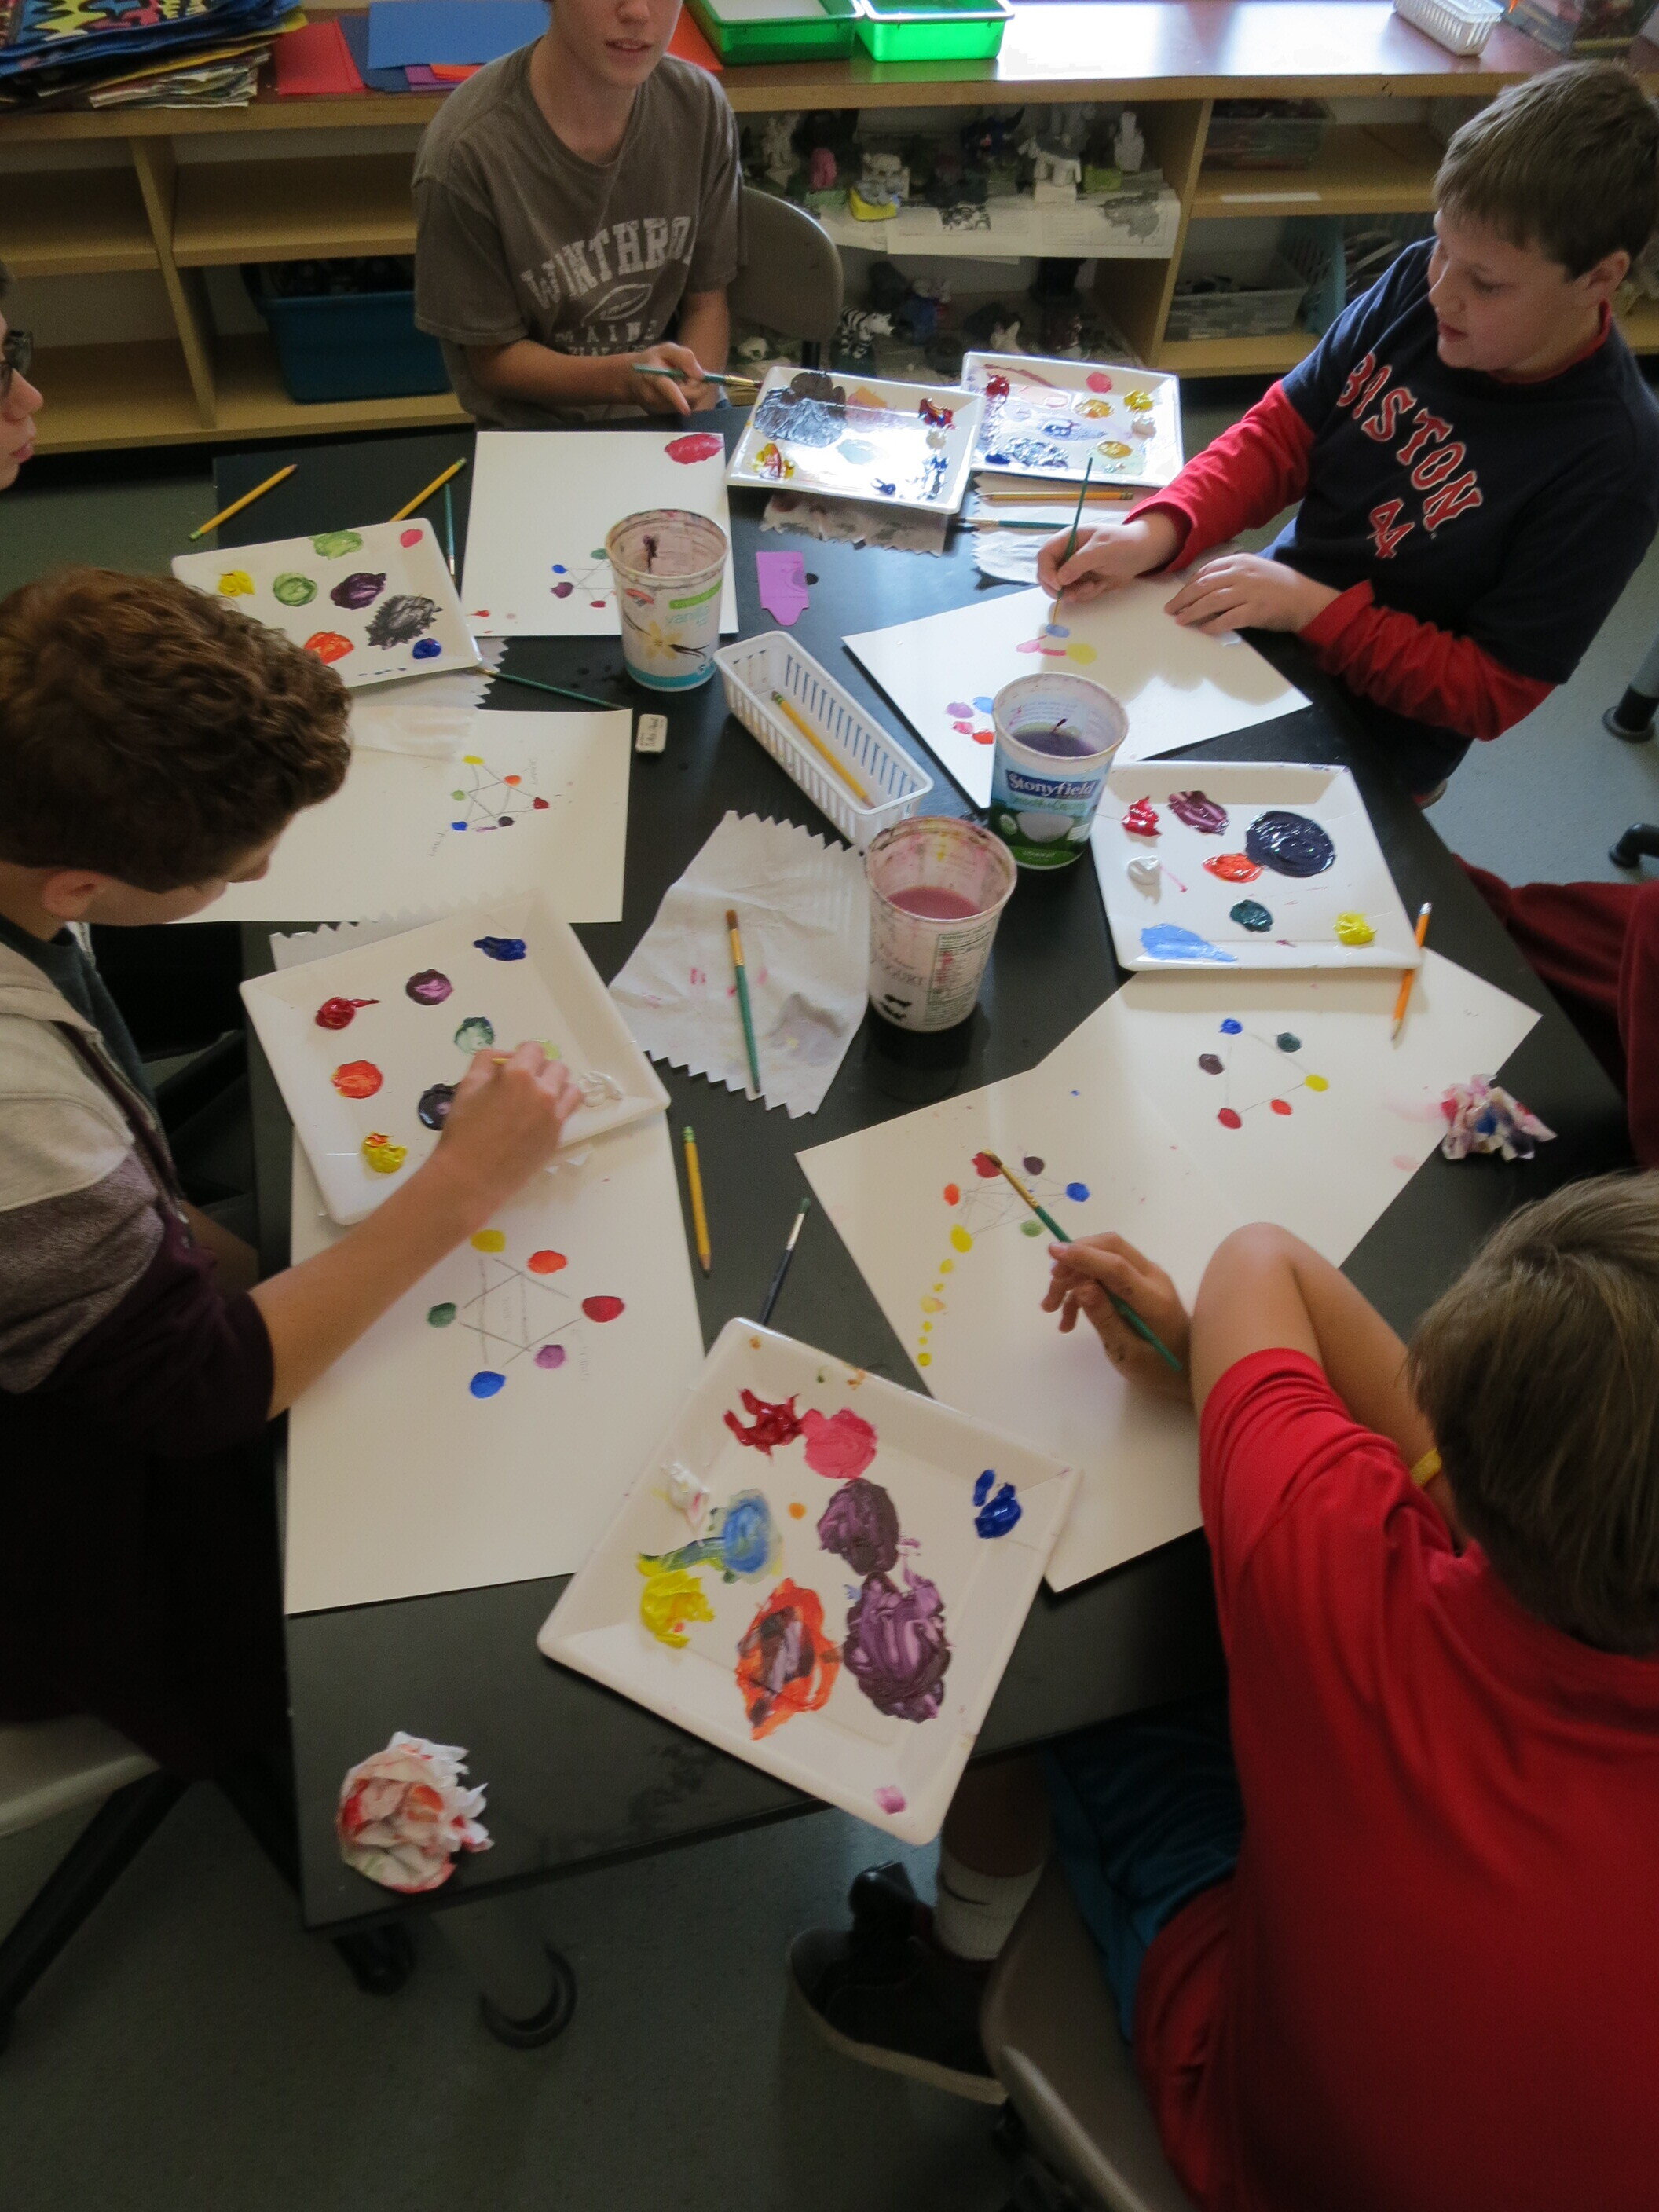
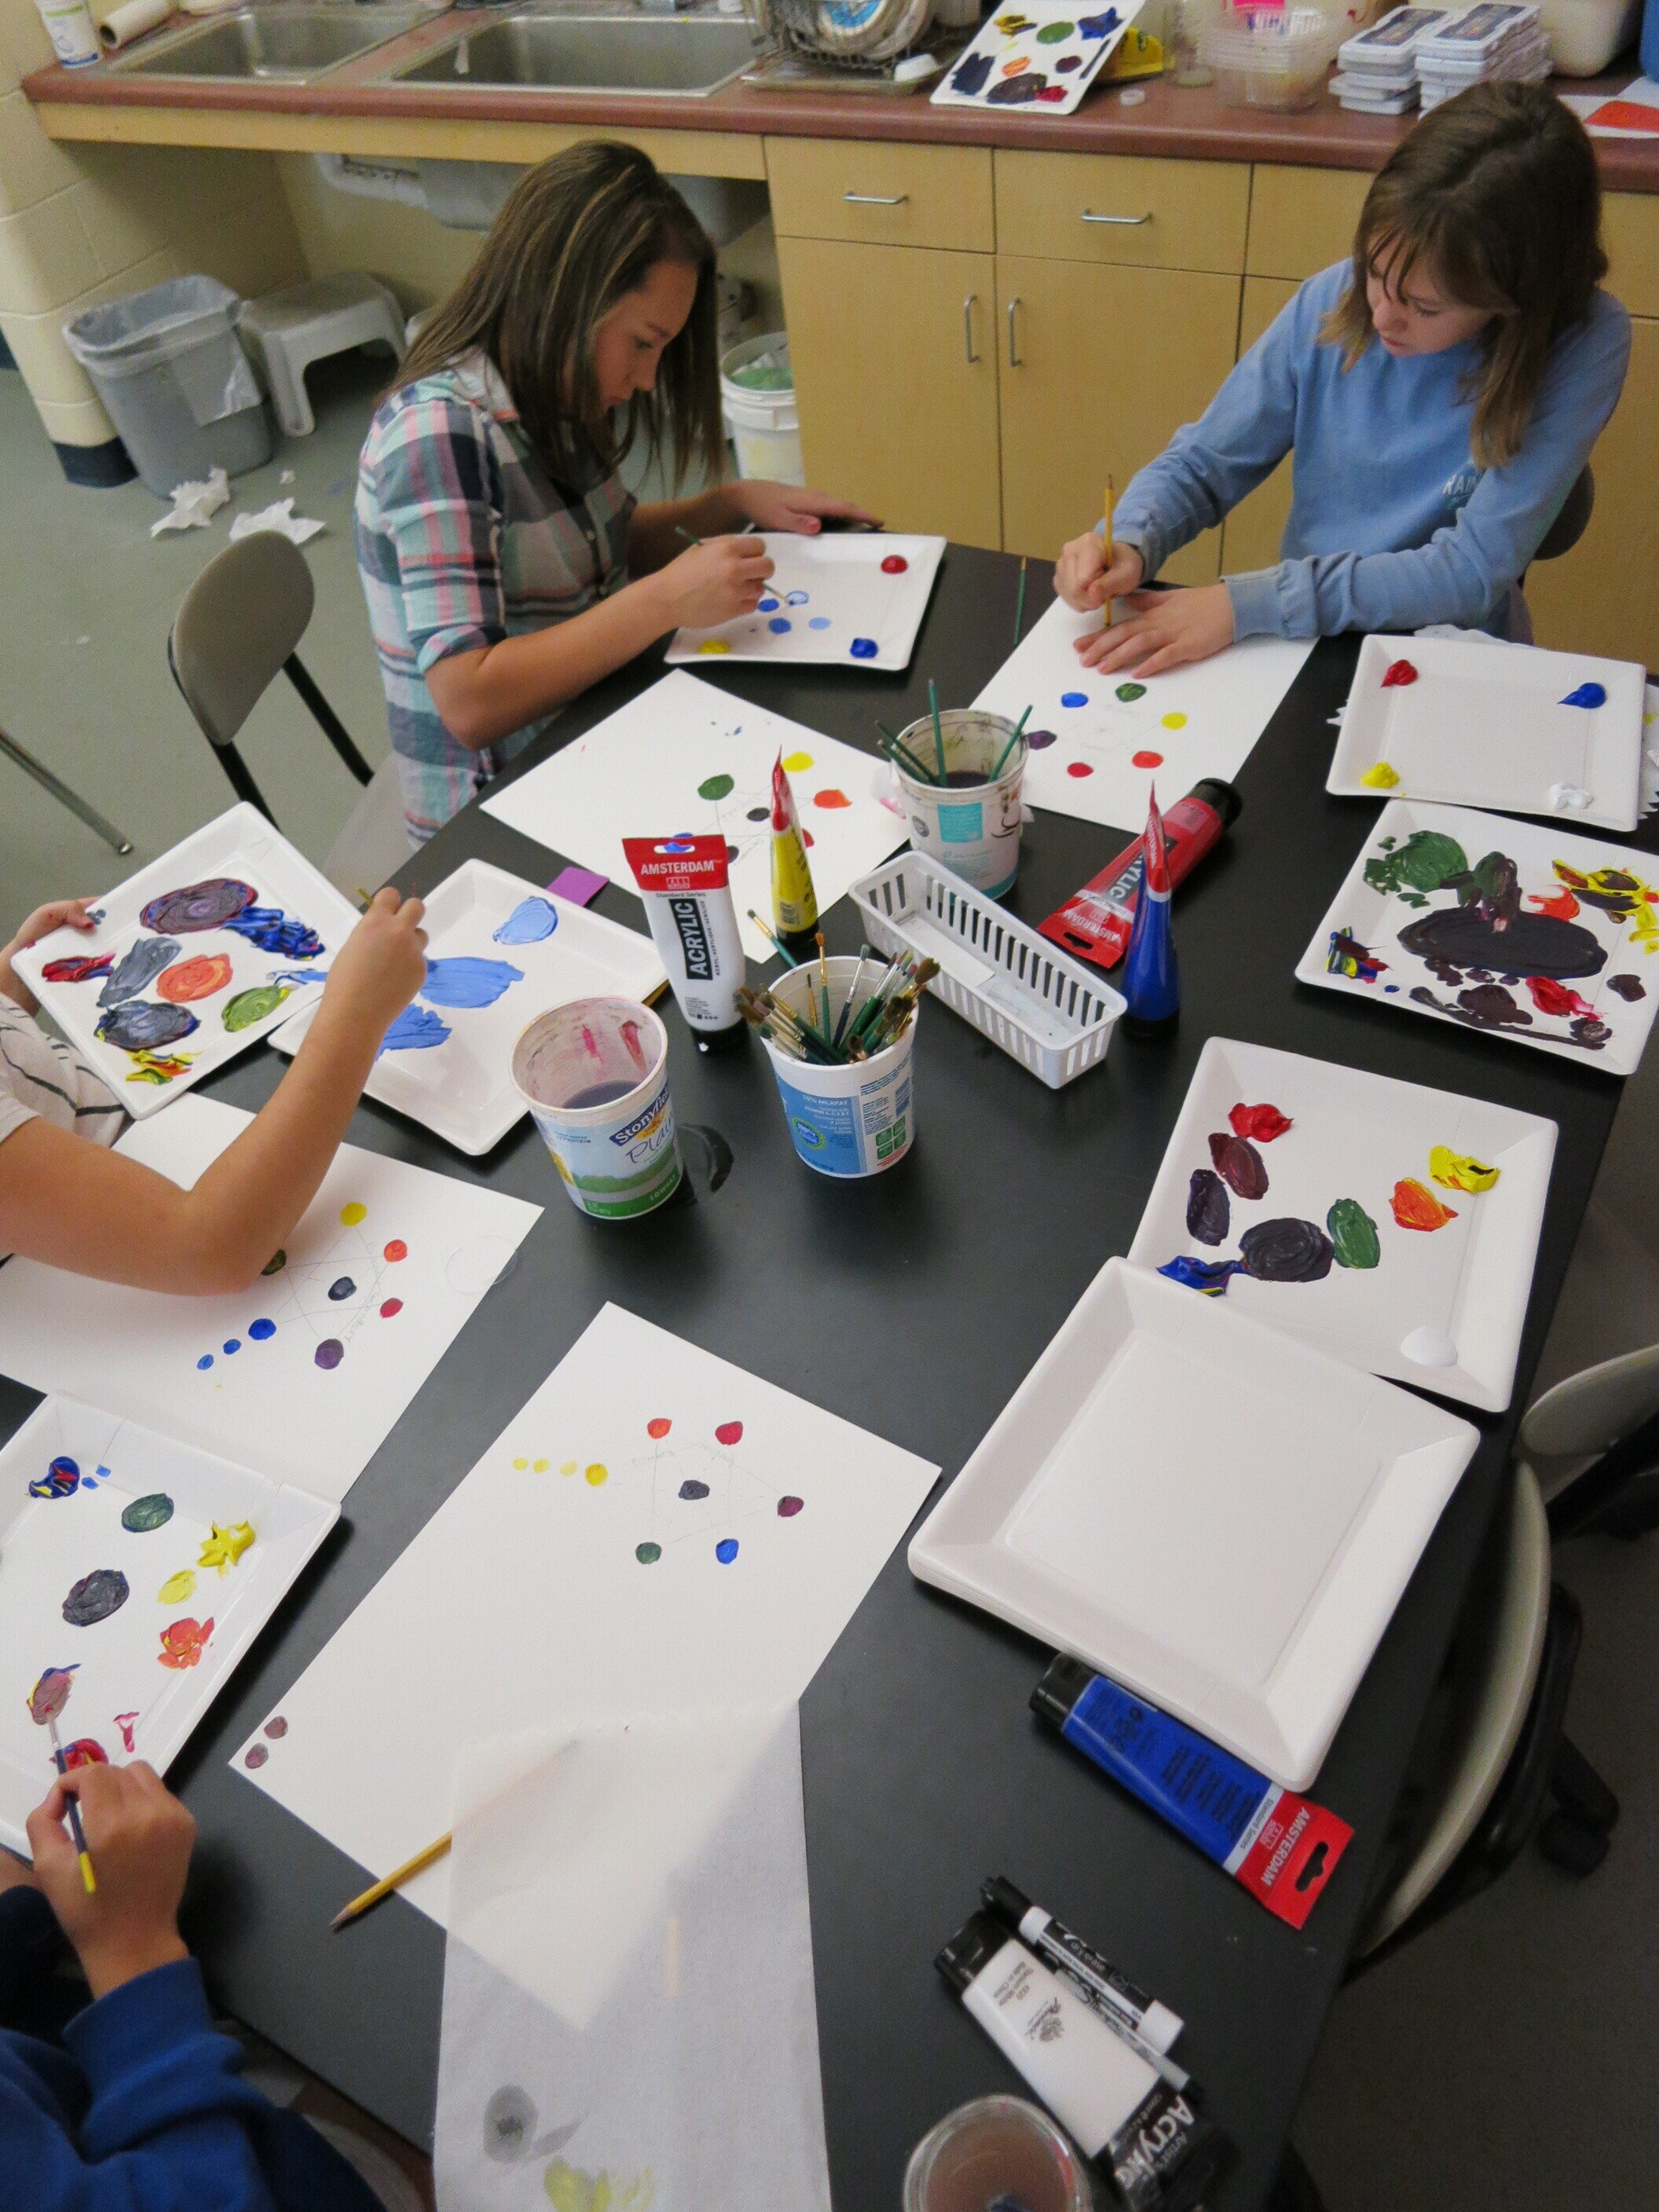
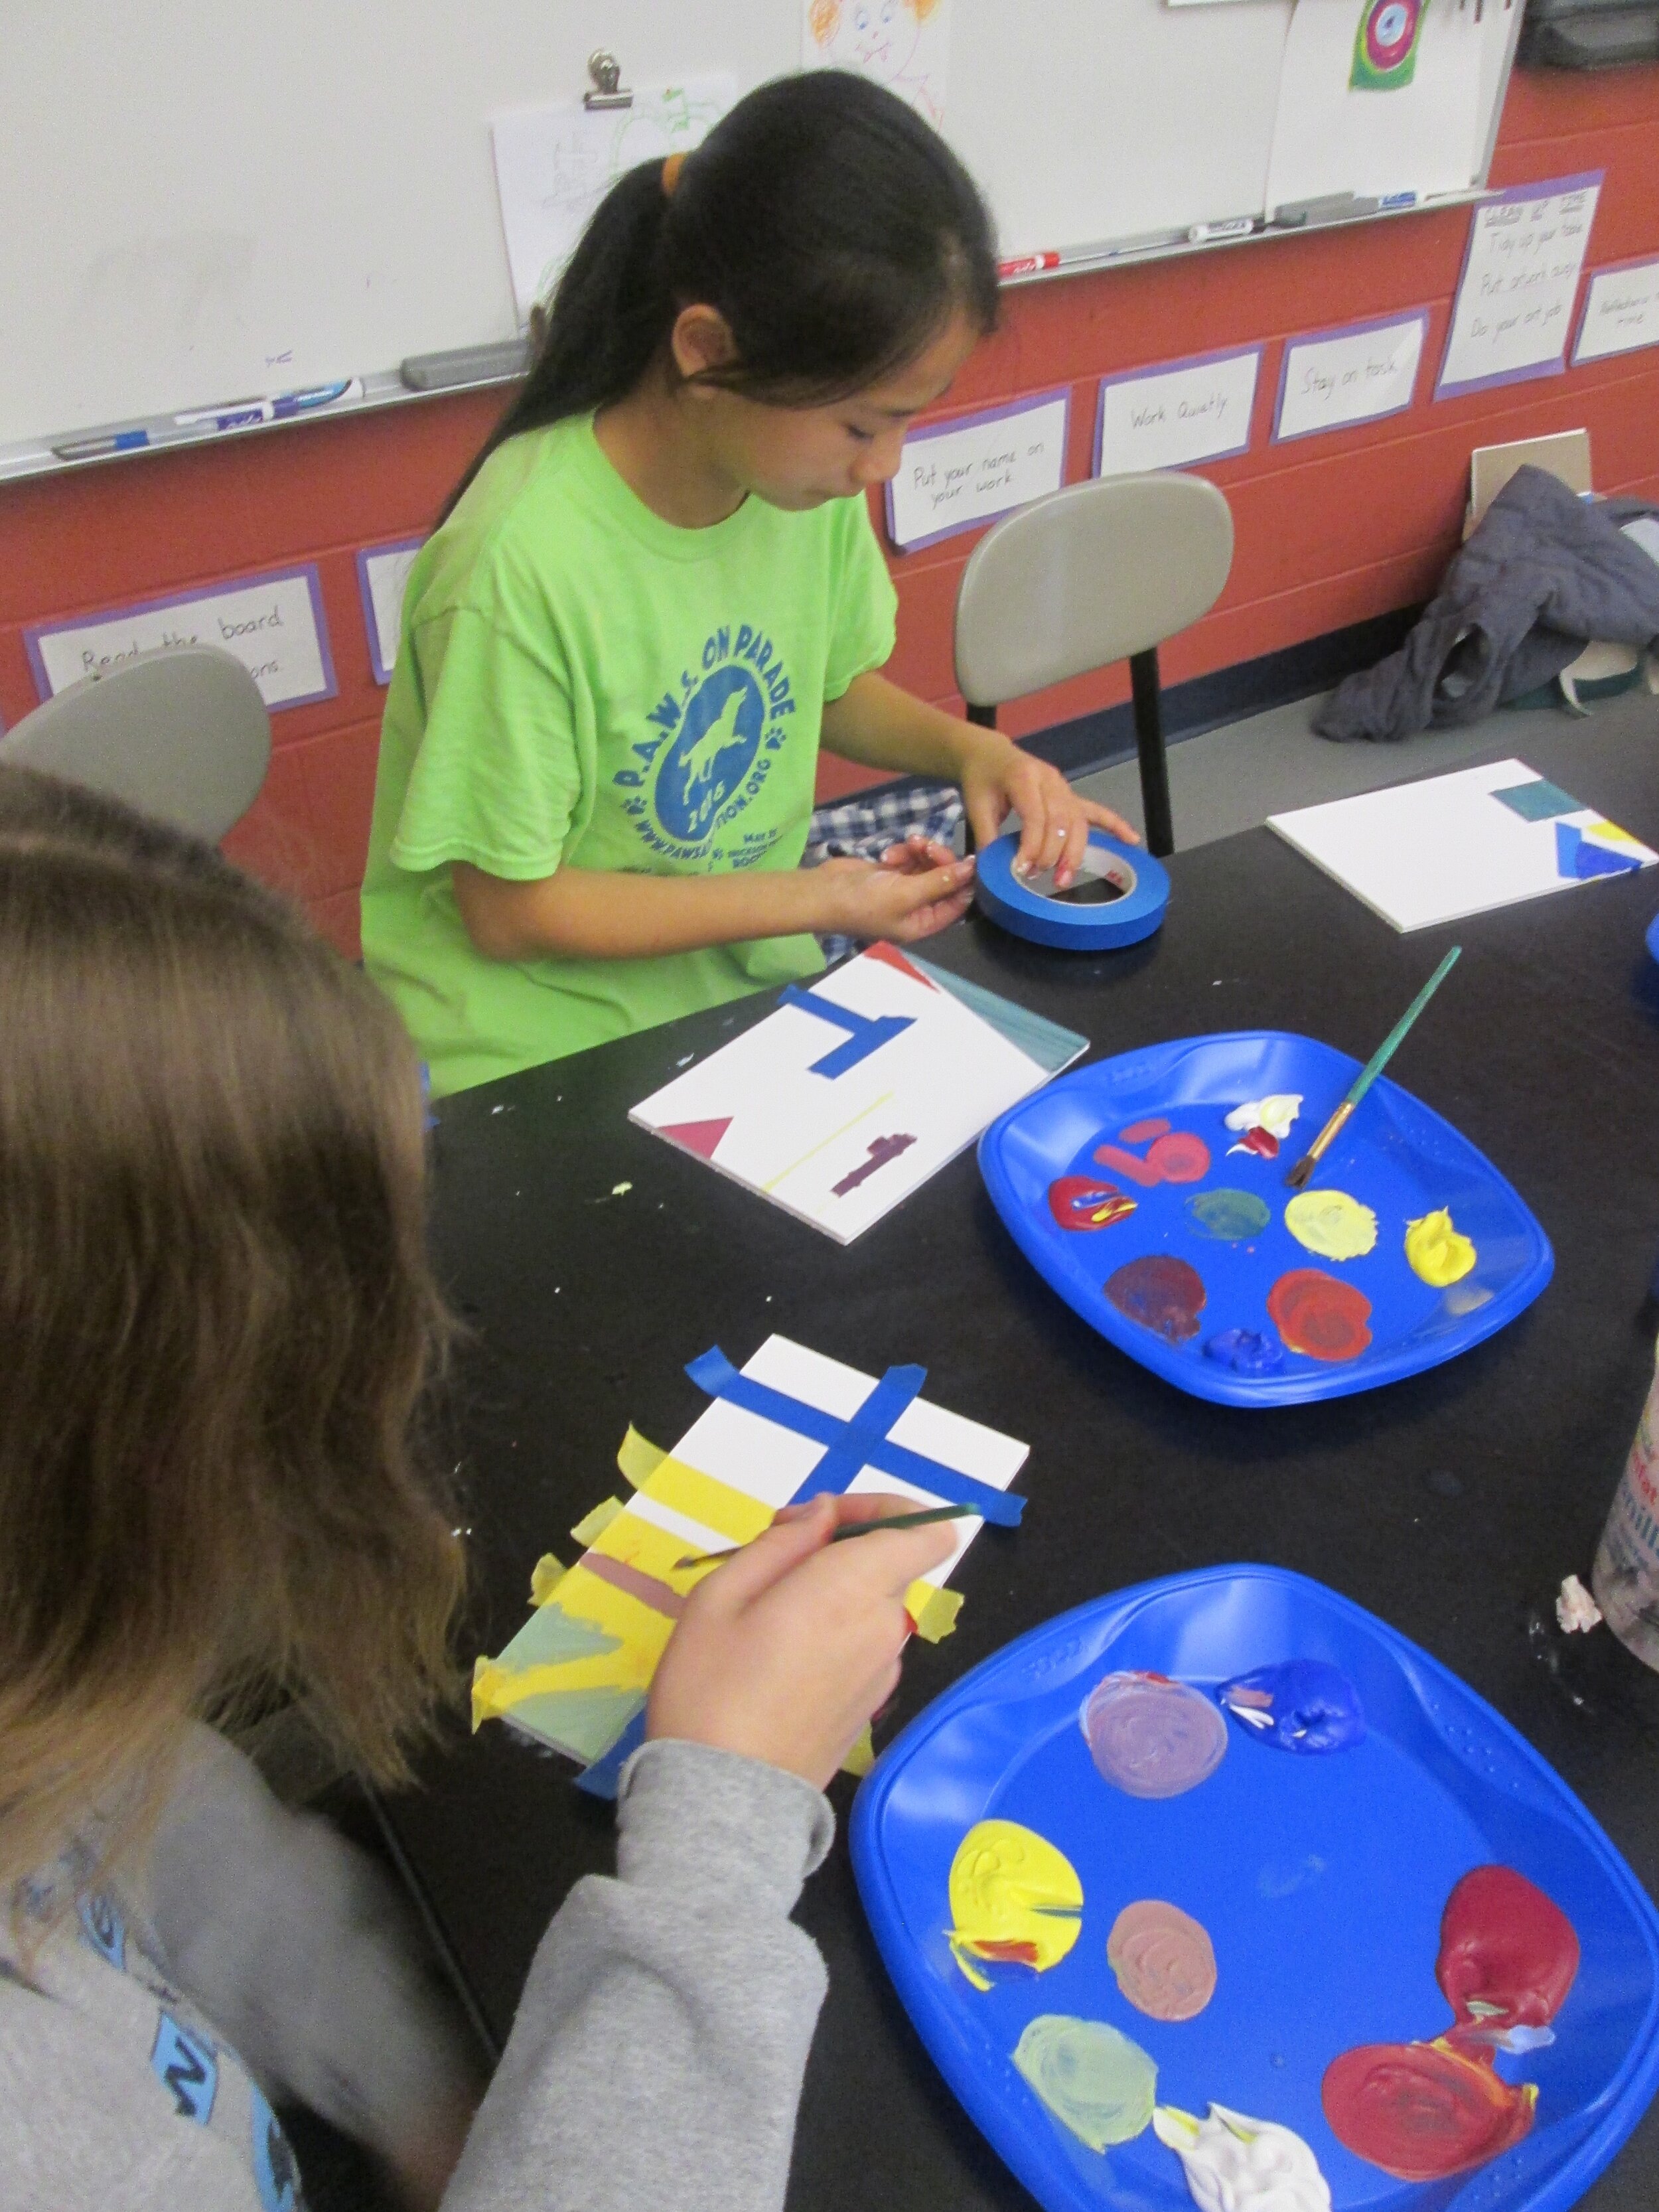
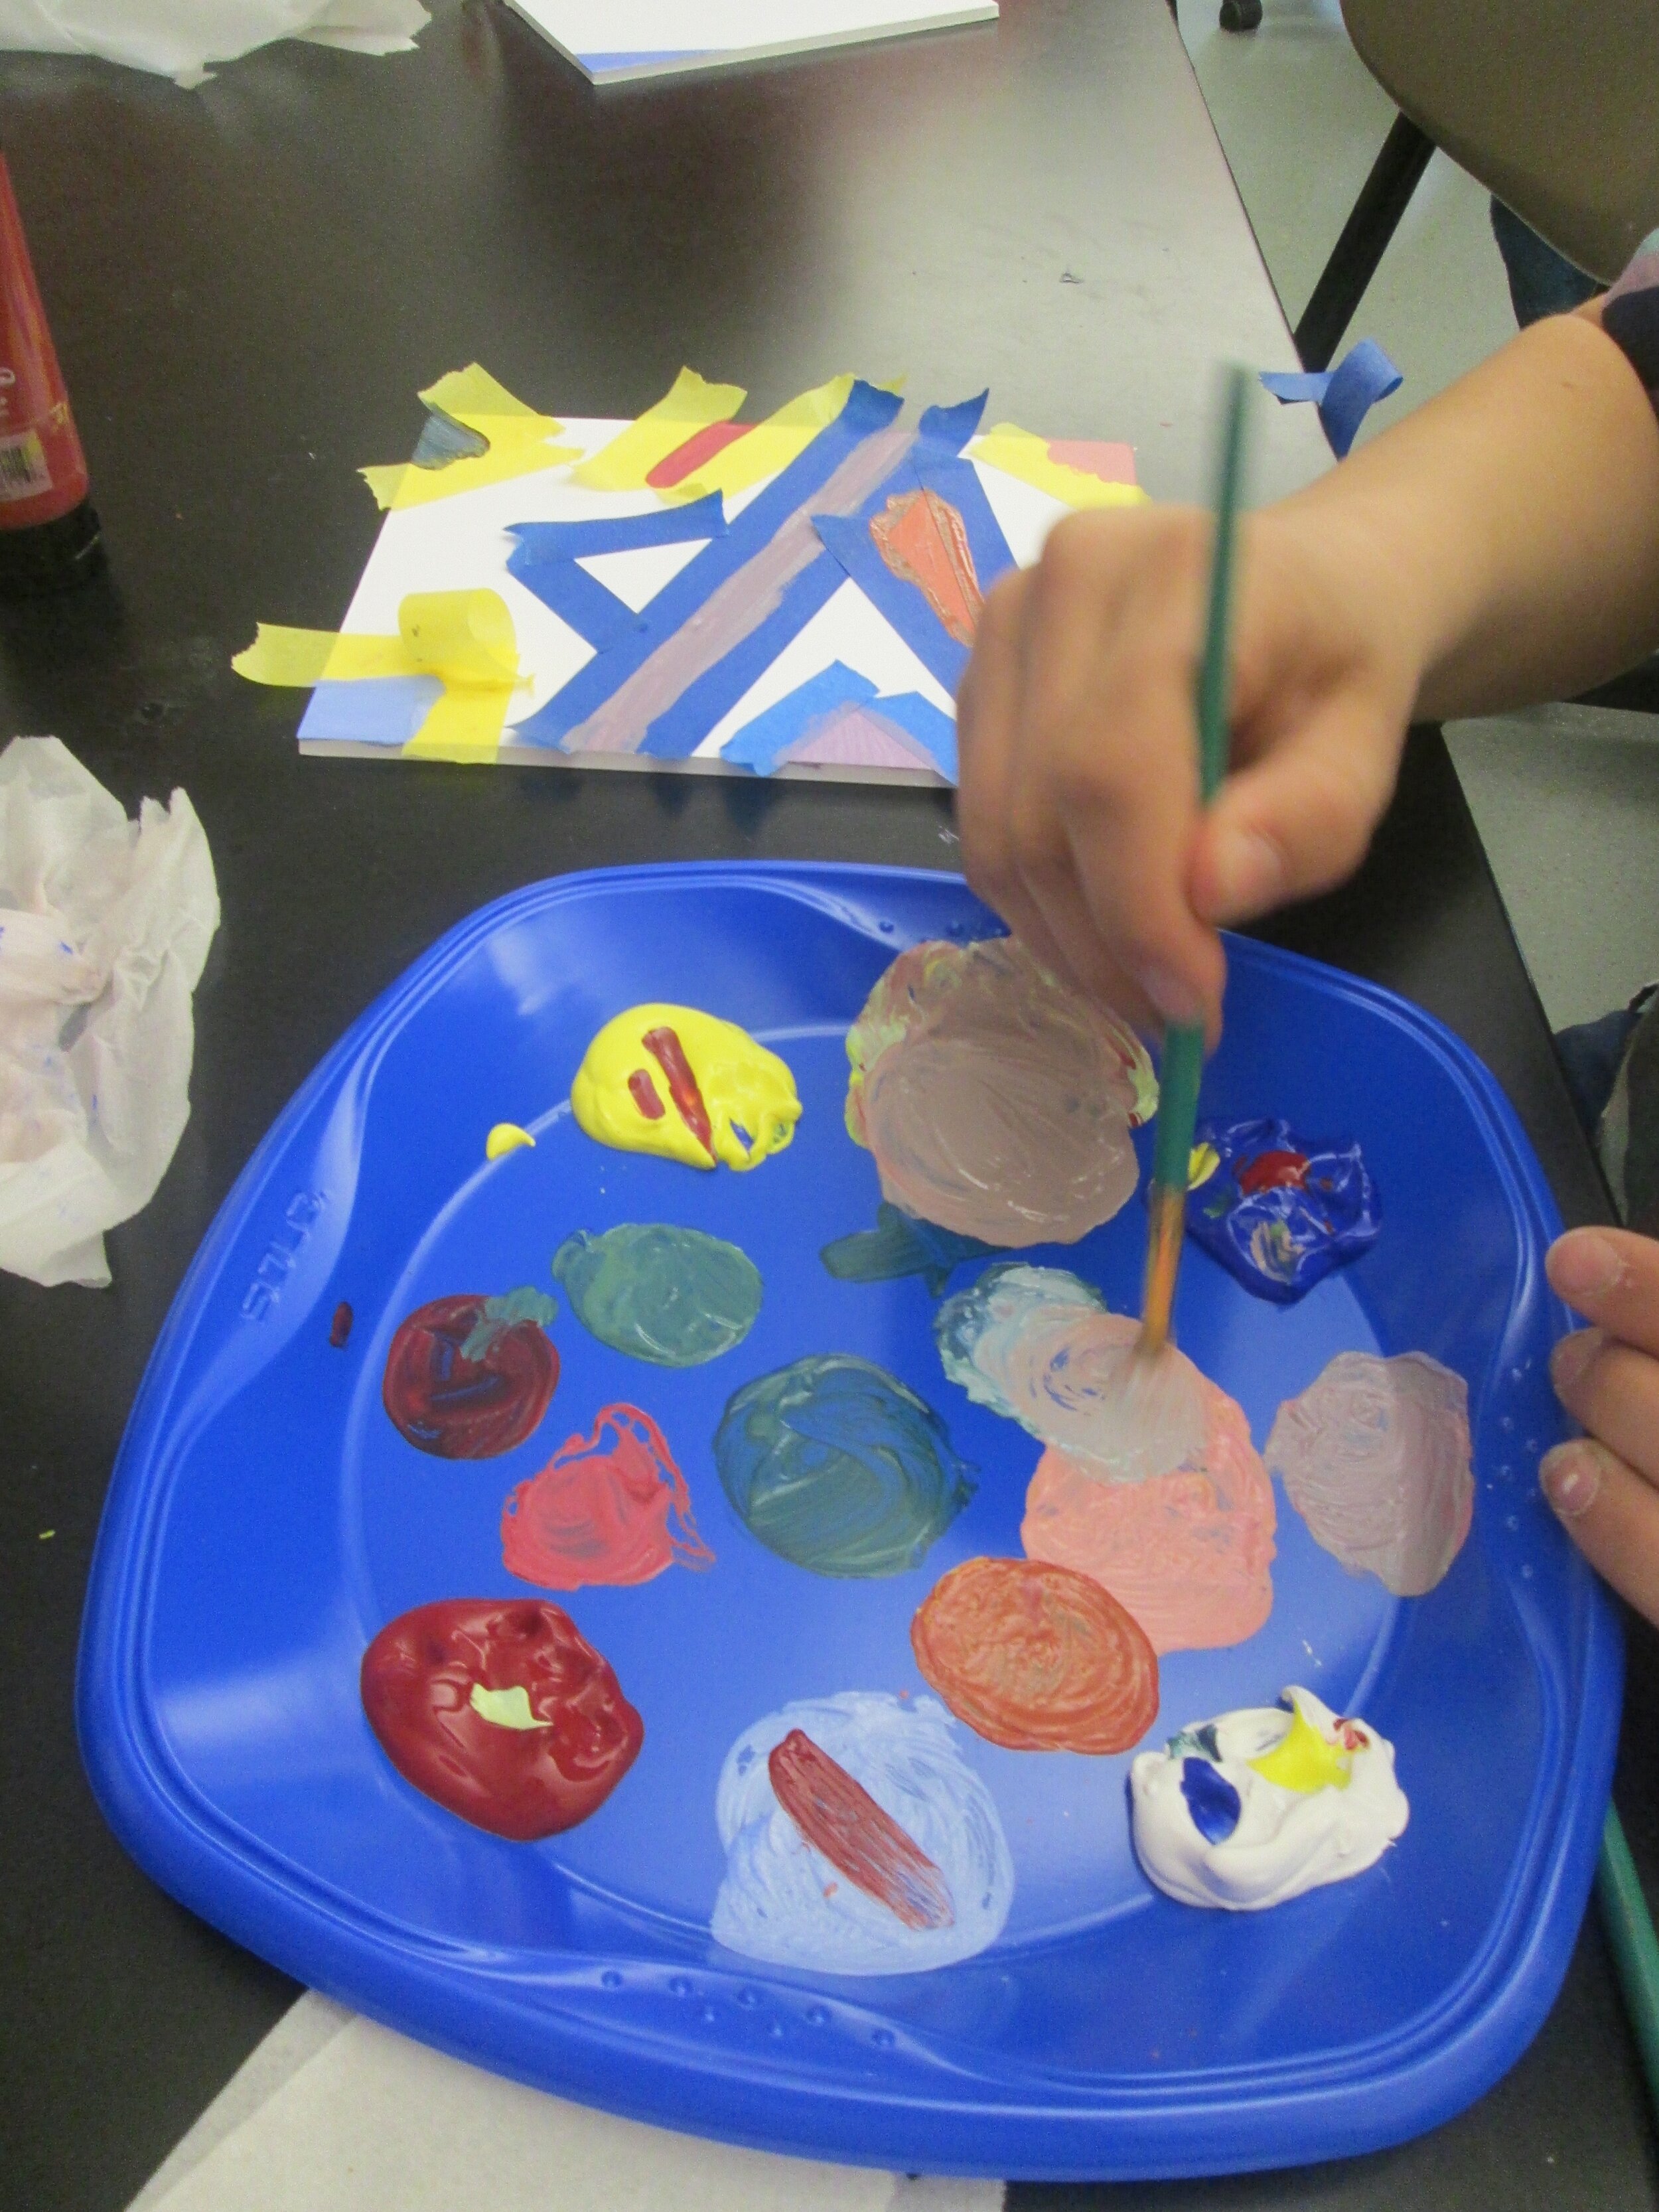
Create: Practice color mixing your paint to explore various shades of color. For example, how many shades of blue can you make? Green? Consider how you may use your shades in a composition to create depth and texture. Notice works of art in the museum collection for inspiration.
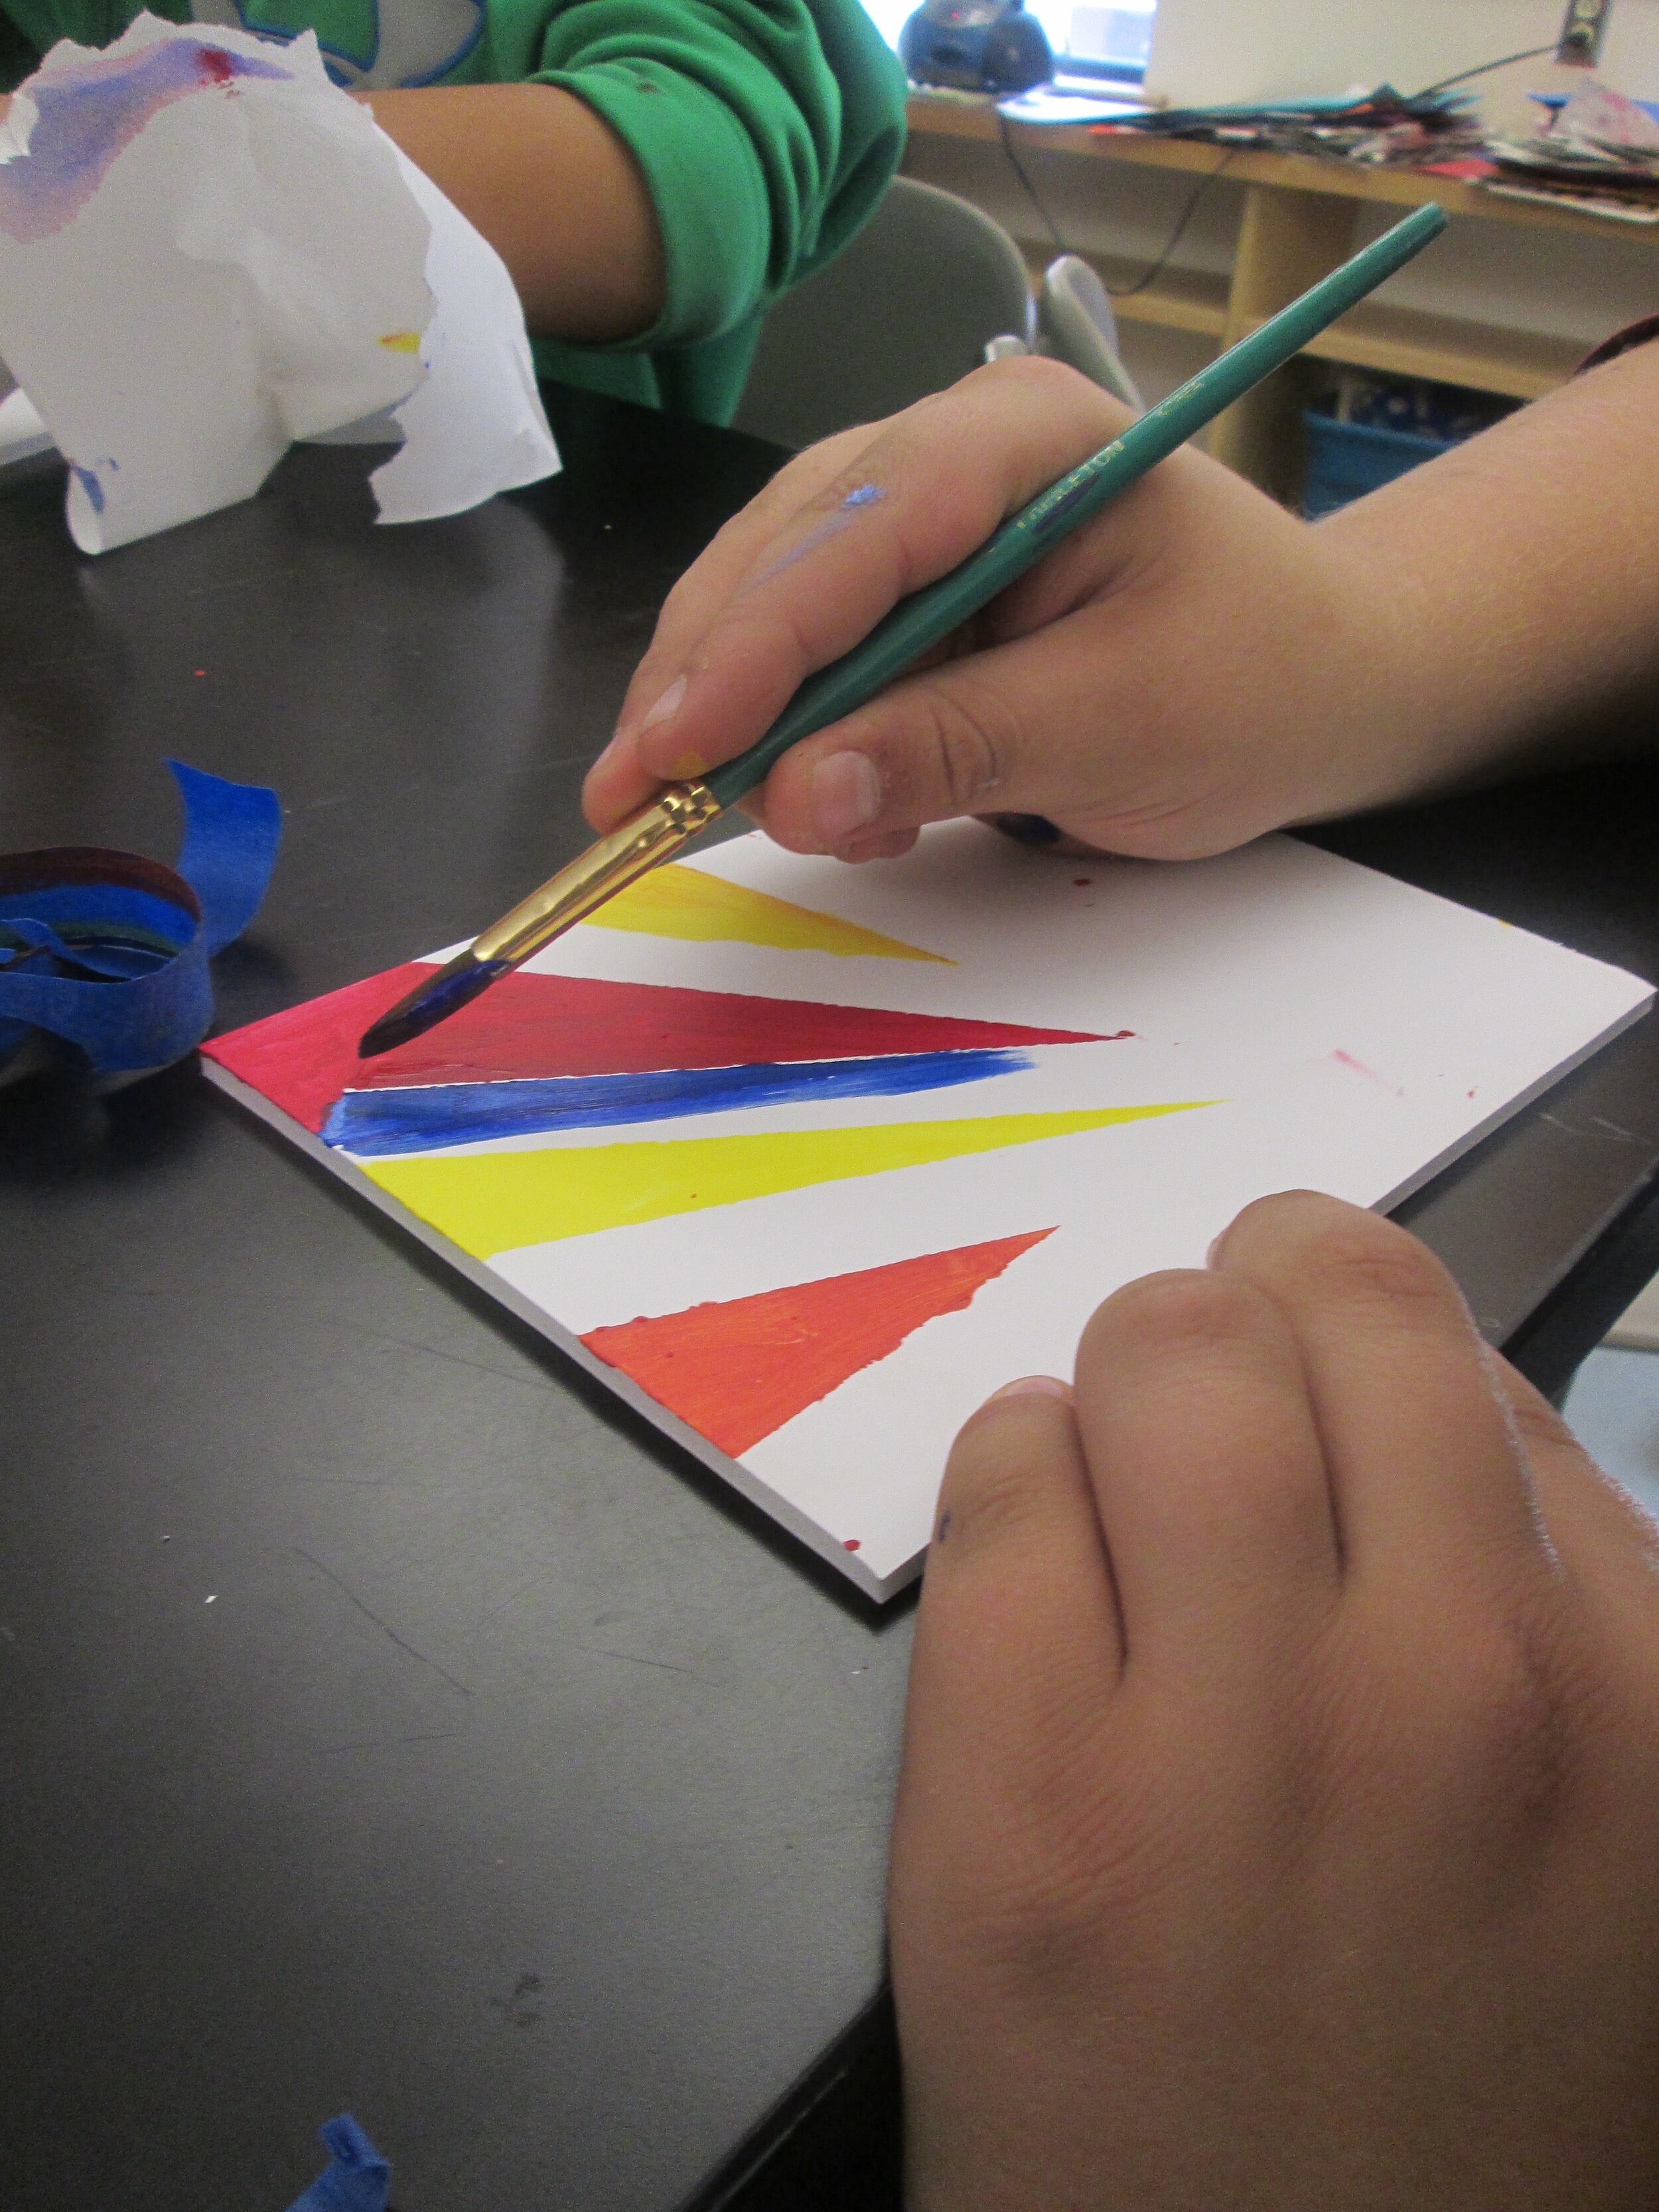
Reflect: Explore creating abstract shapes with color in the studio. Use painter’s tape to mask your canvas as you paint. Consider what you learn about the technique as you practice.
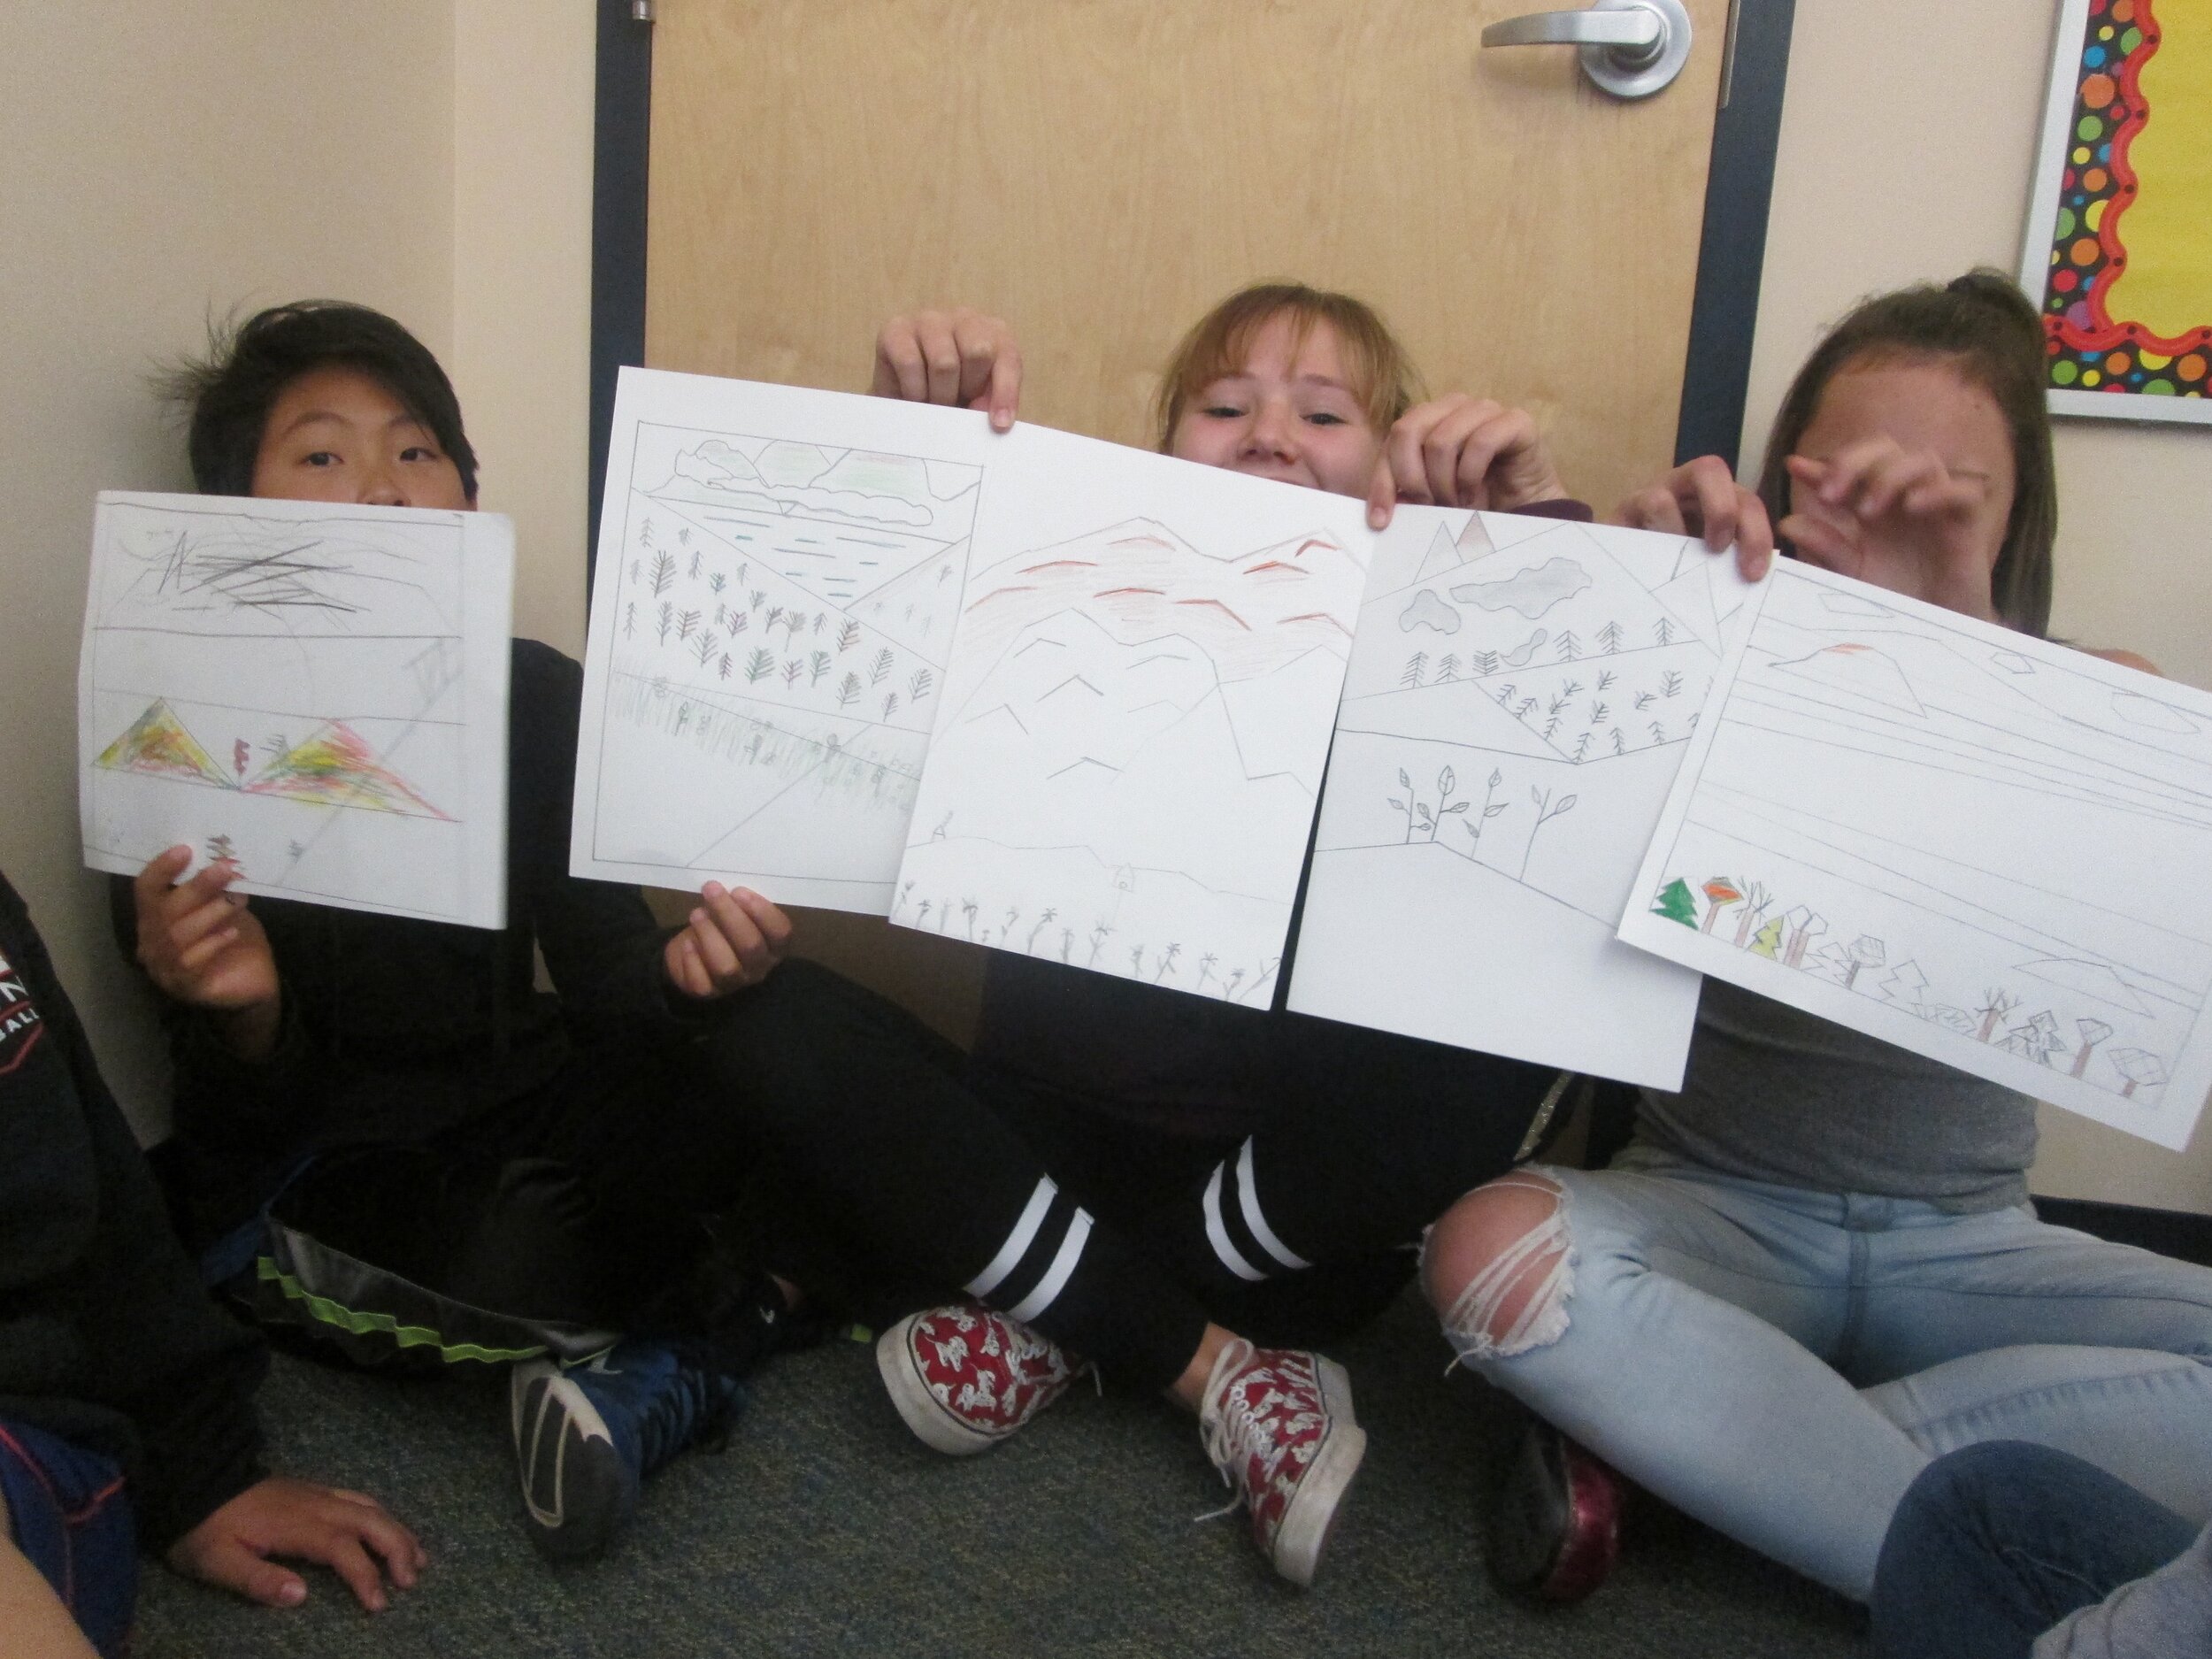
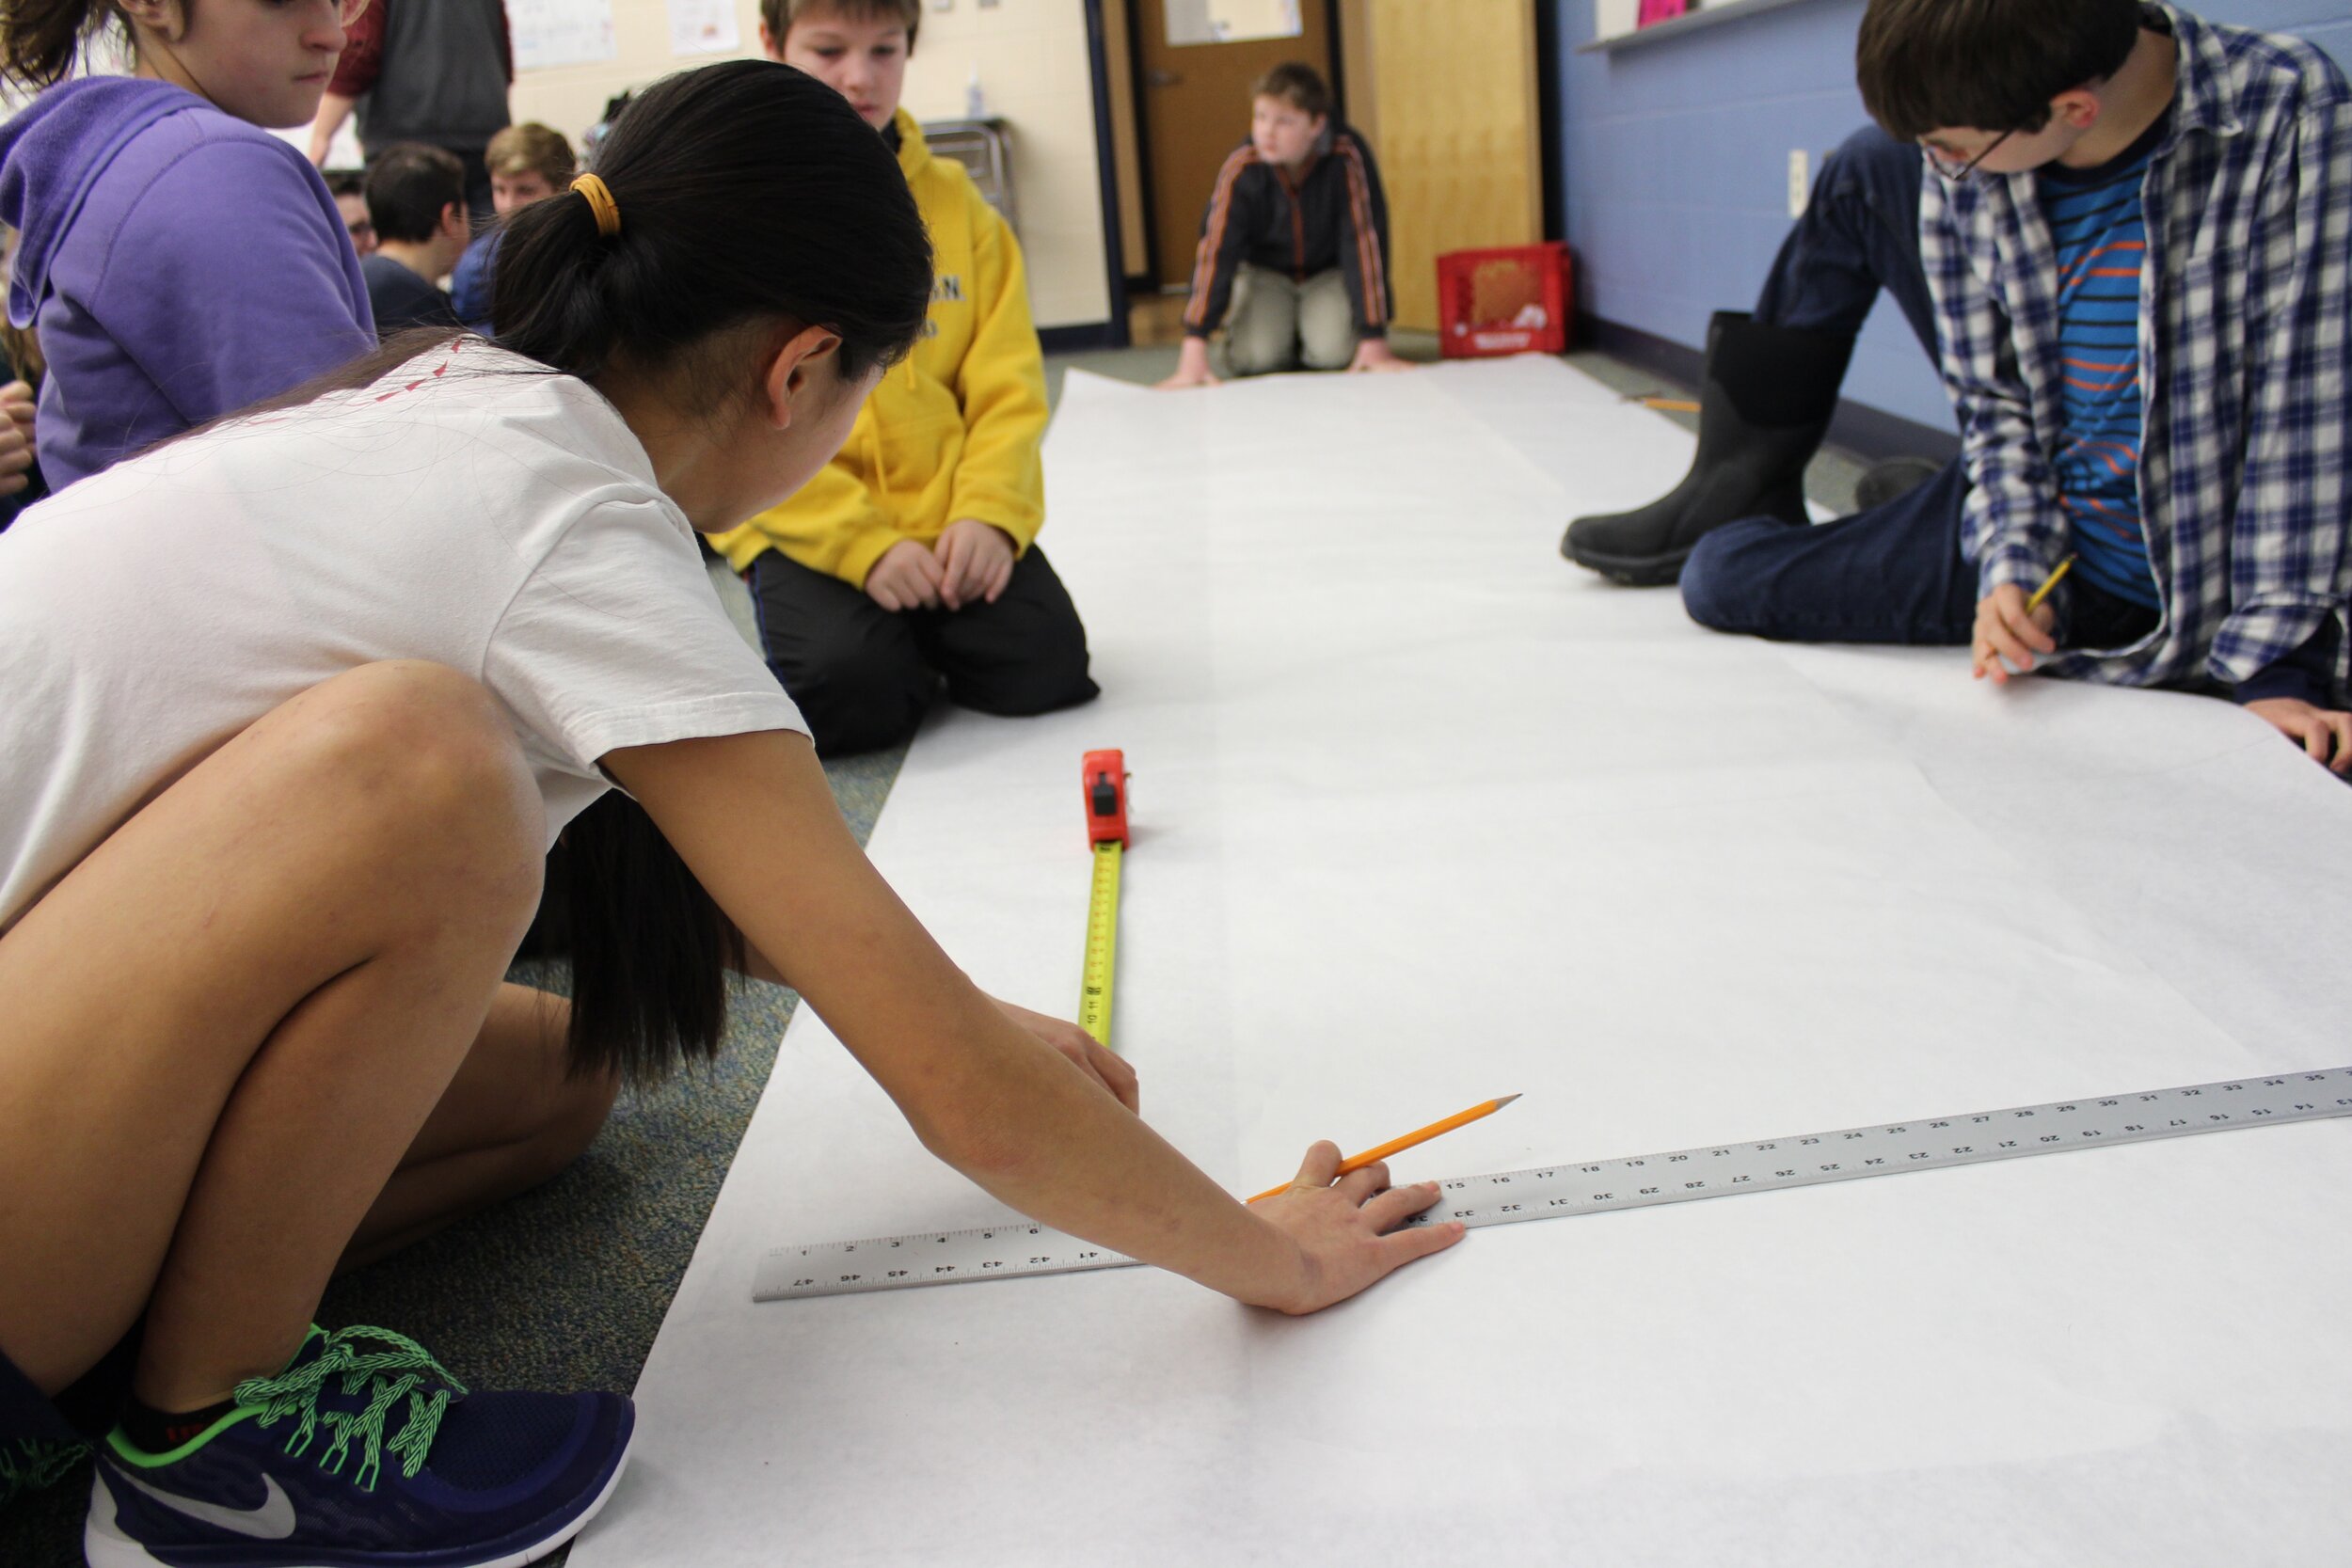
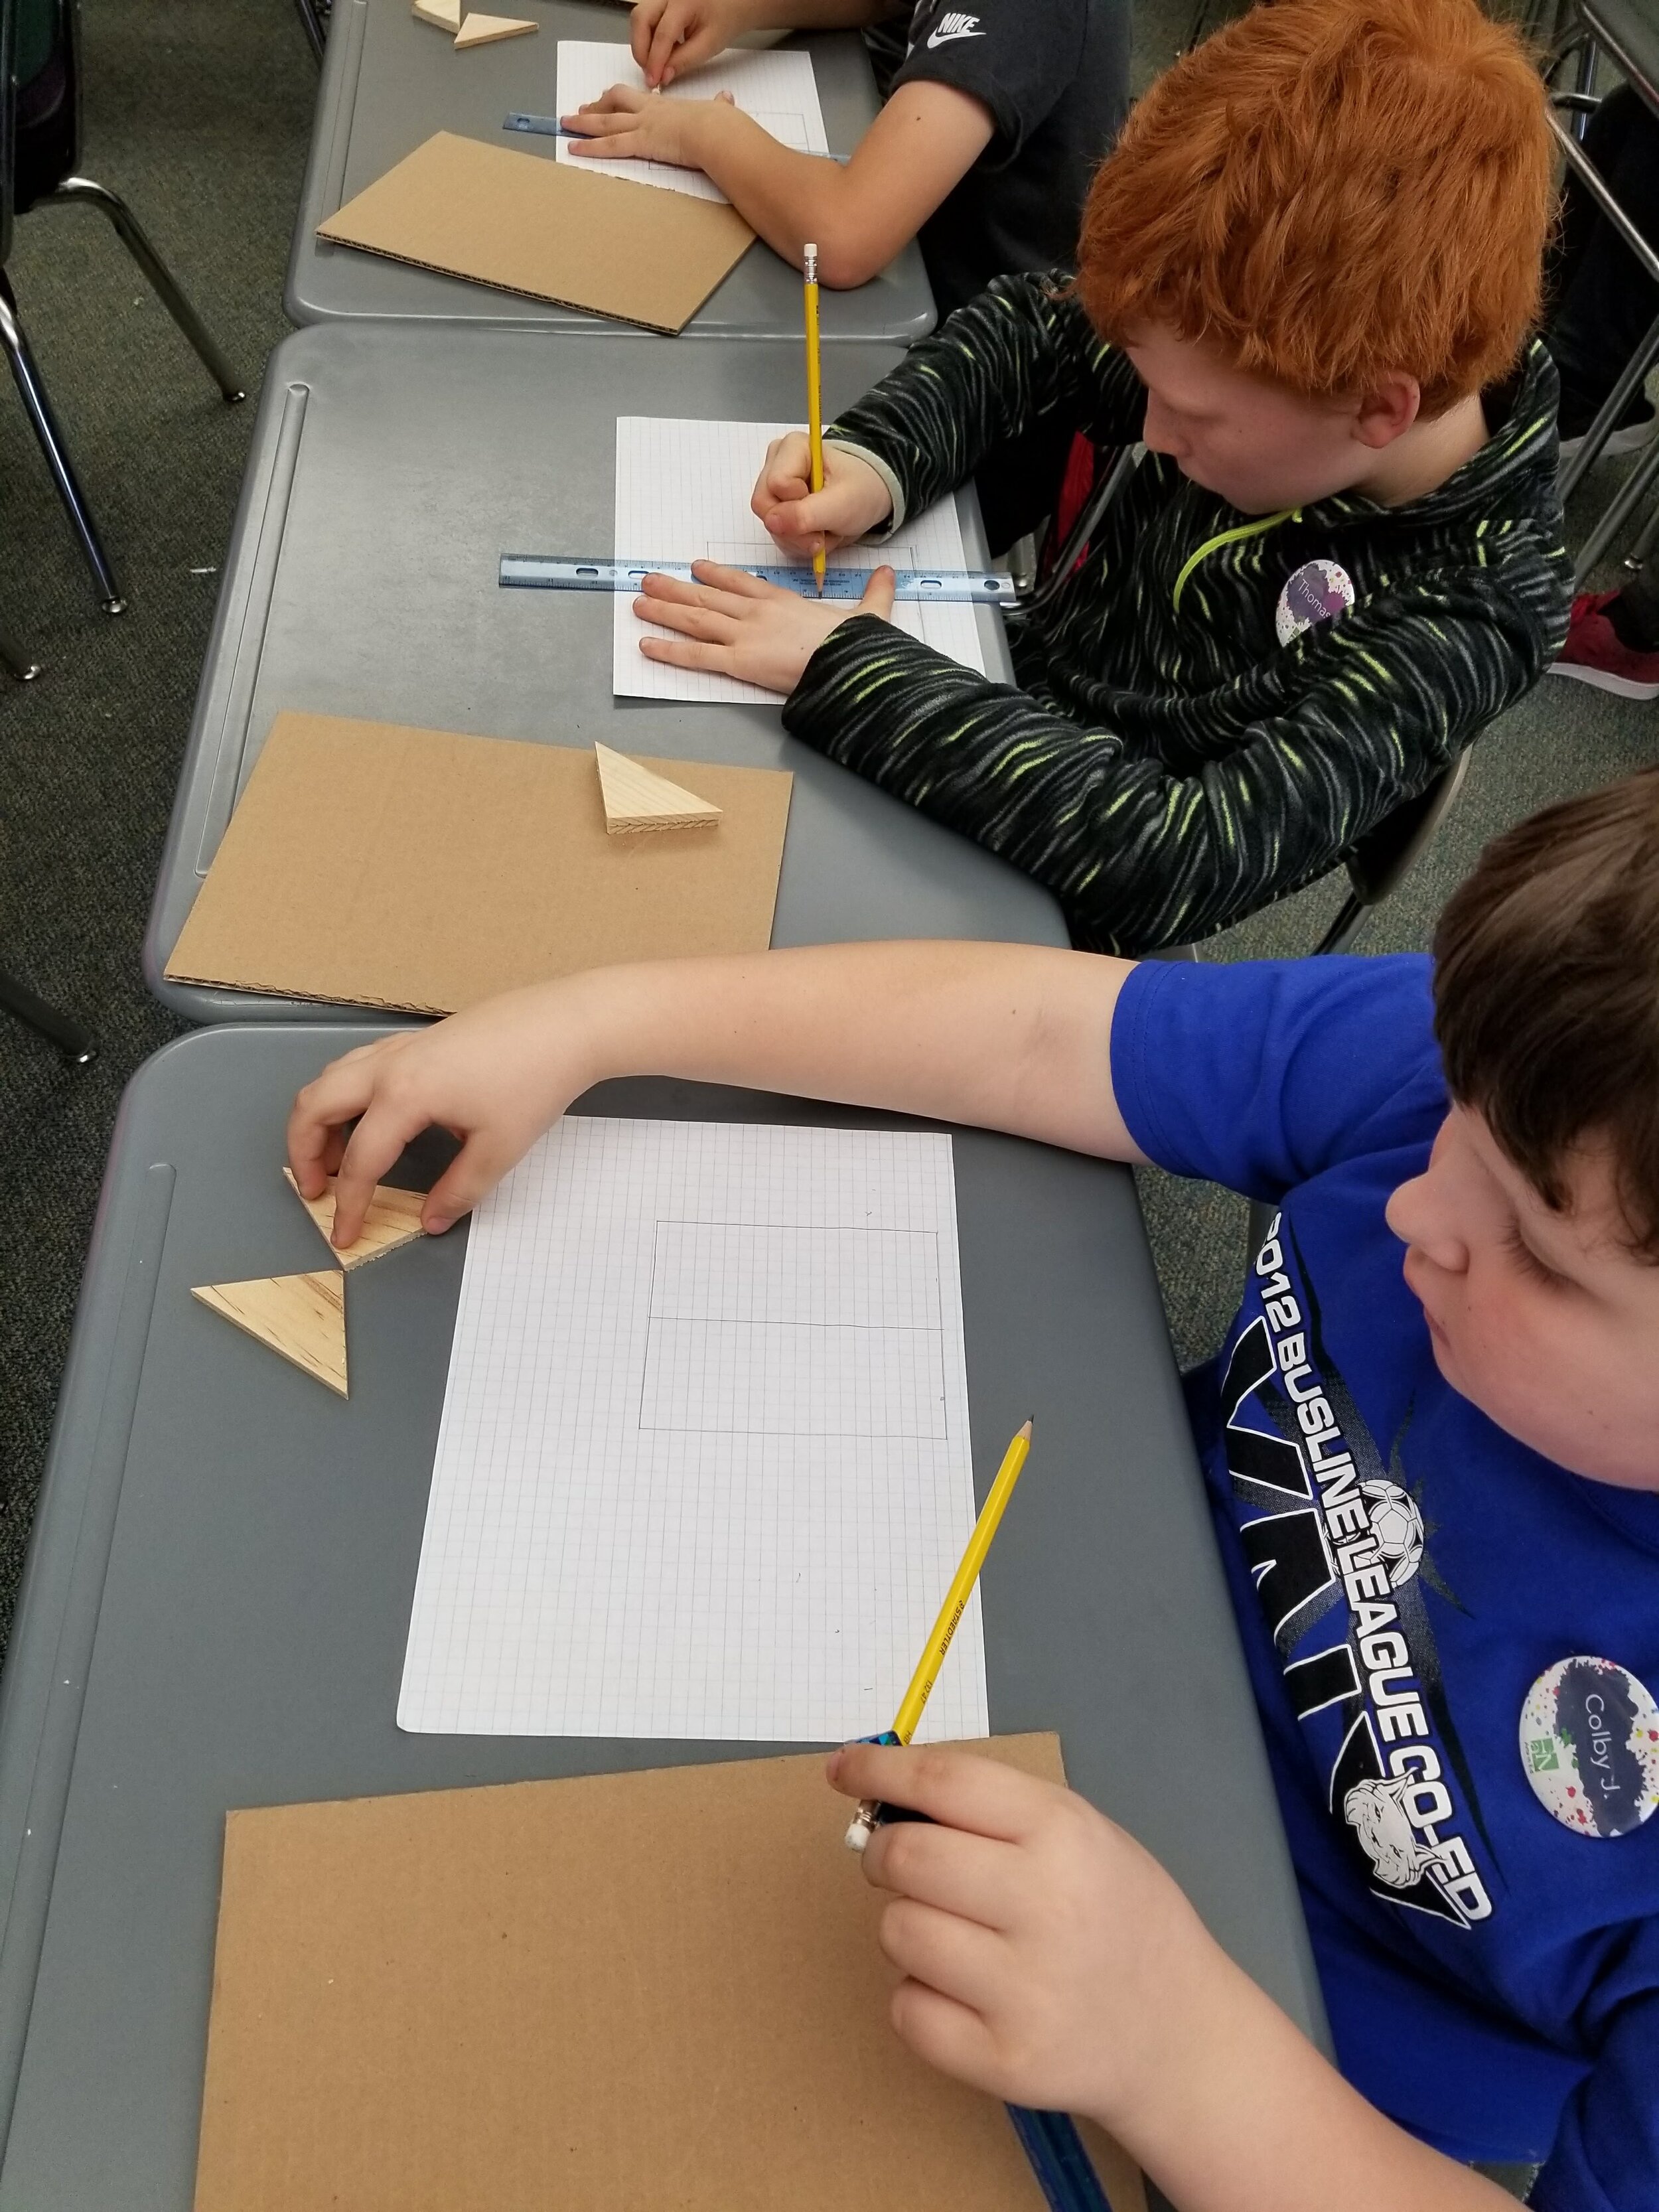
Exhibition: Collaborate with others to outline a community mural. What components do you share in each of your individual drawings? What is important to include/exclude? If you are using multiple panels, use your math skills to measure and line up objects in your composition. Reflect on your shading activities to select colors that give a sense of depth and texture. Write community poems to accompany your piece.
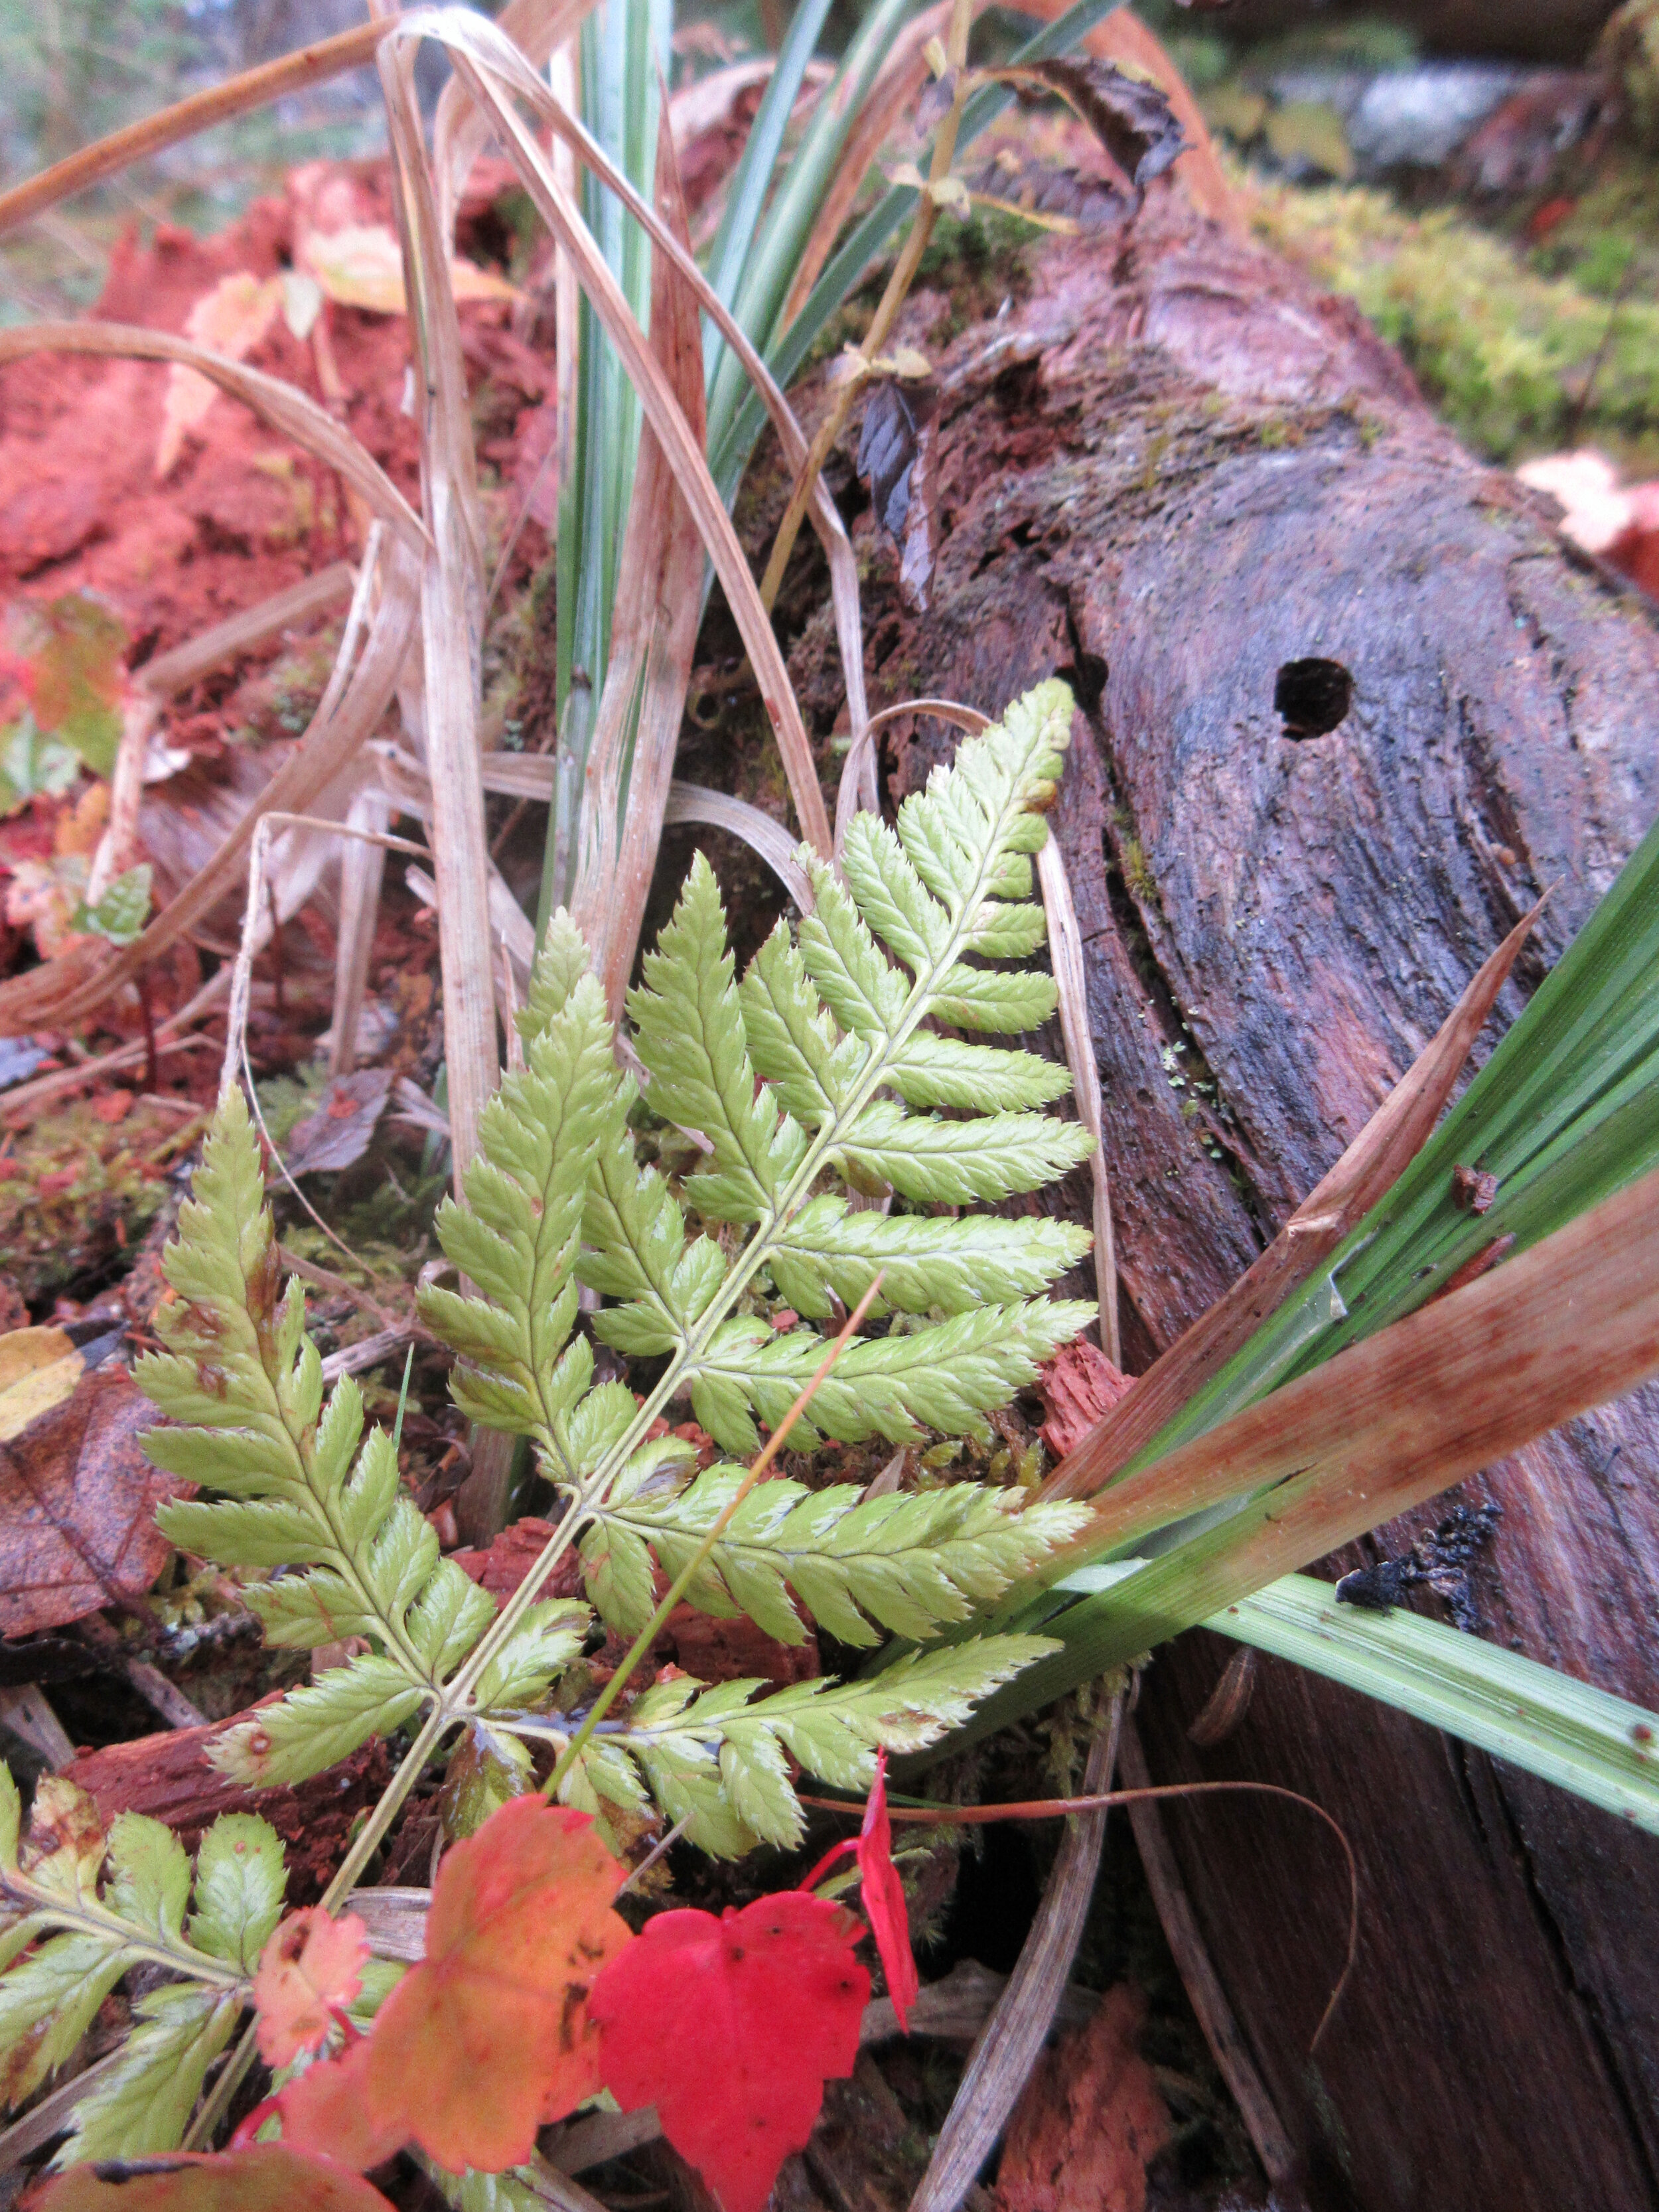
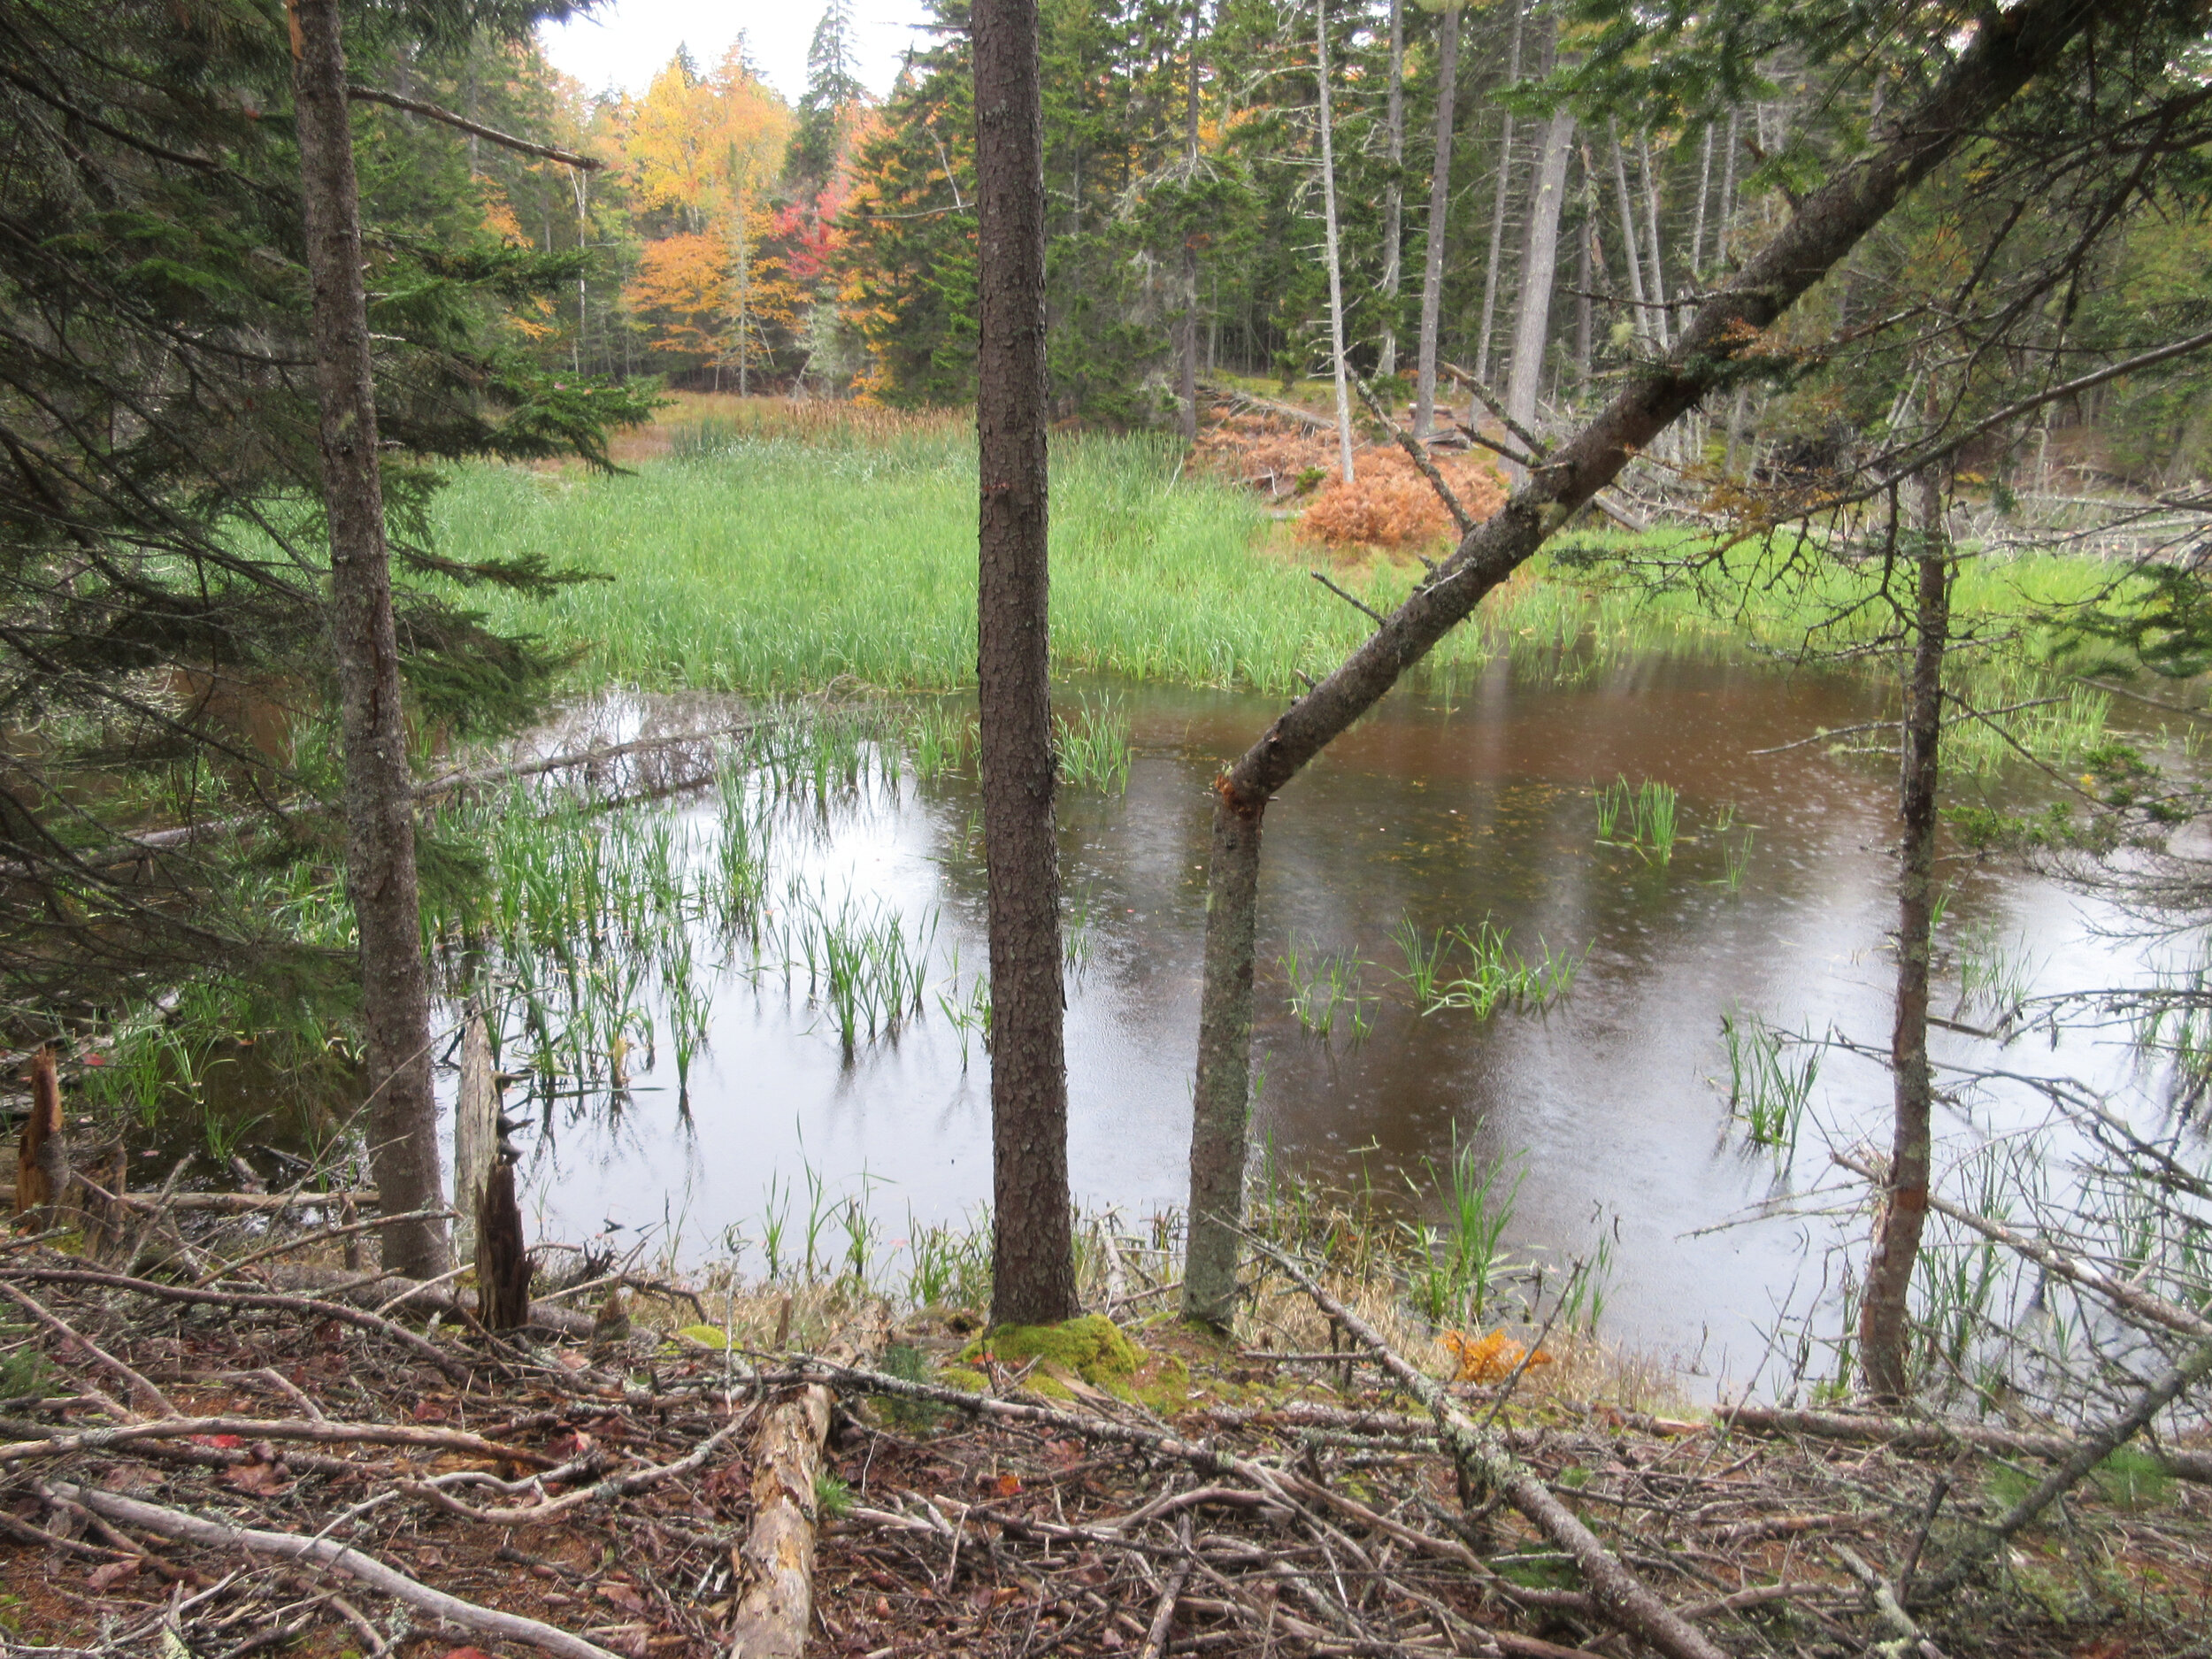
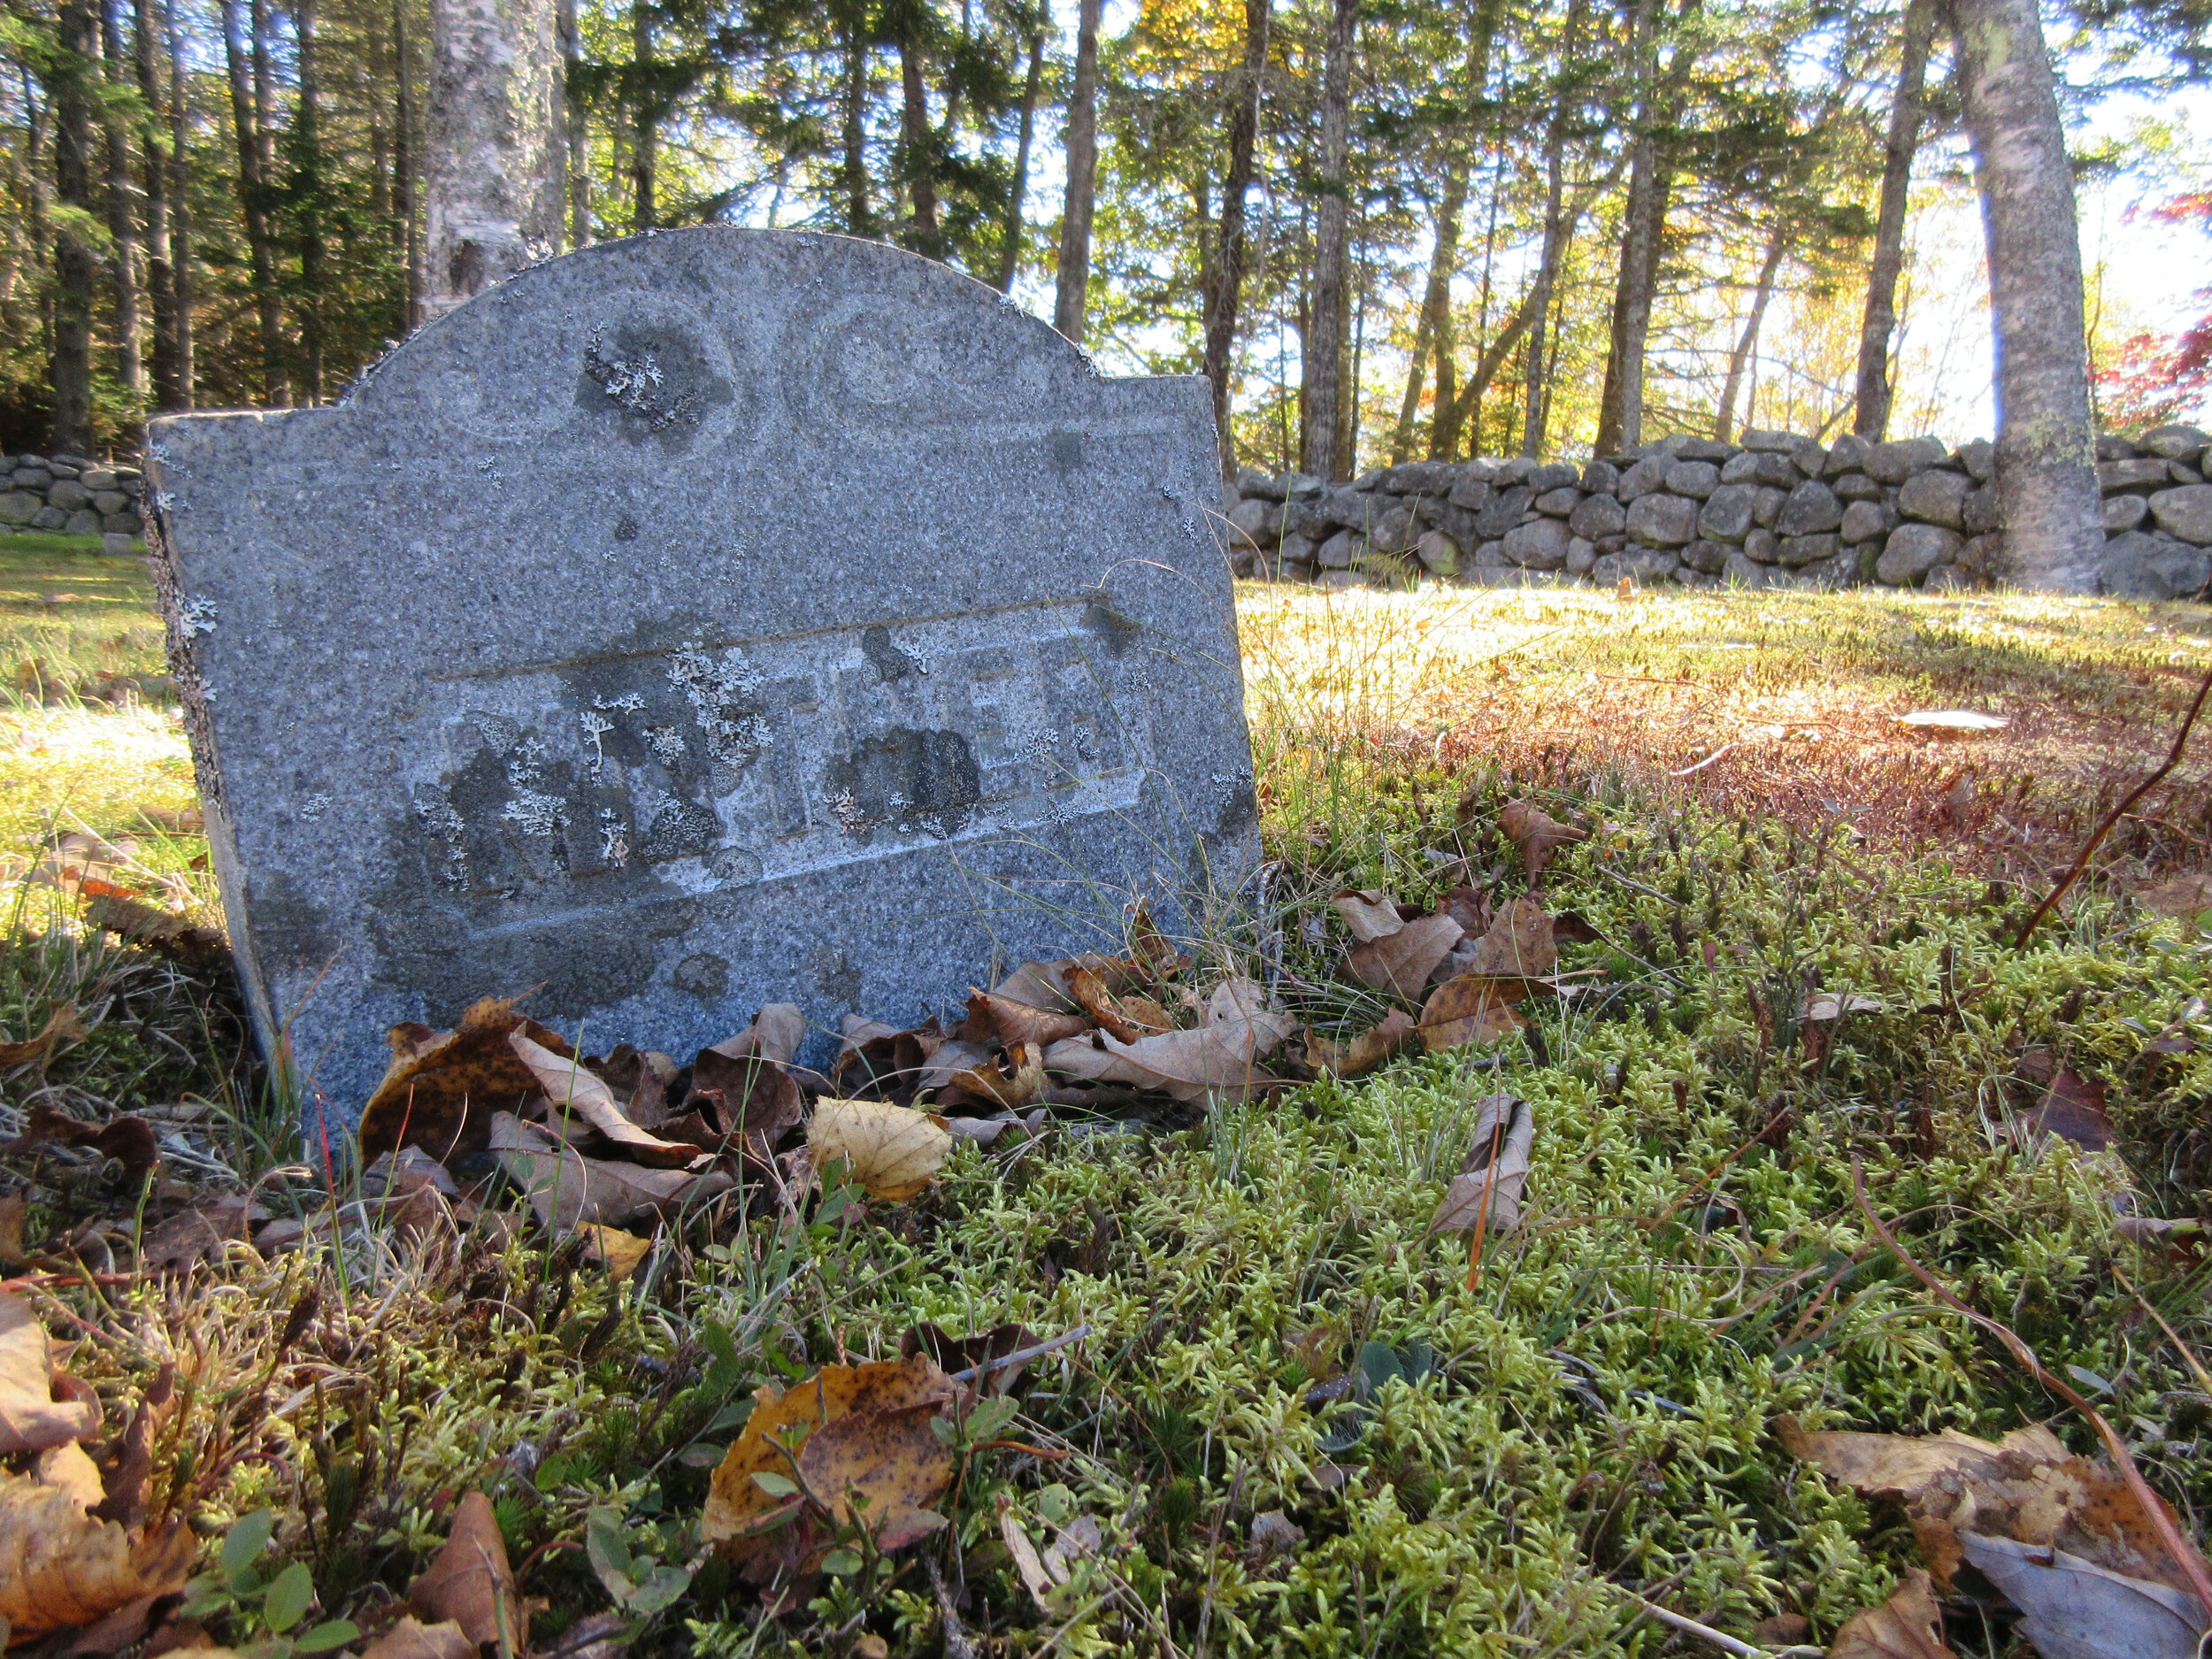
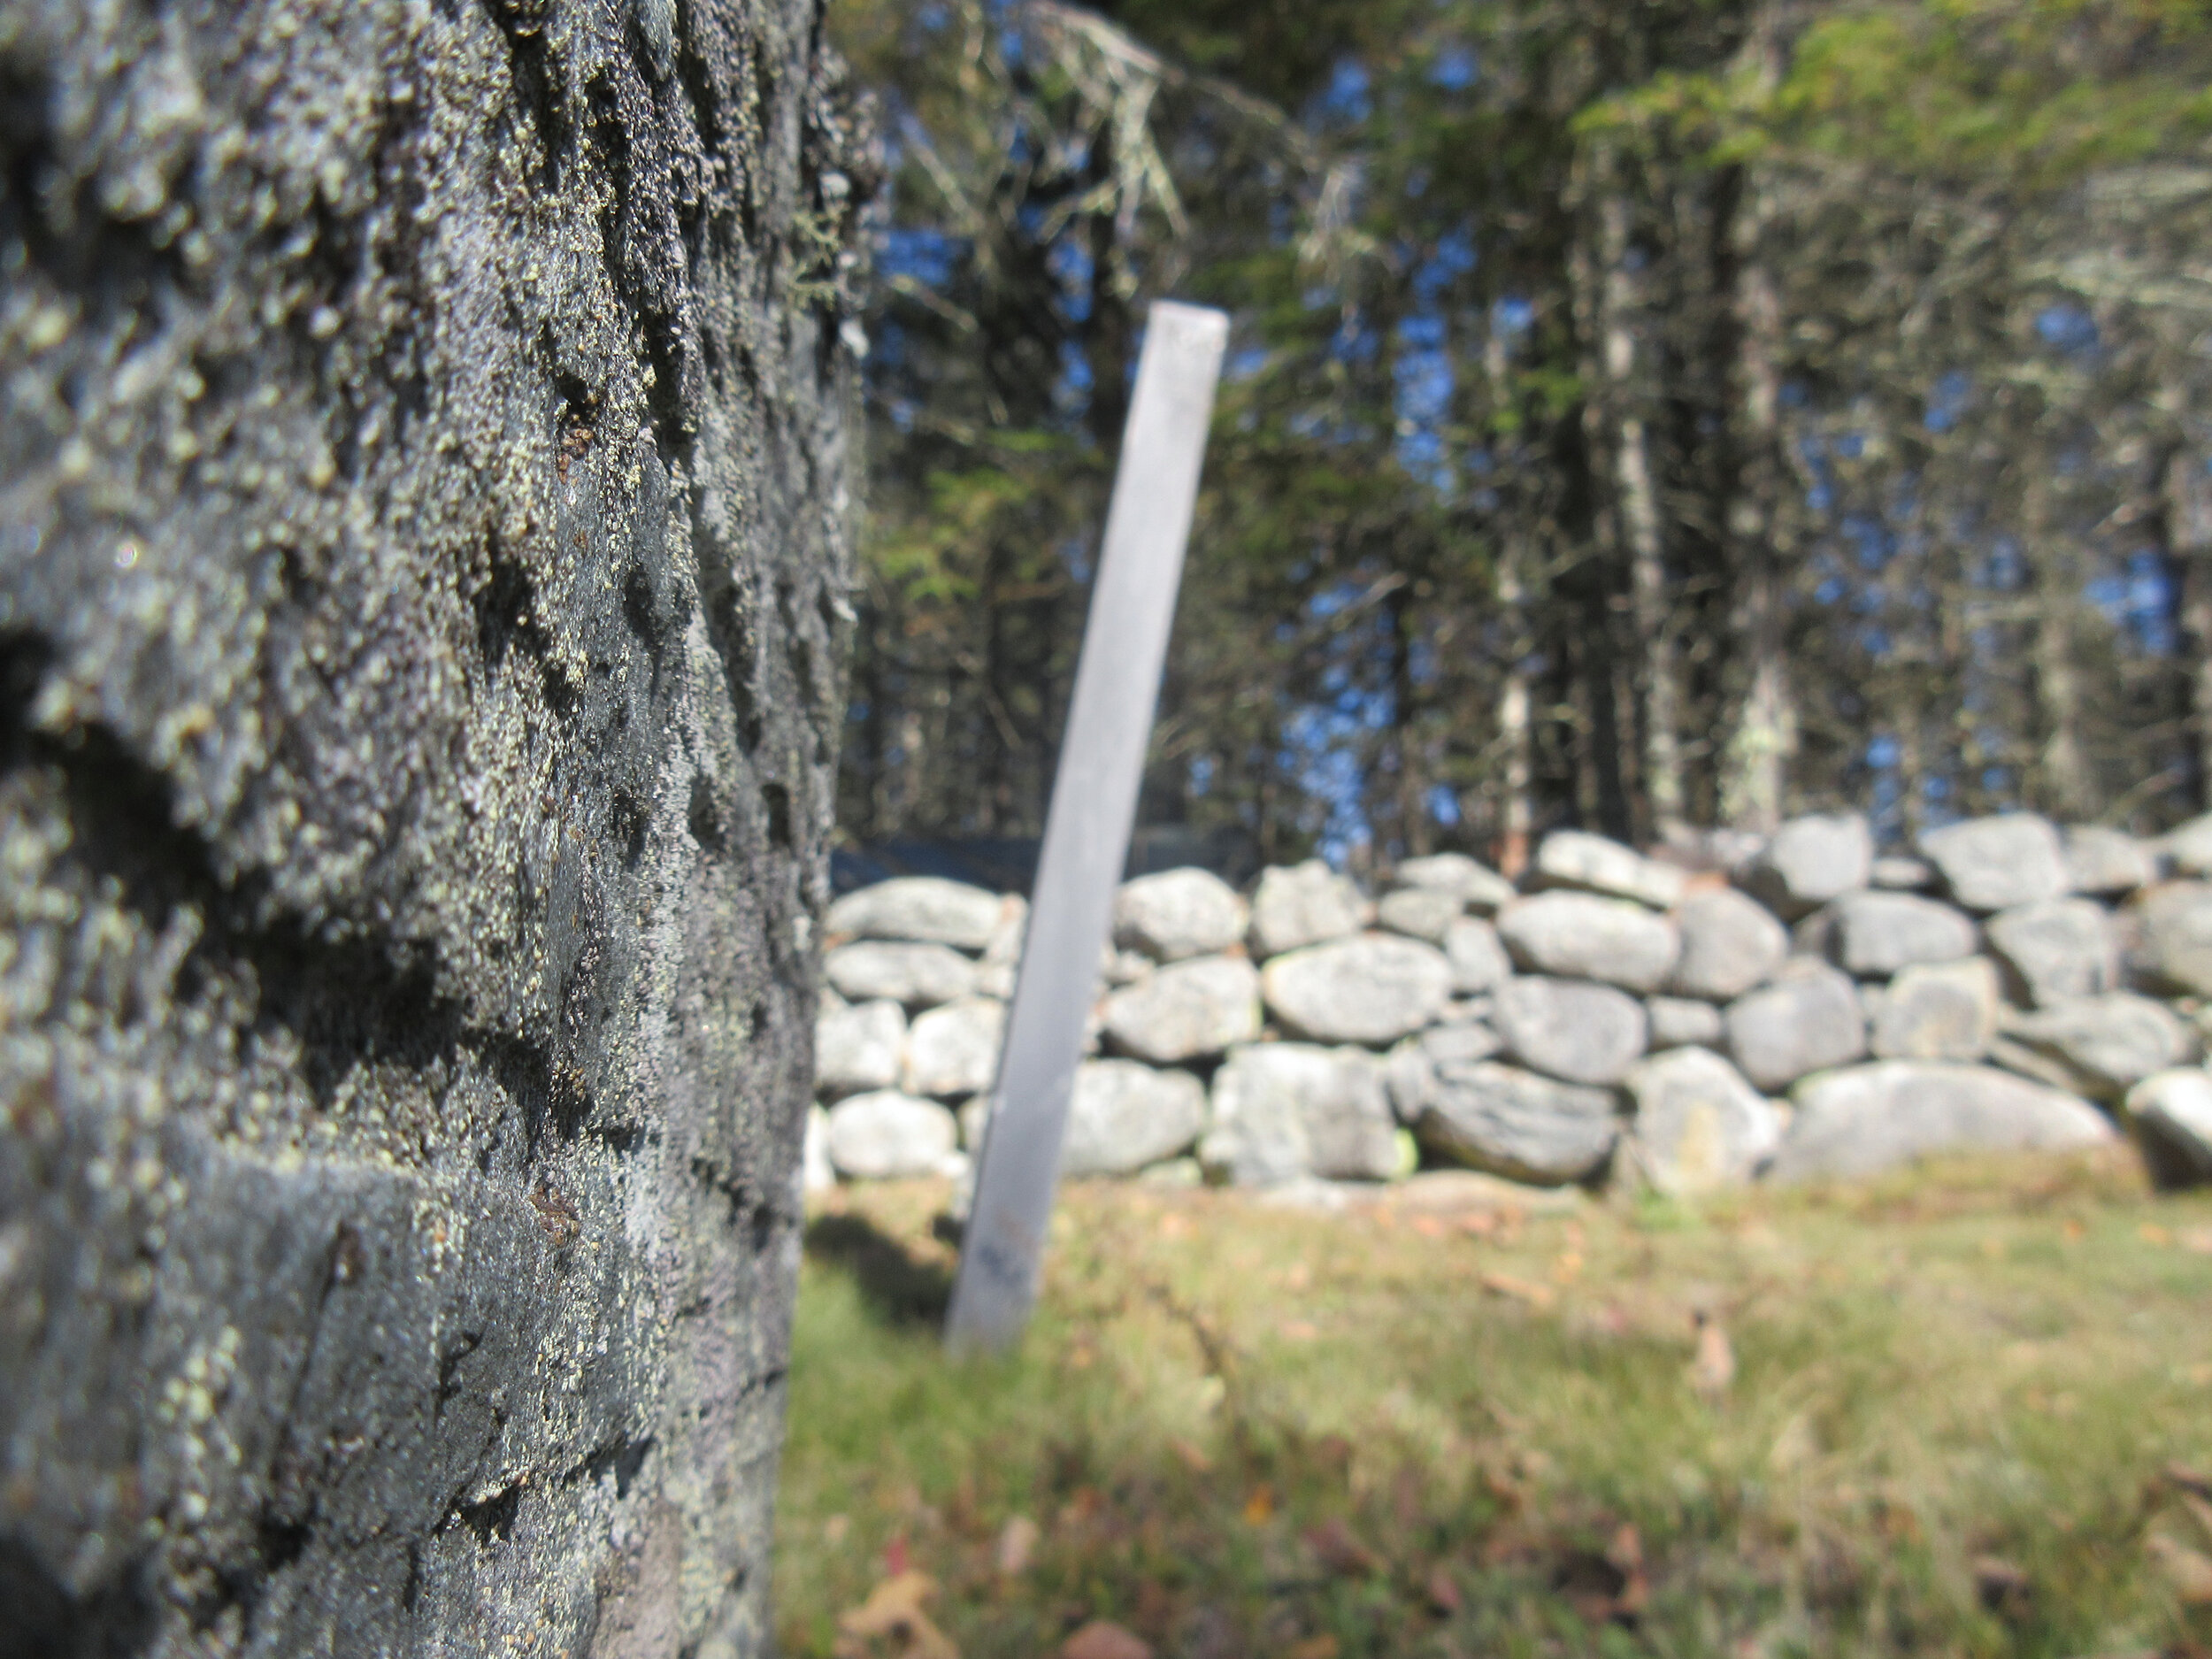
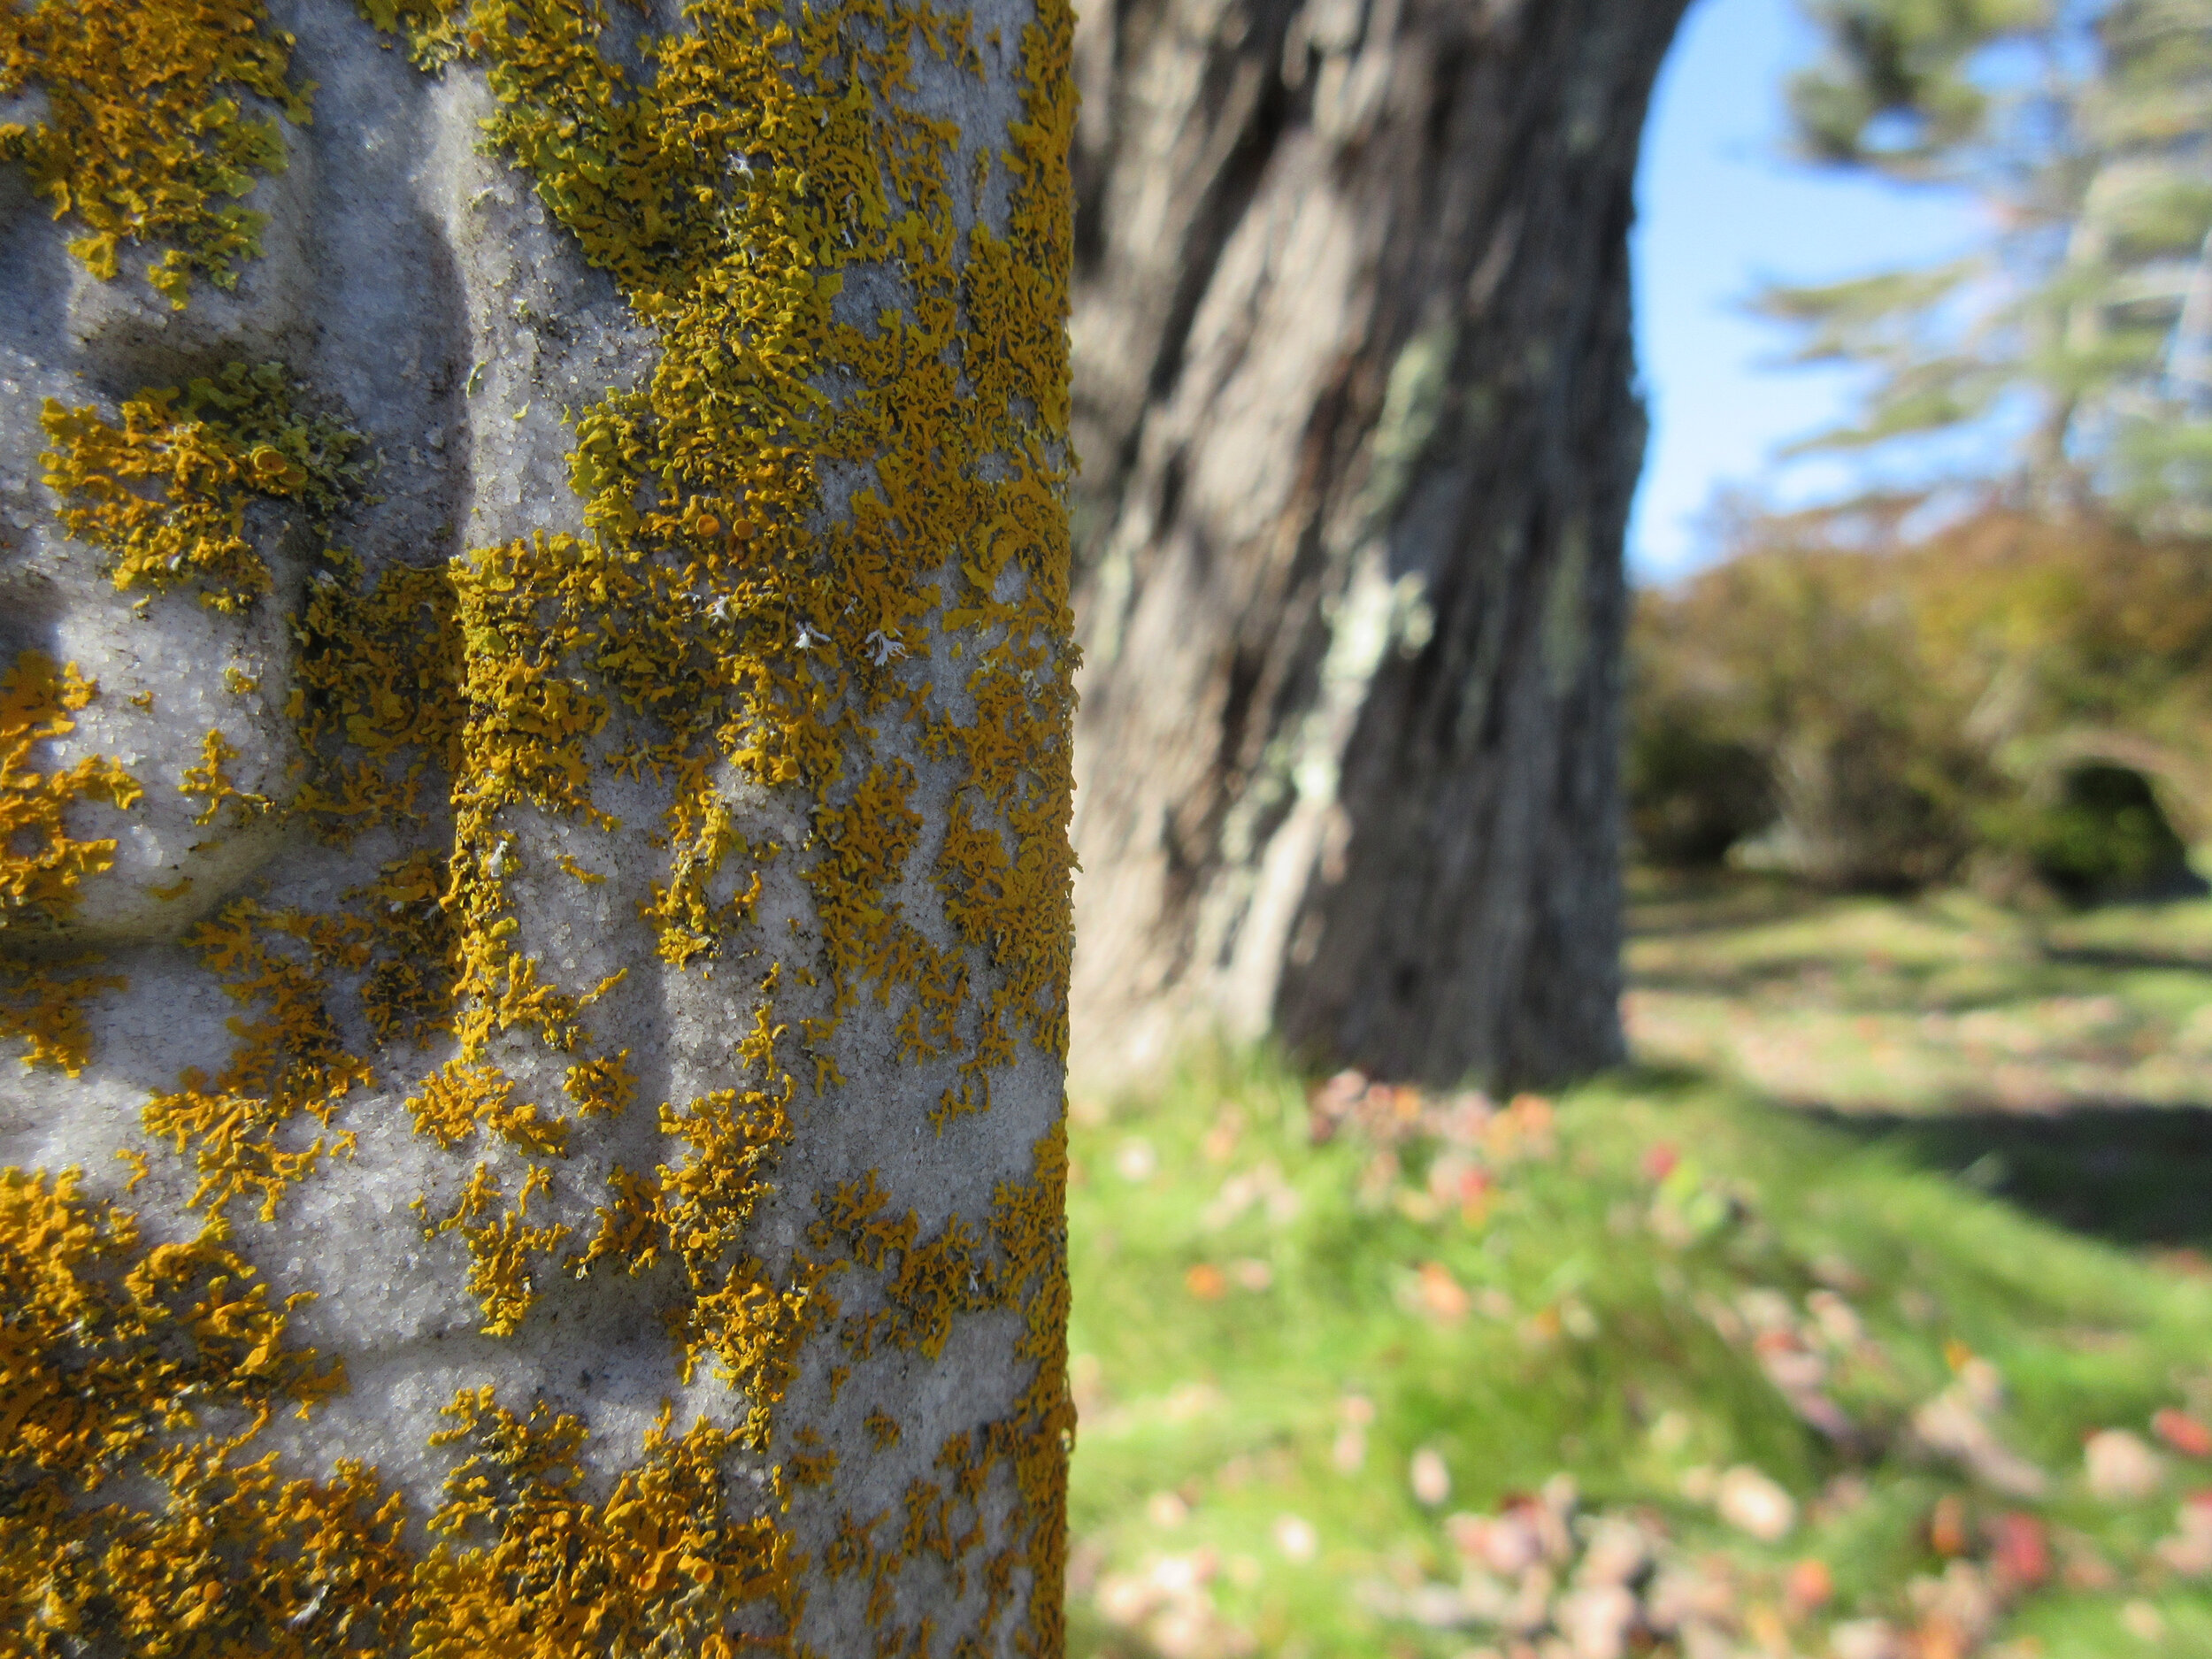
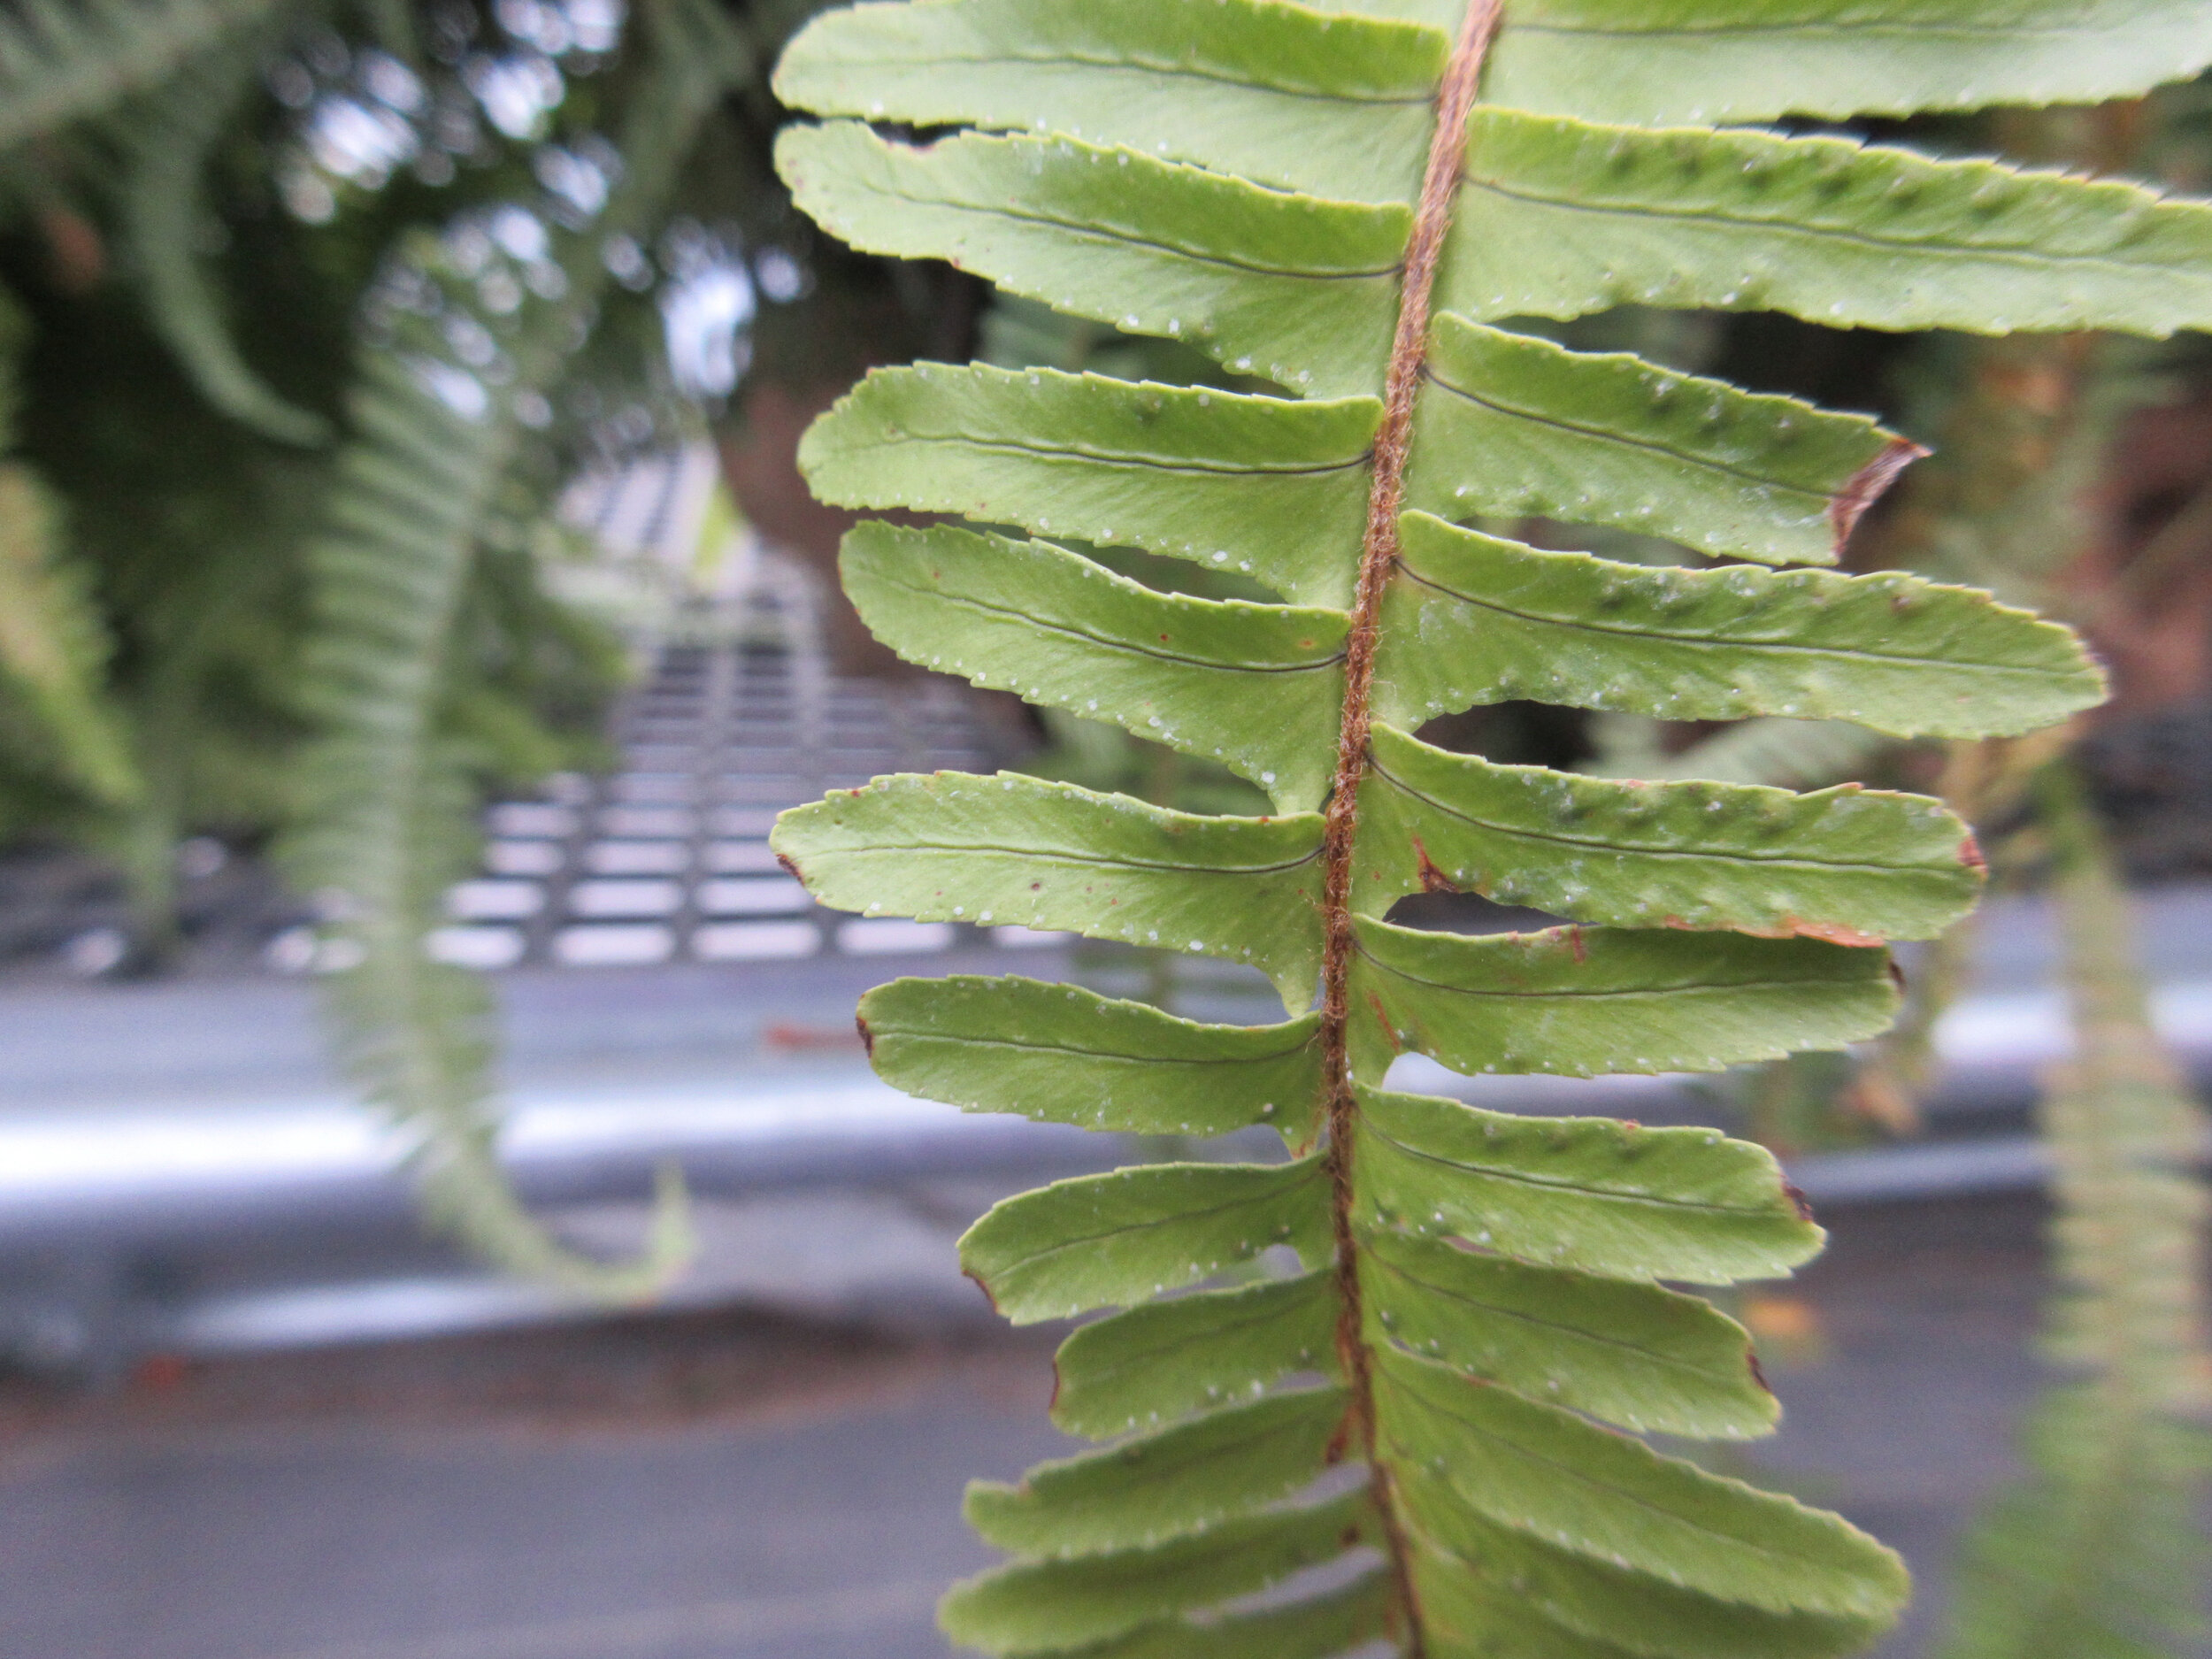
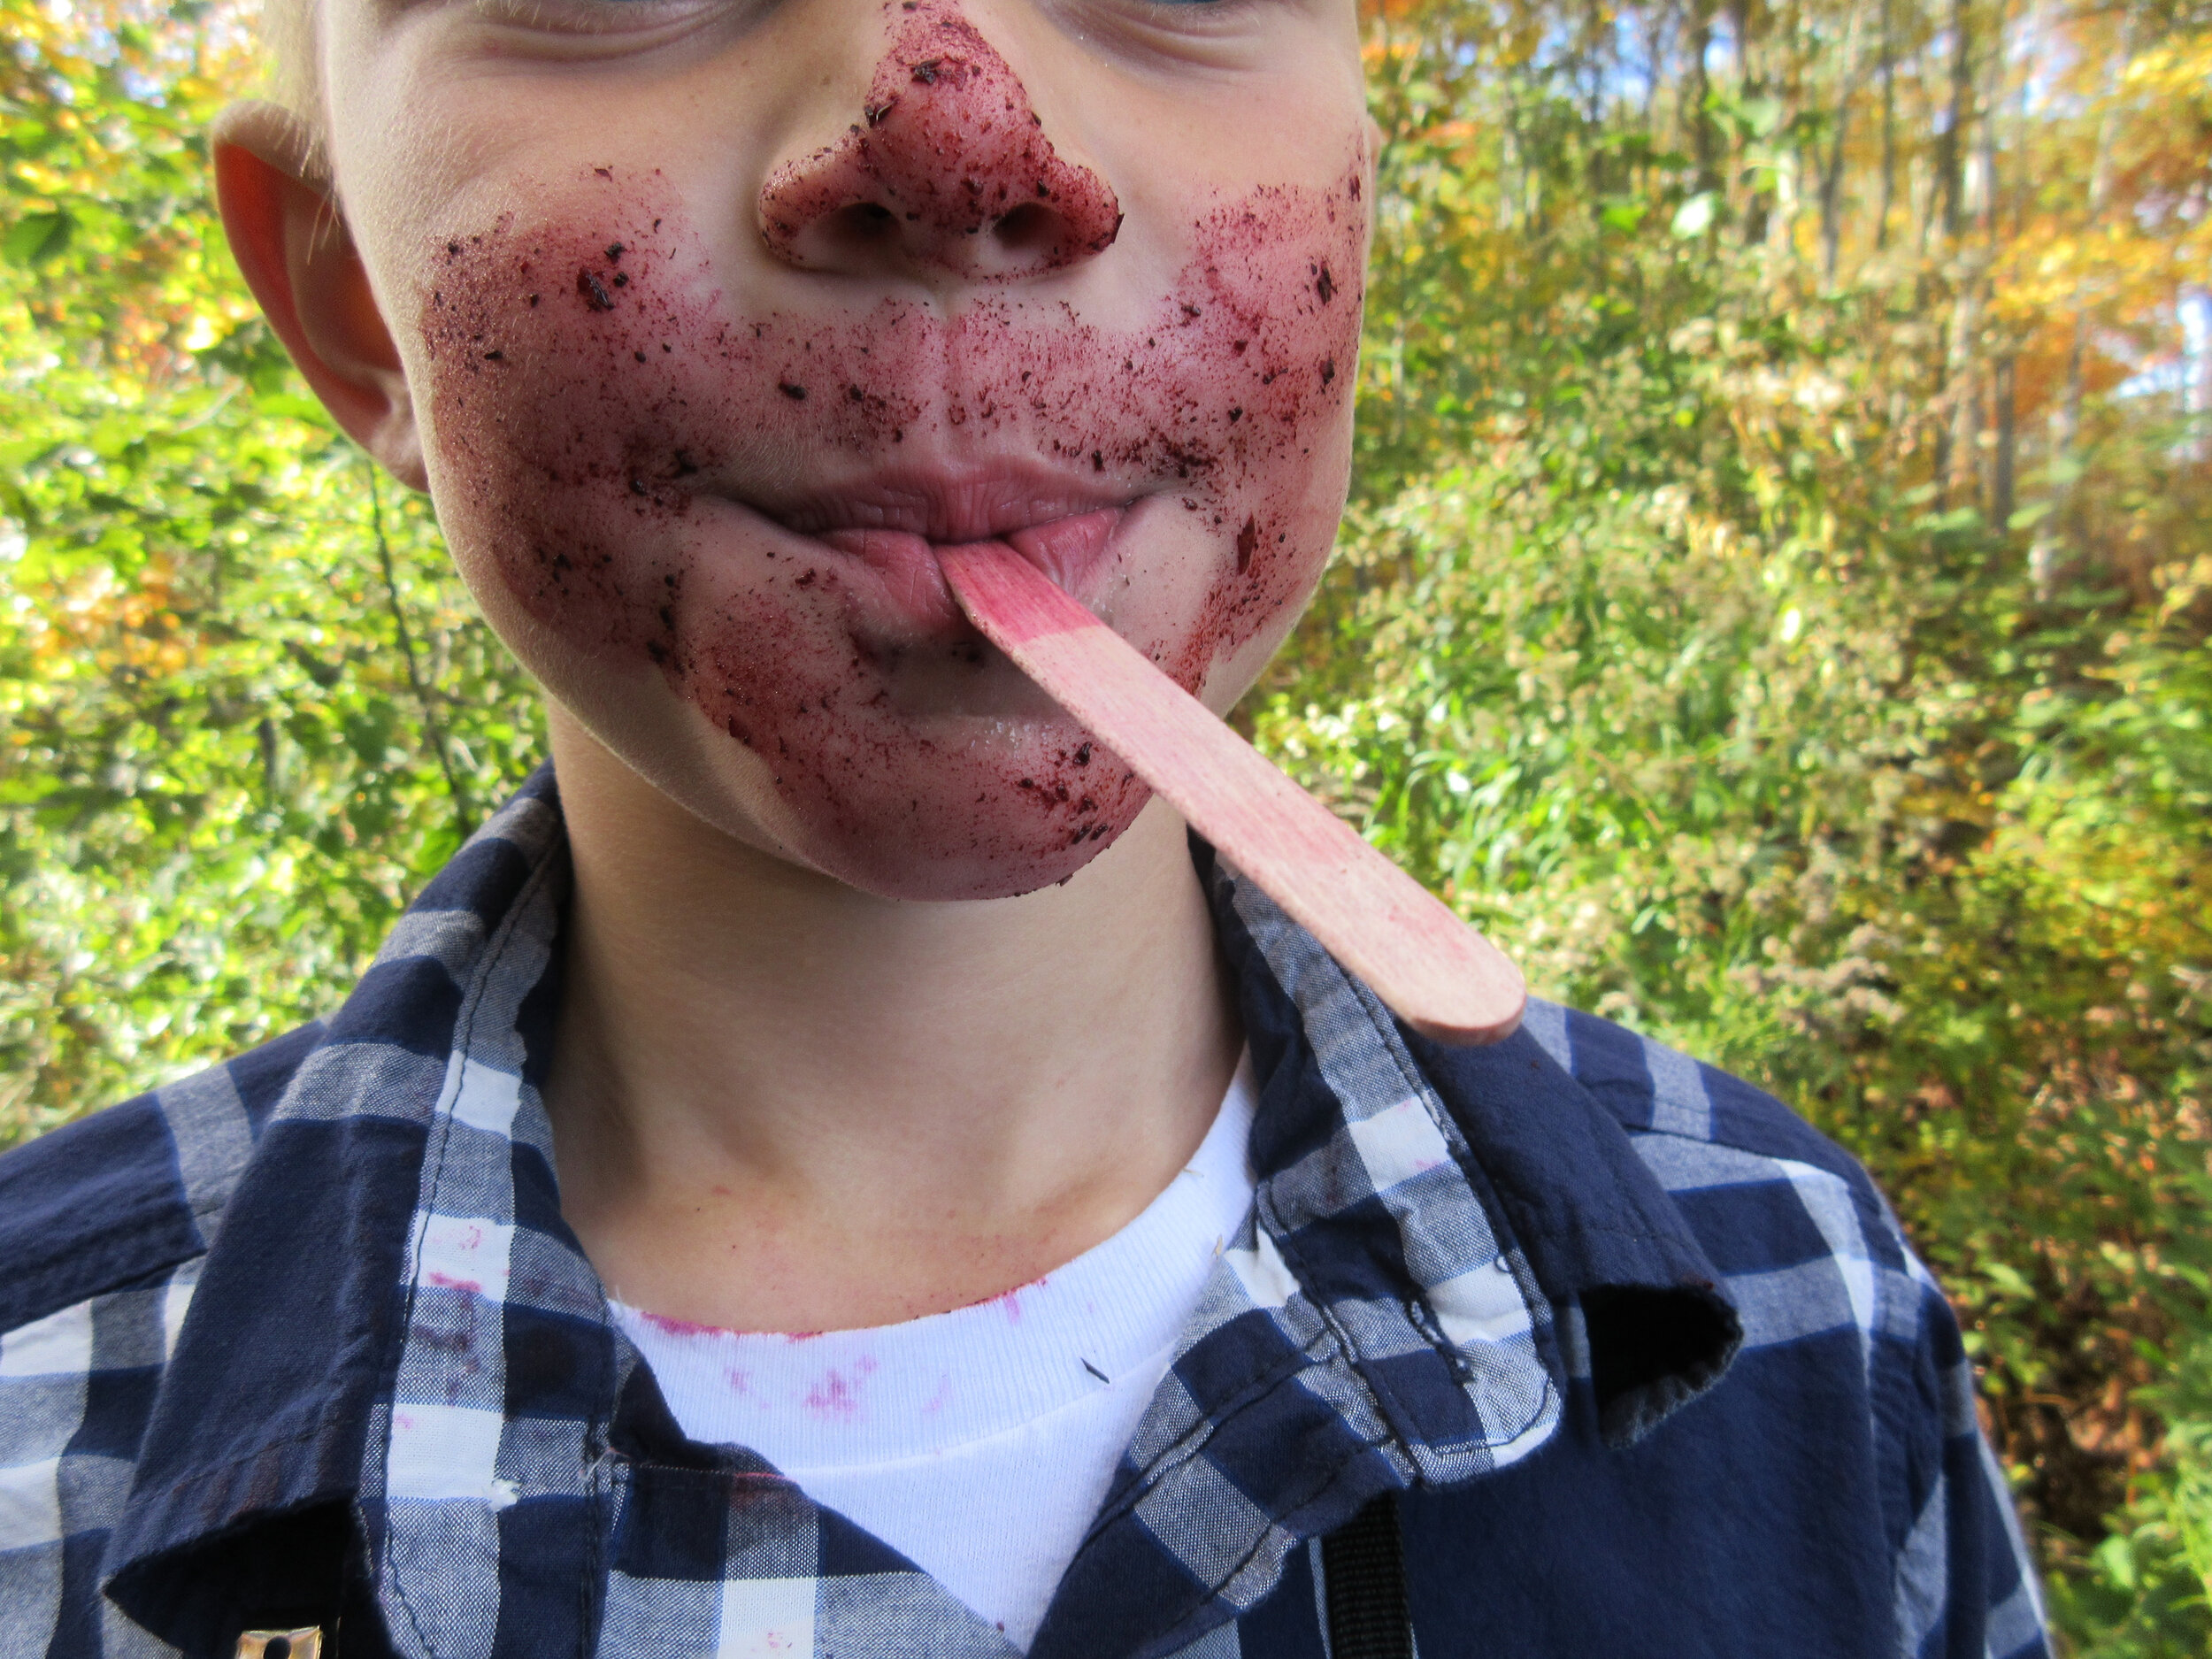
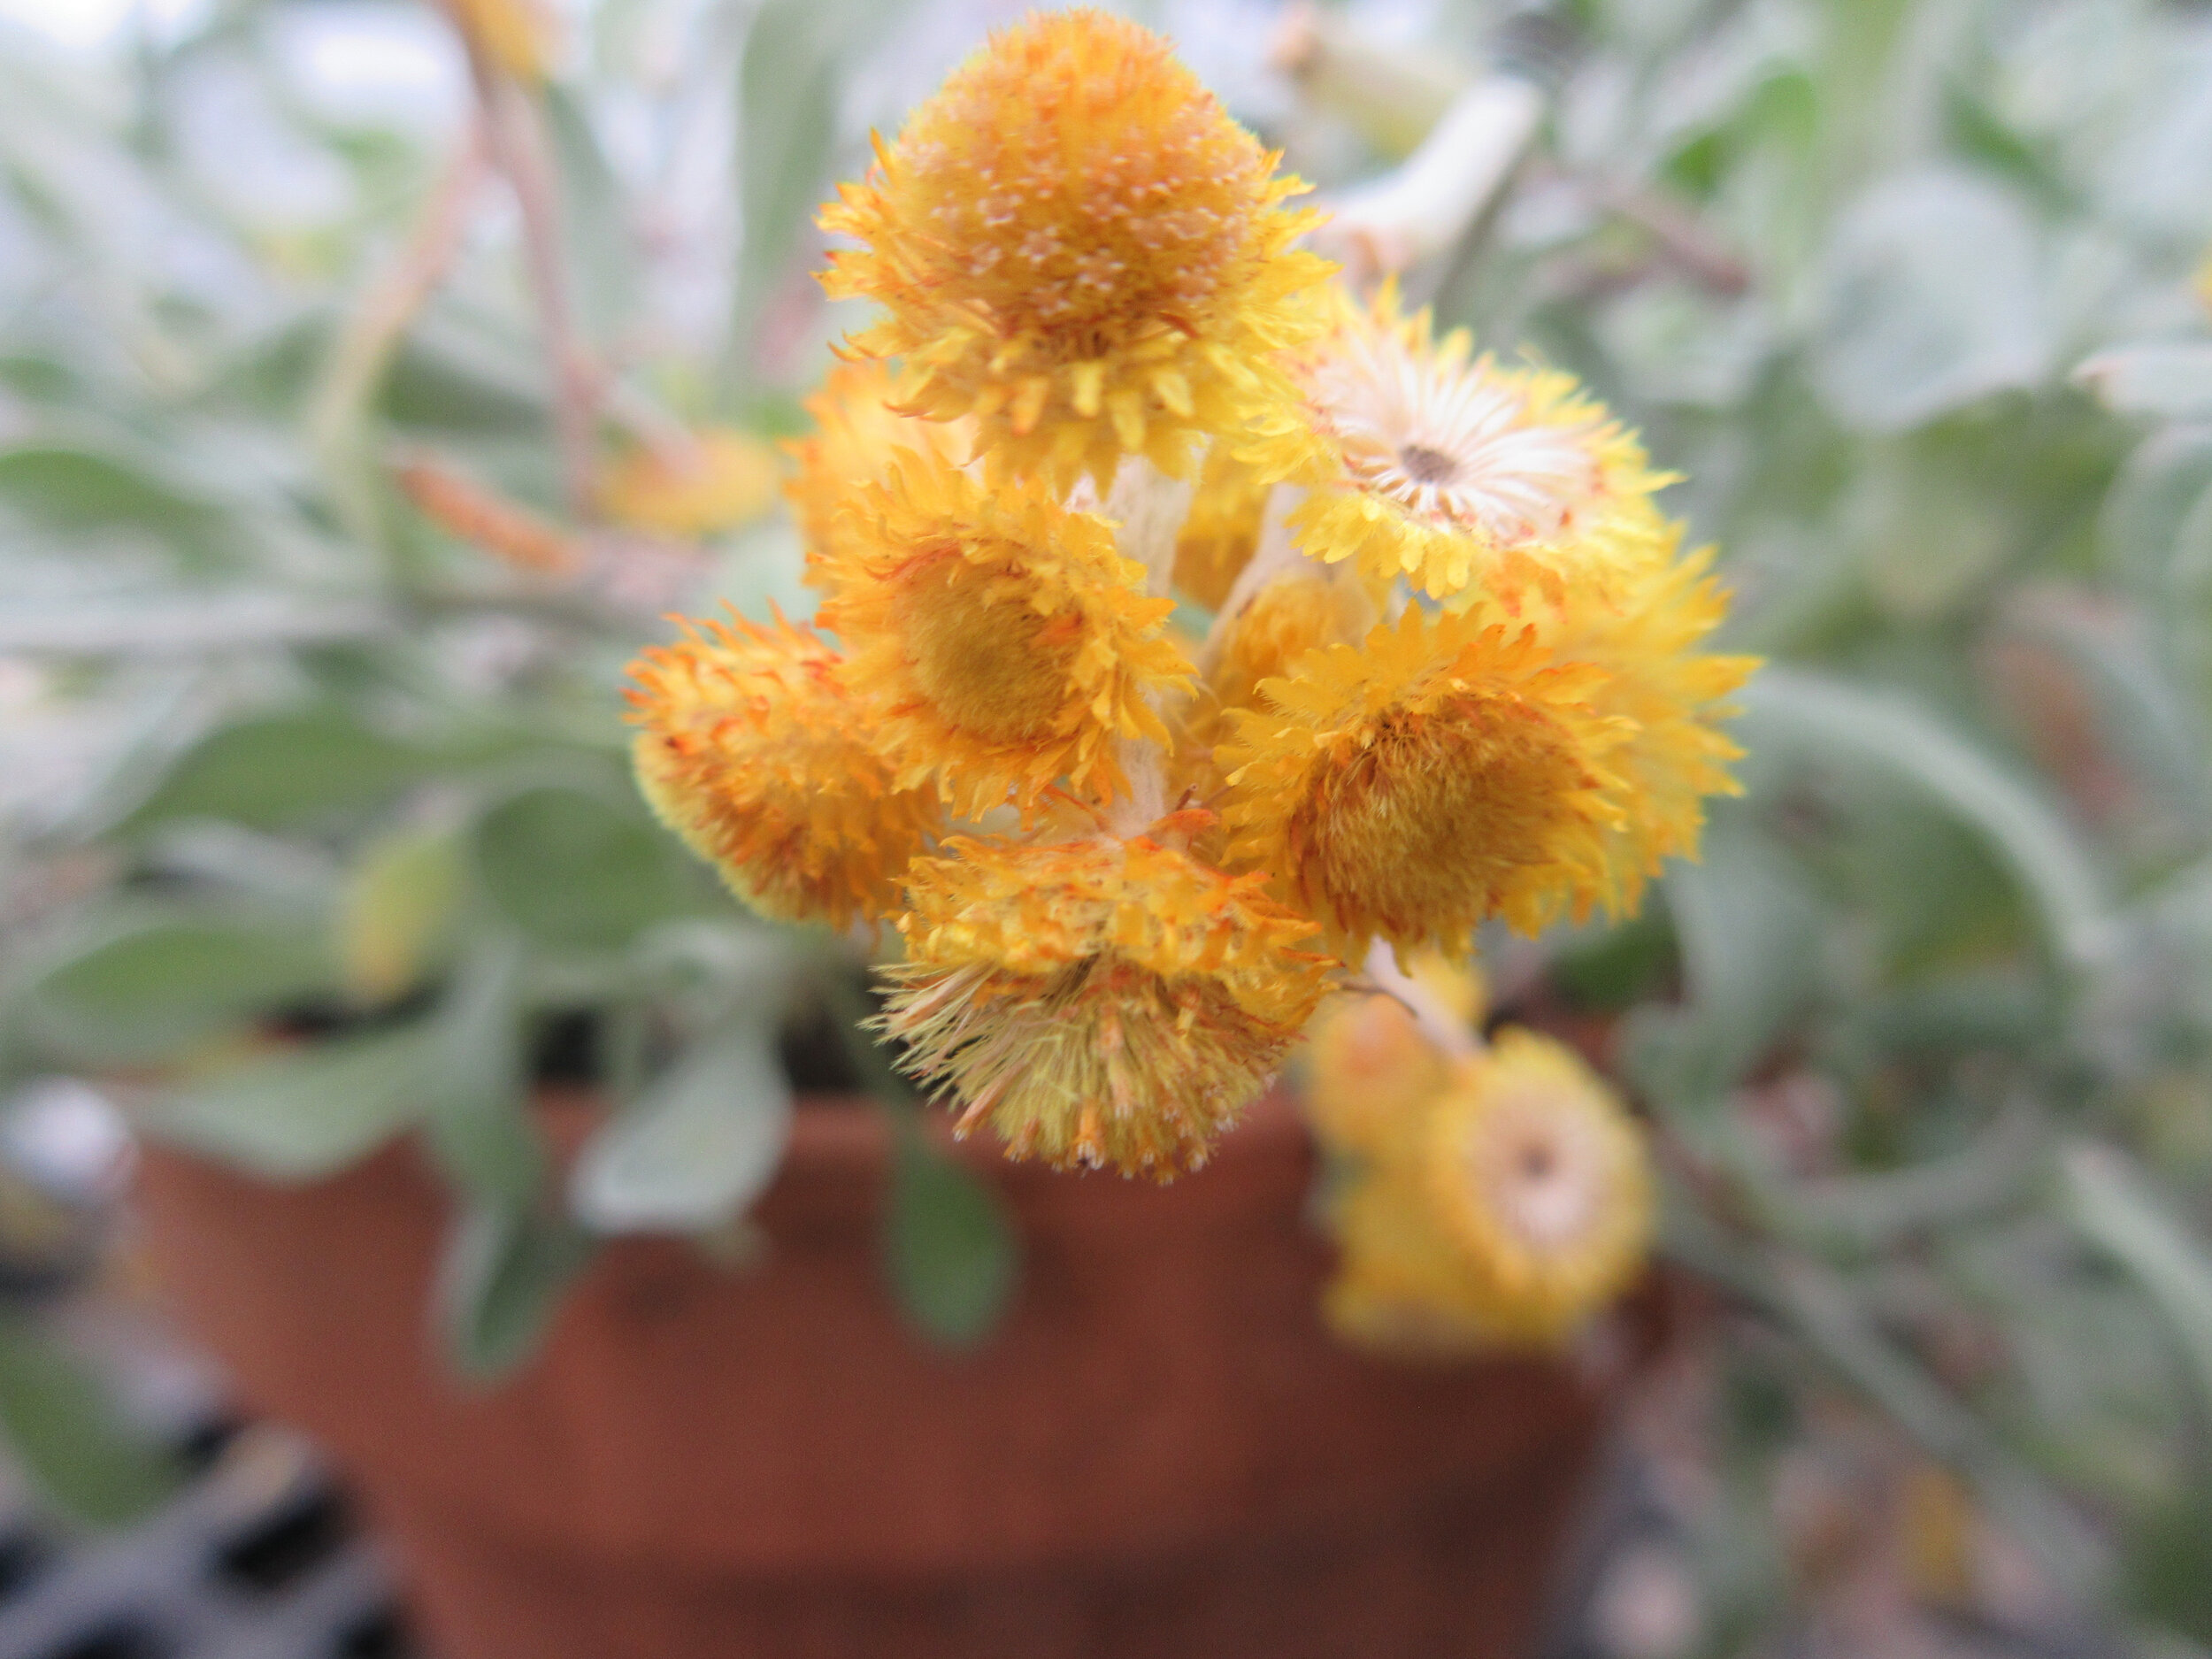
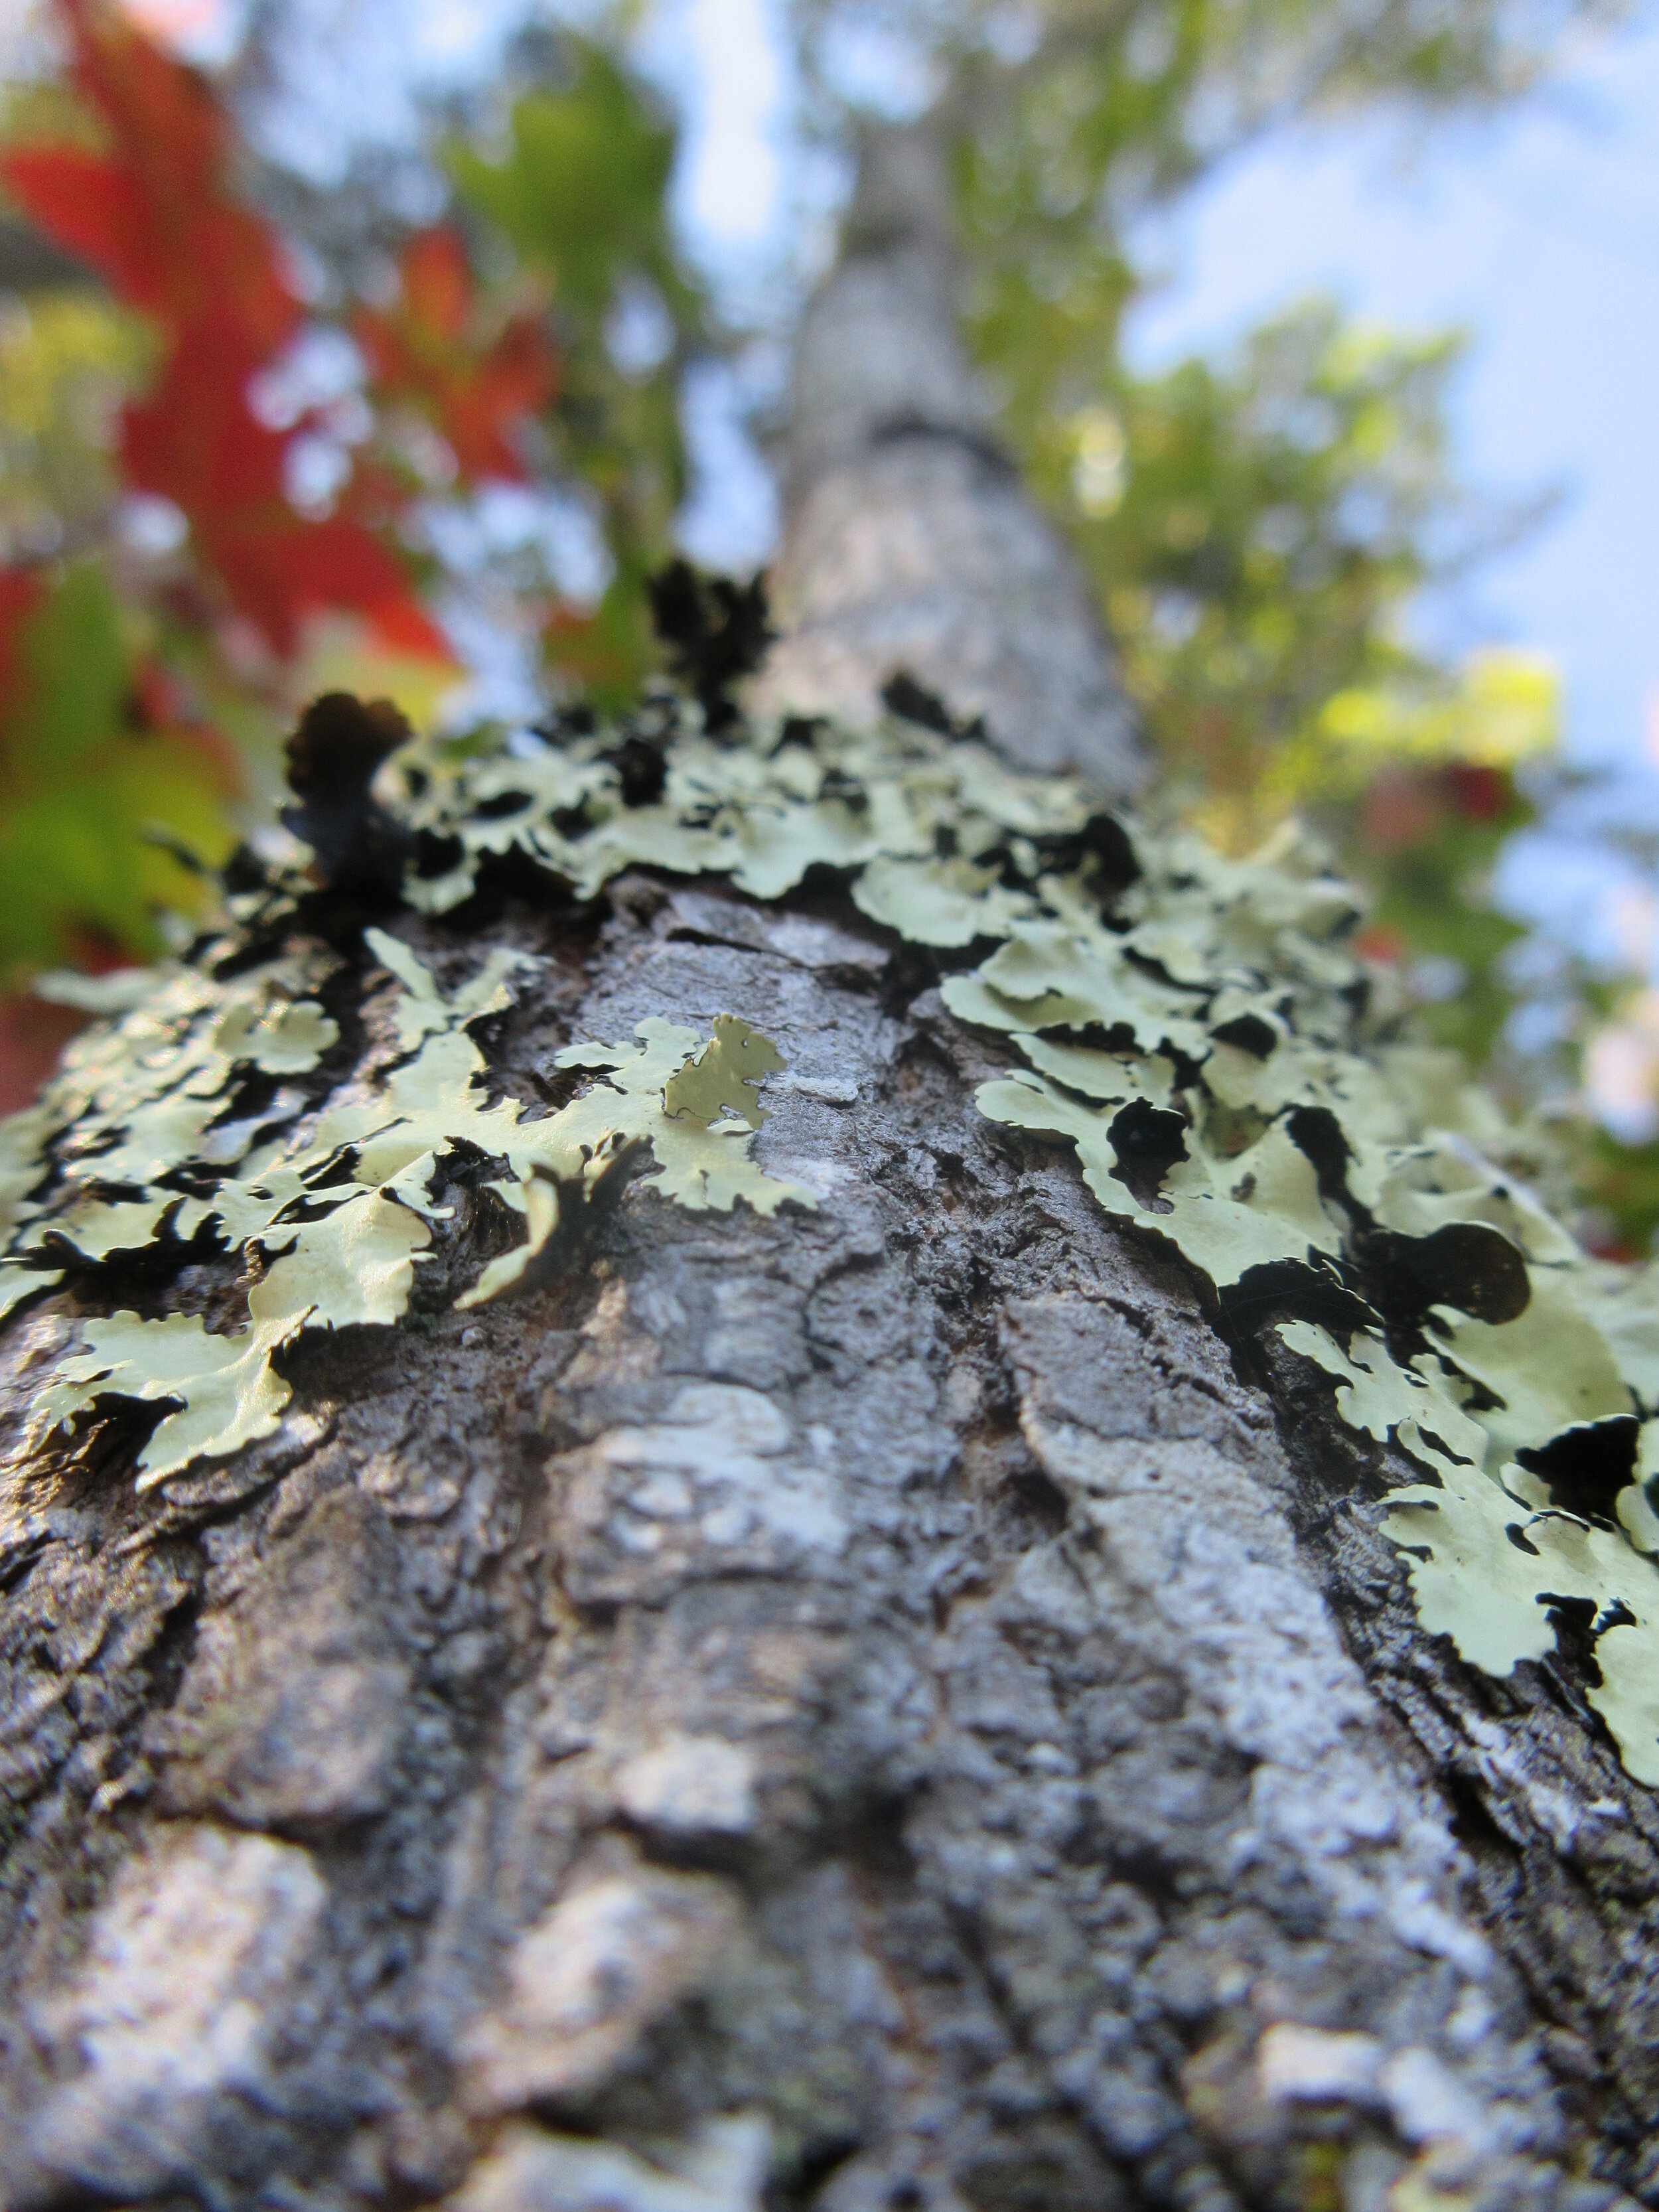
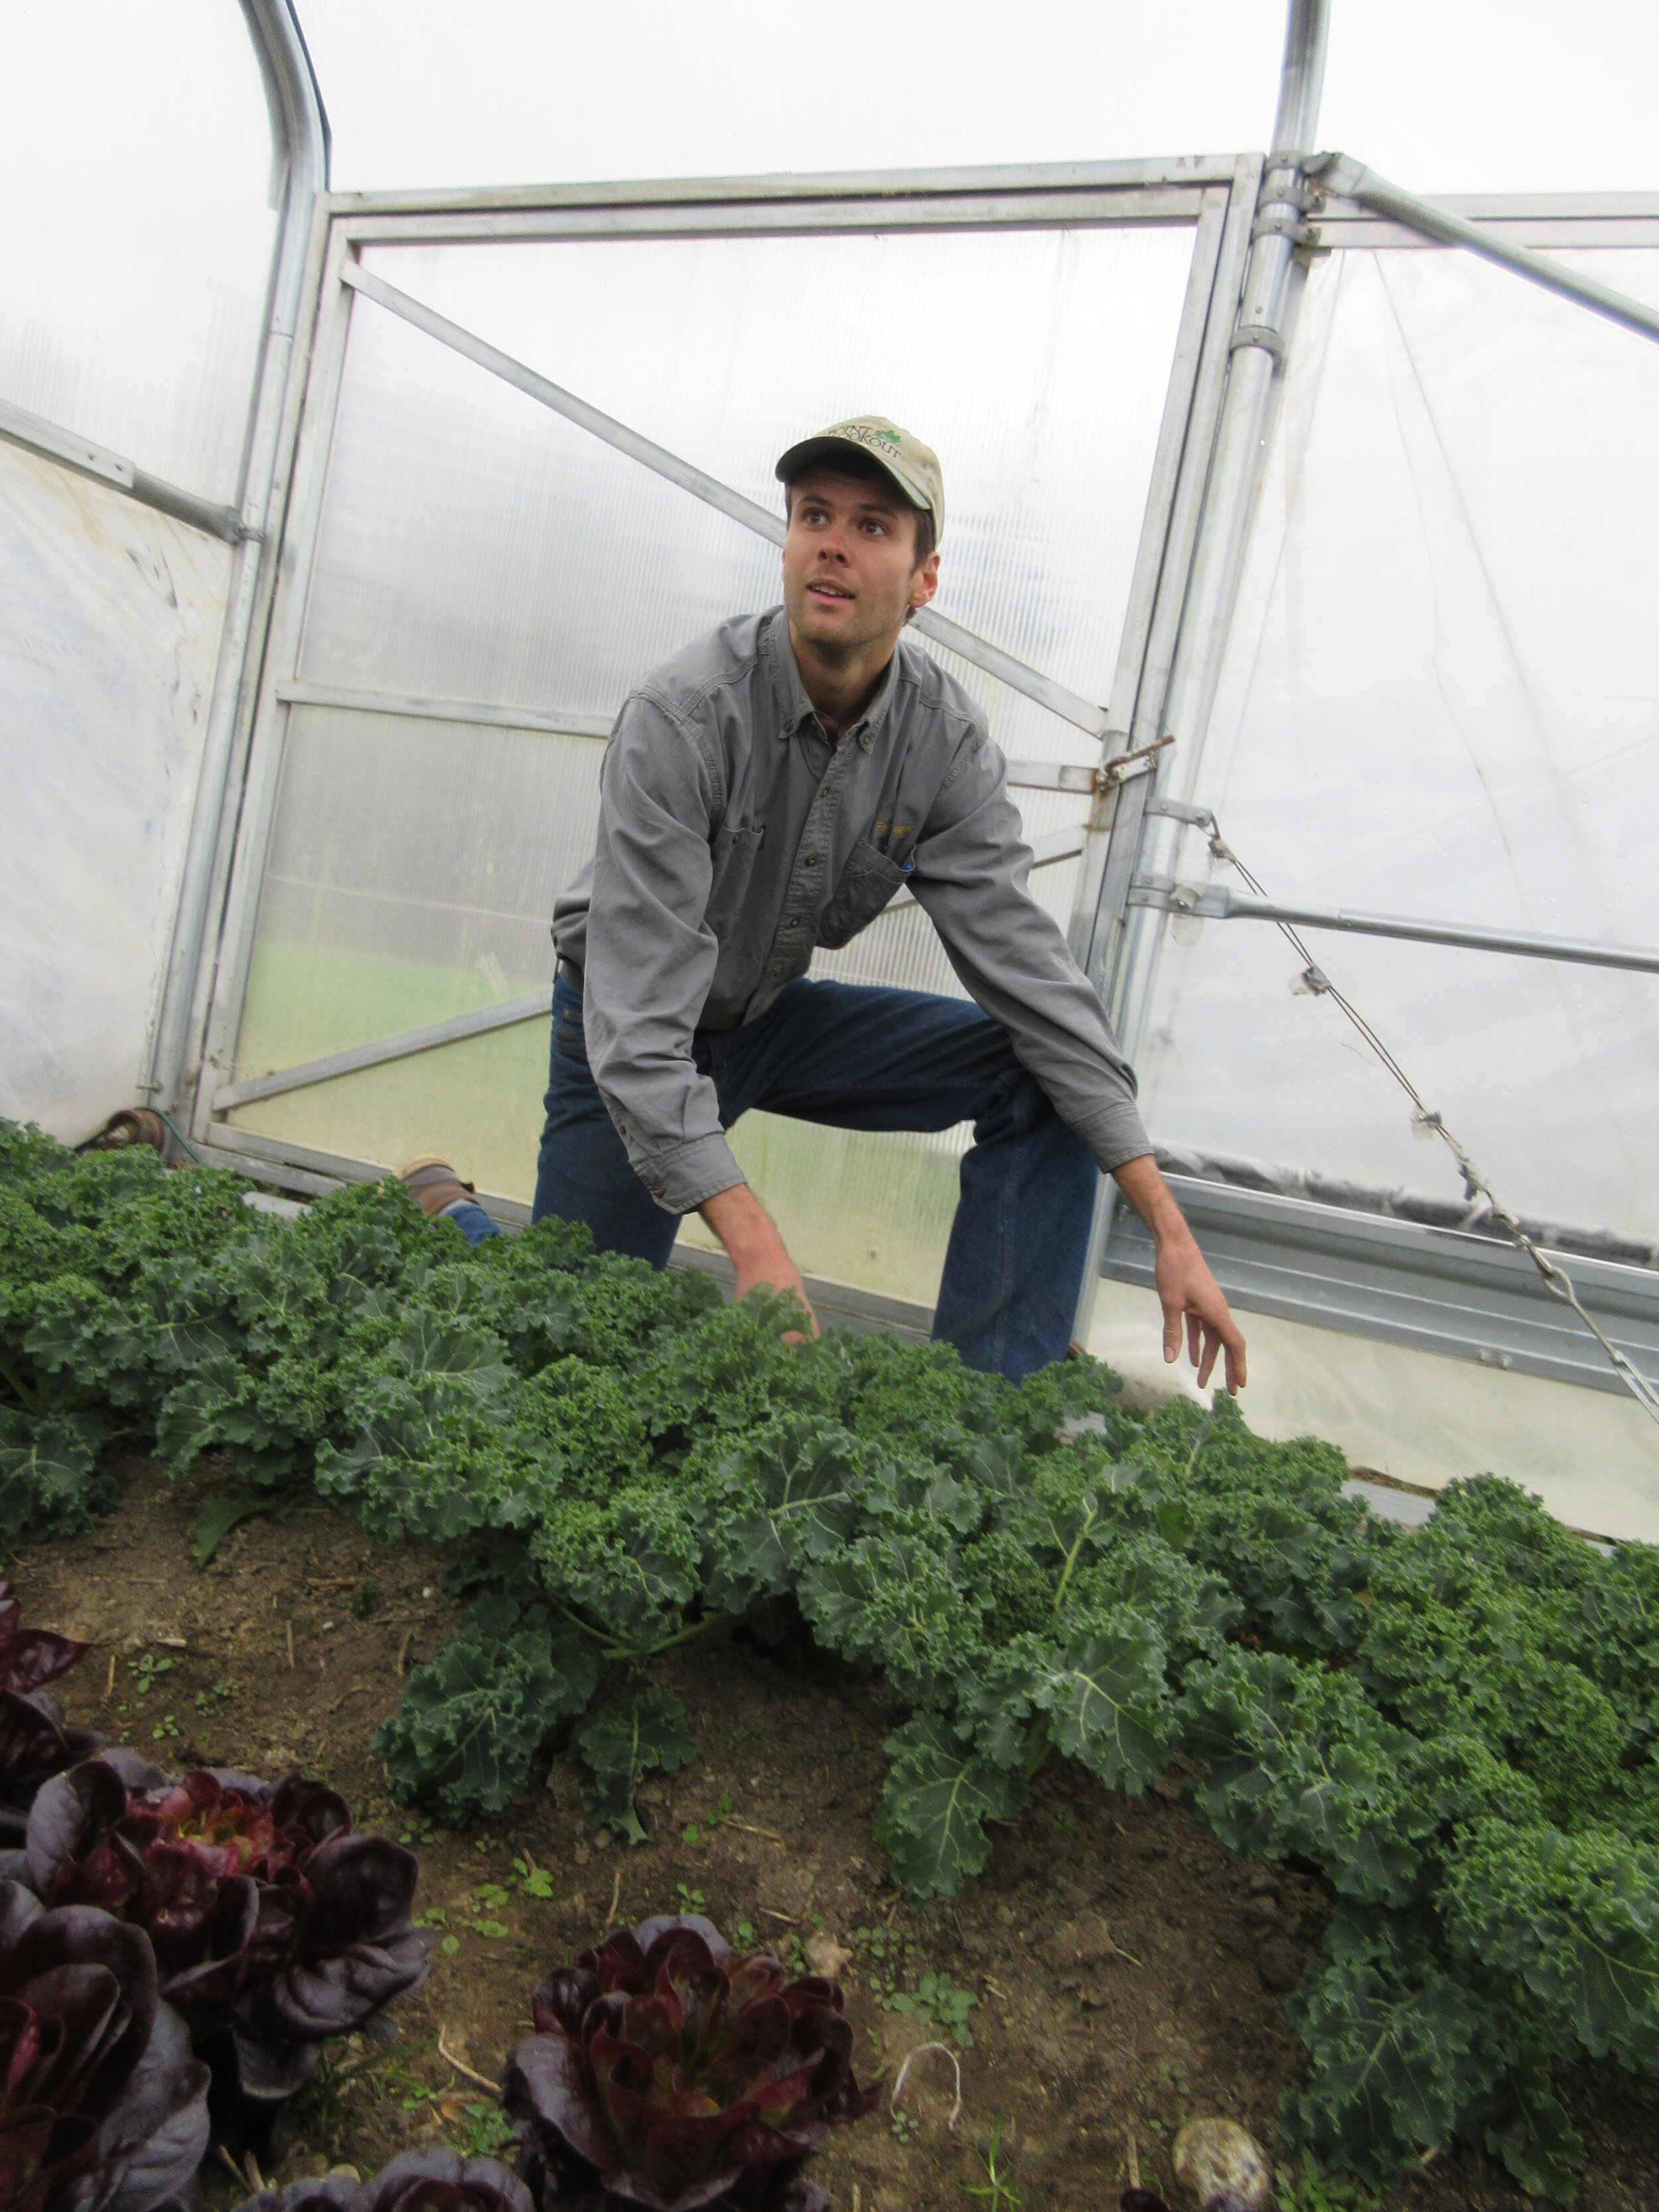
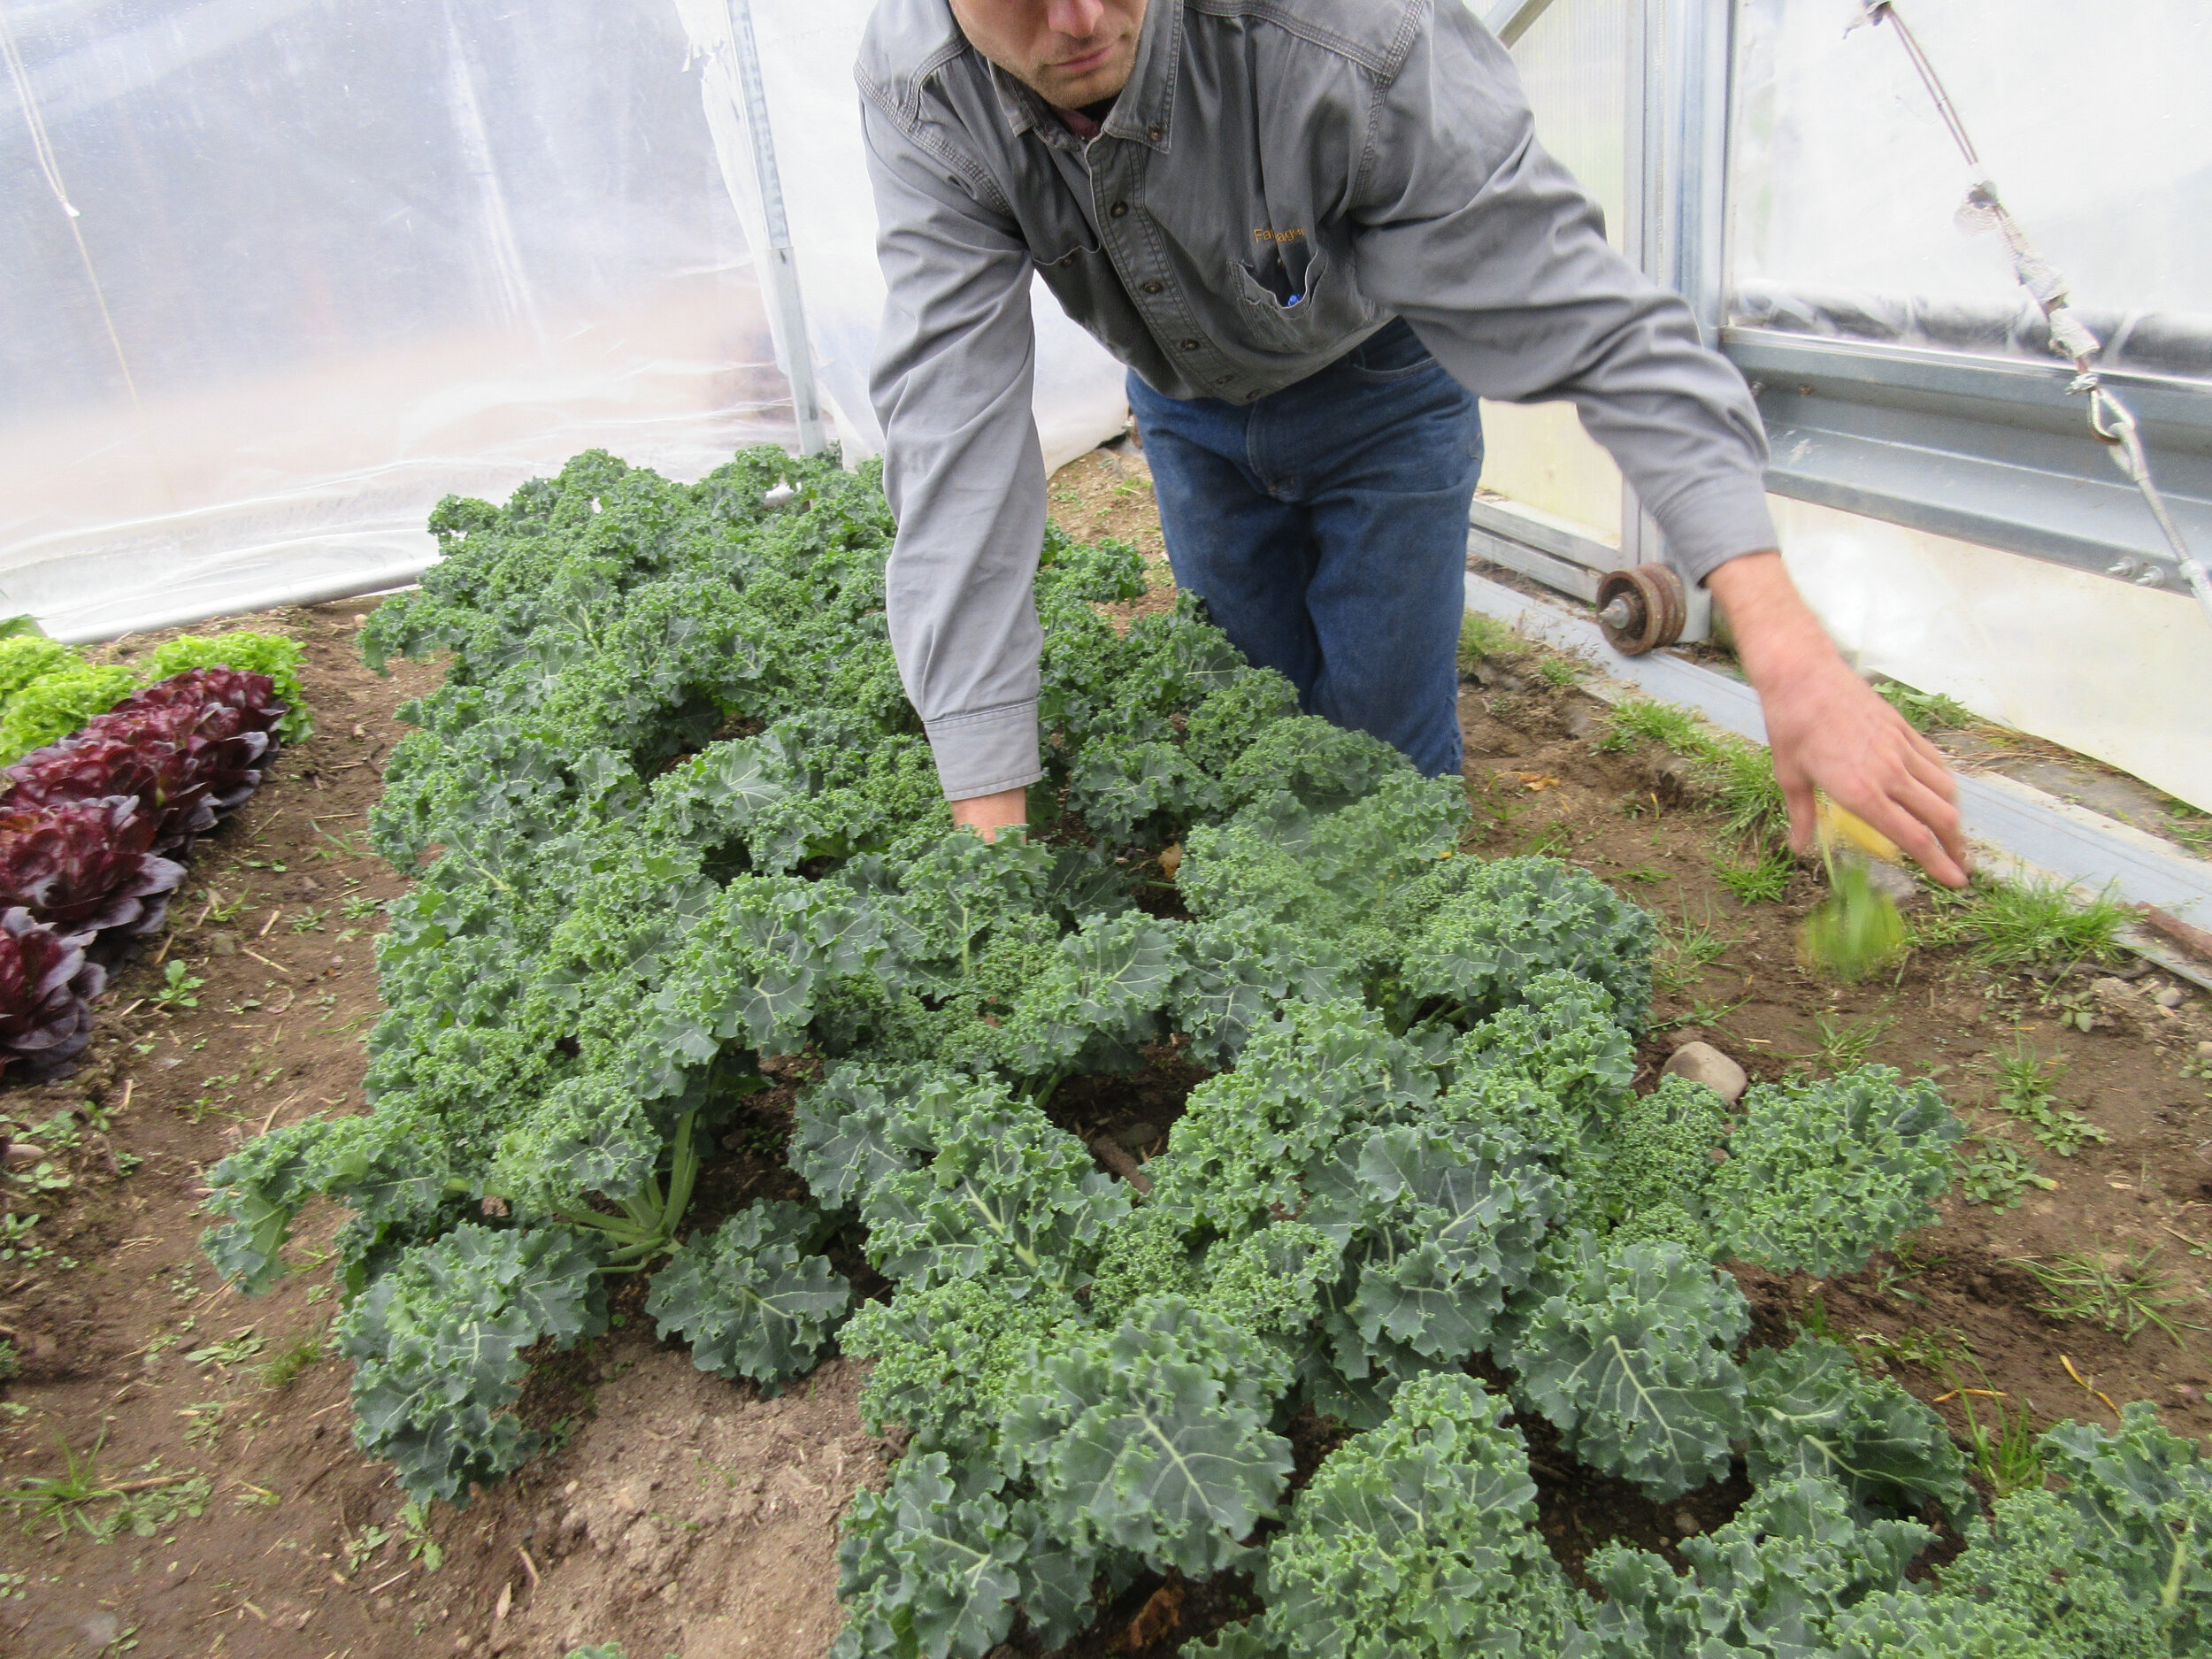
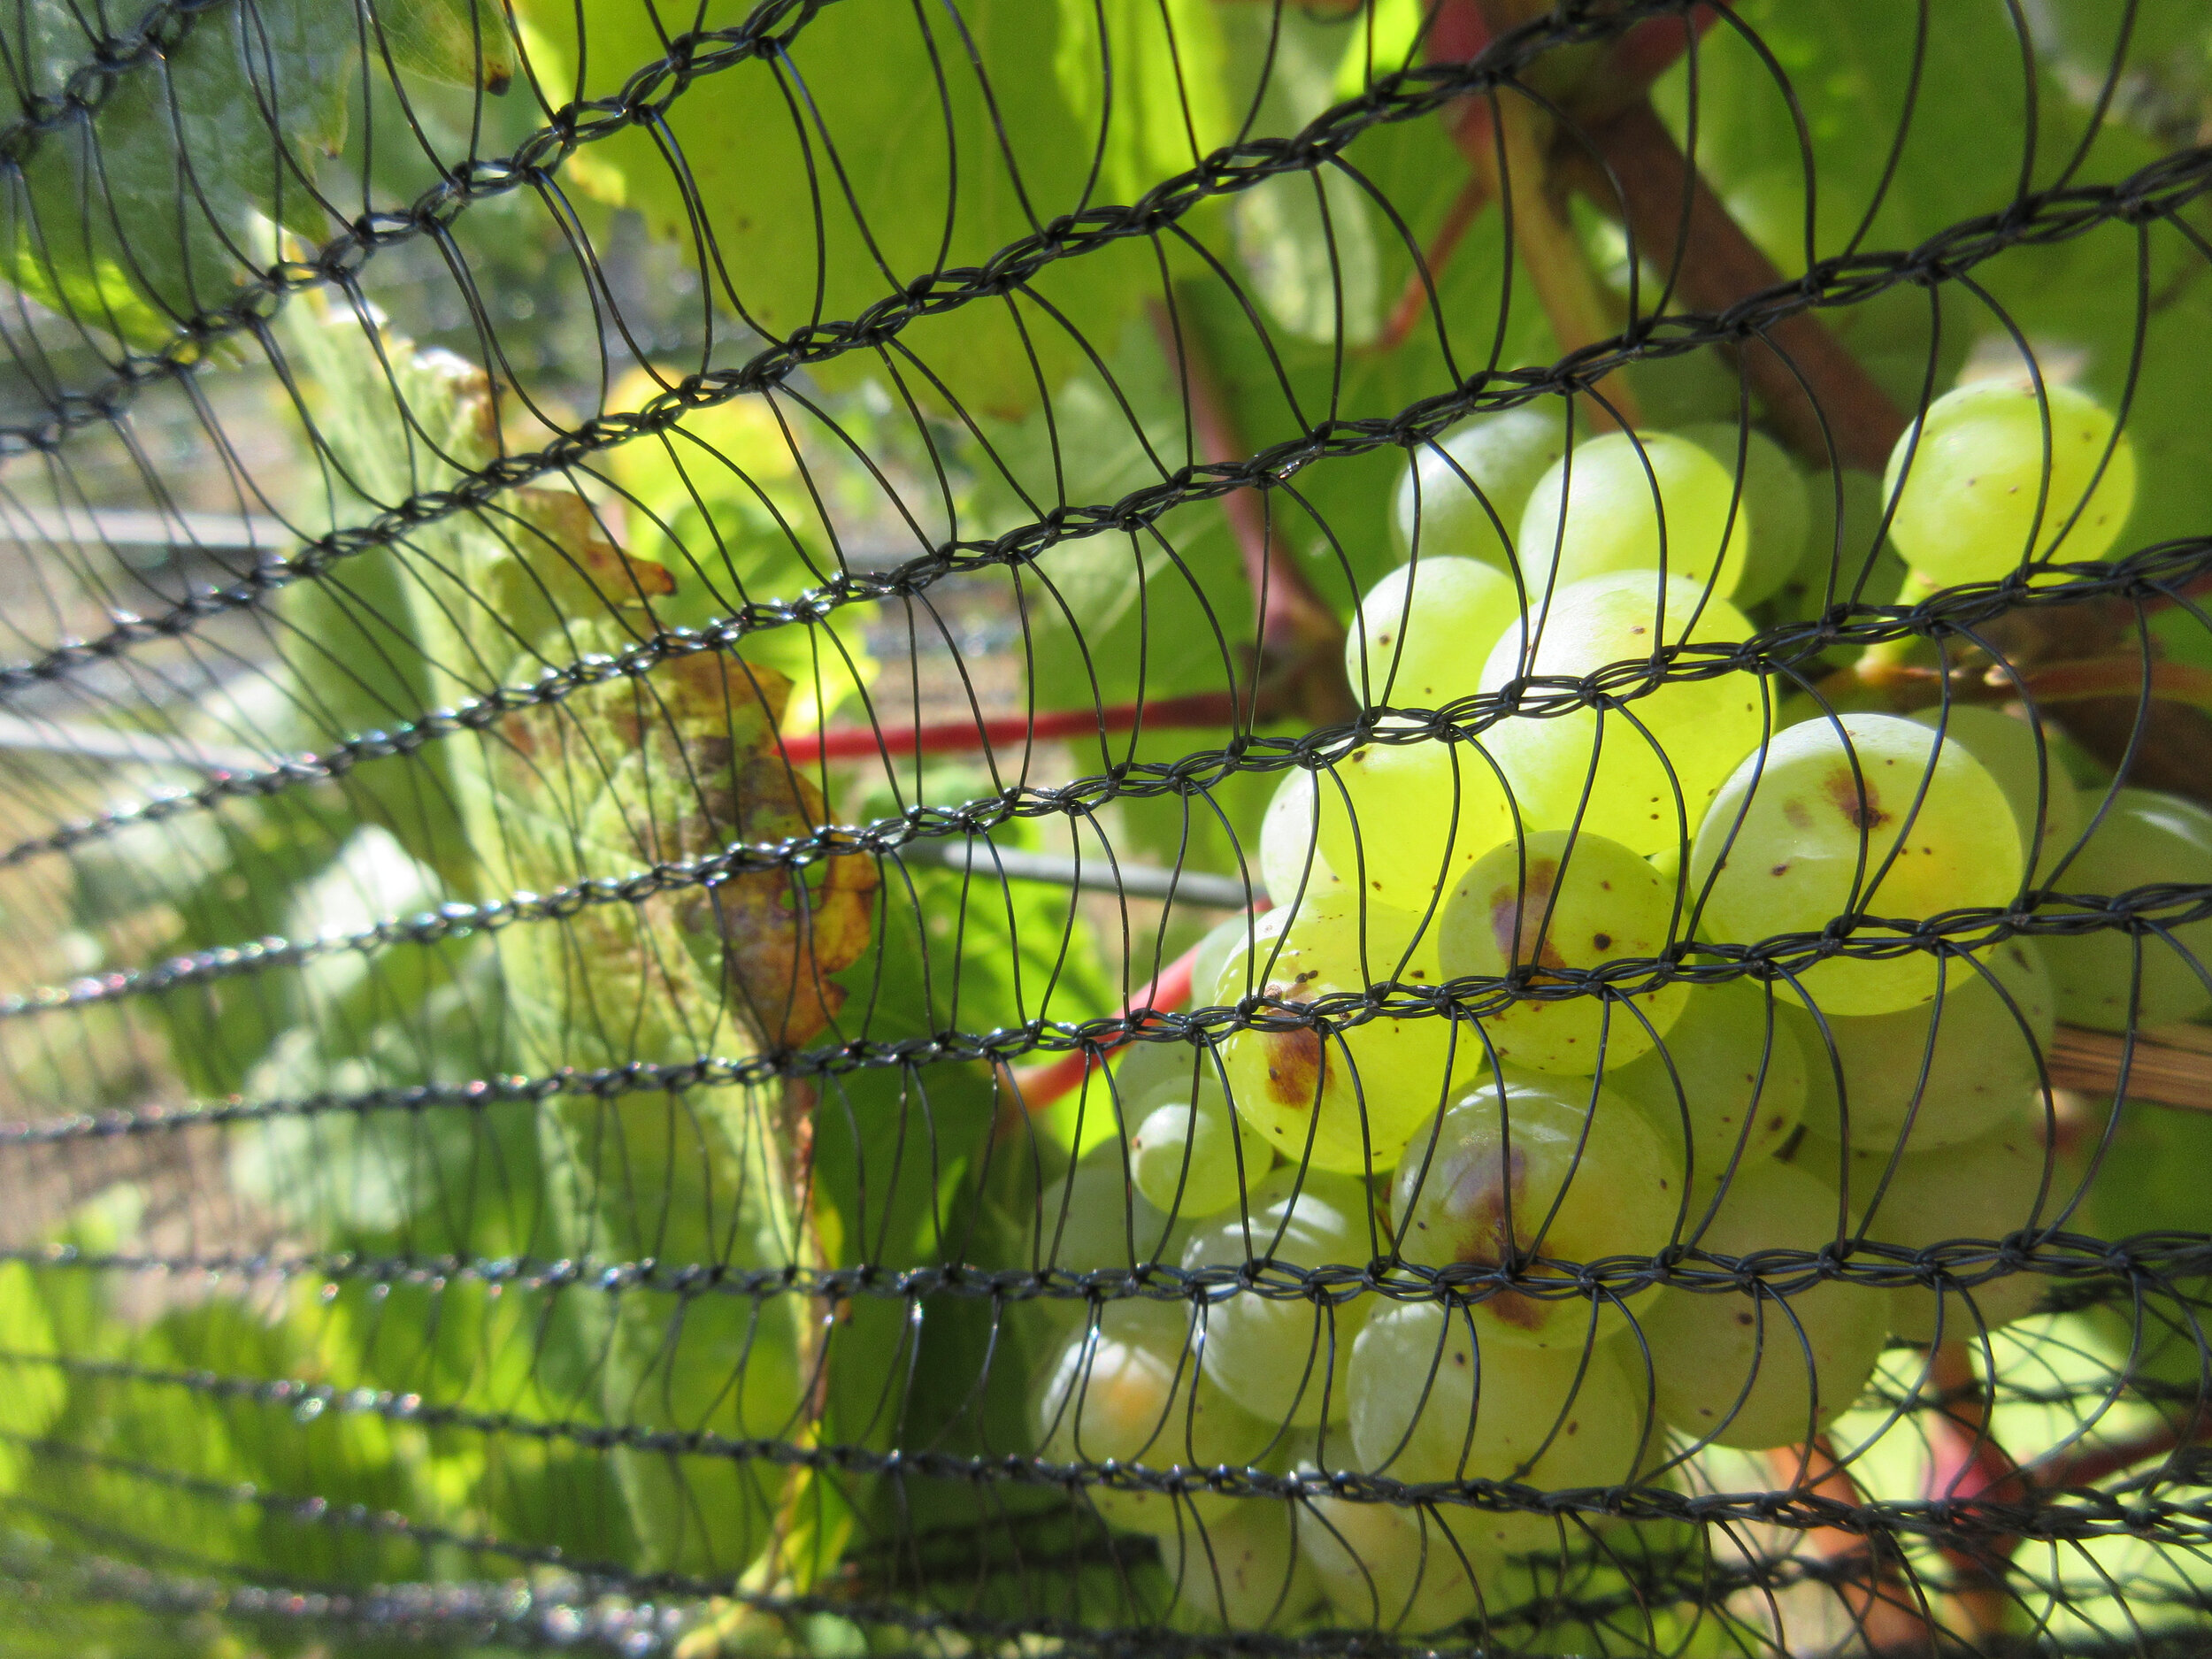
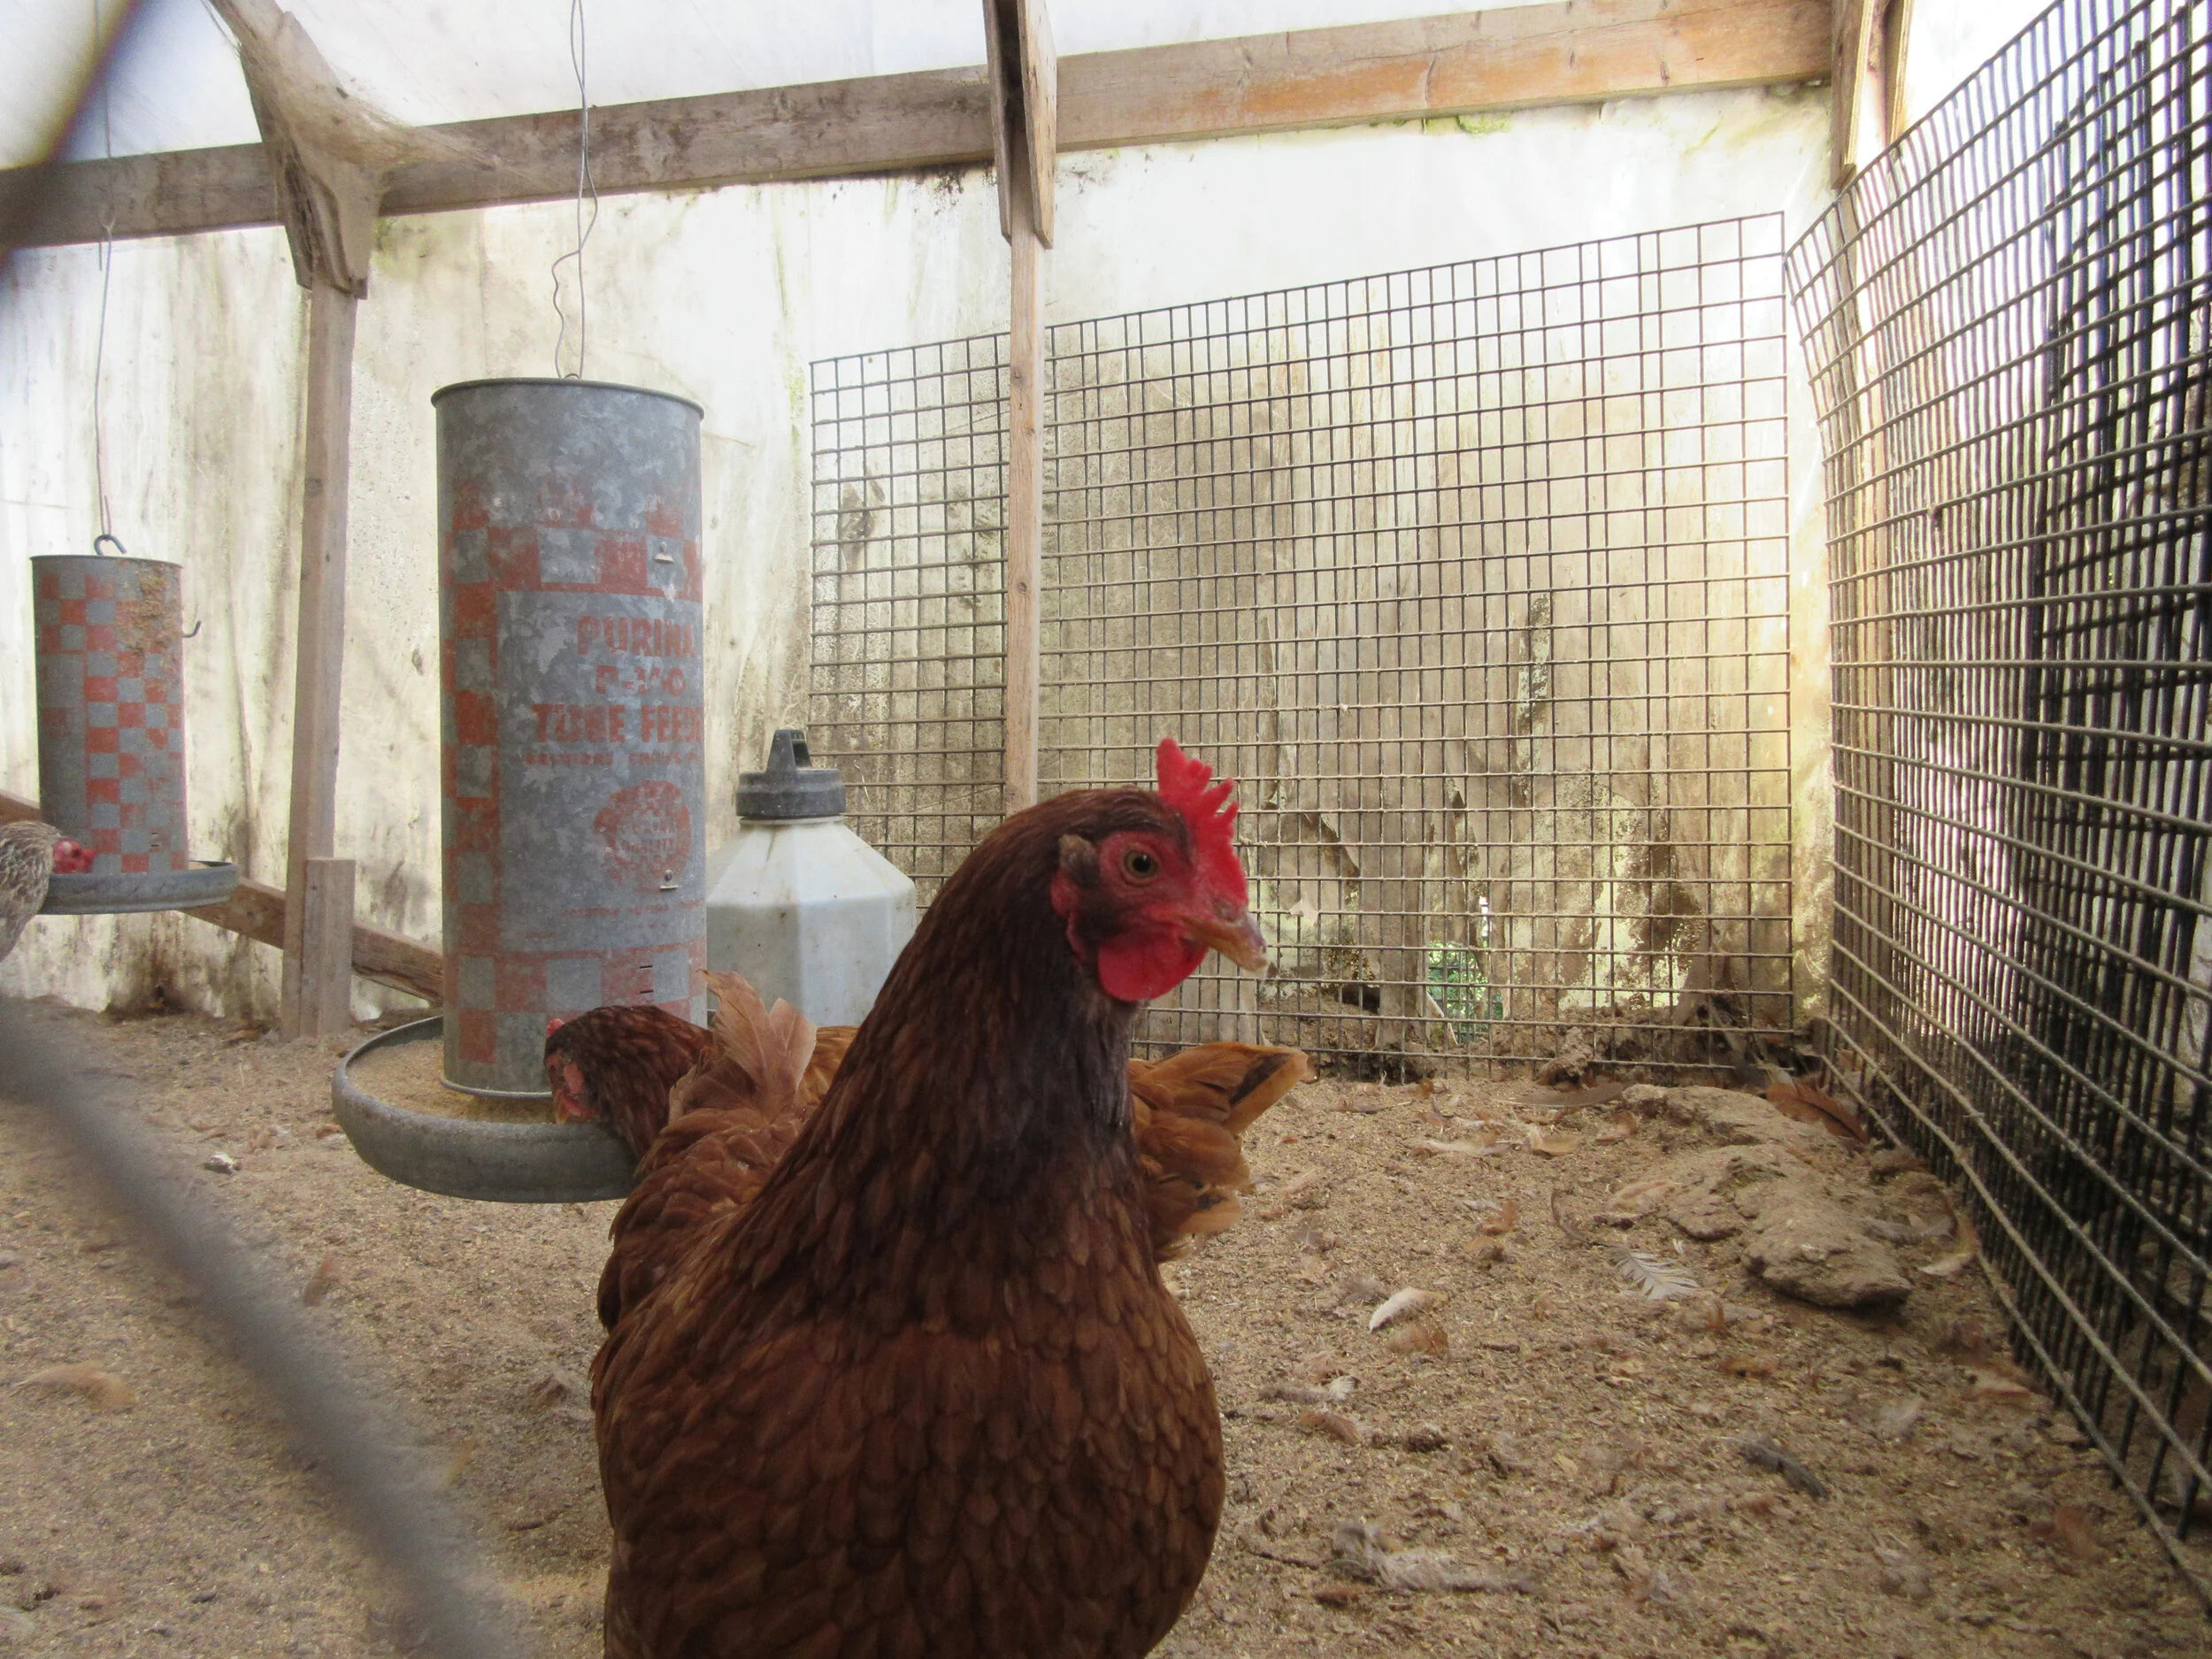
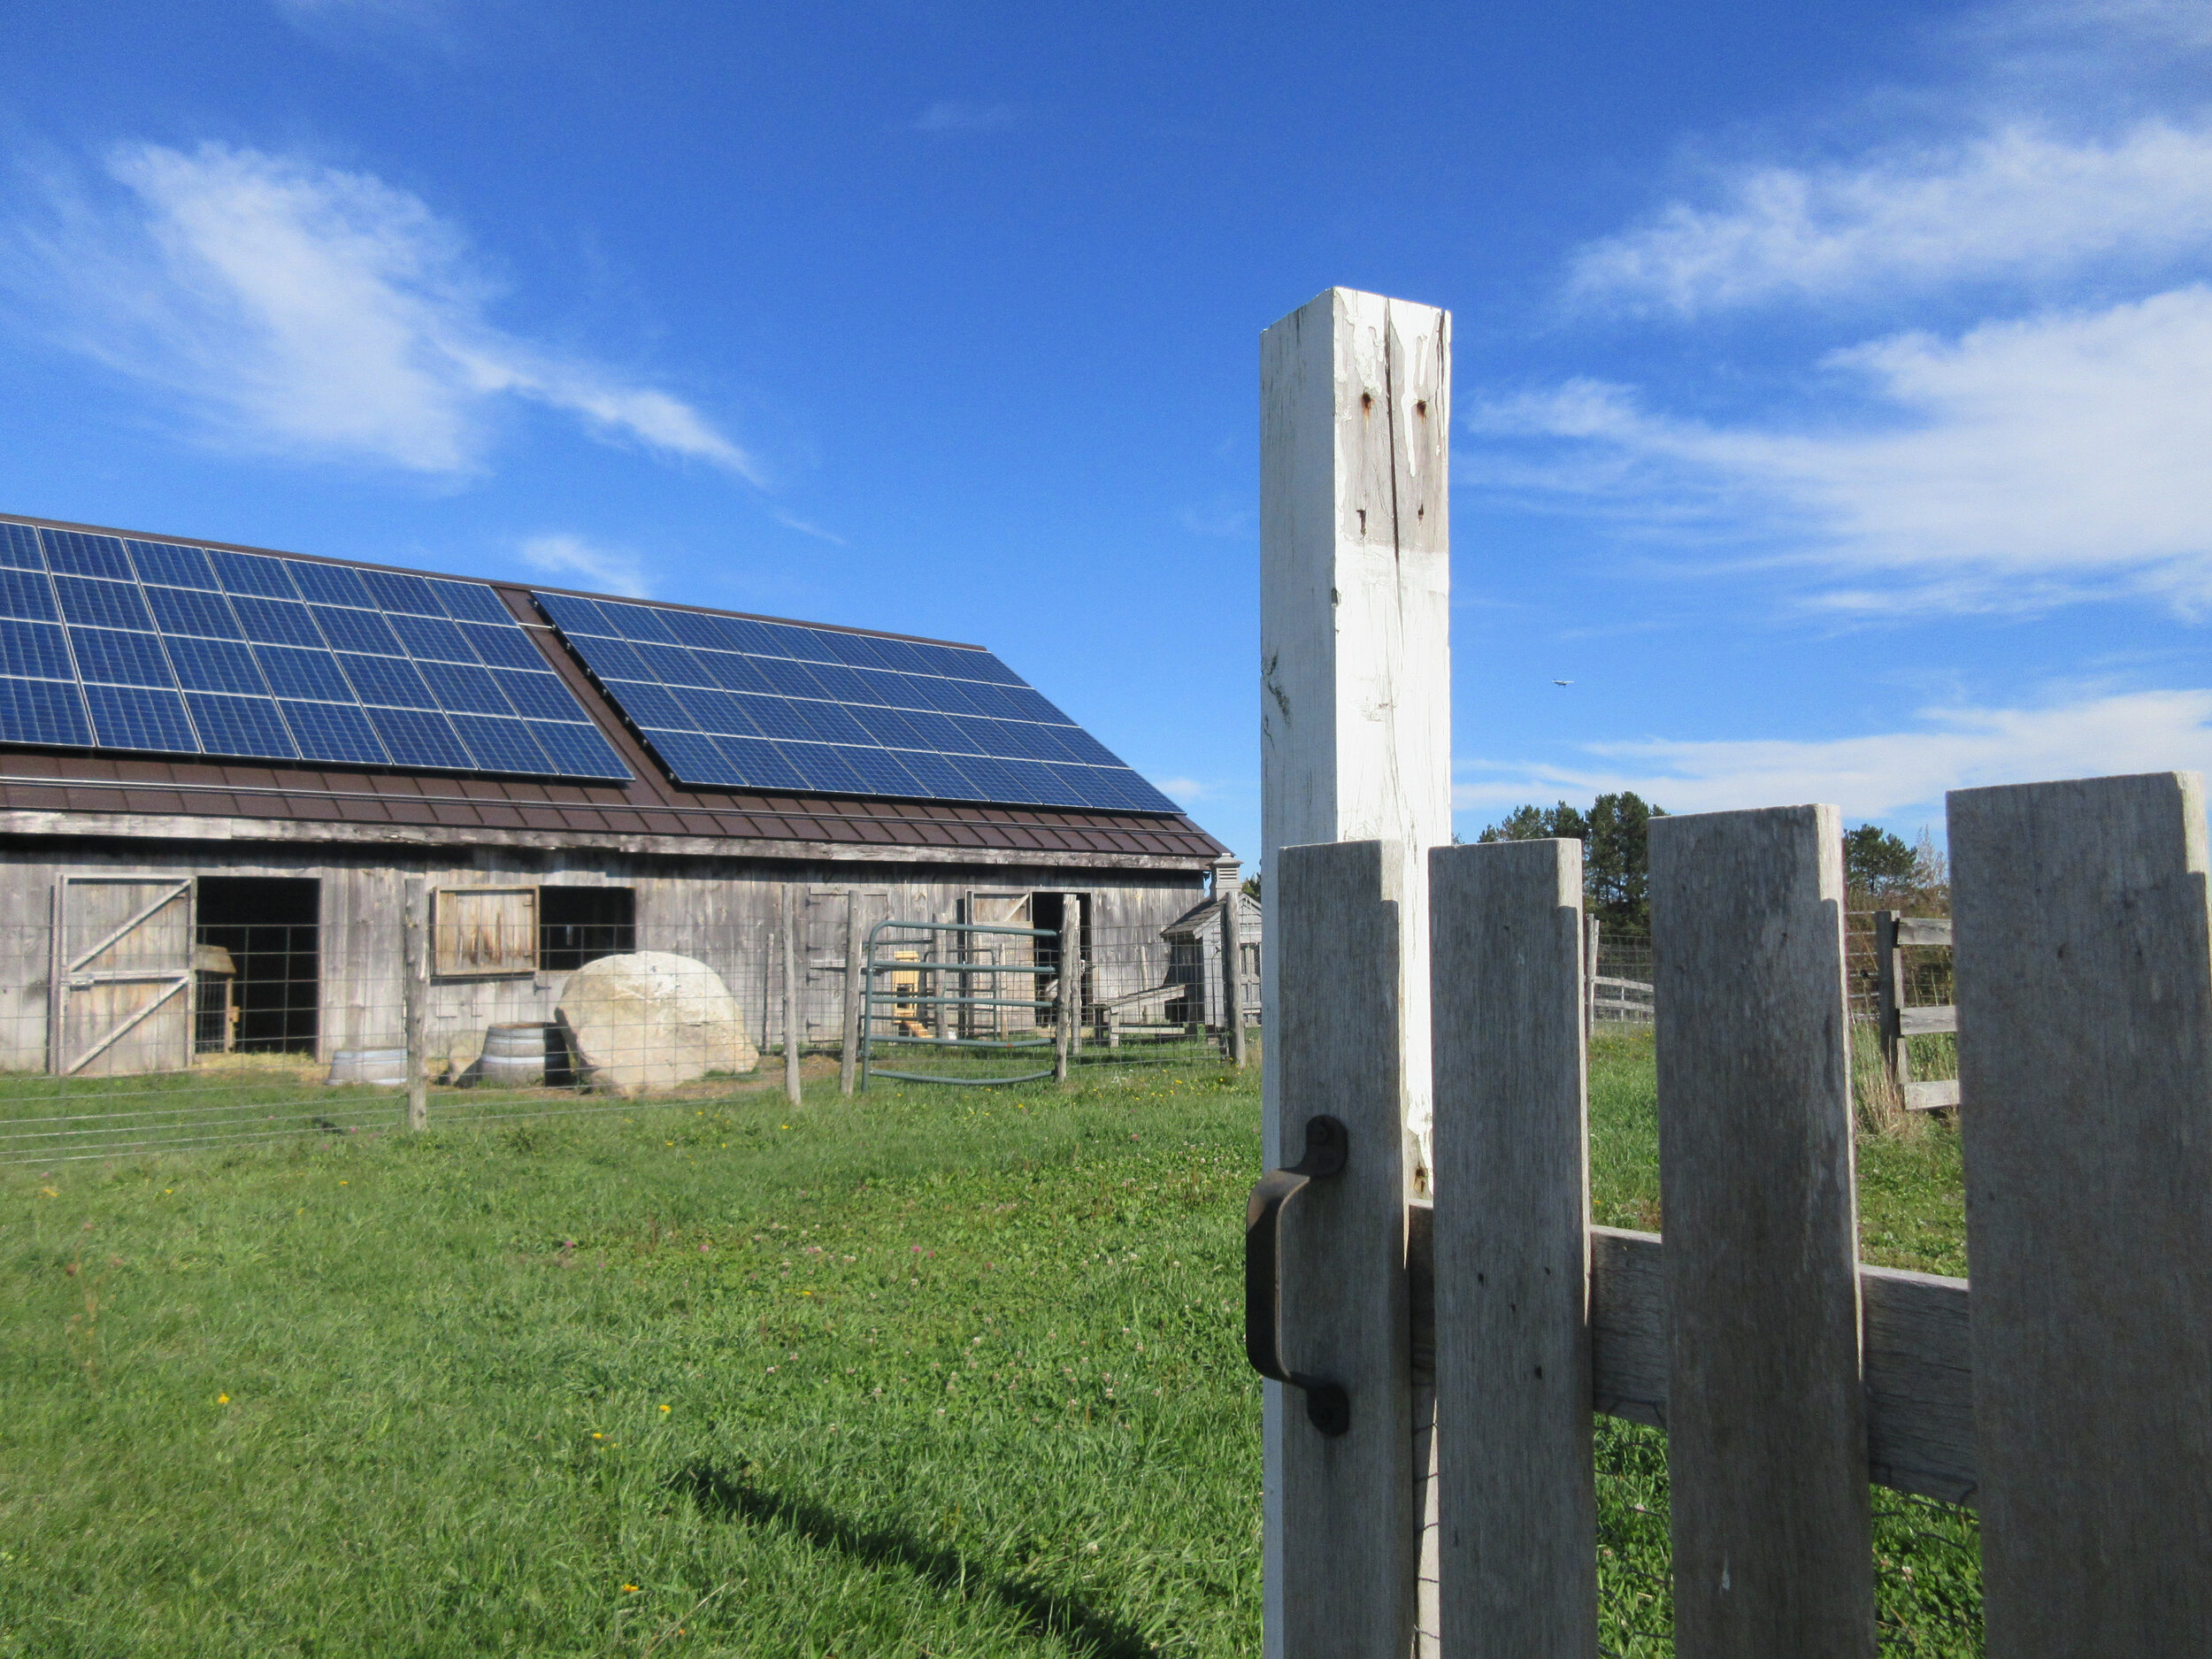
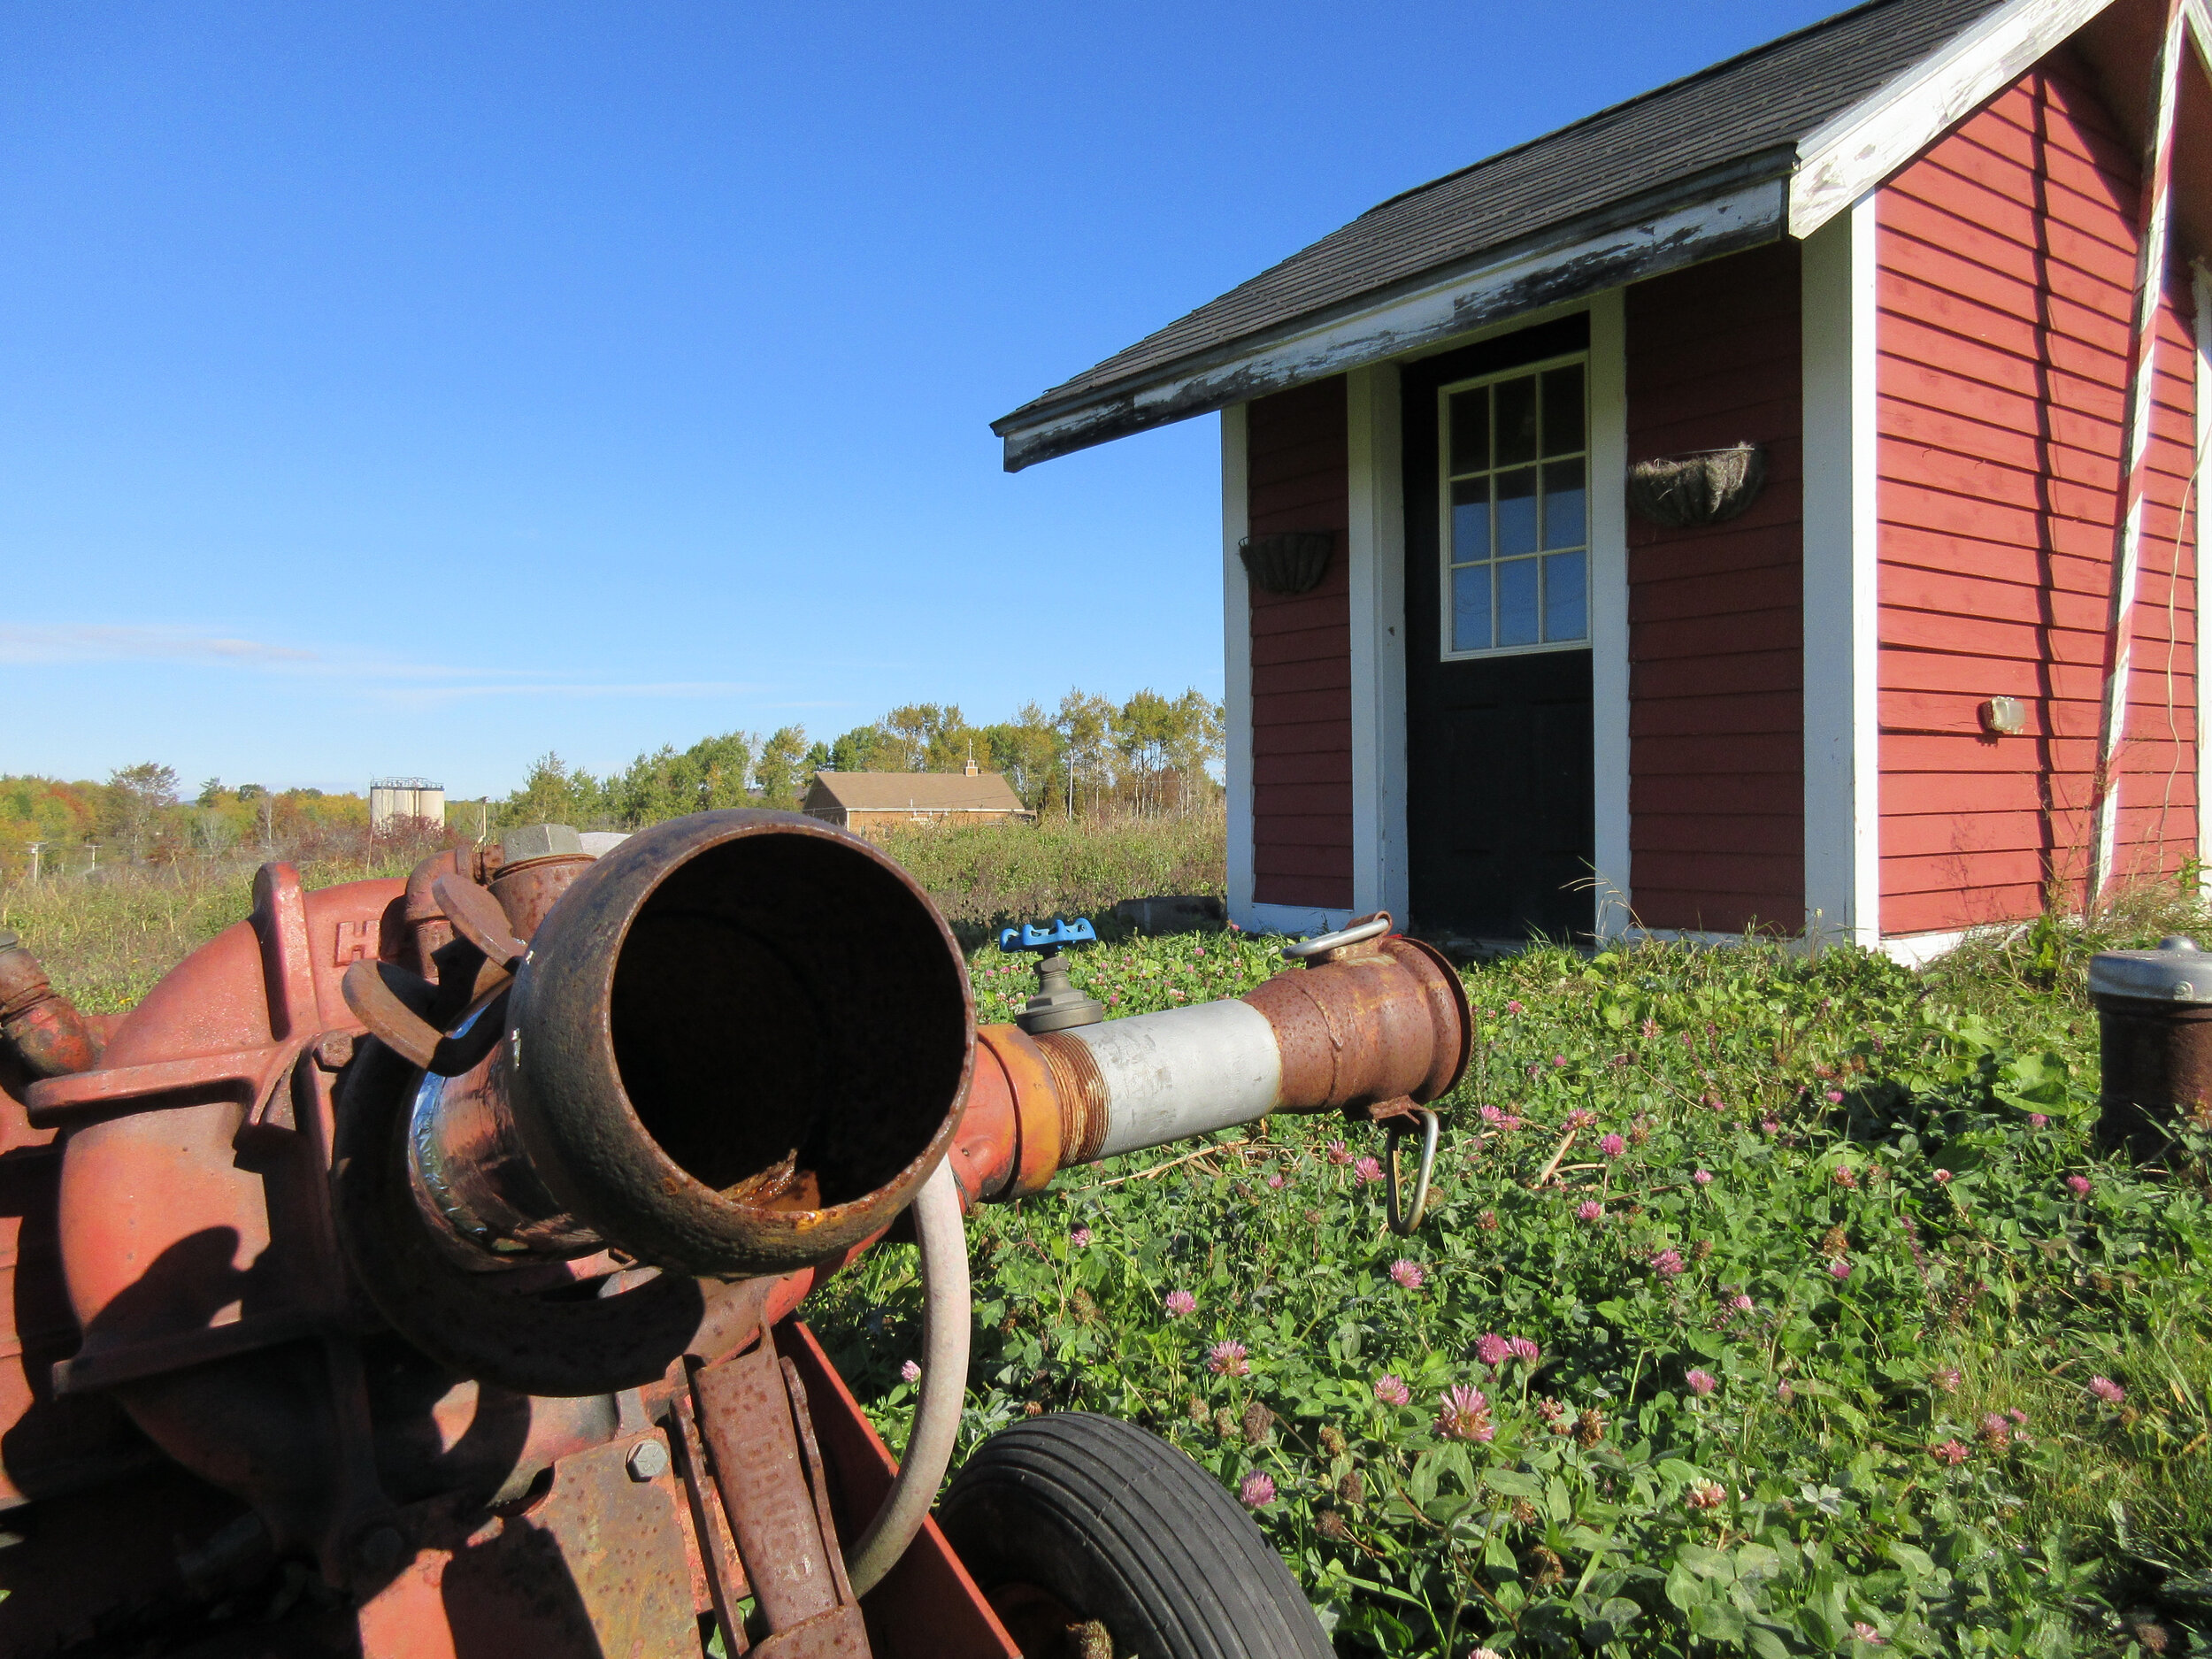
community People and Places: Photography
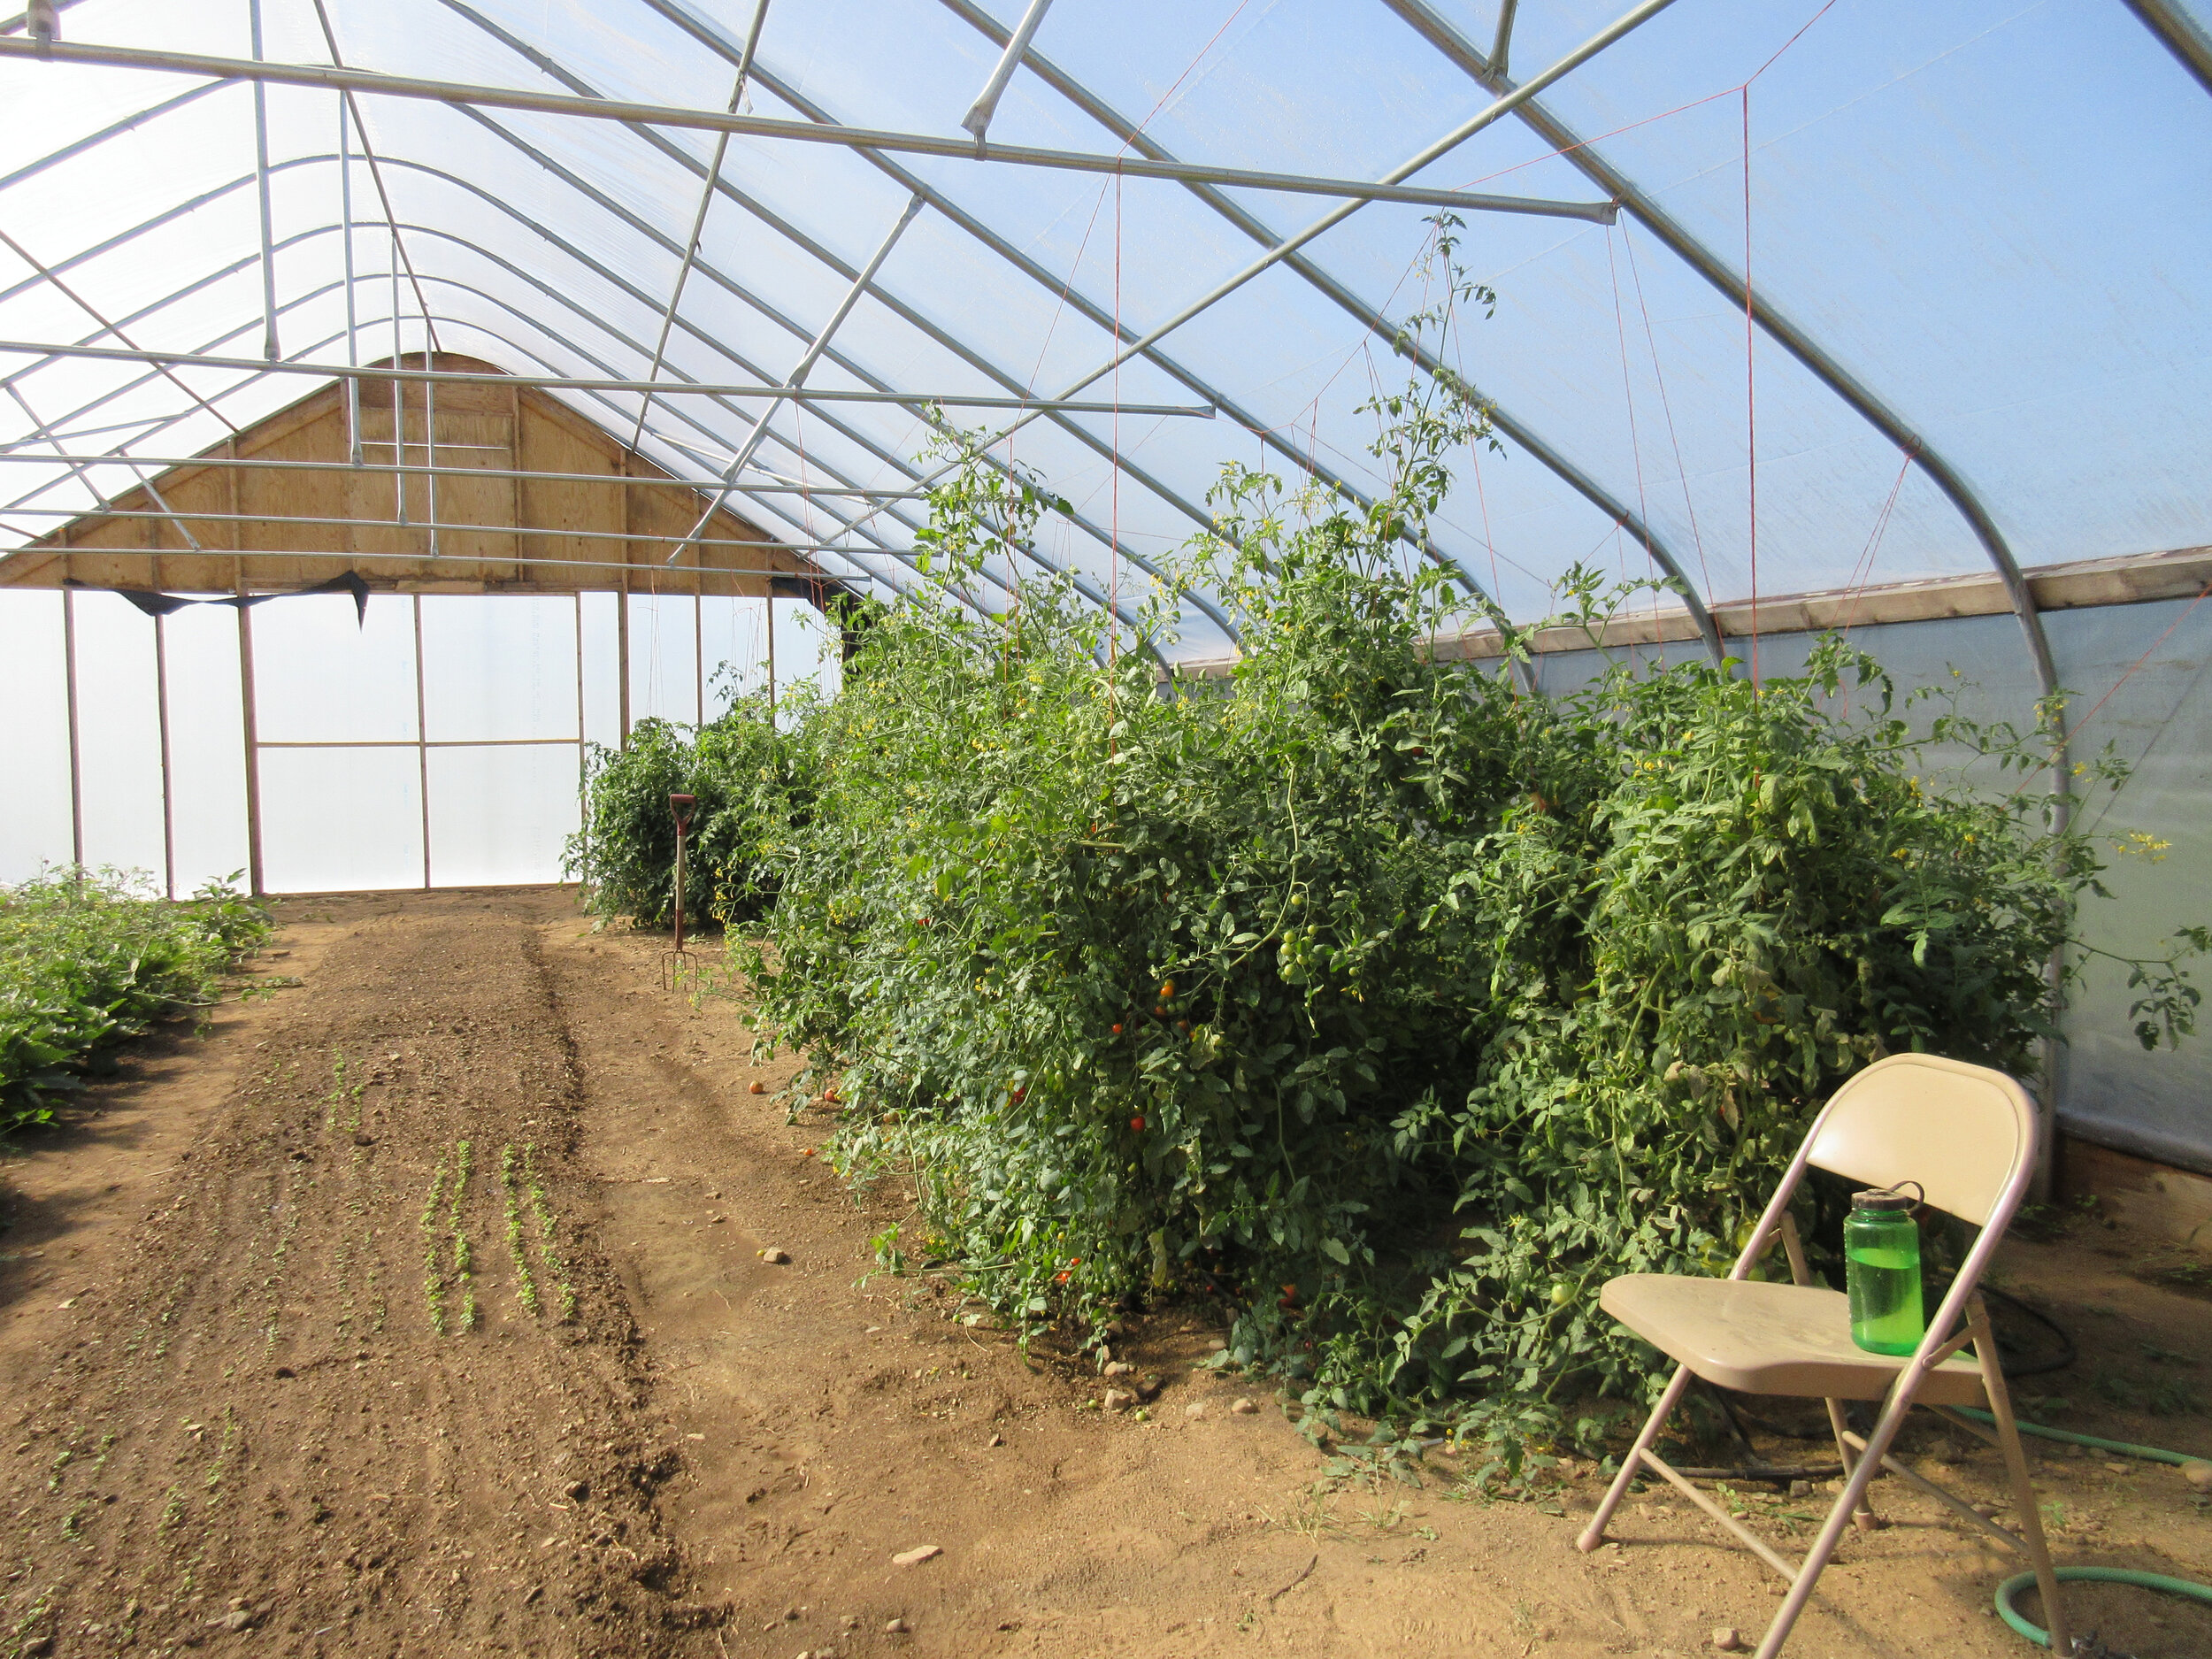
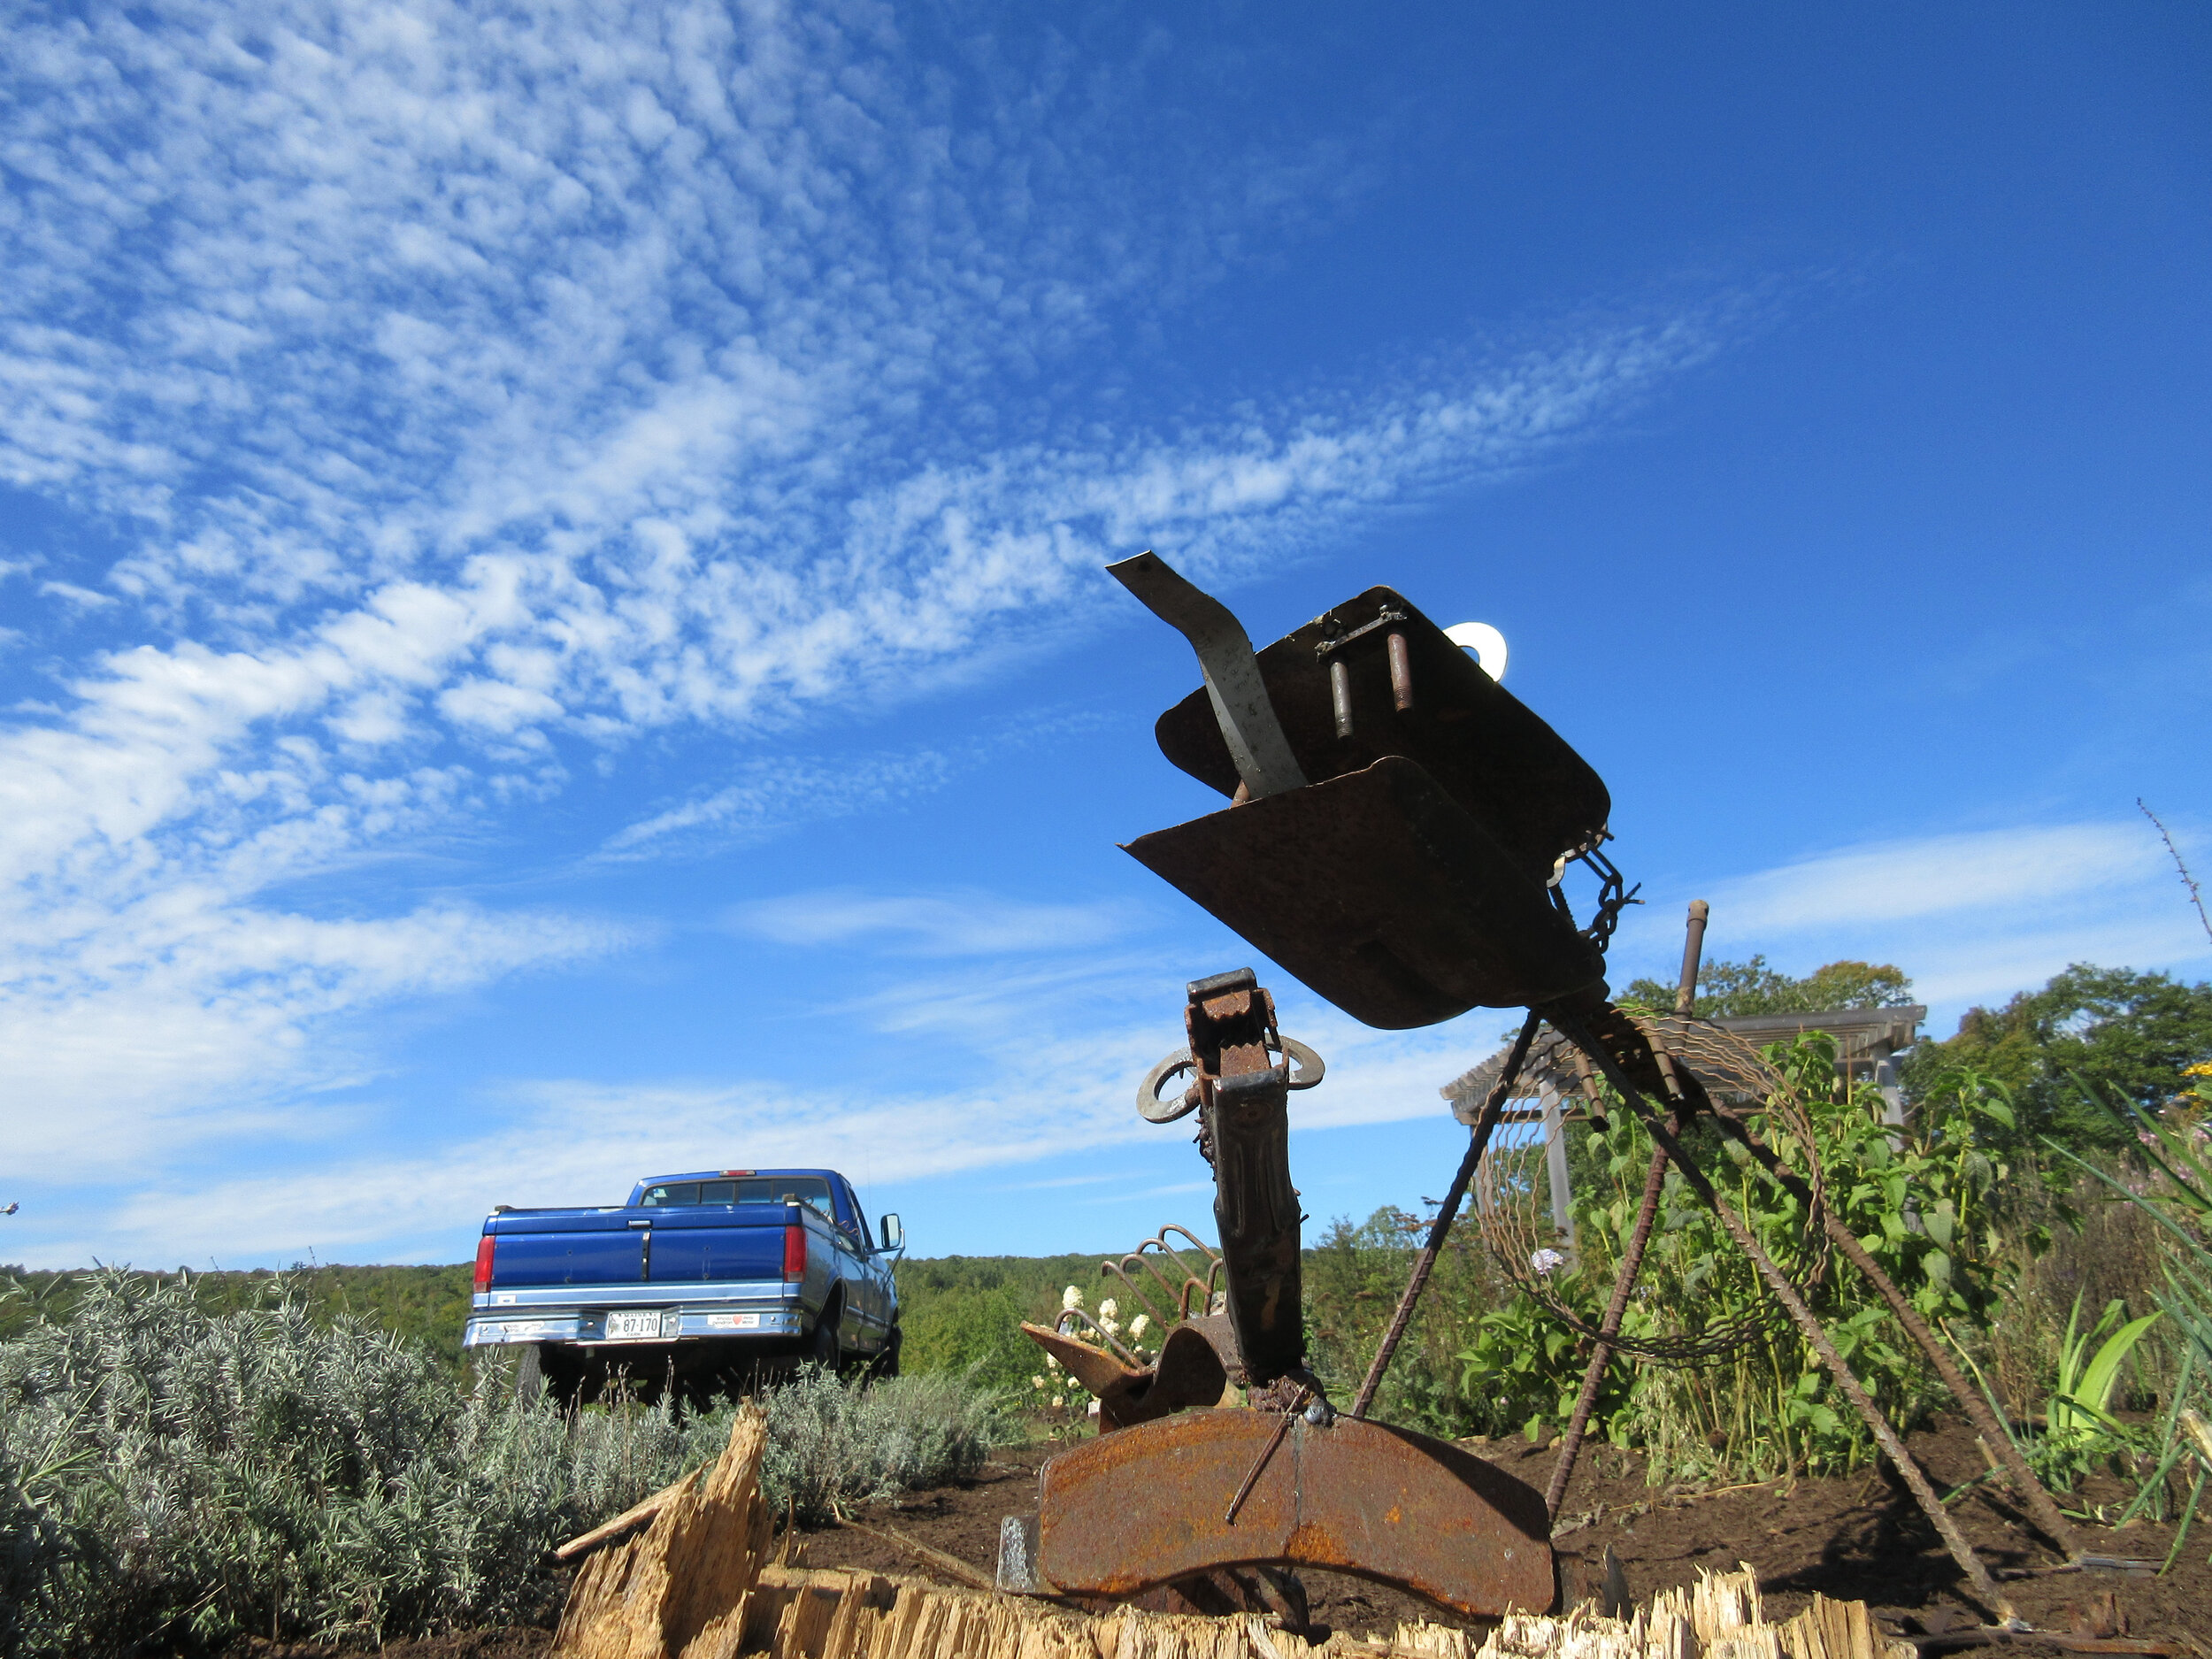
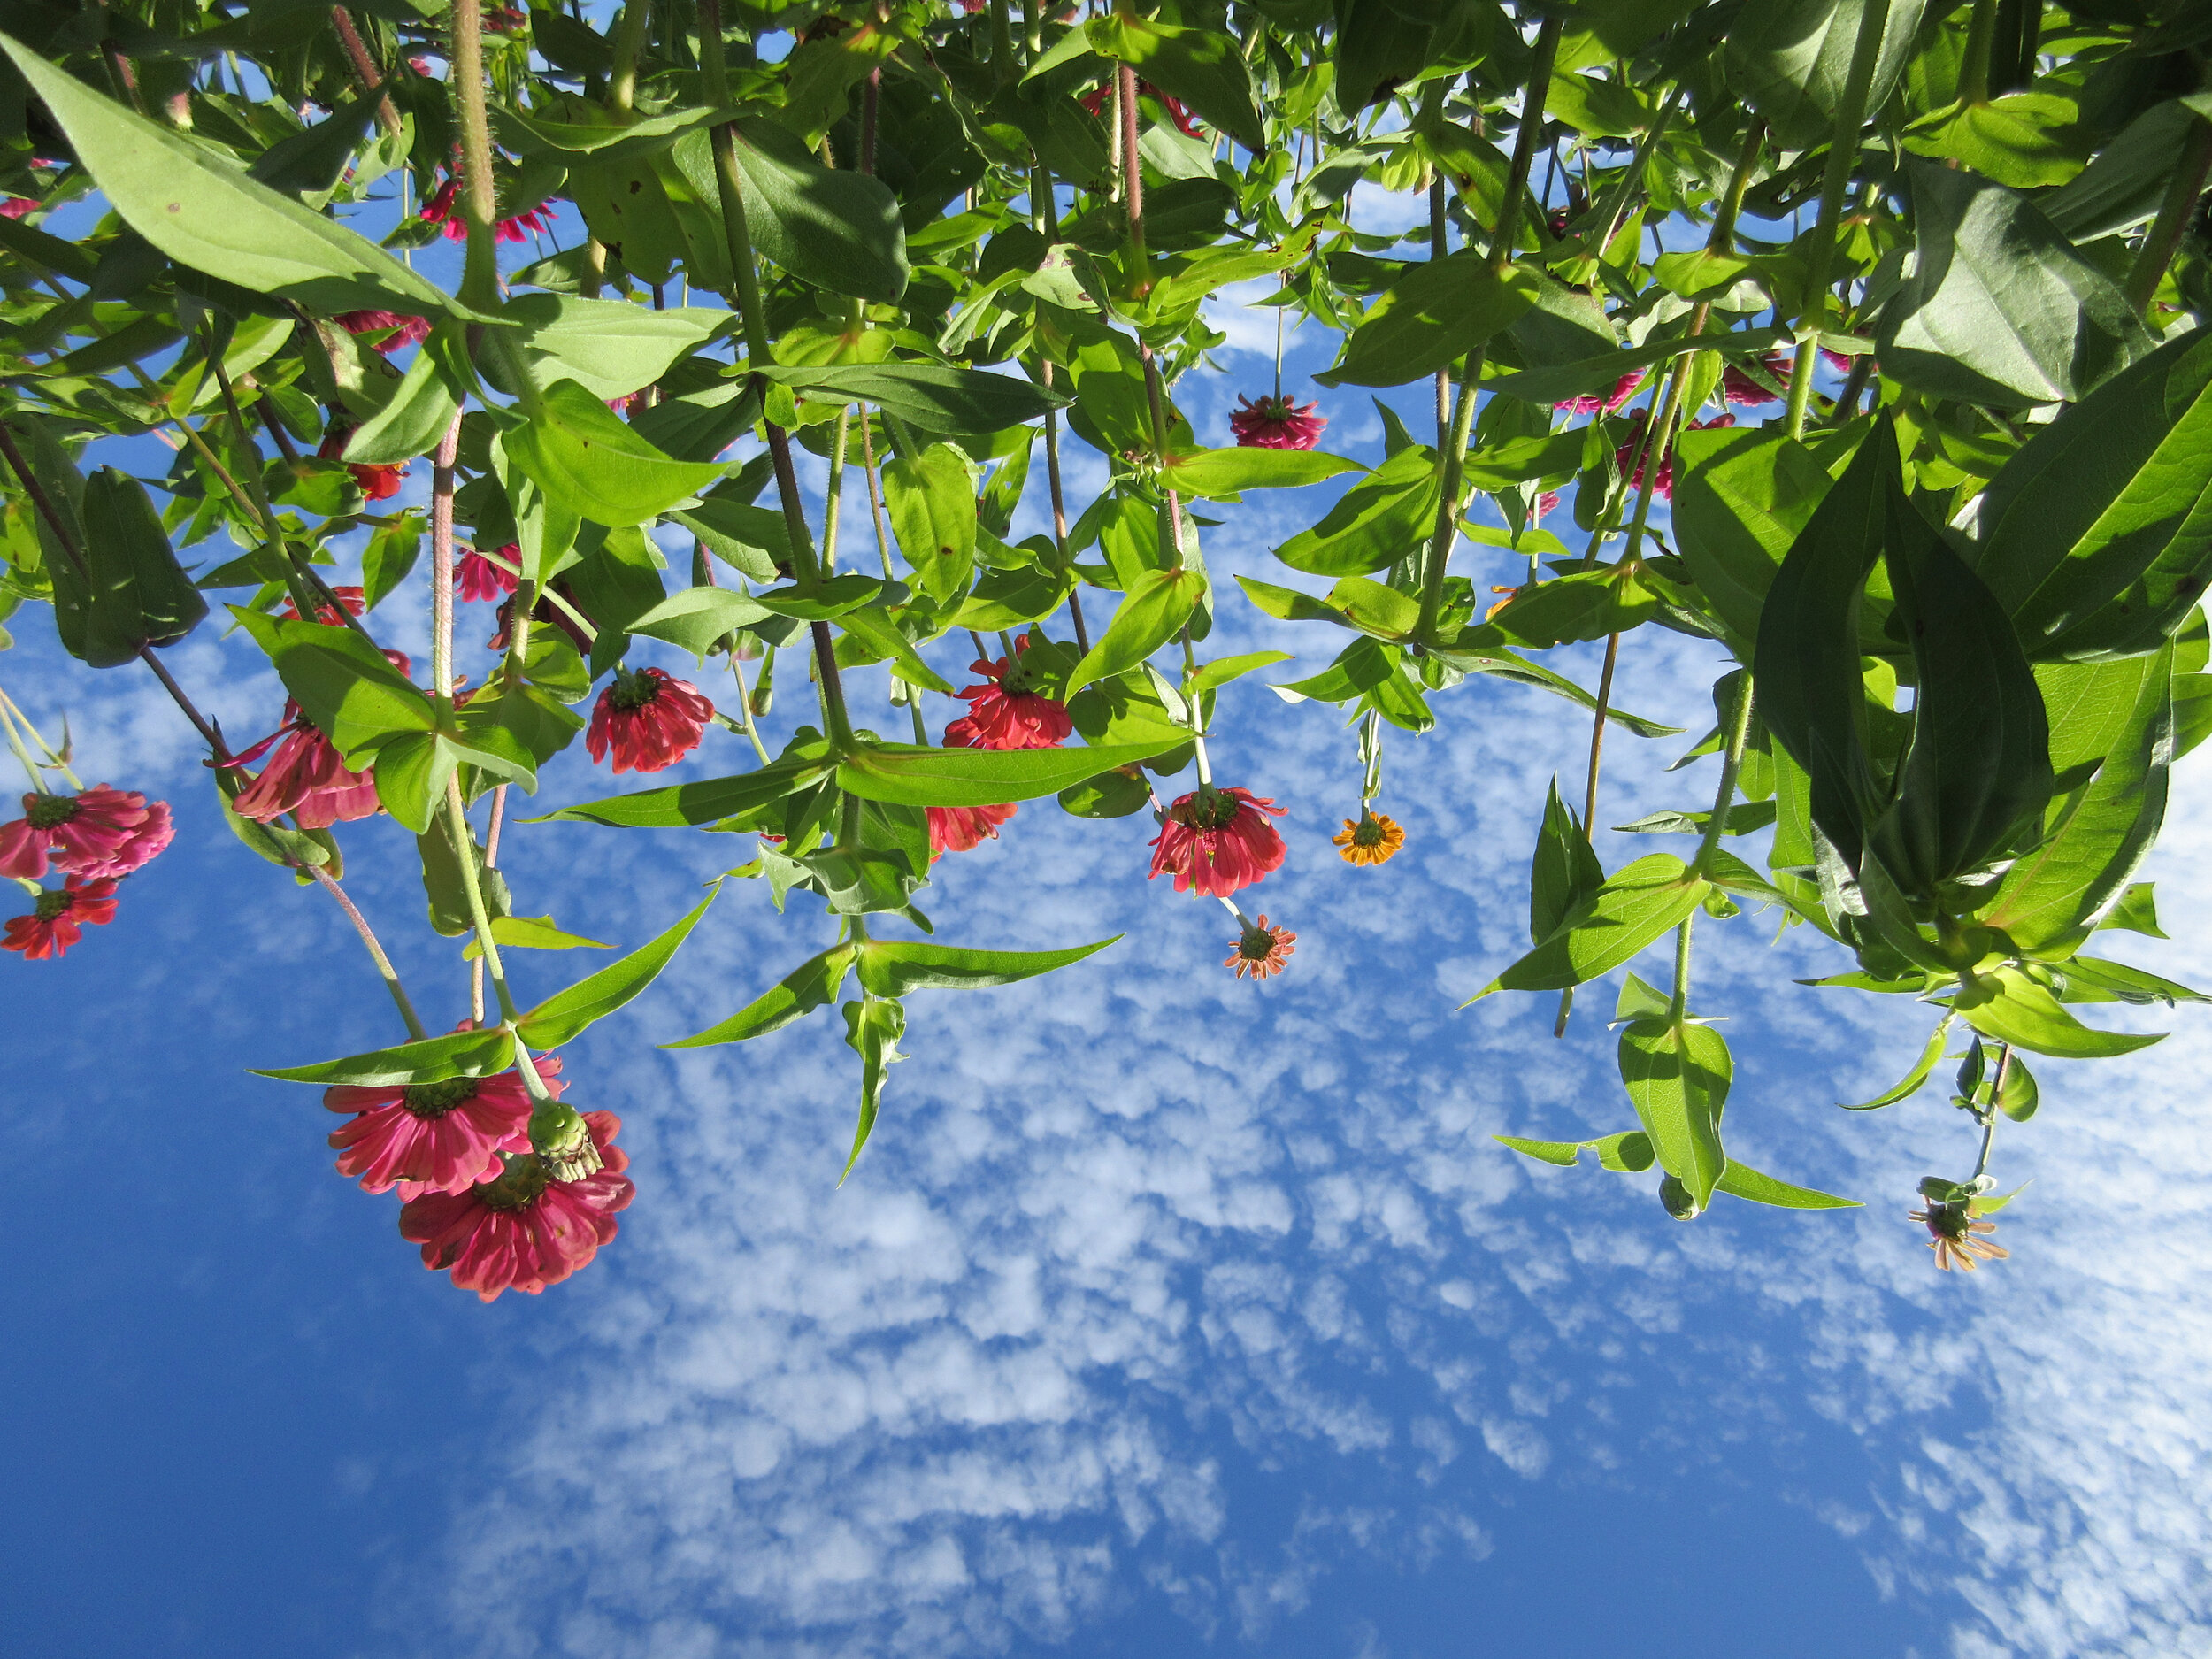
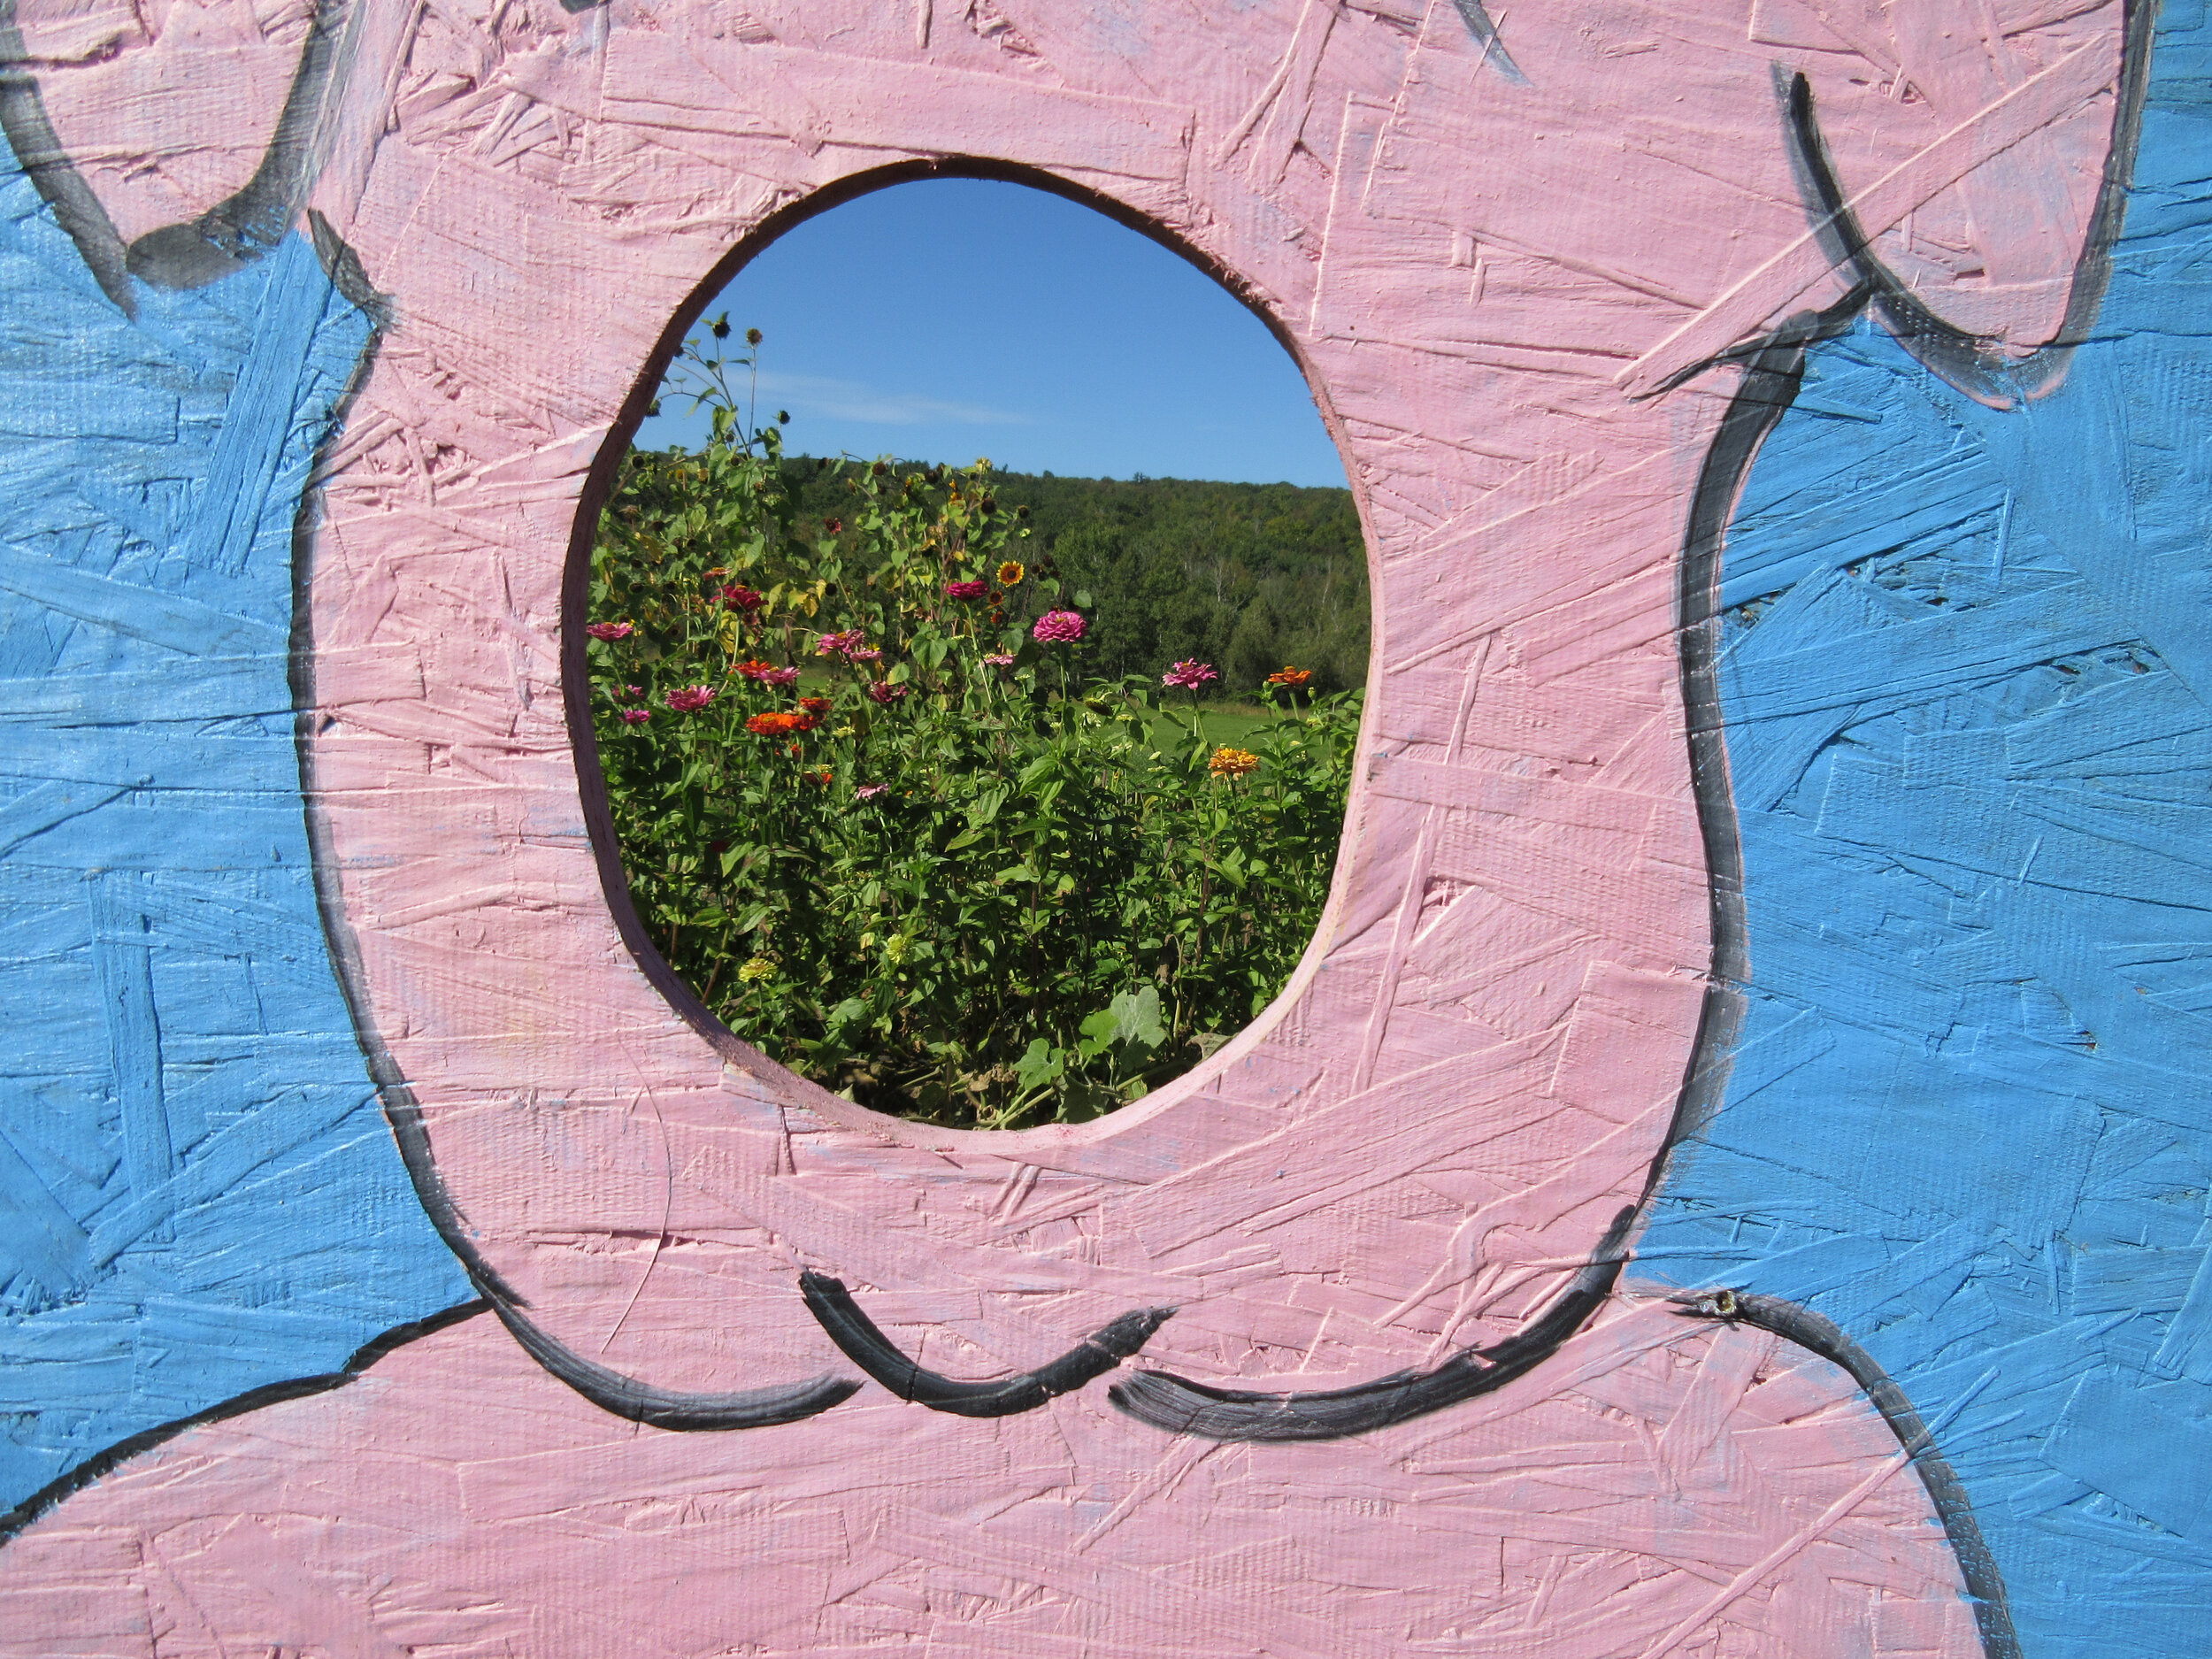
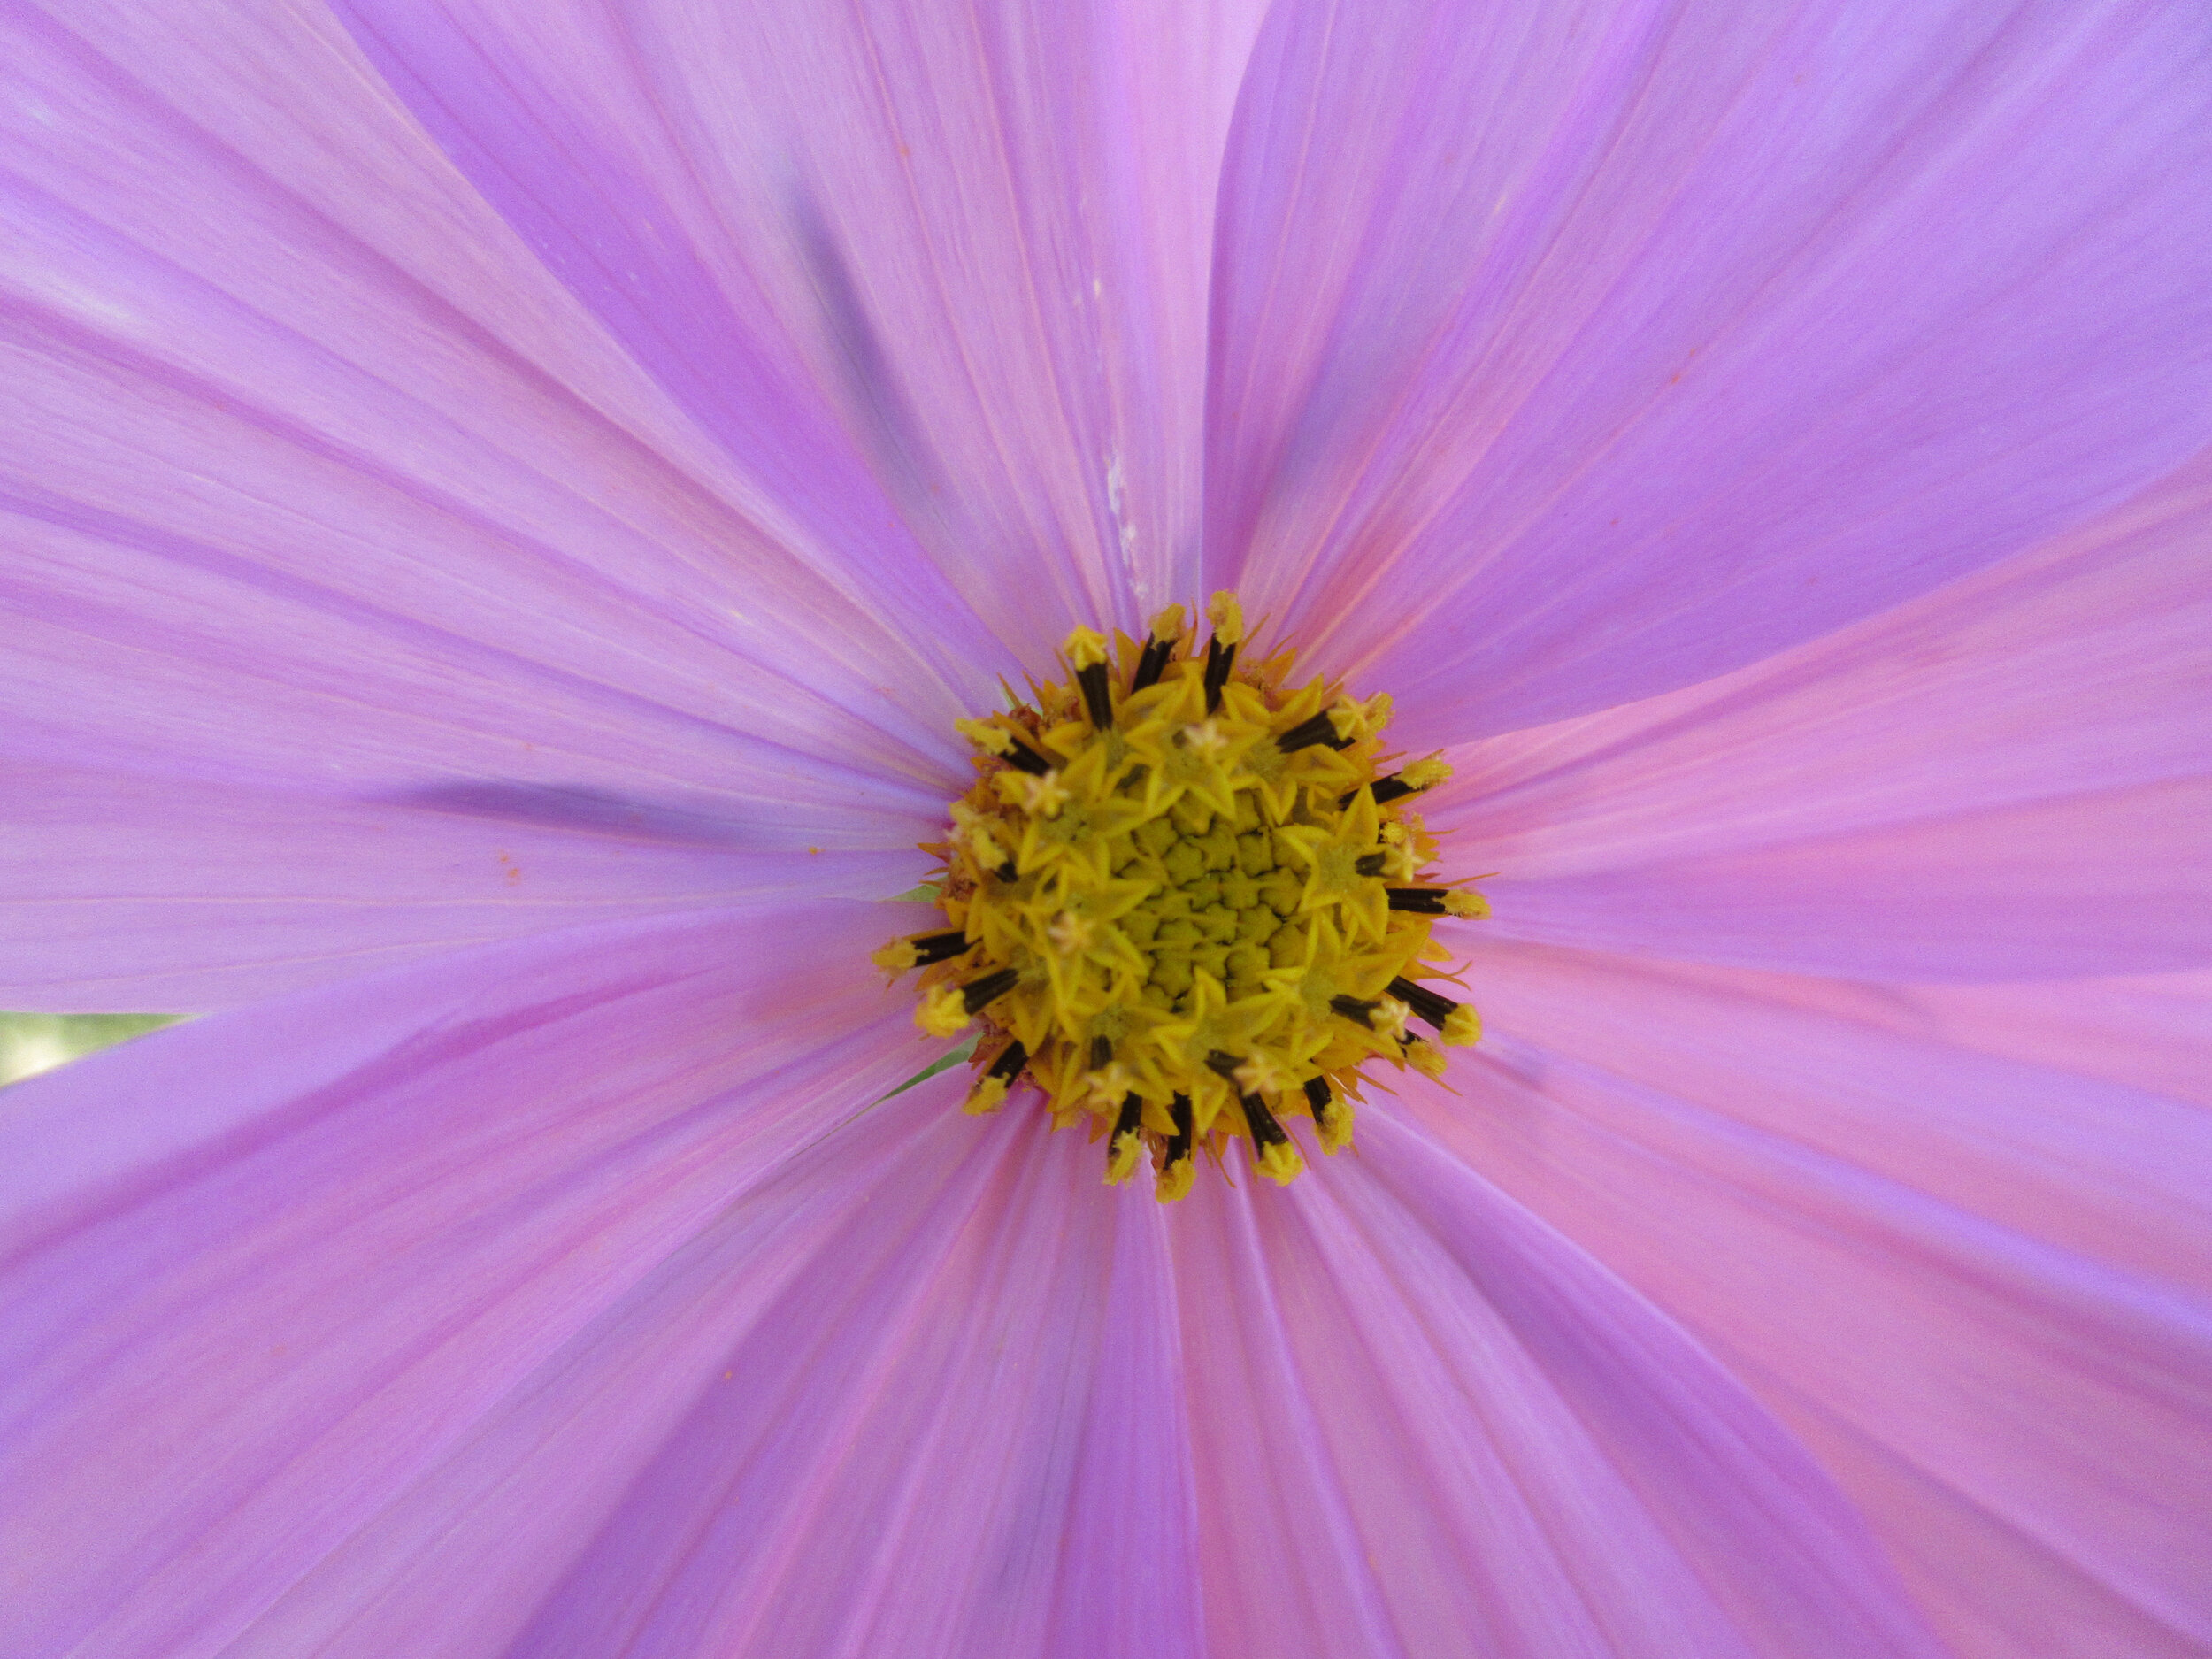
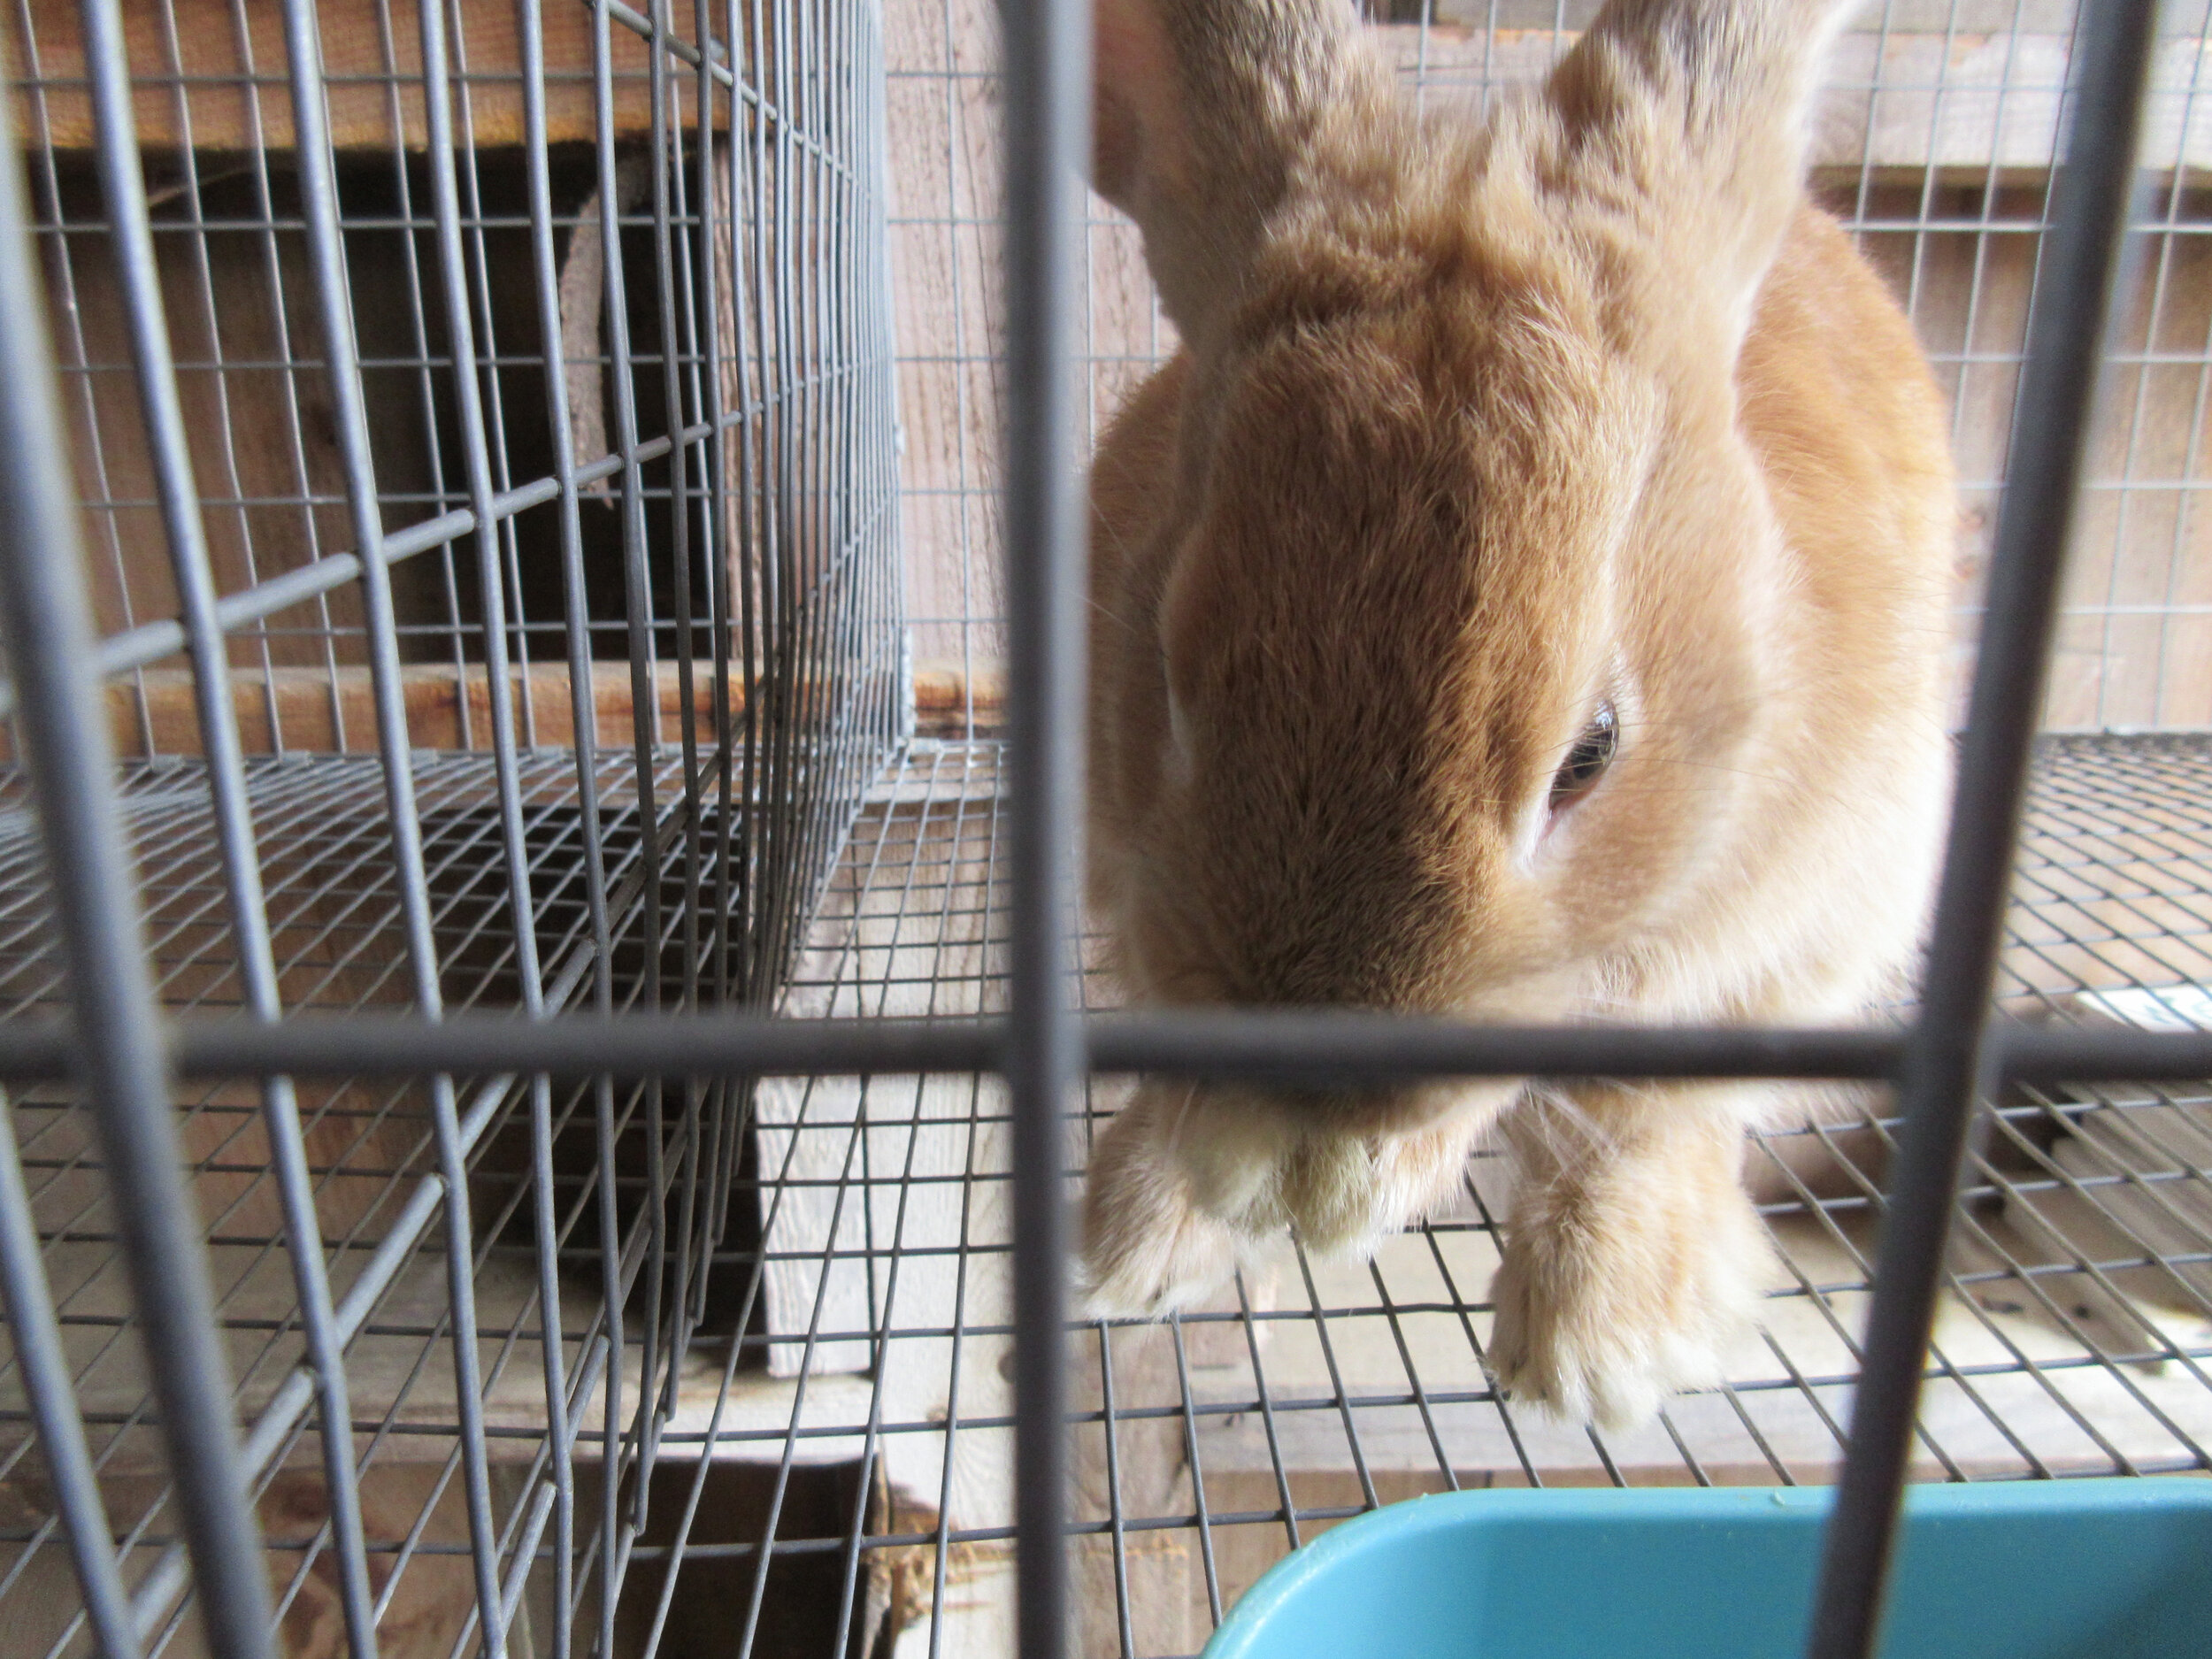
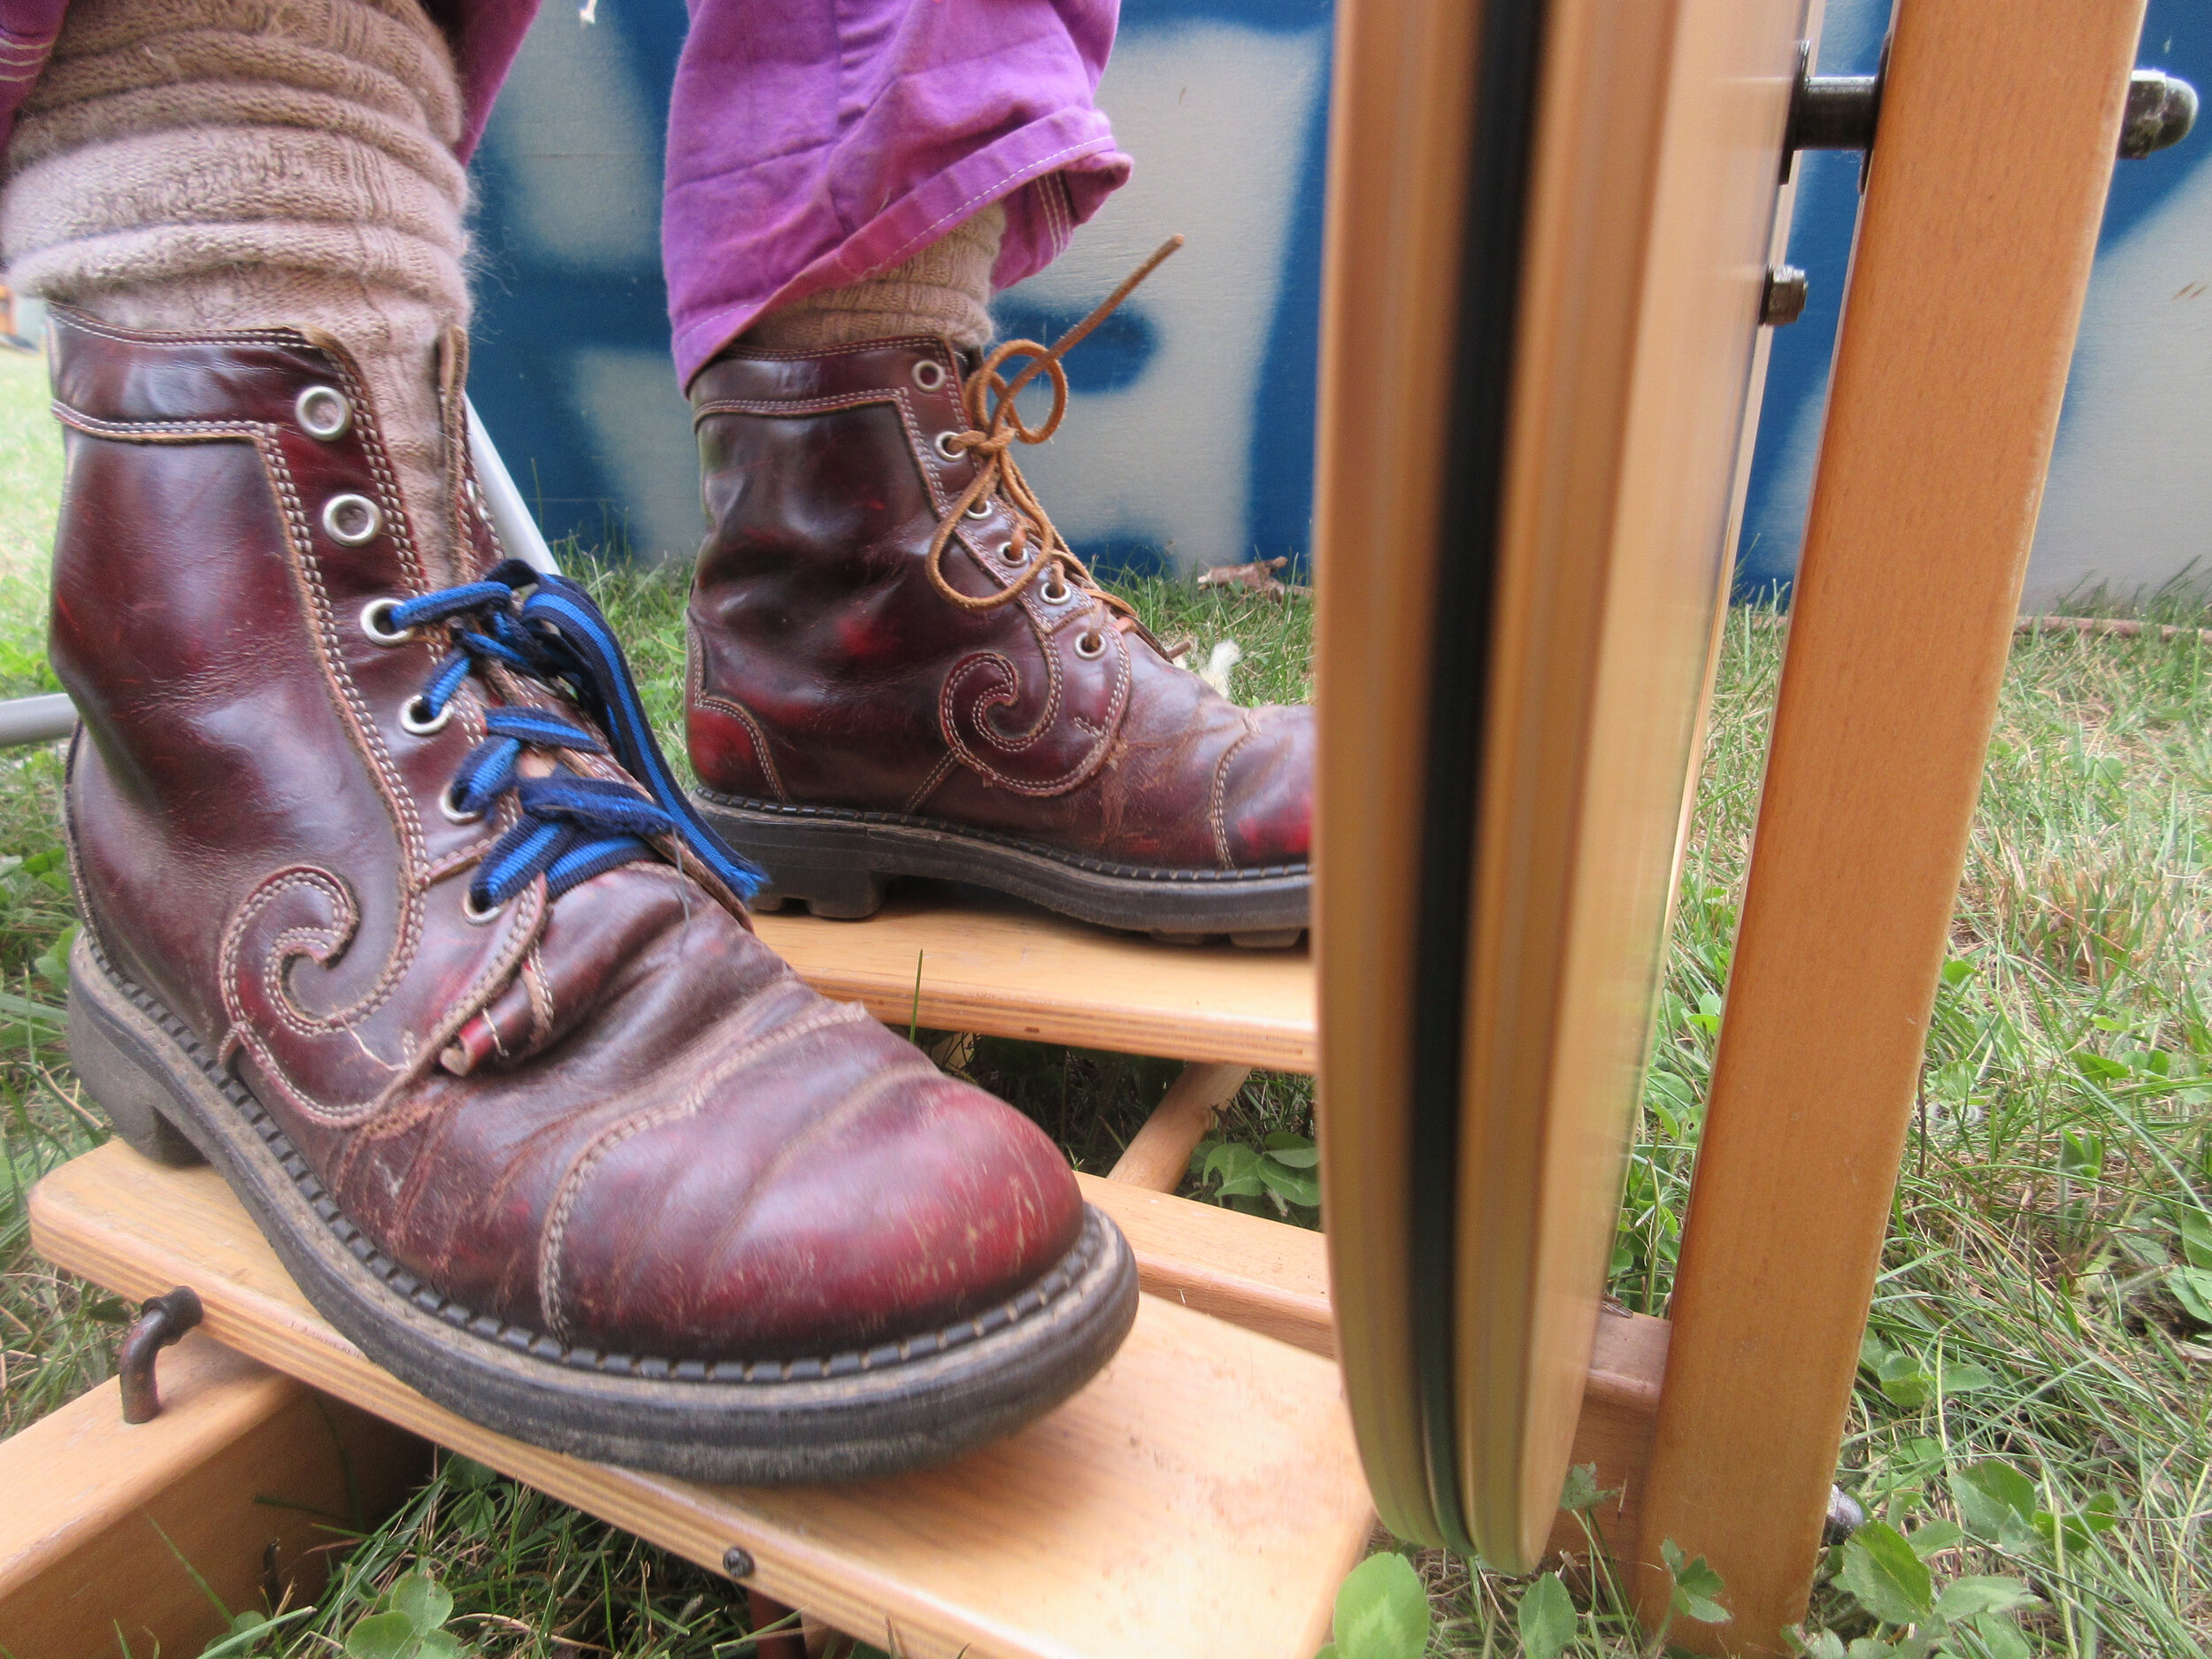
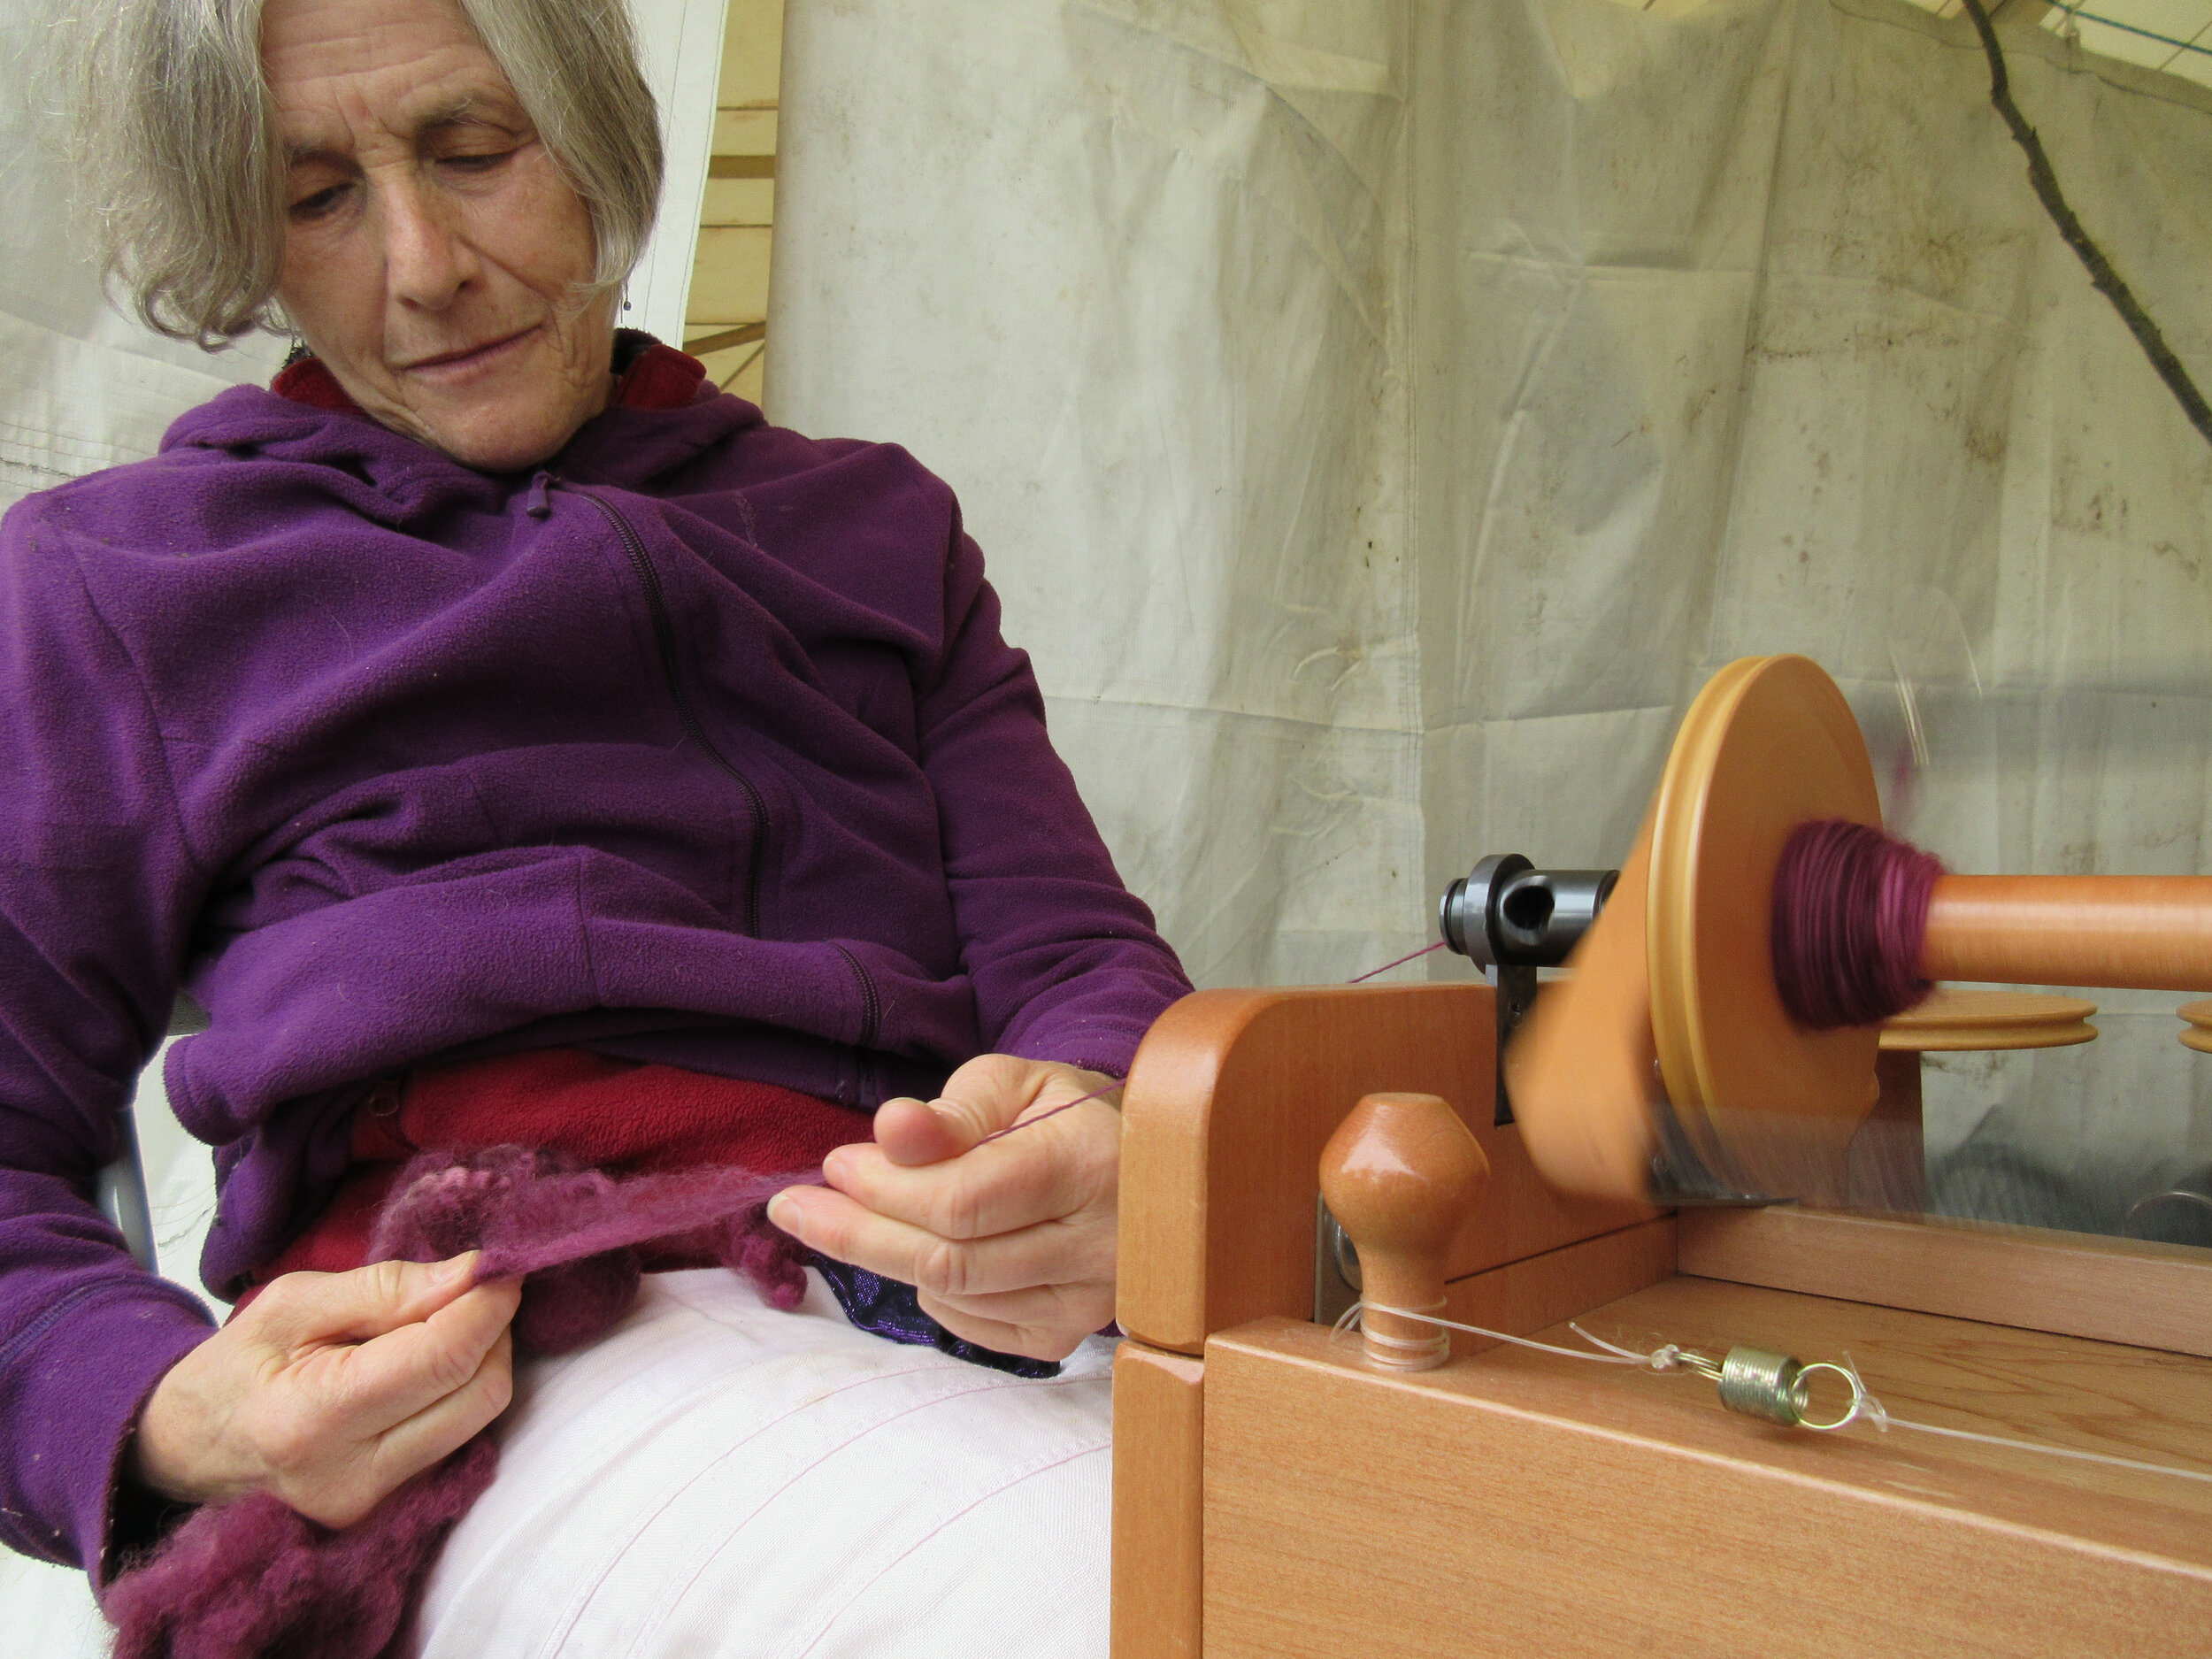
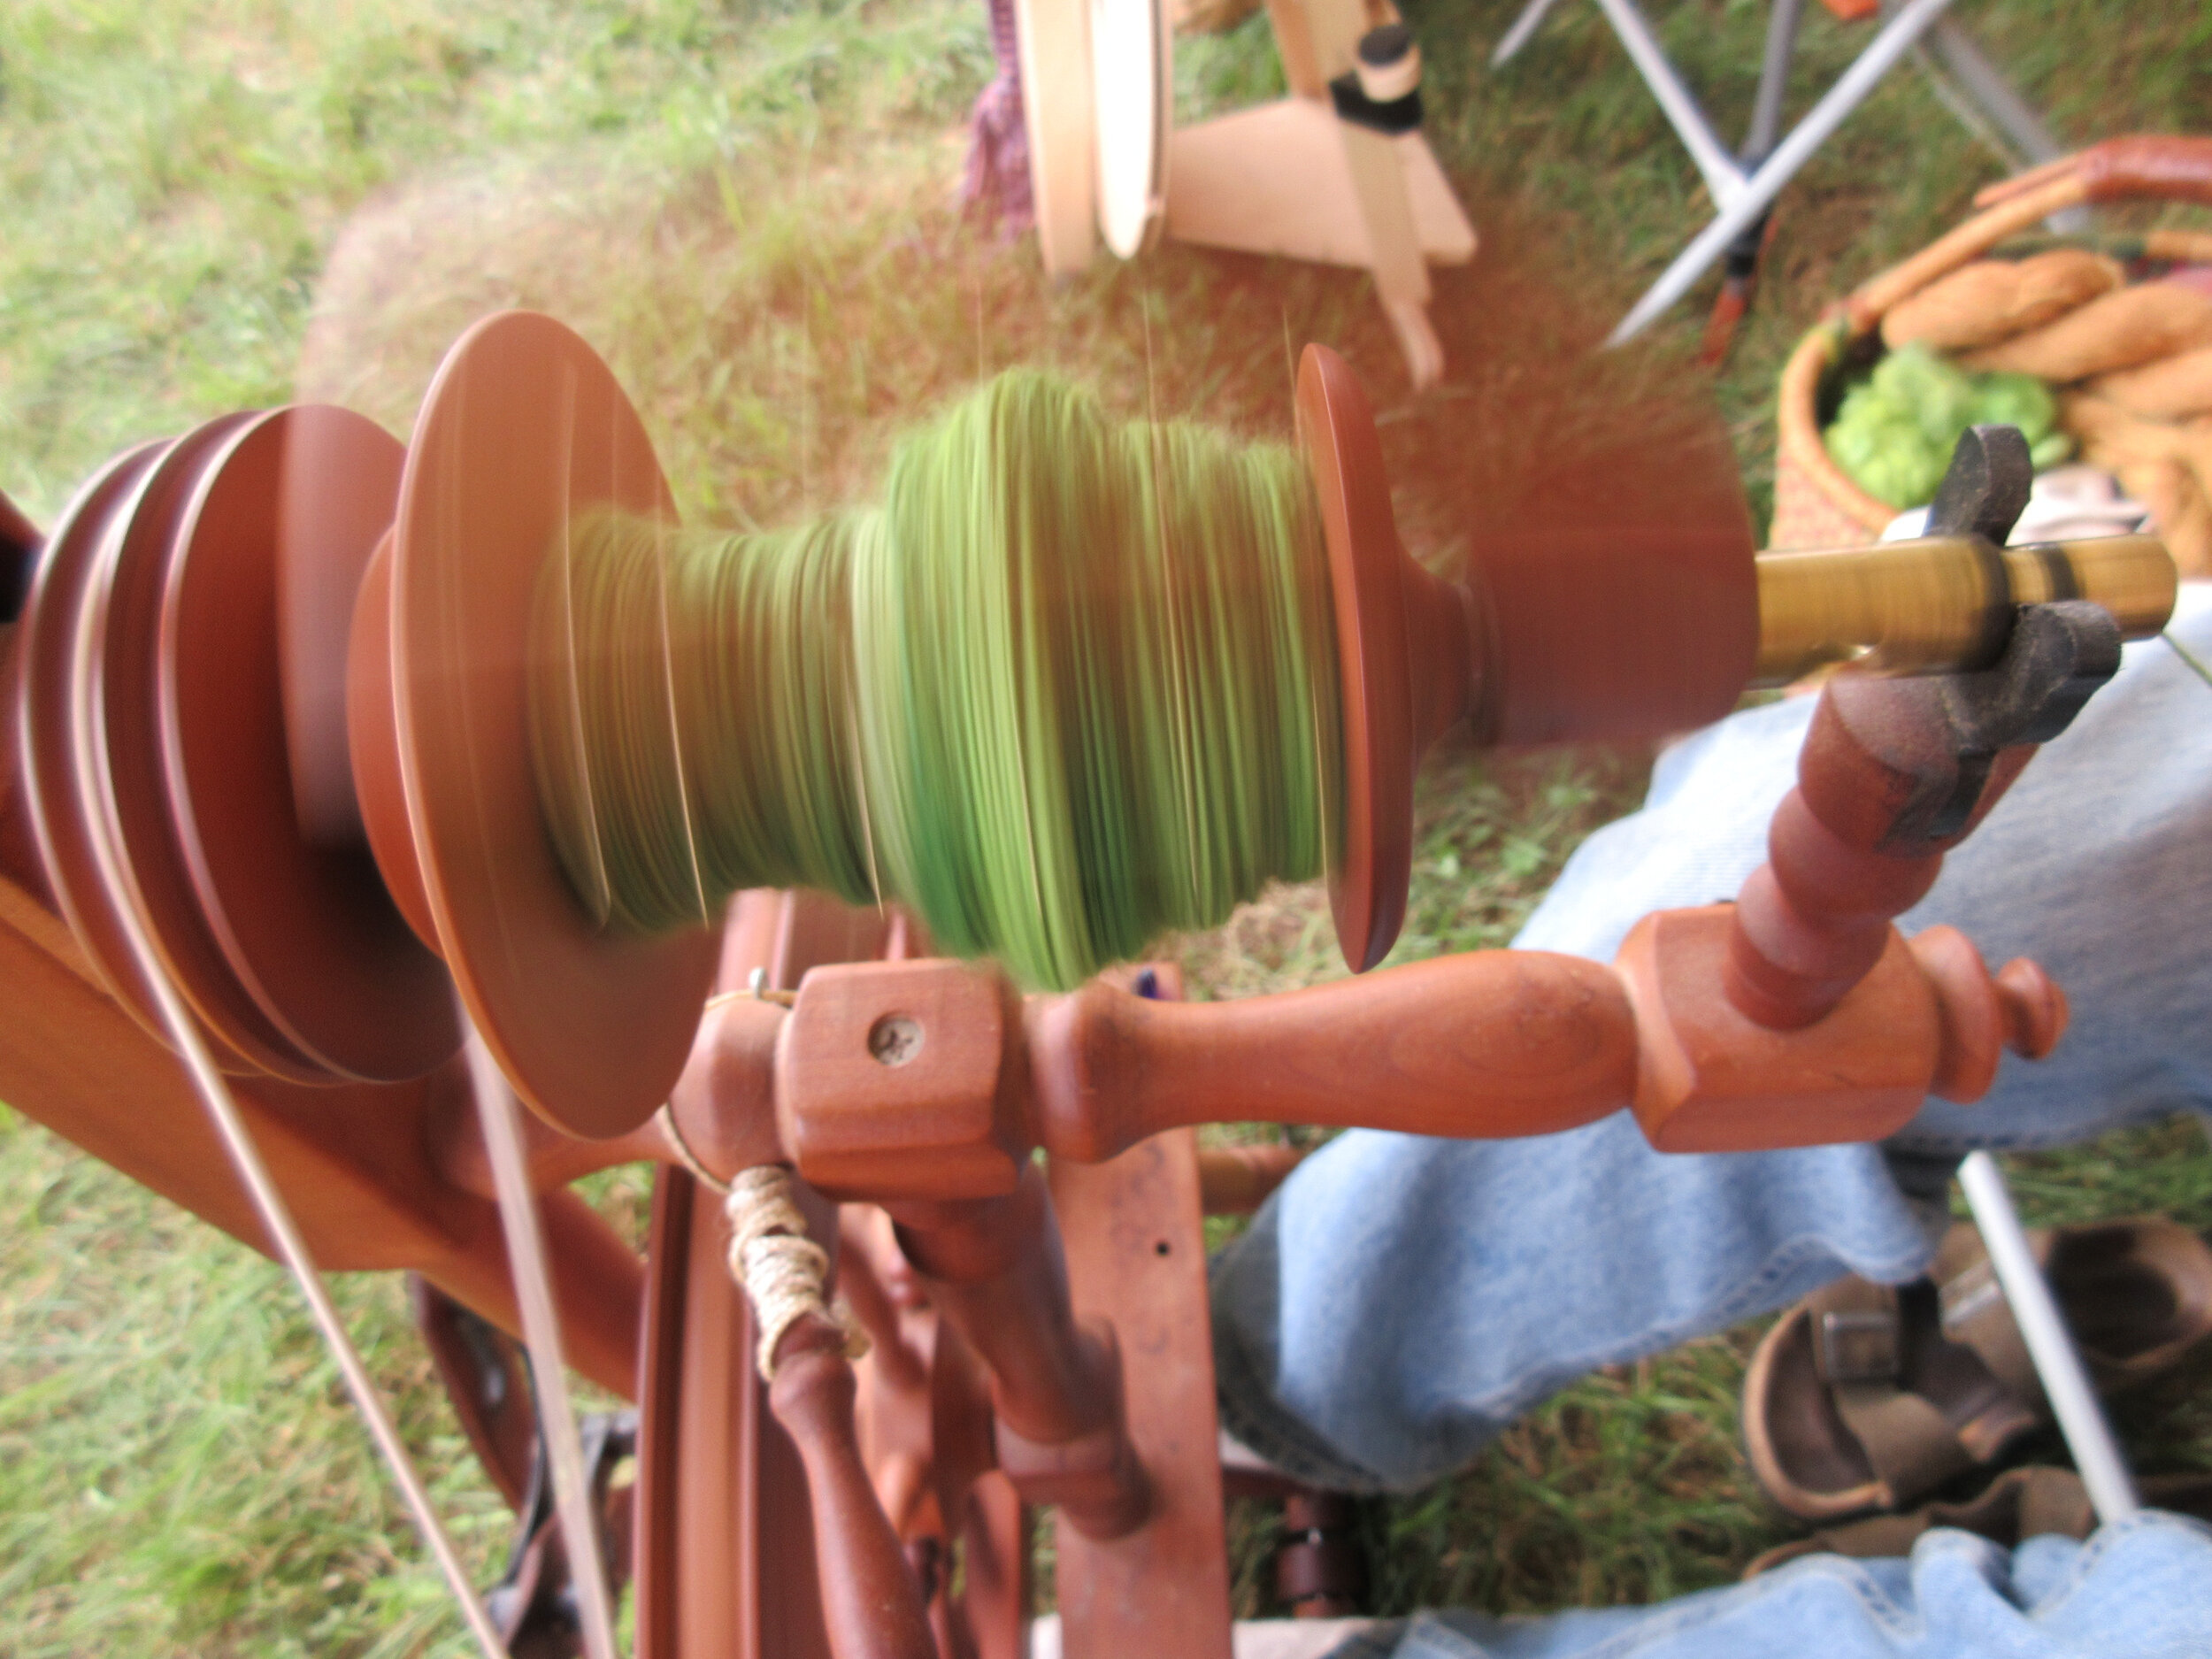
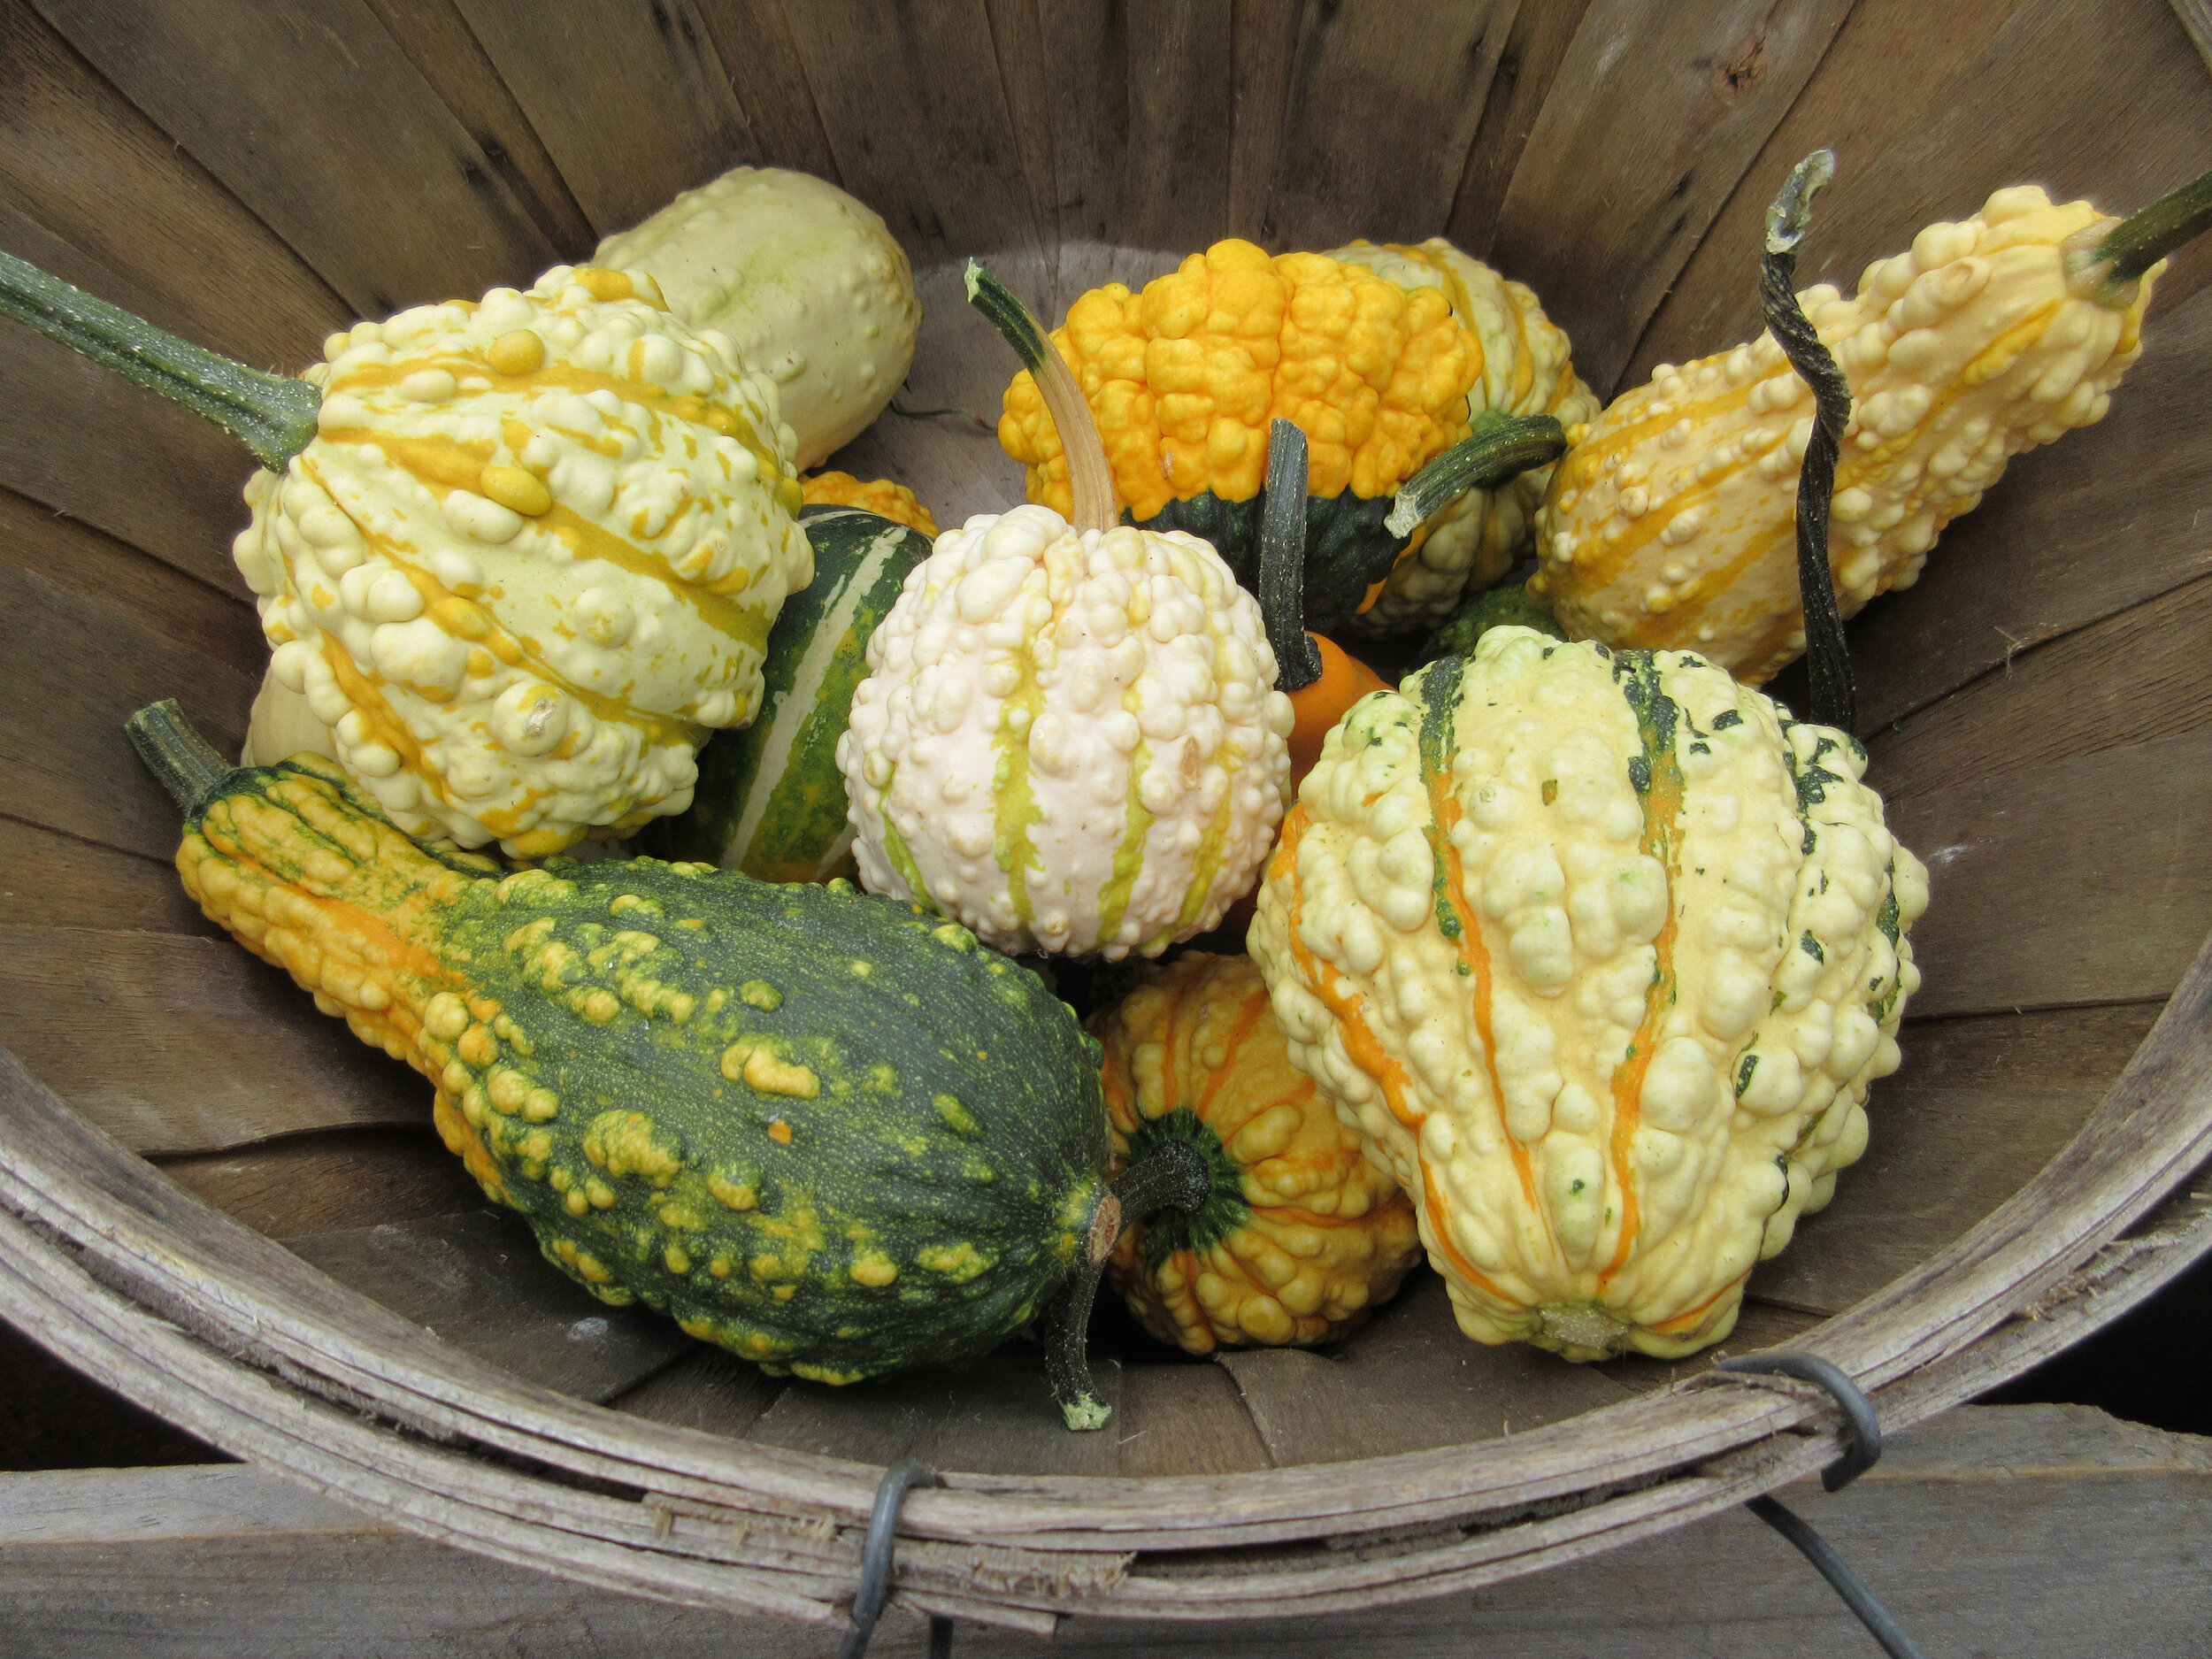
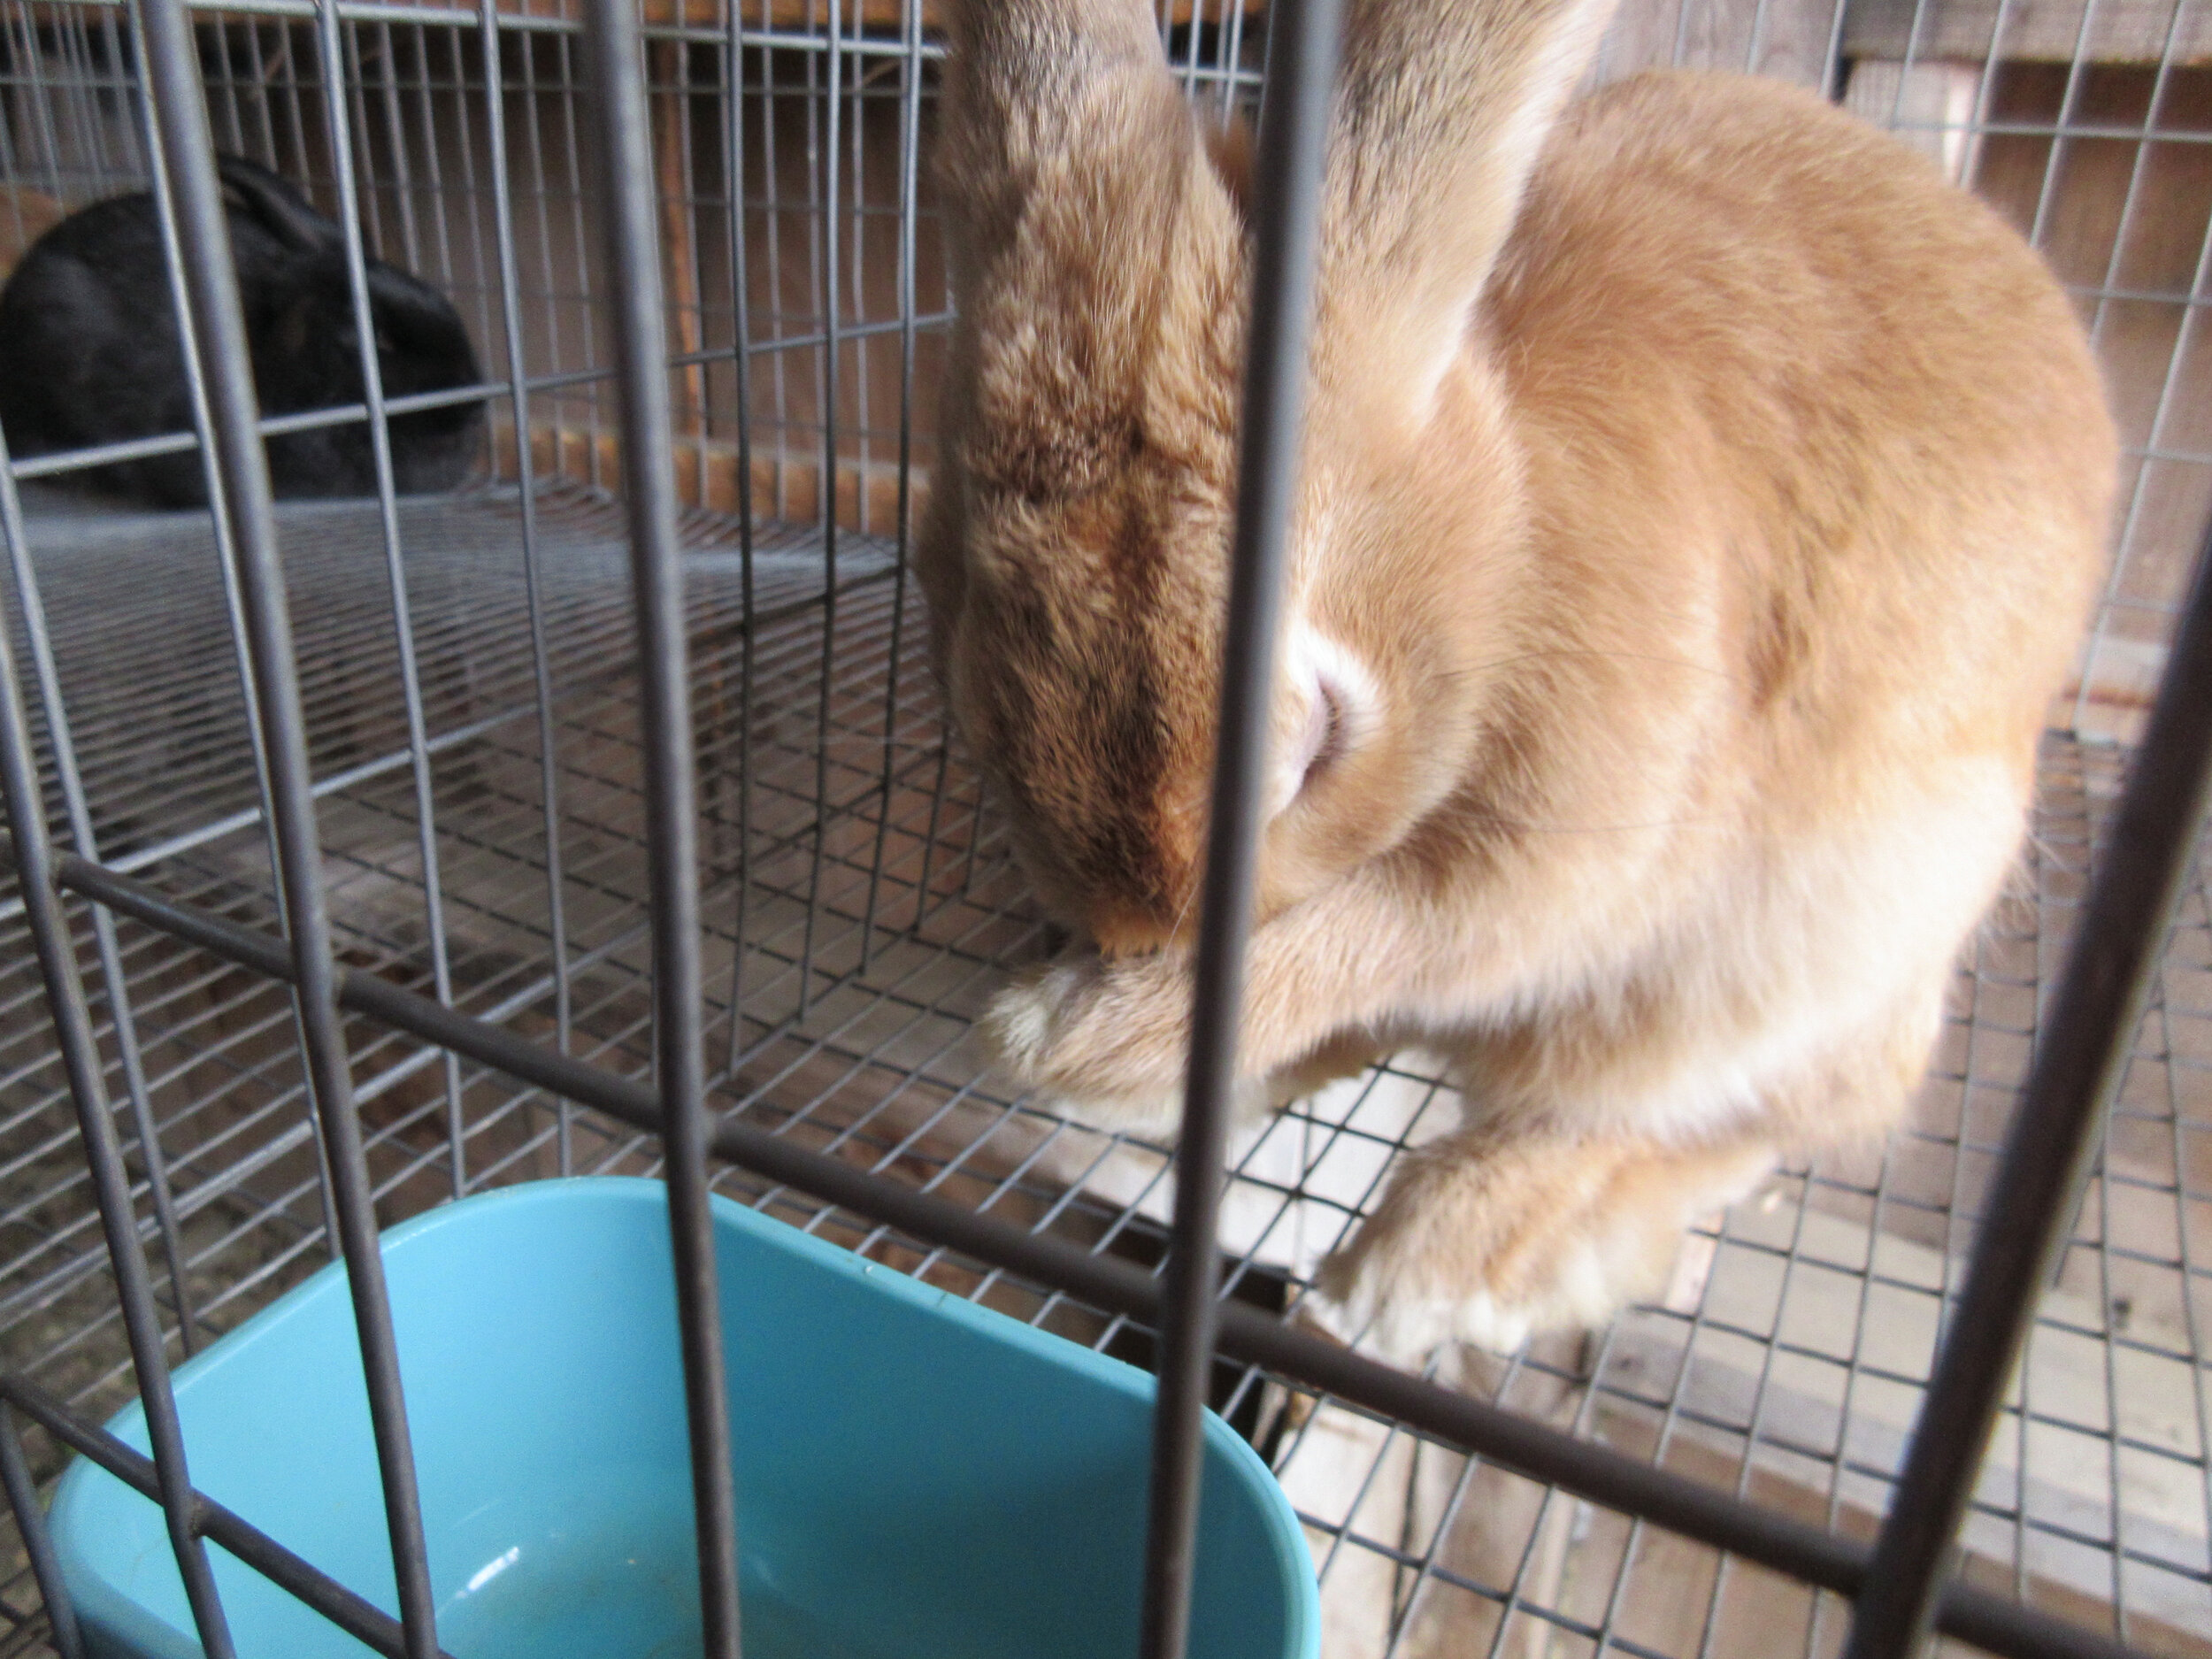
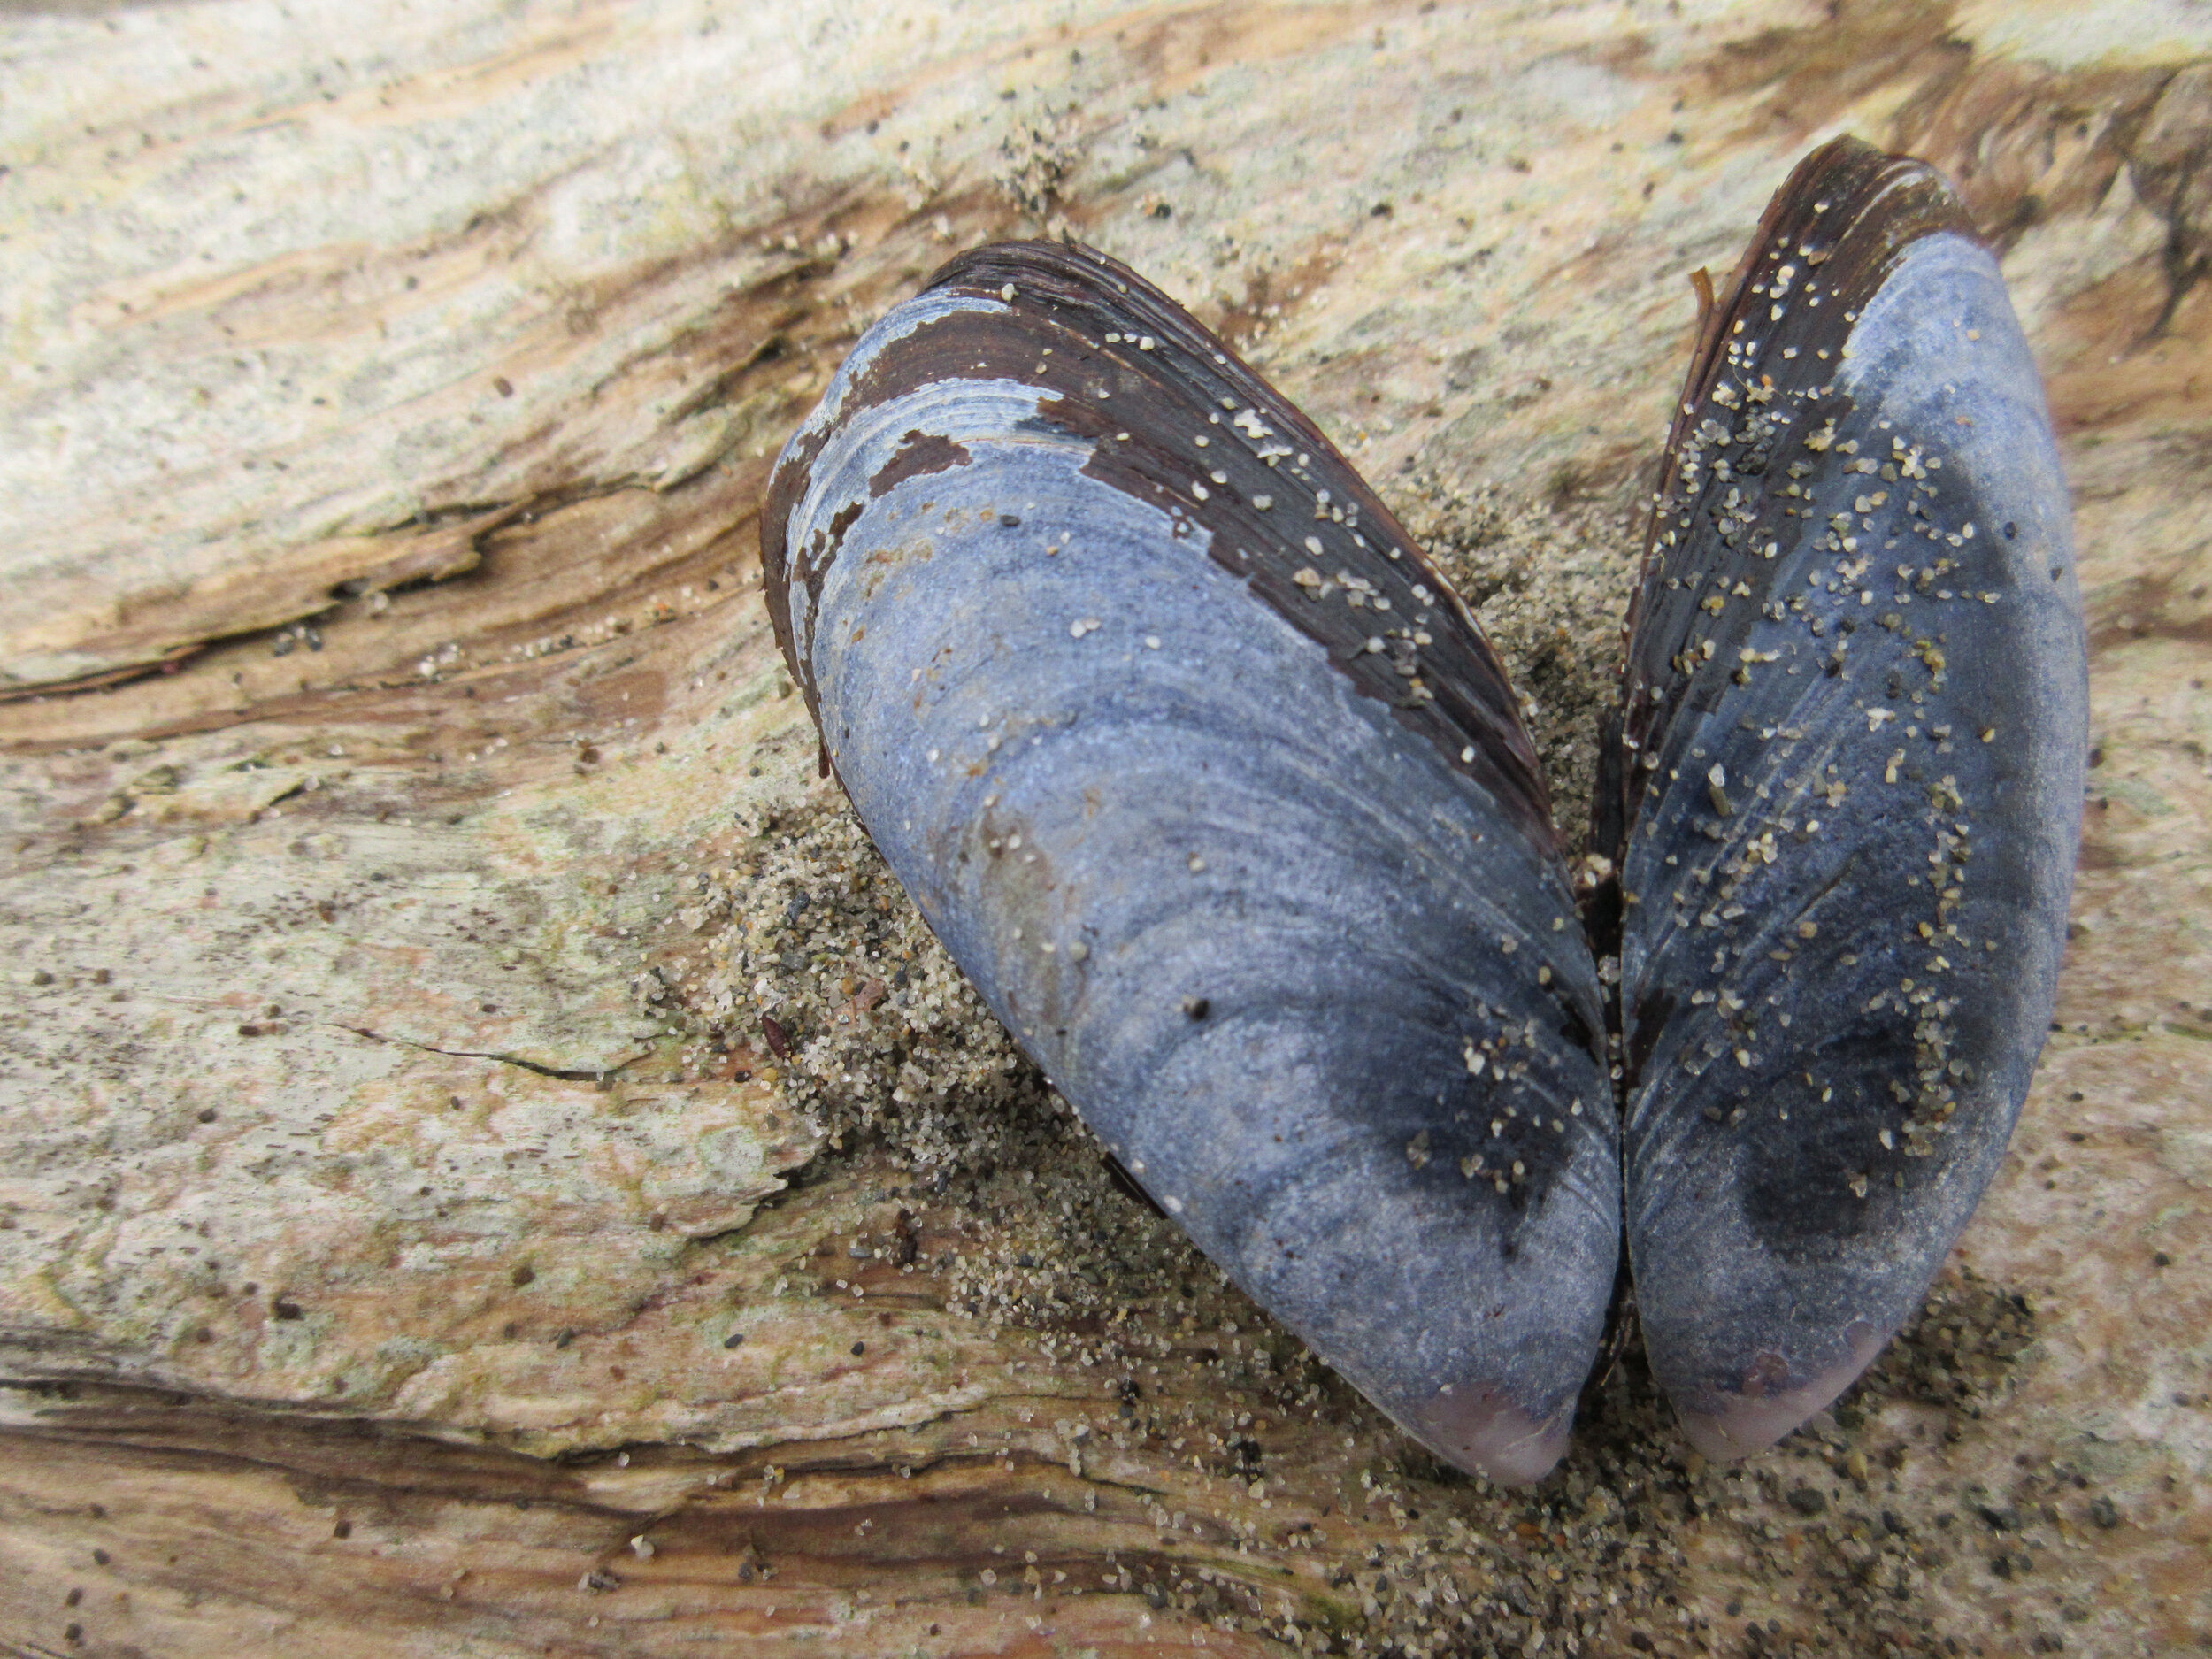
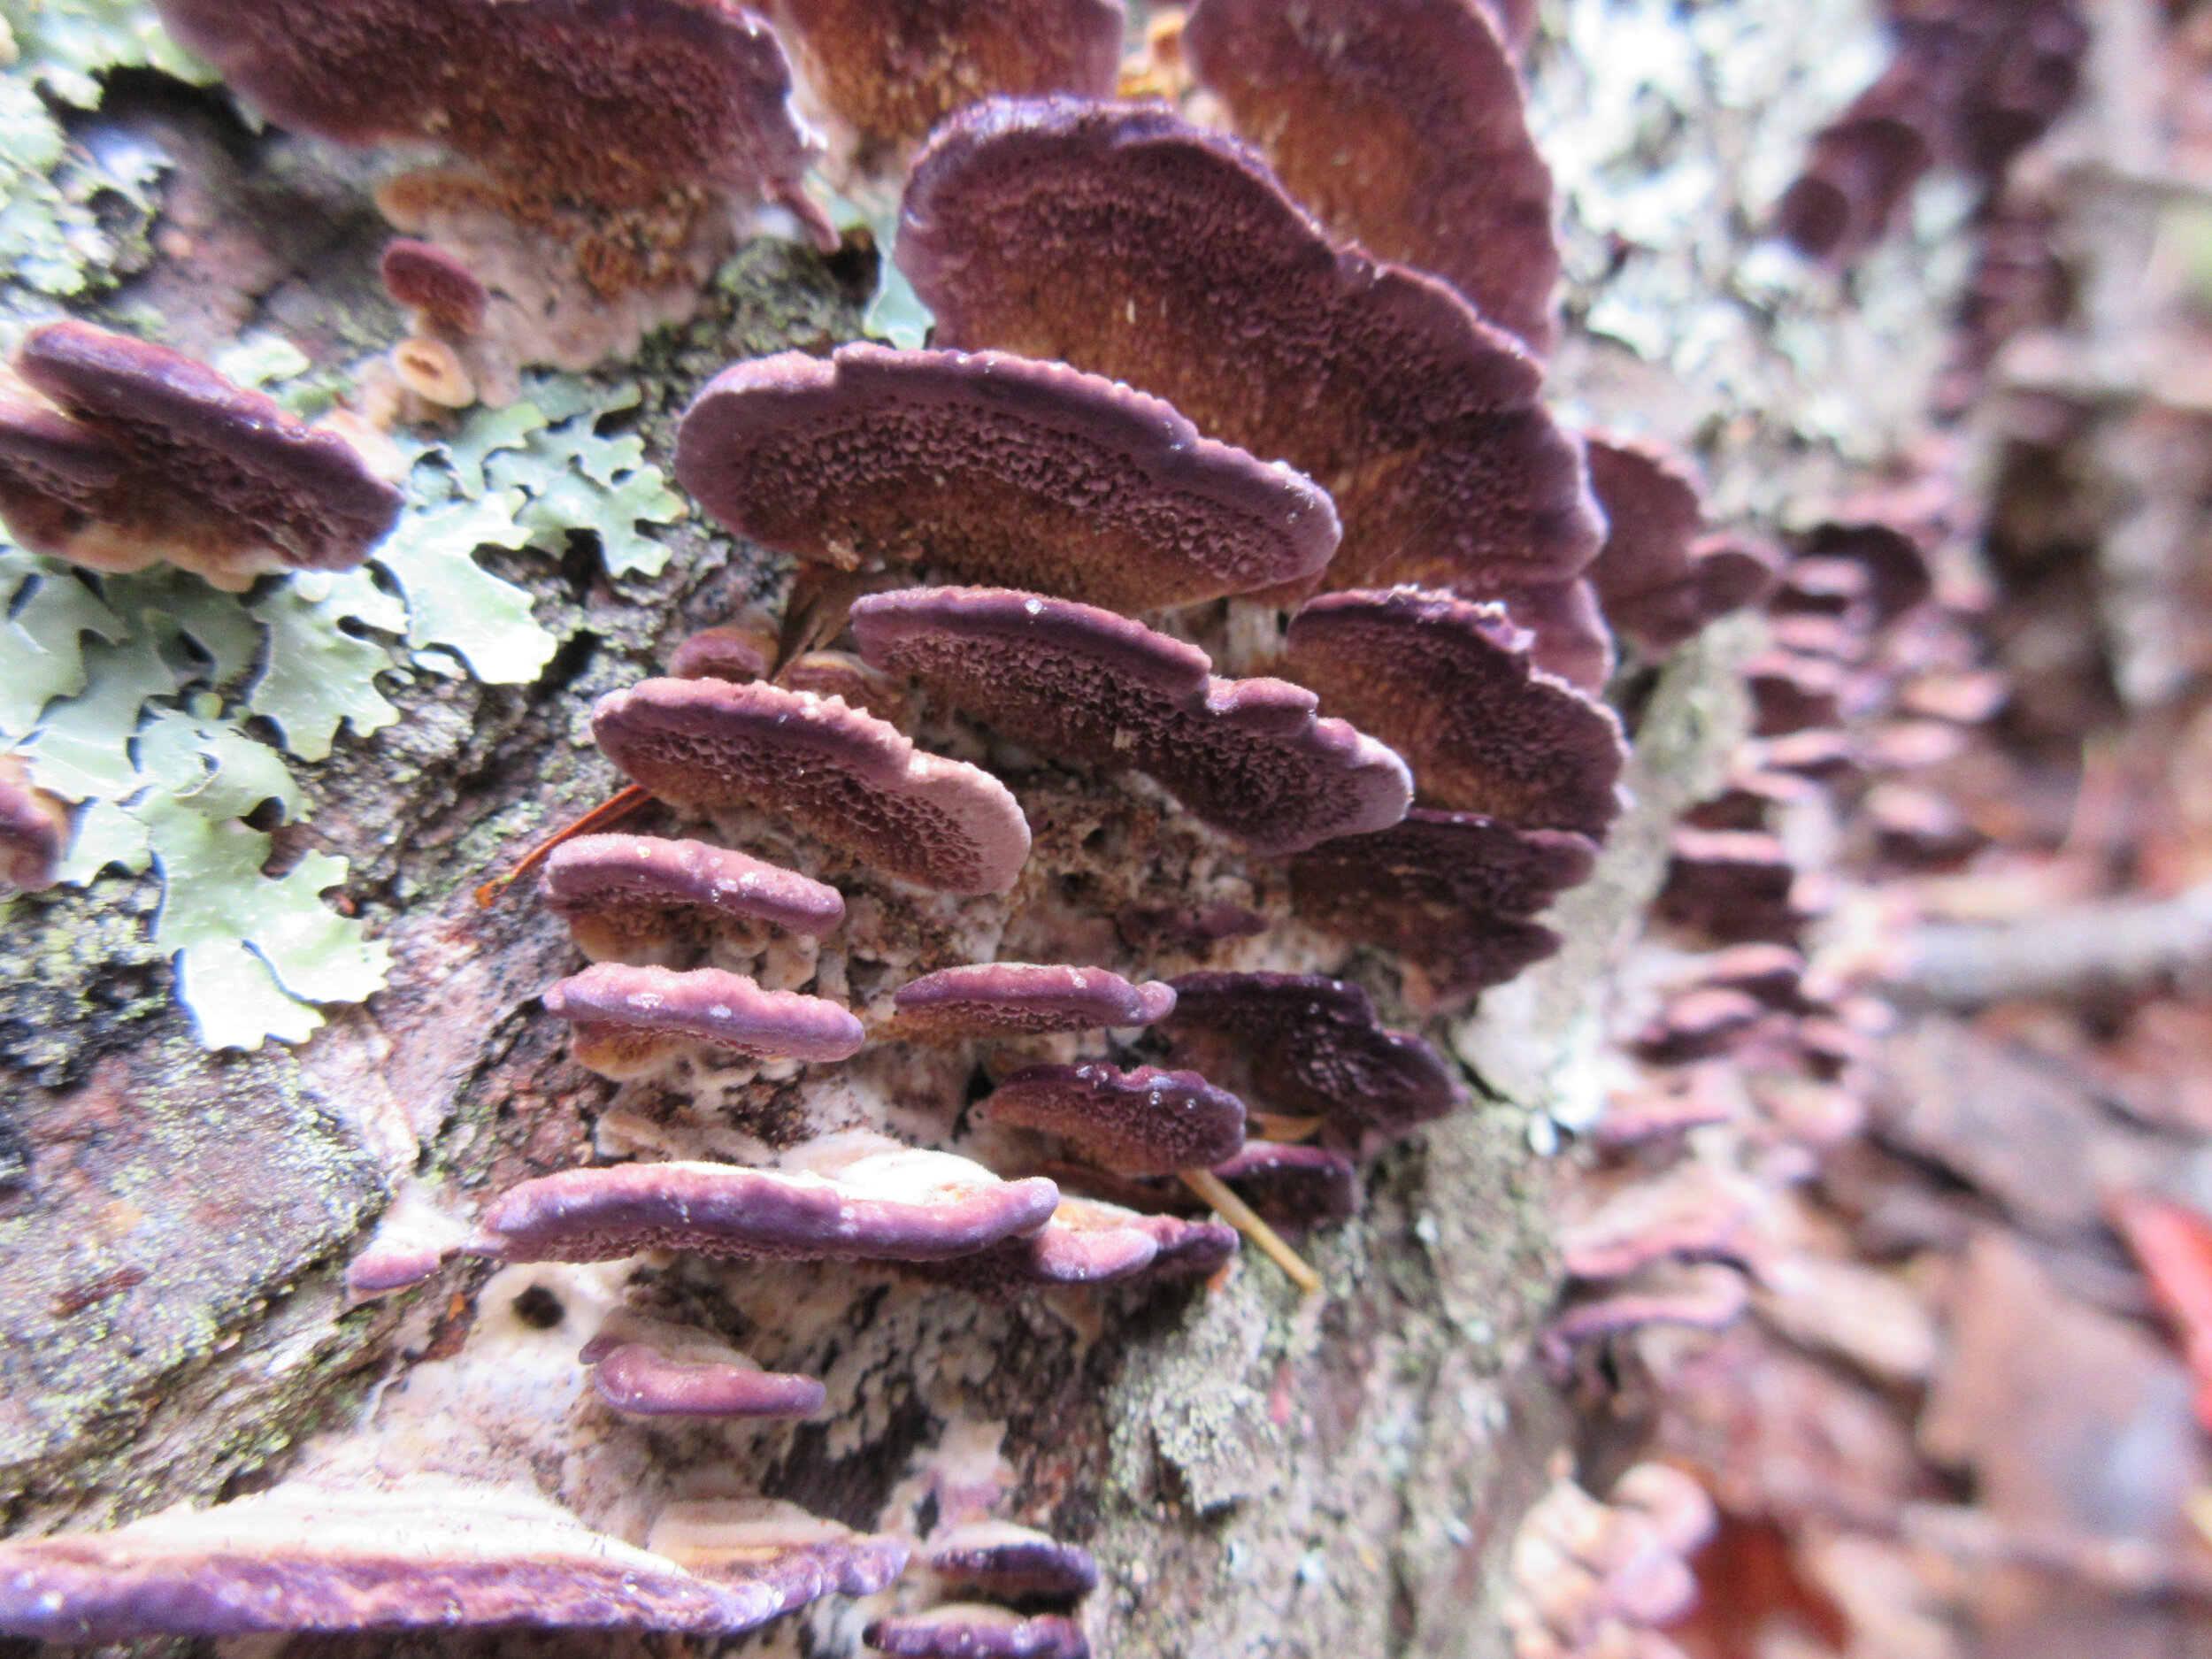
Notice: Notice these images by 4th and 7th grade student participants of the 2016 Stories Exhibition. How does each picture tell the story of “community?”
Reflect: What makes your community special? Identify important areas in your community.
Expedition + Create: Document people and places. How can you adjust your composition or vantage point to tell a unique story?
Exhibition: Curate a collection of images to tell a collaborative story about your community!
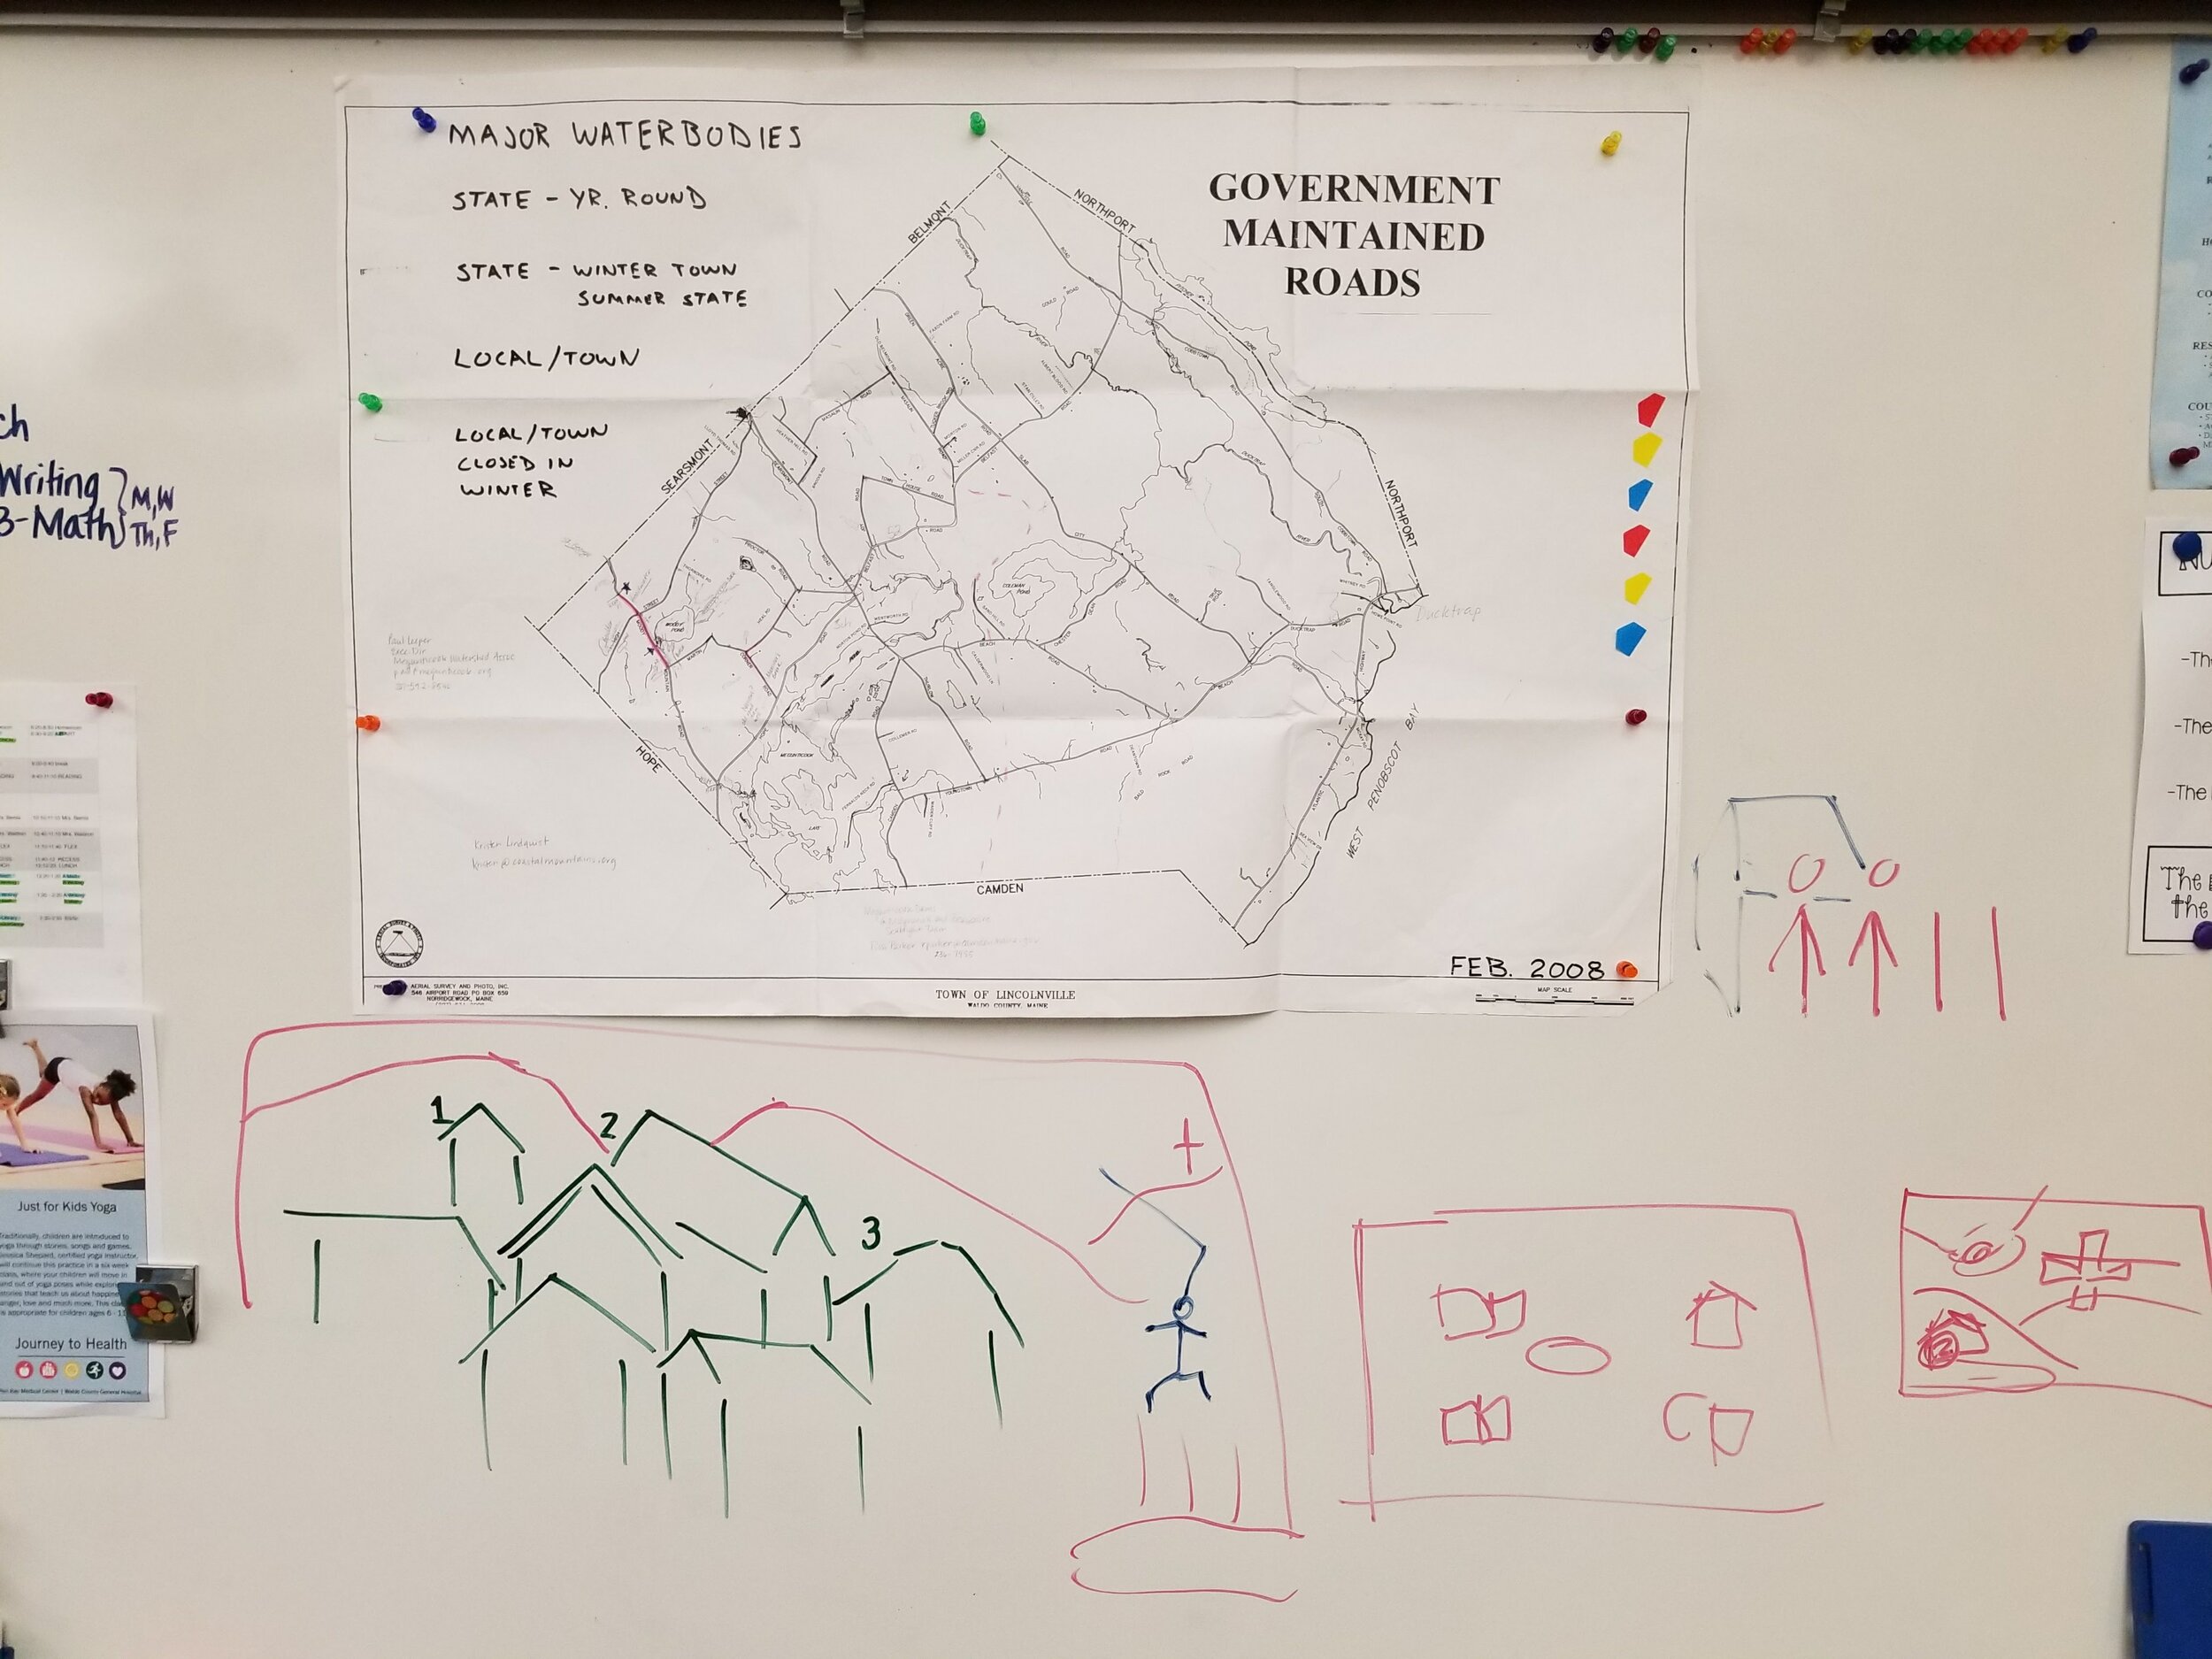
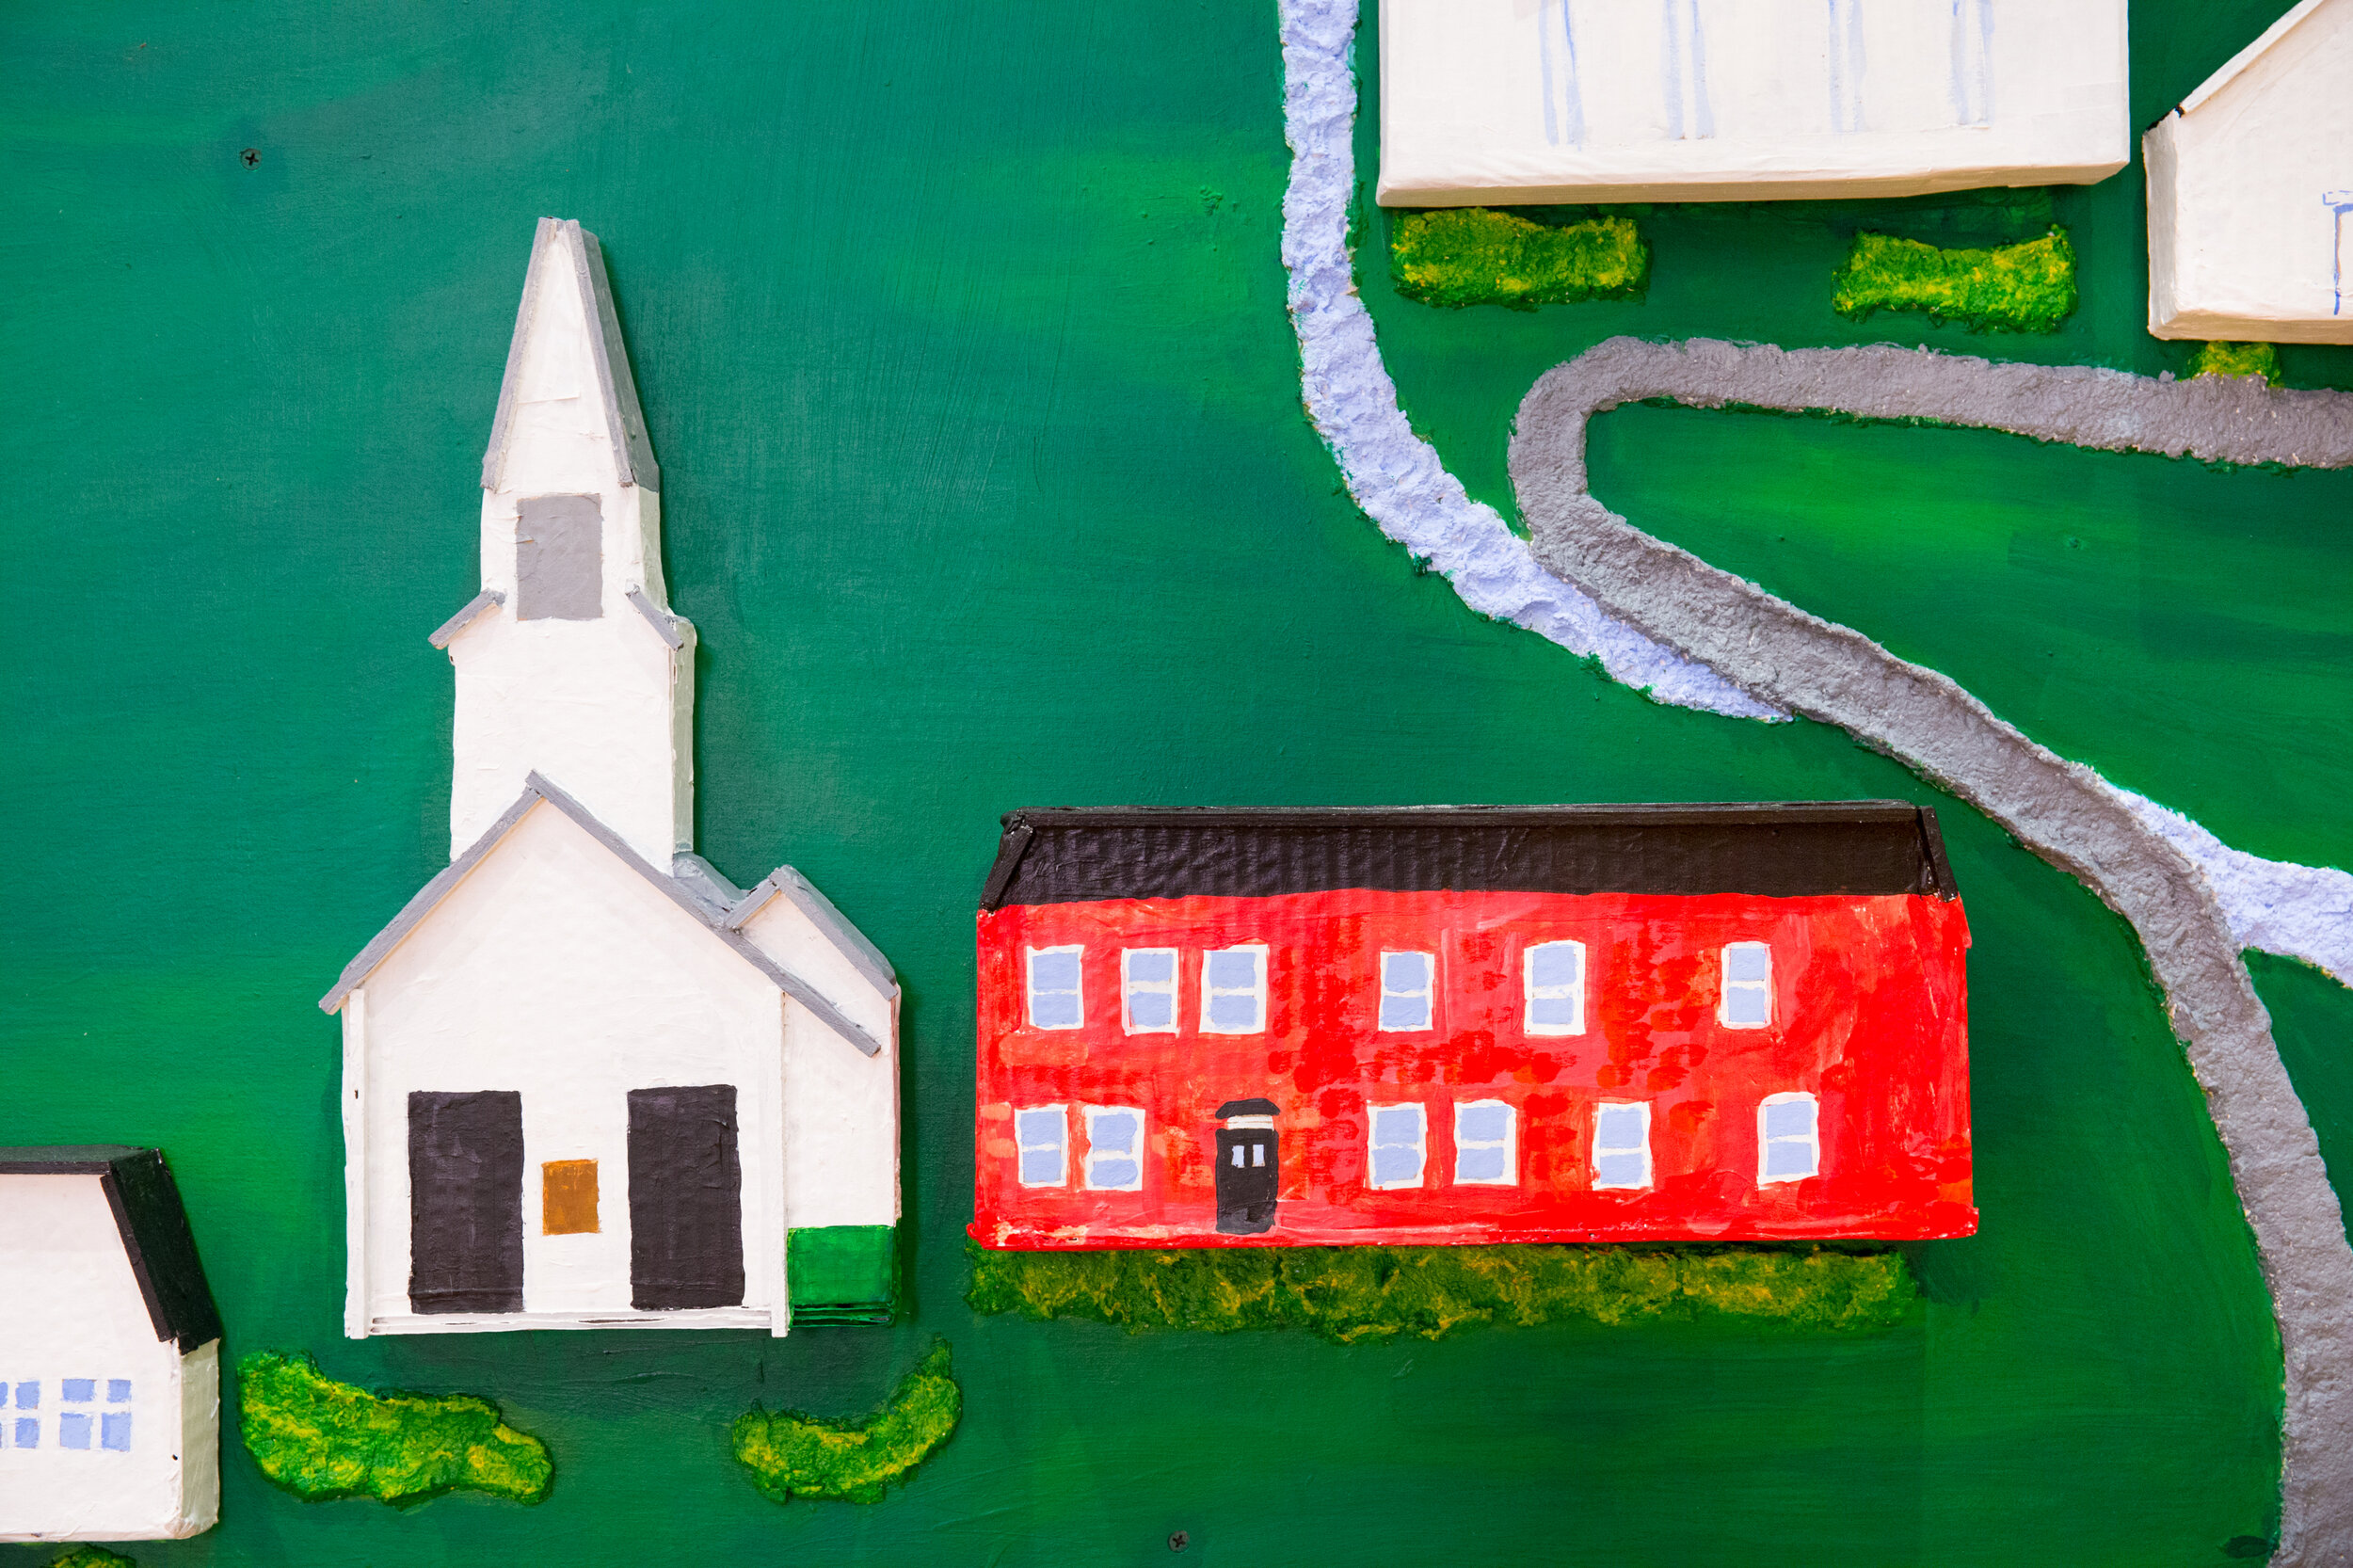
community Map: History + Architecture
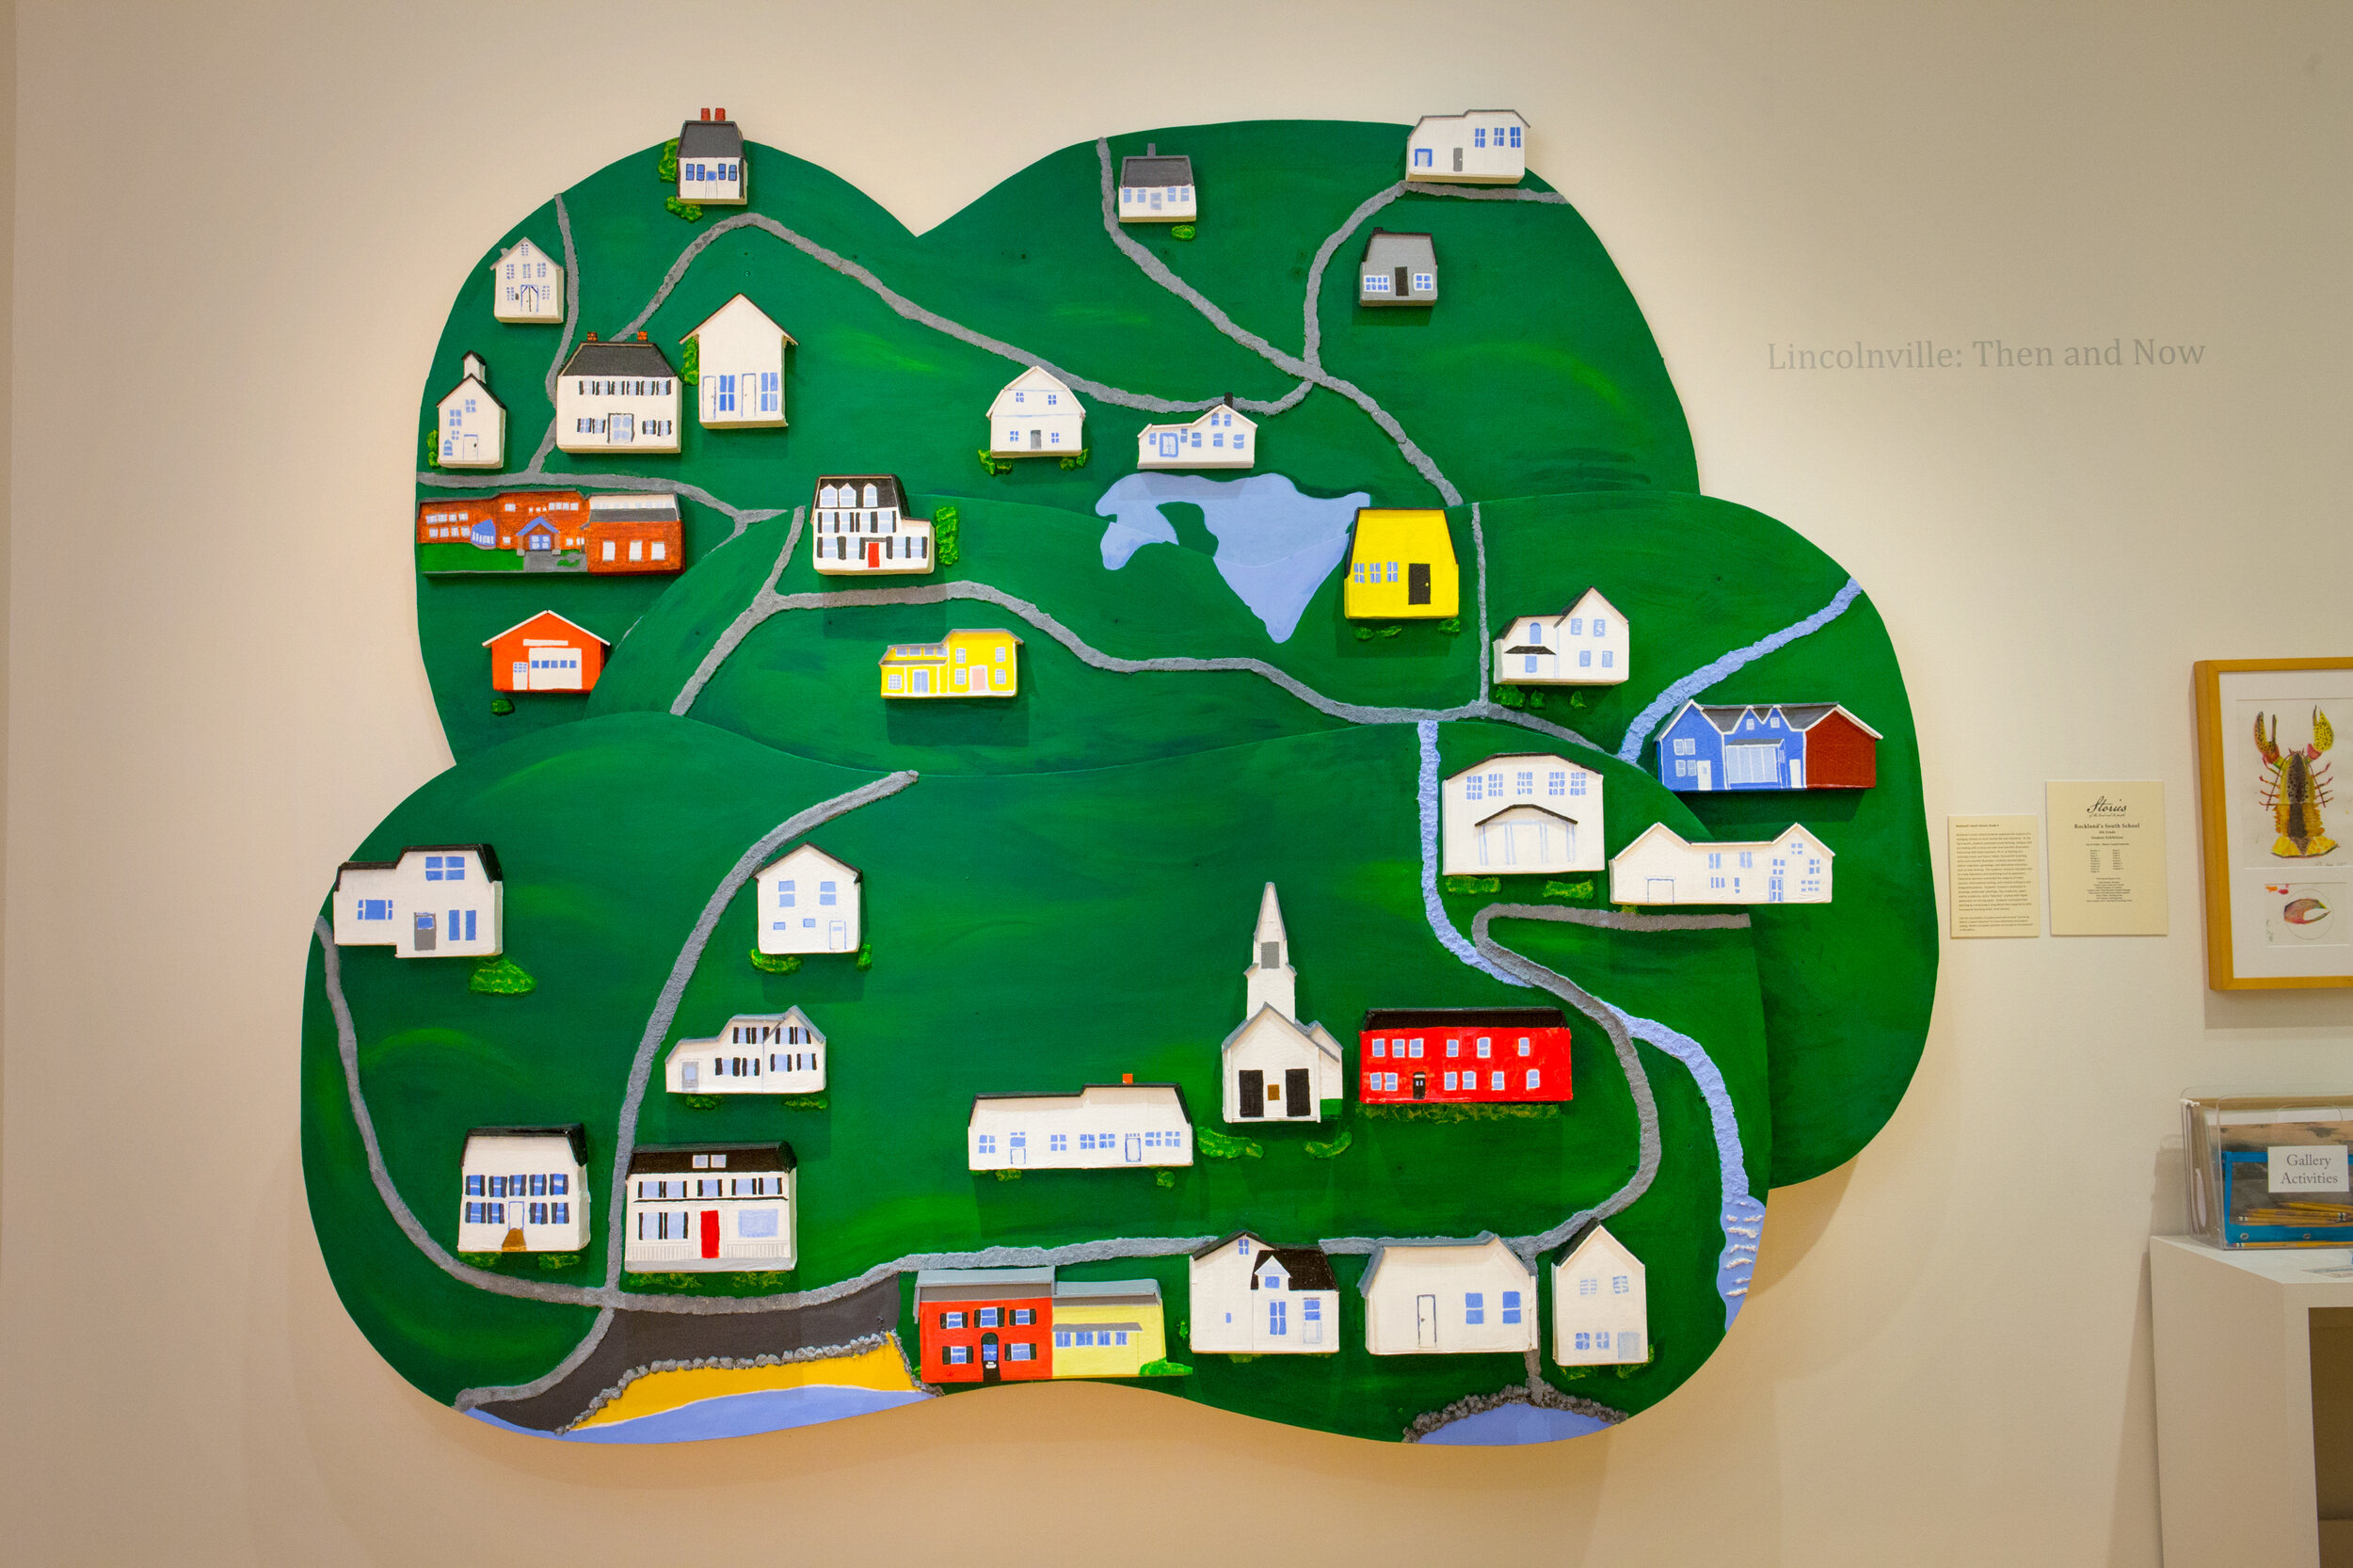
Explore the Community Unit: Architecture + History for a complete page of lessons and activities focused on local history and structures.
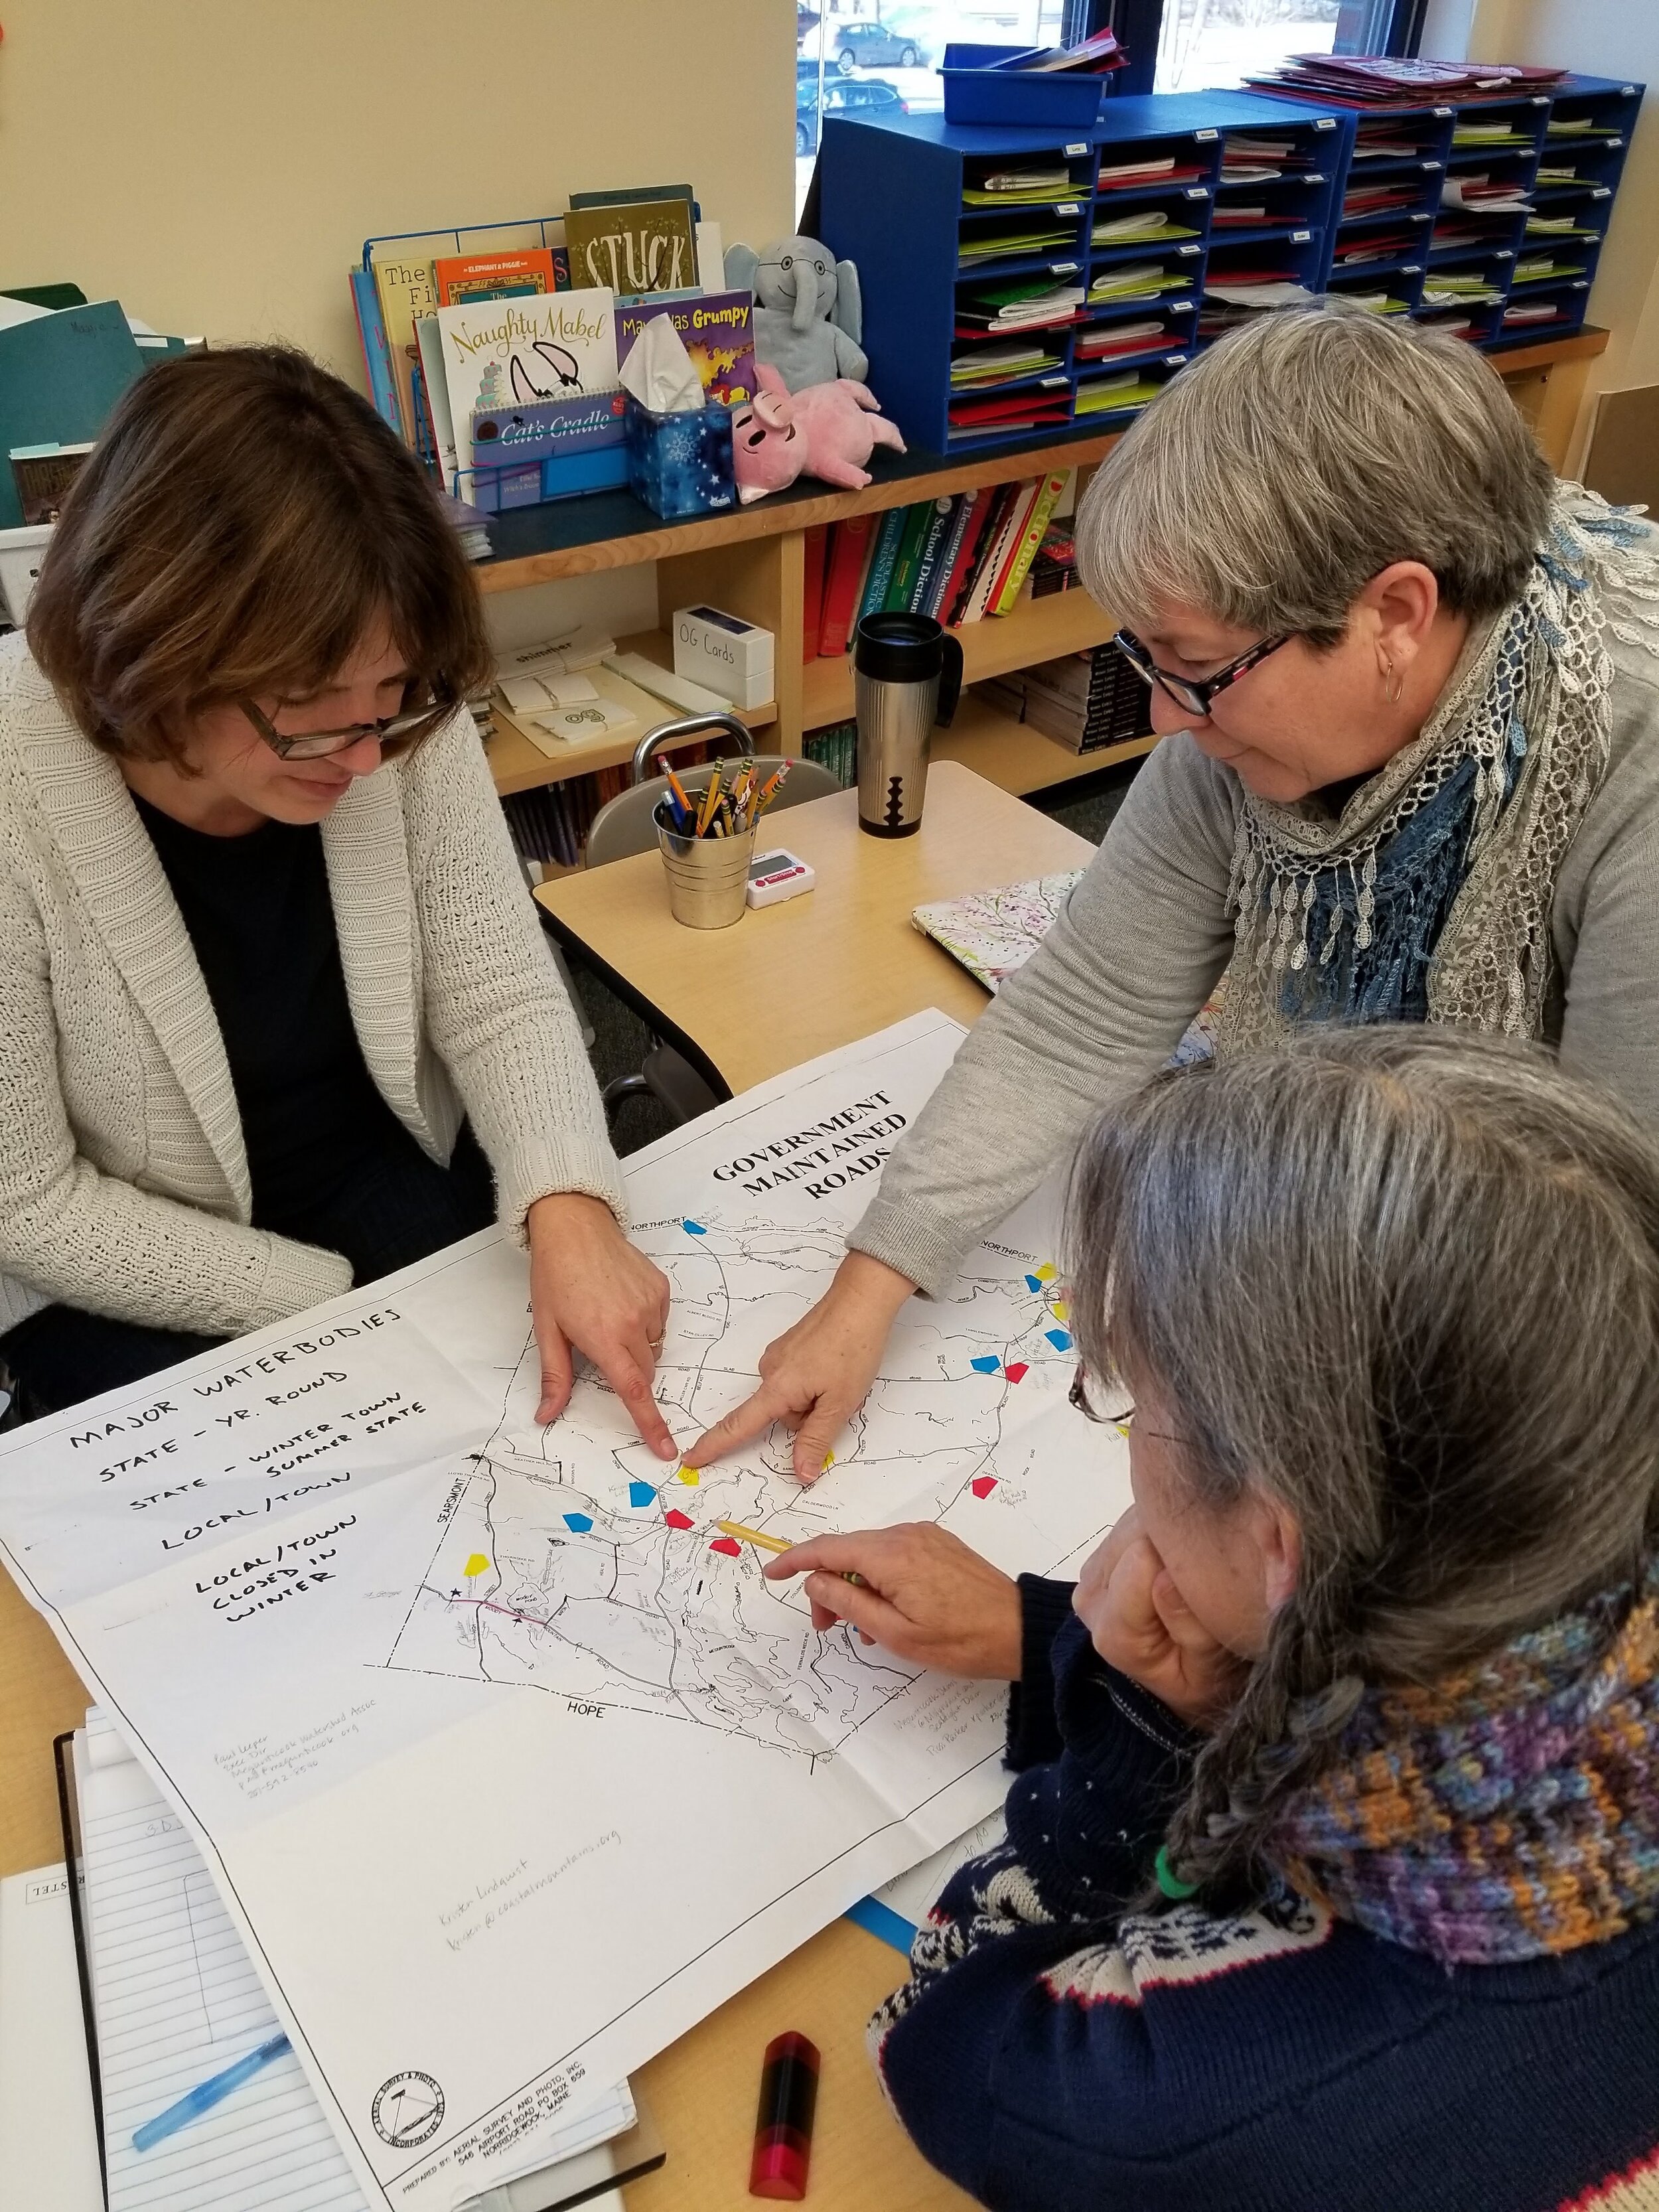
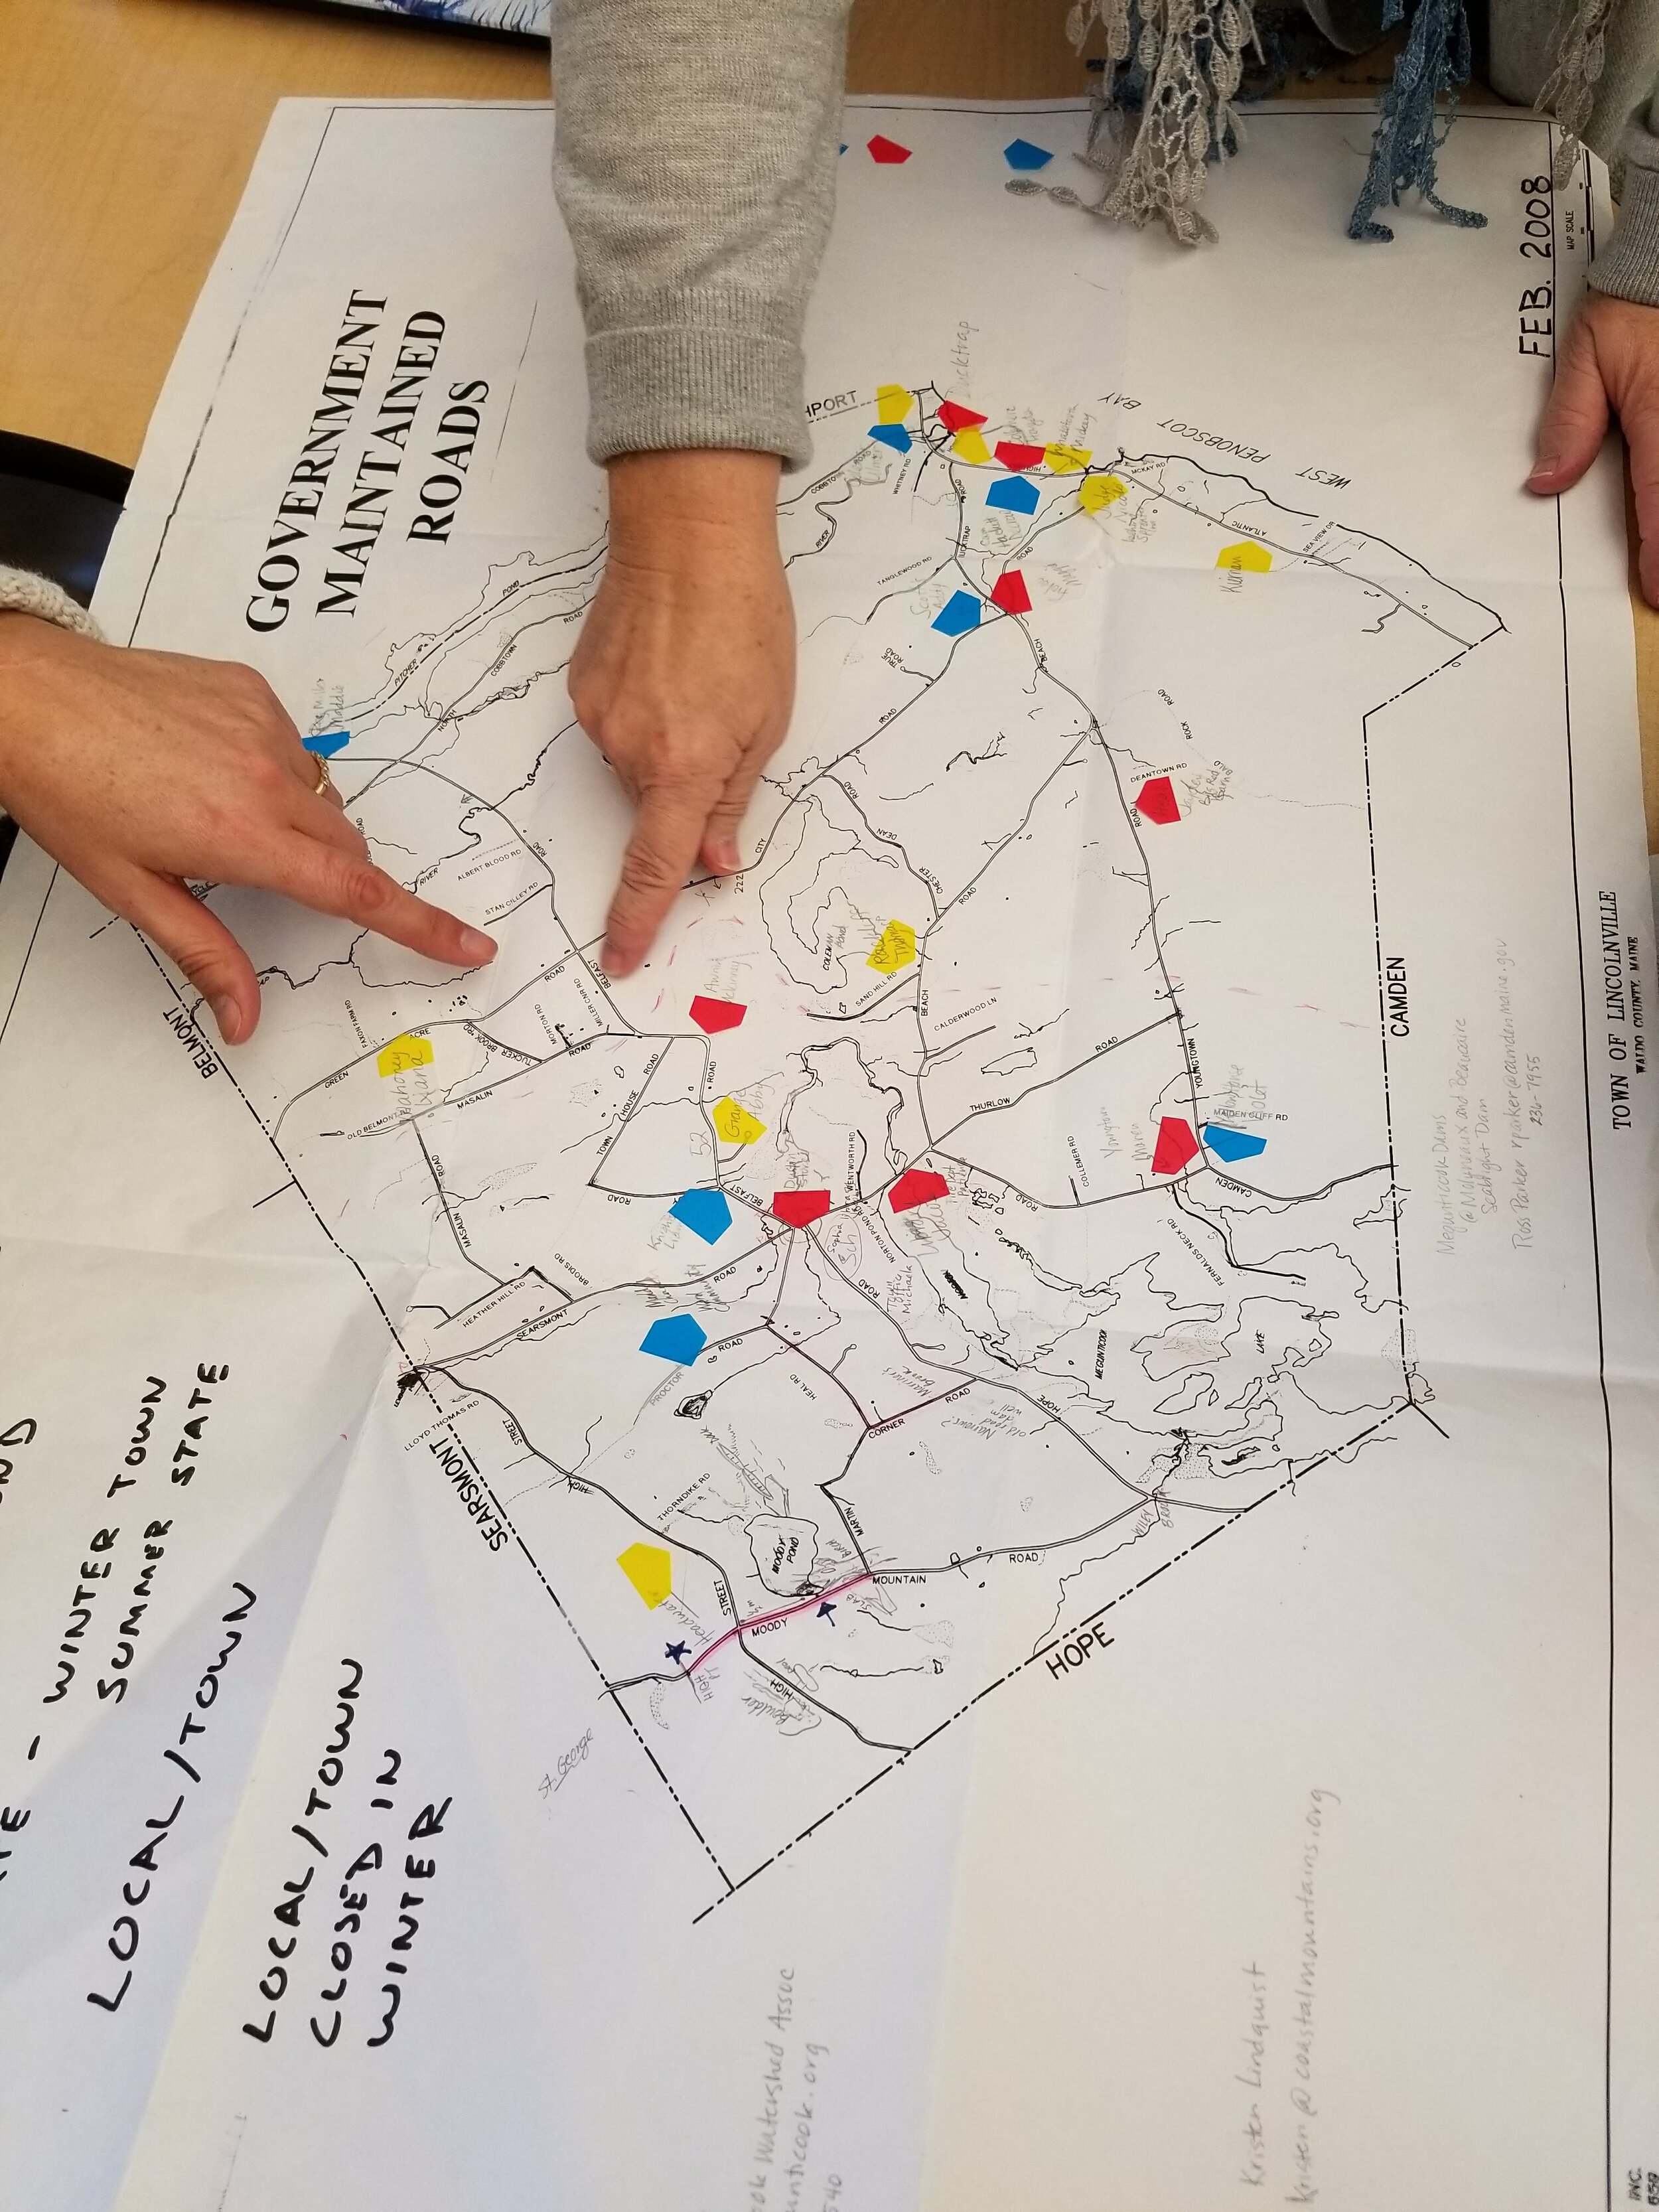
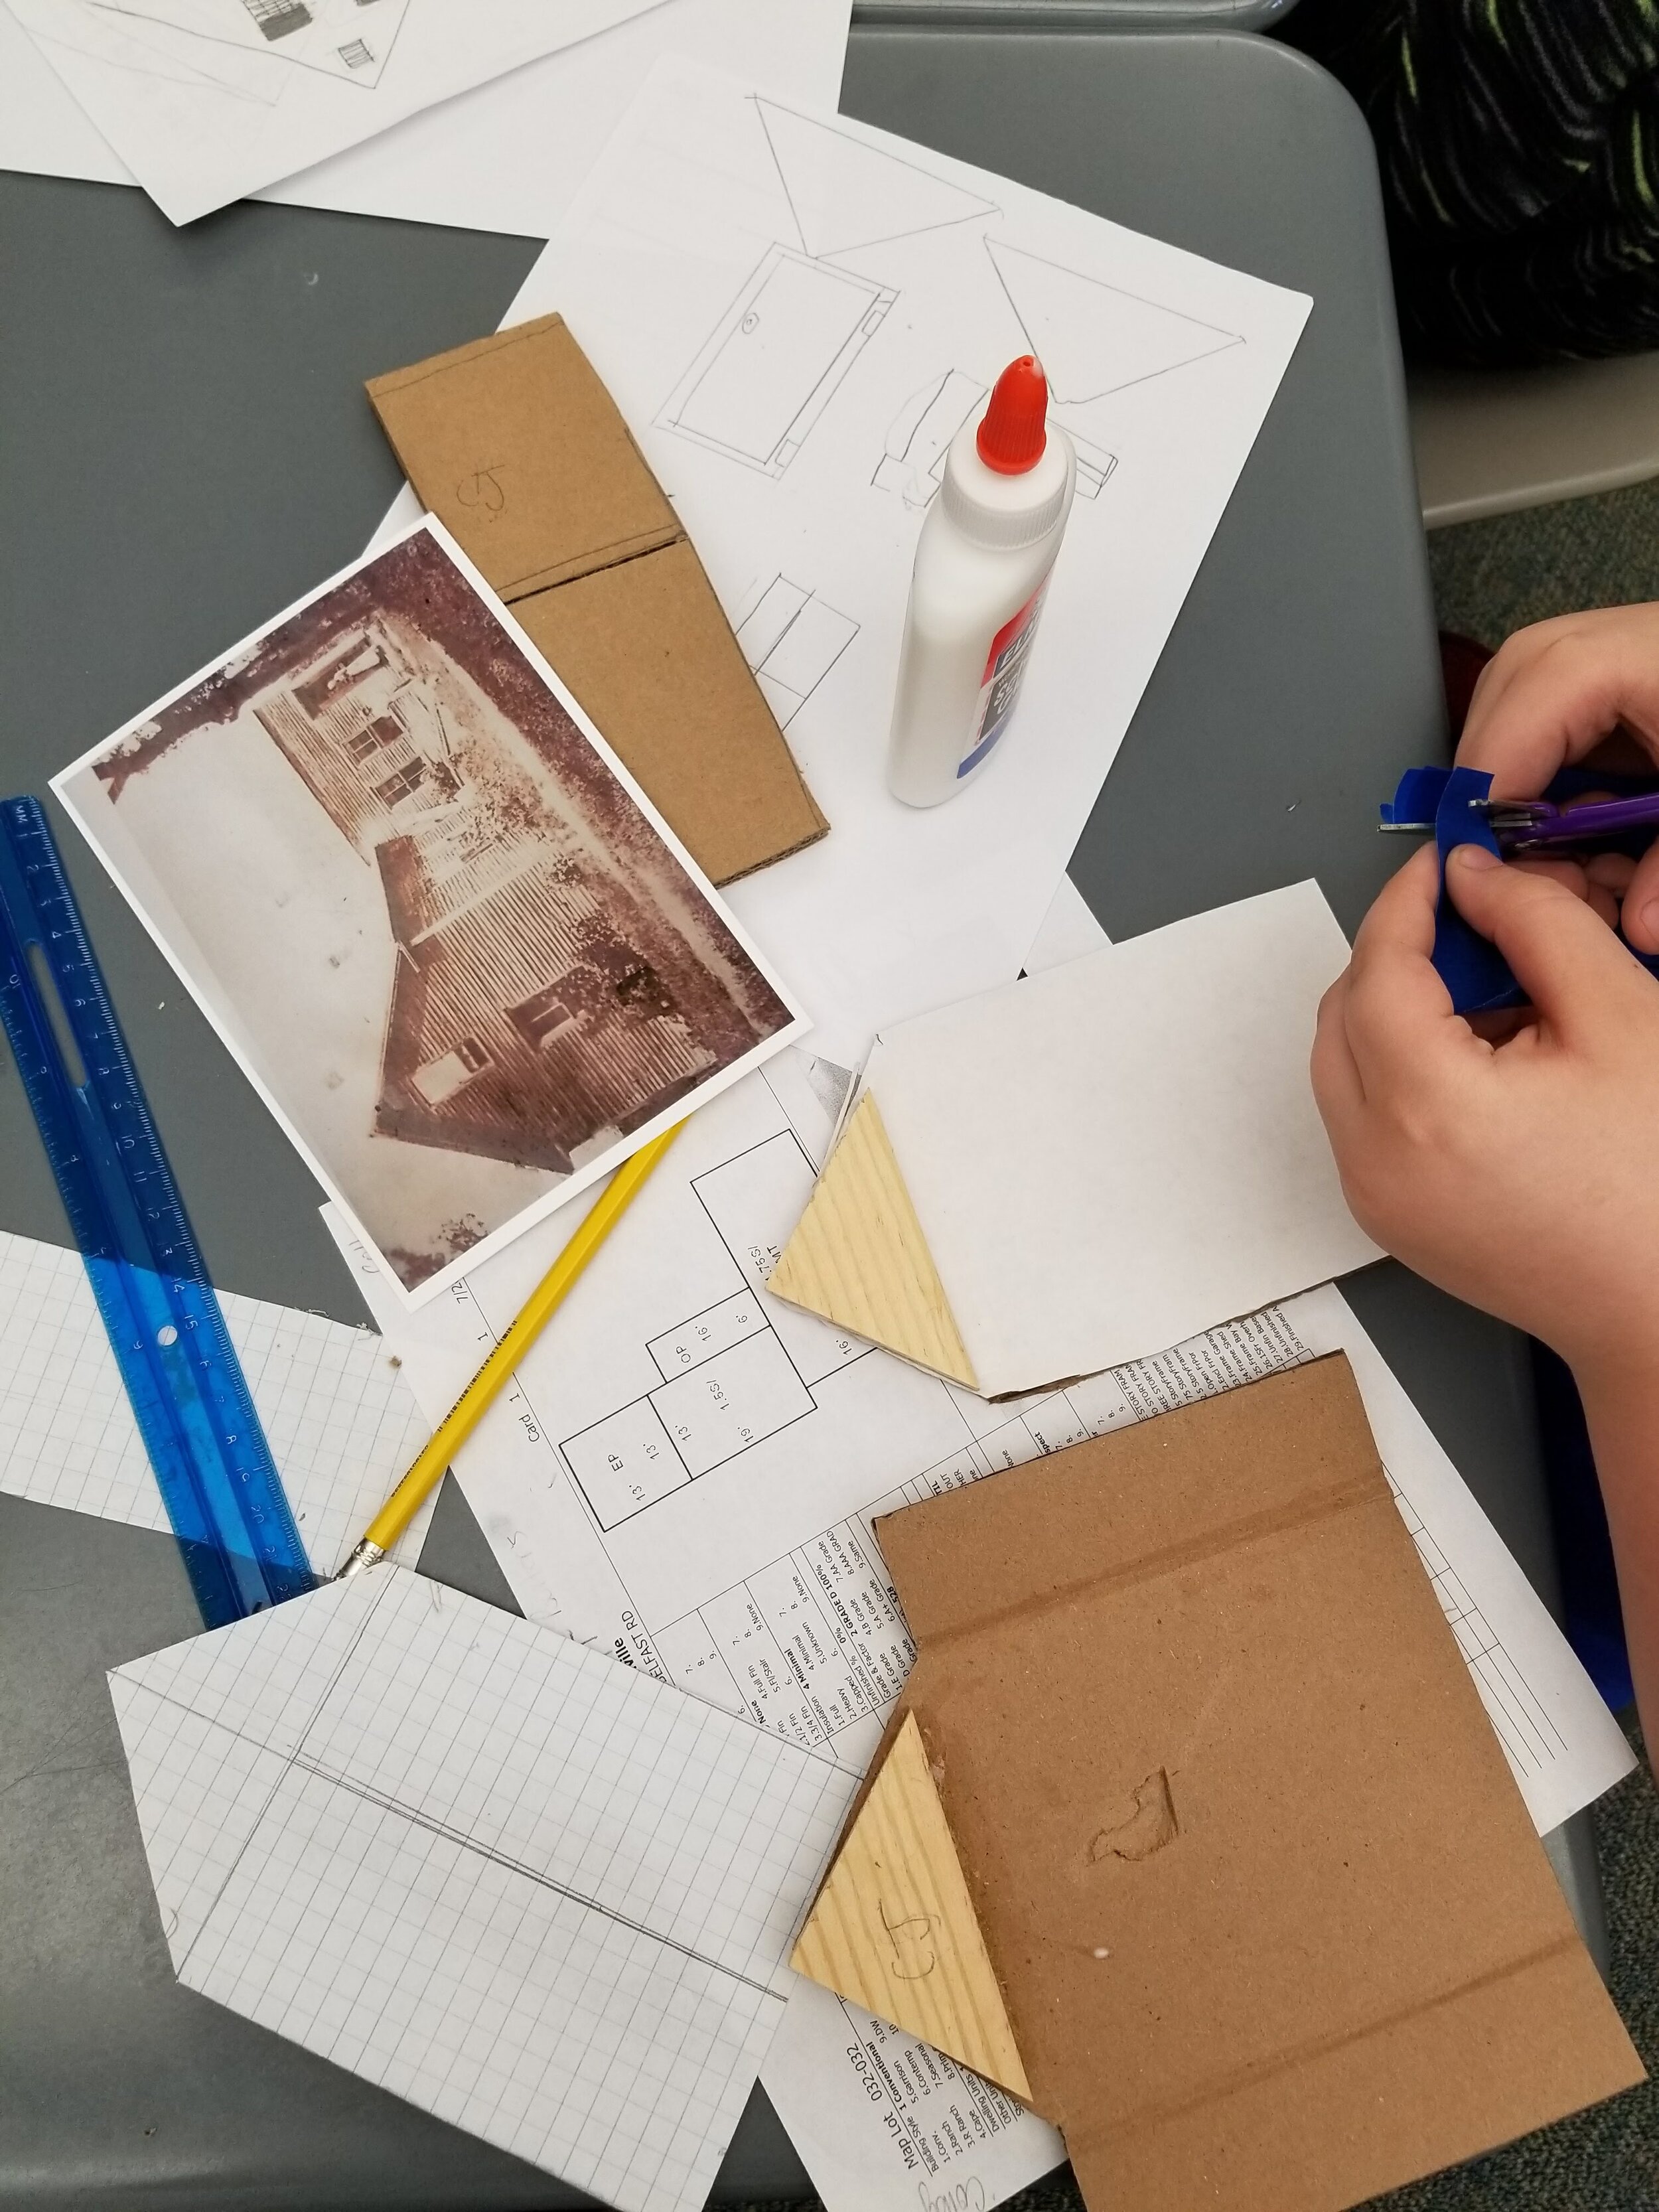
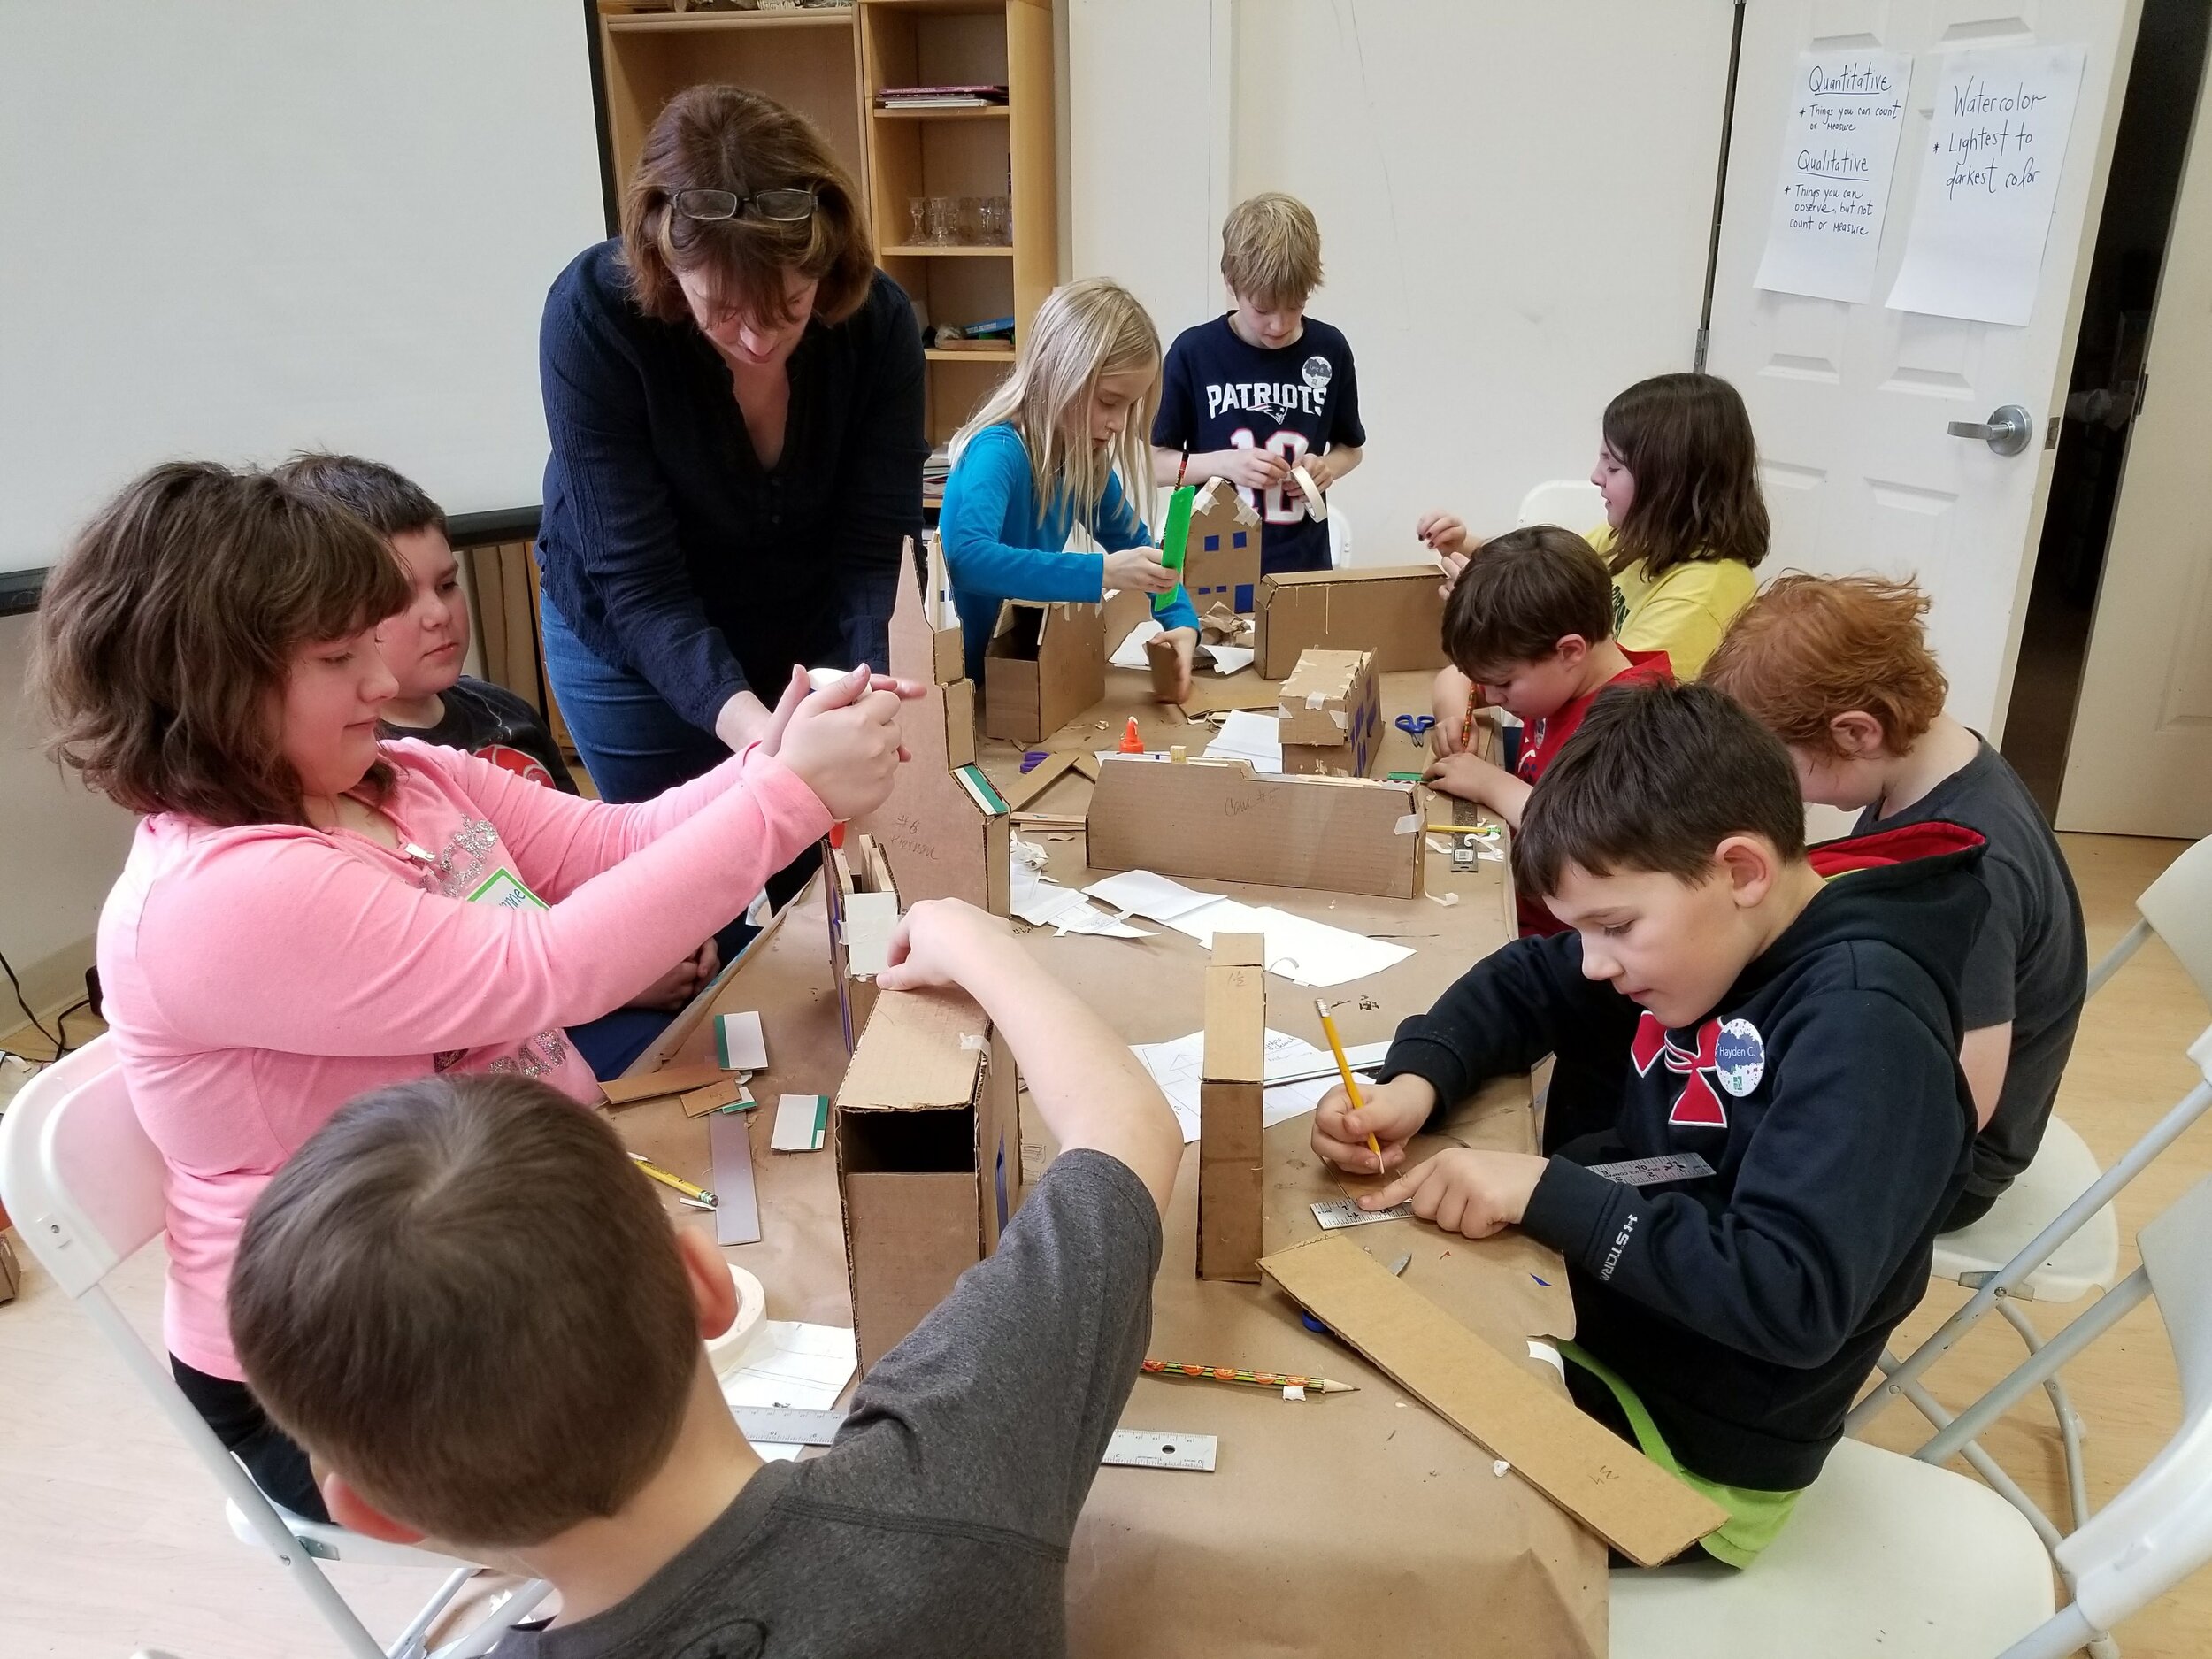
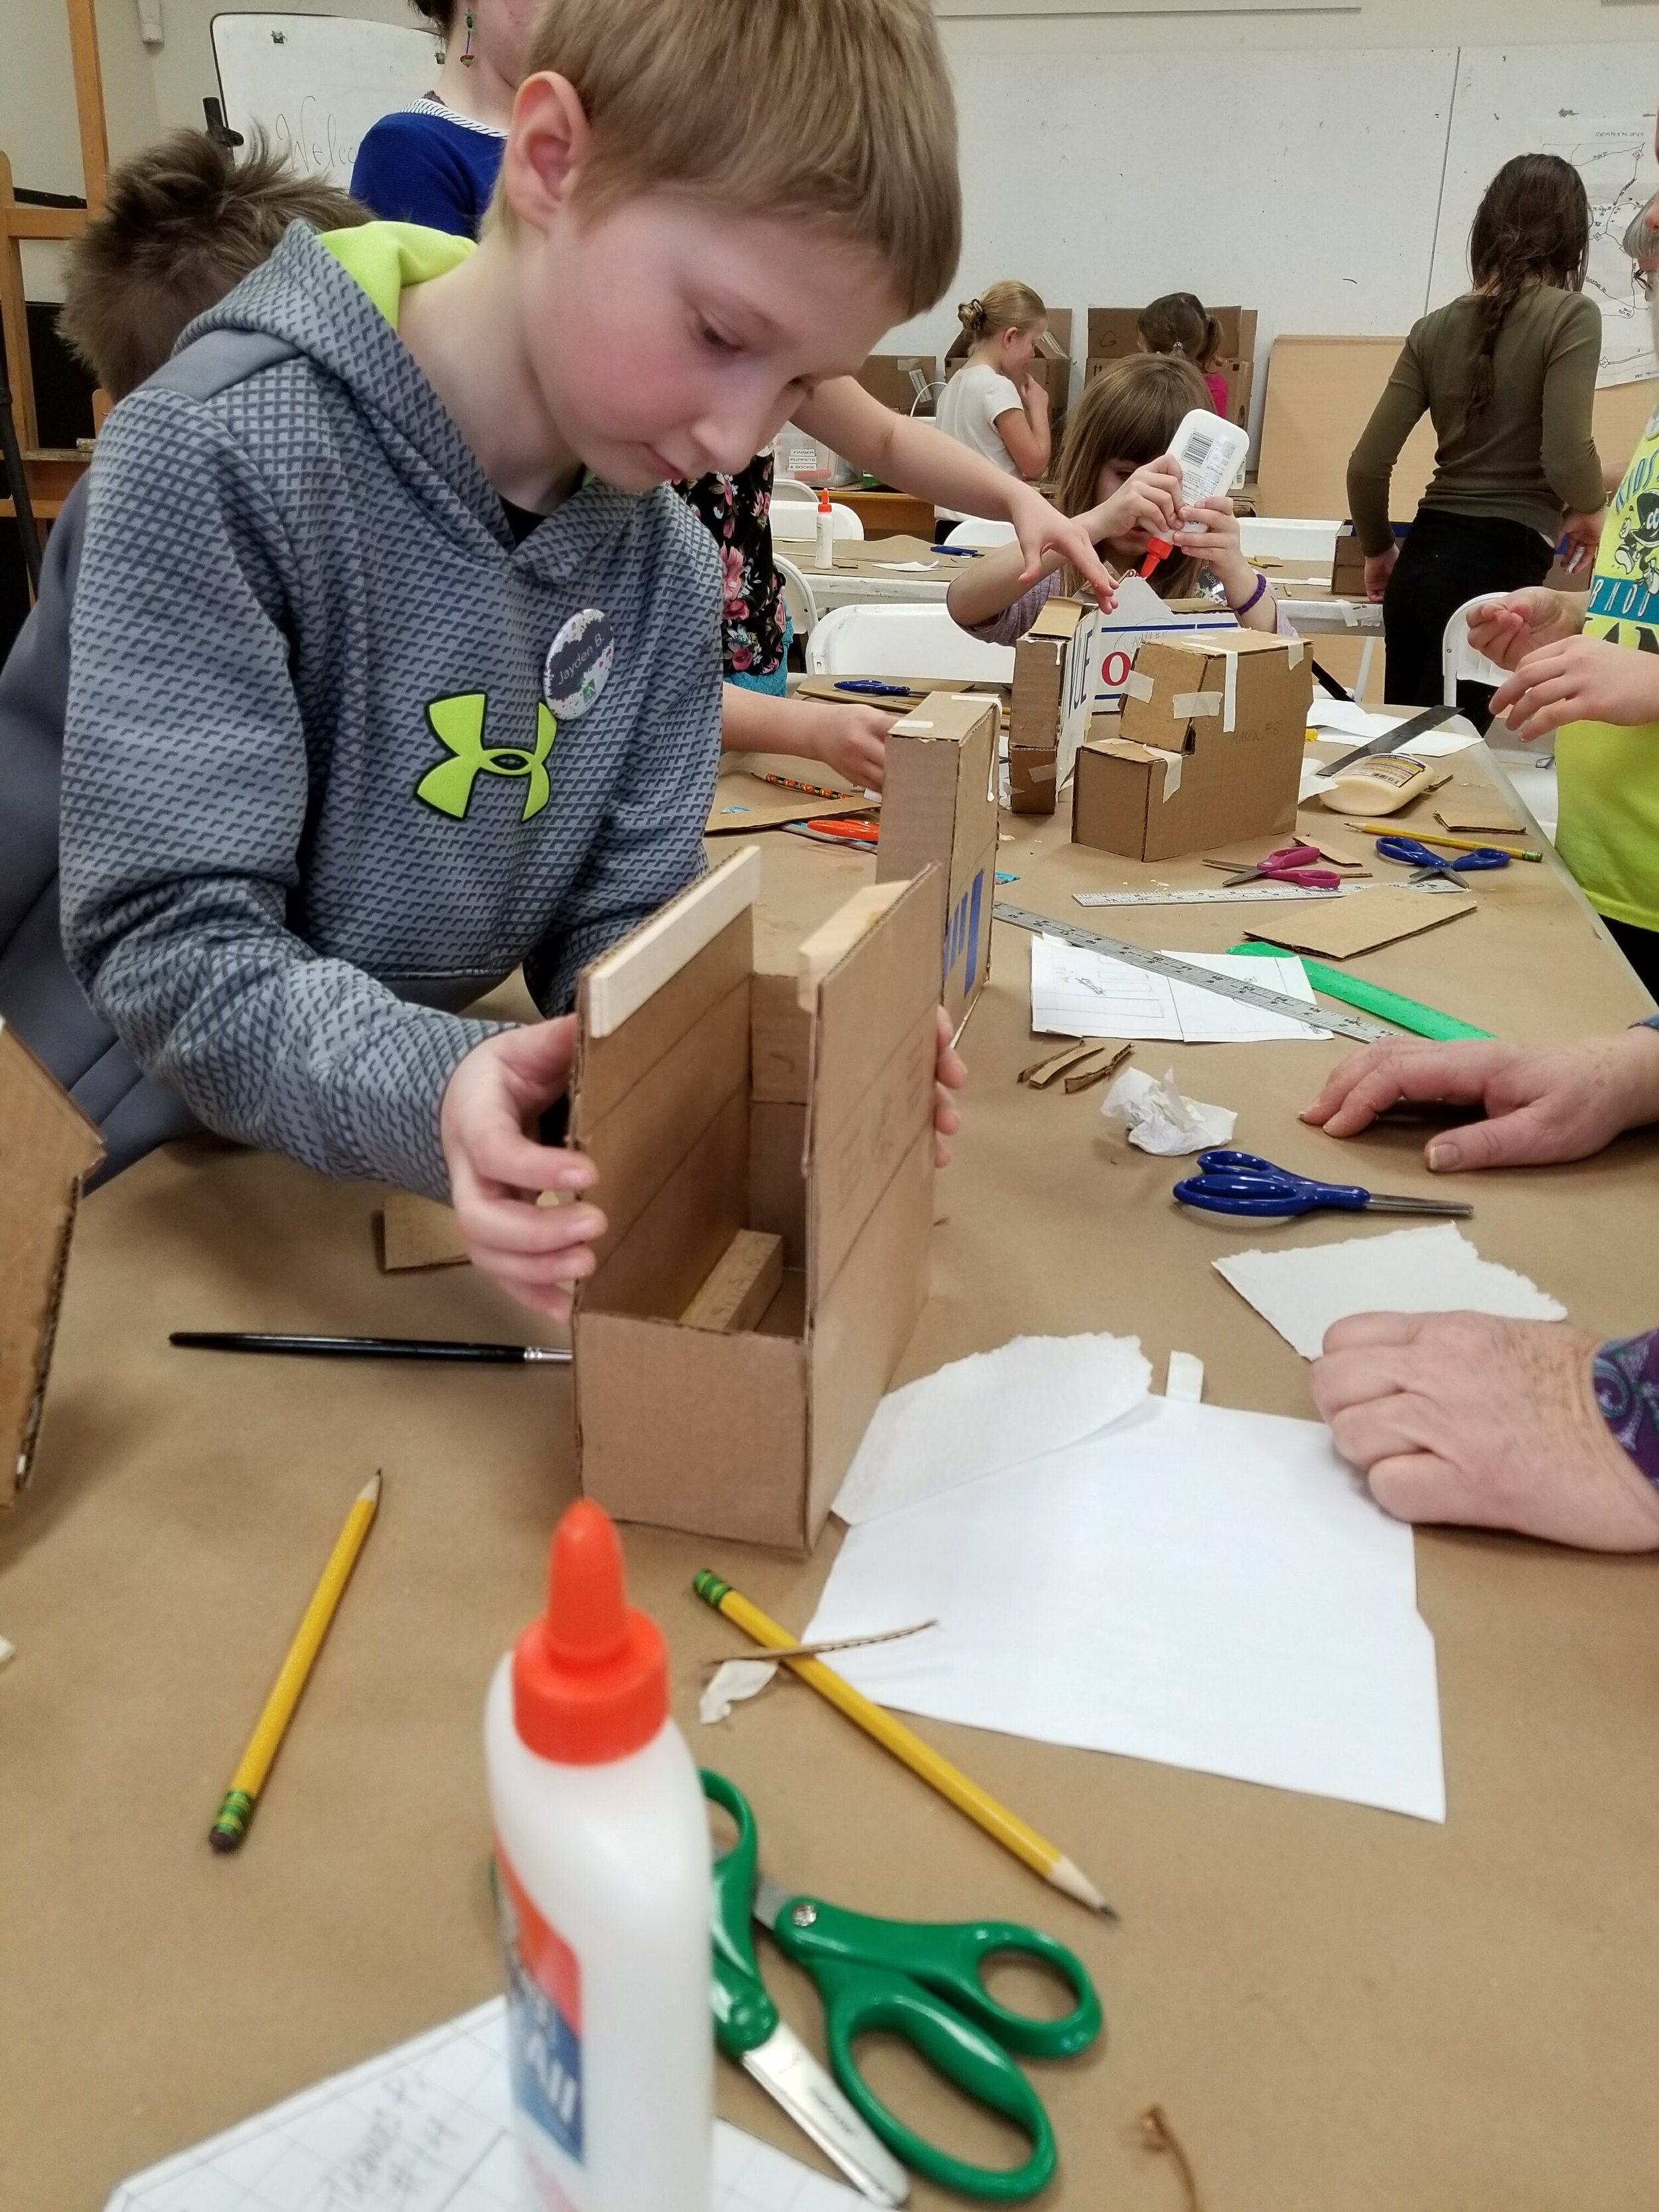
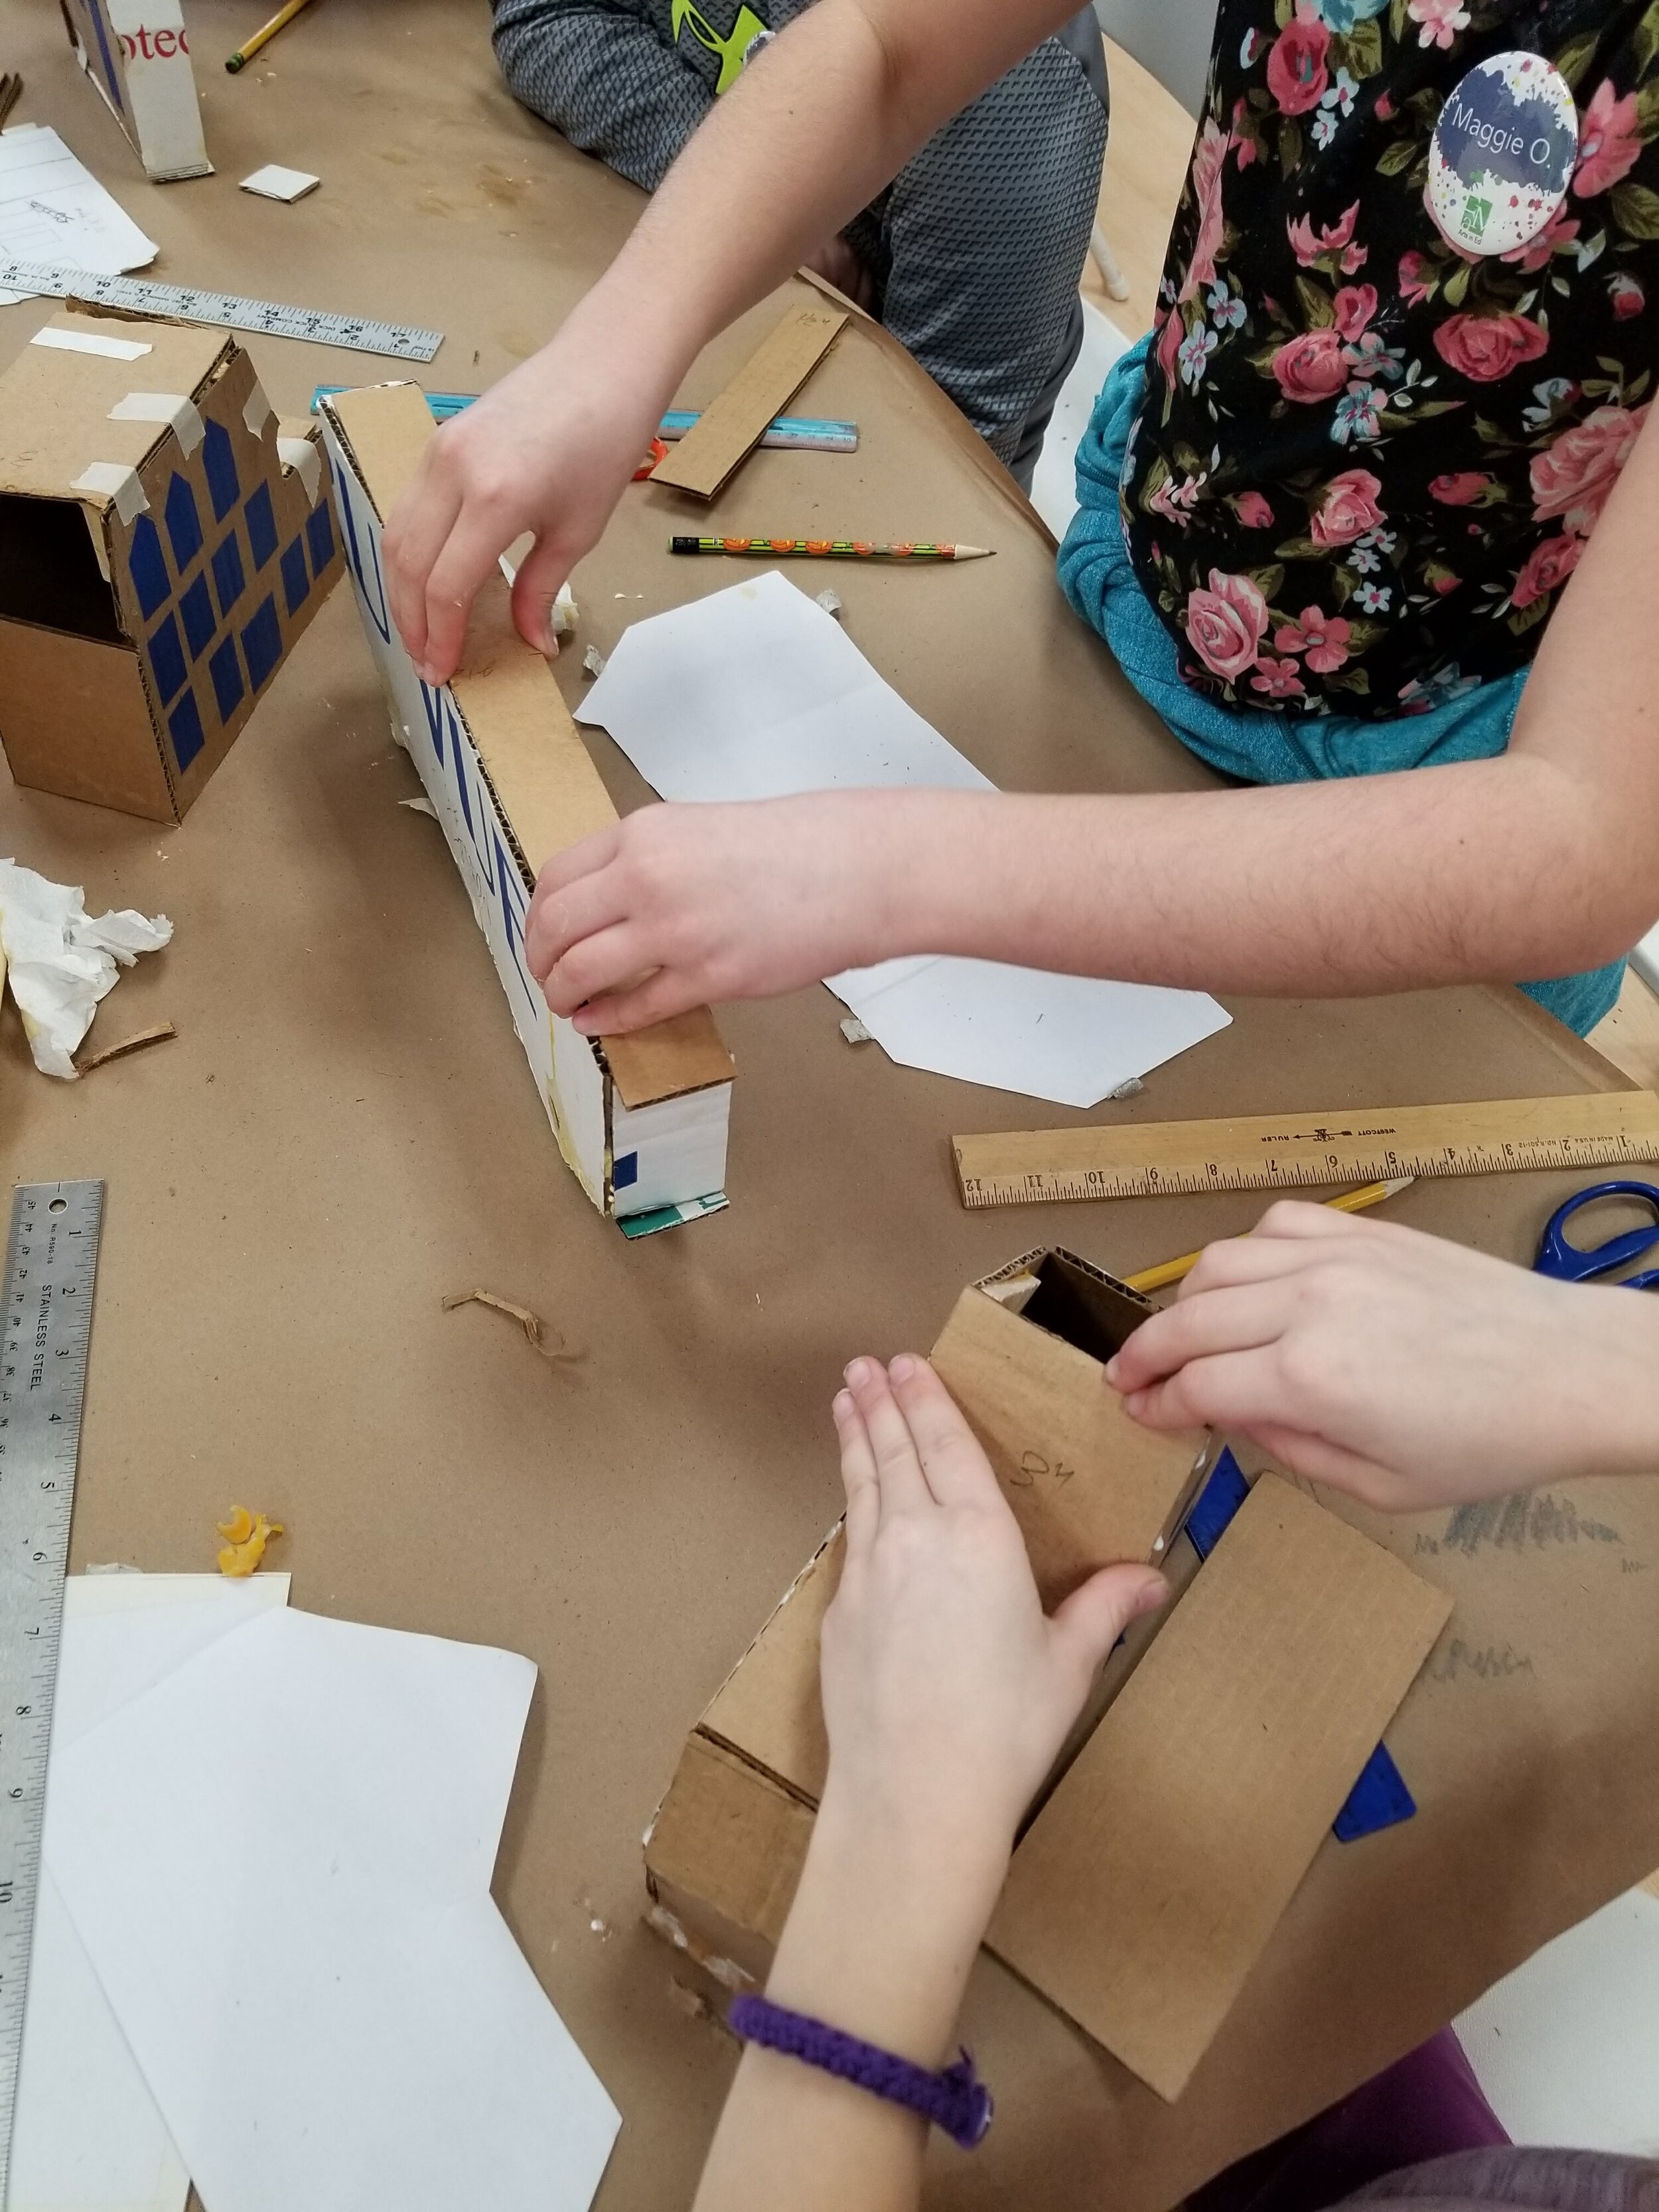
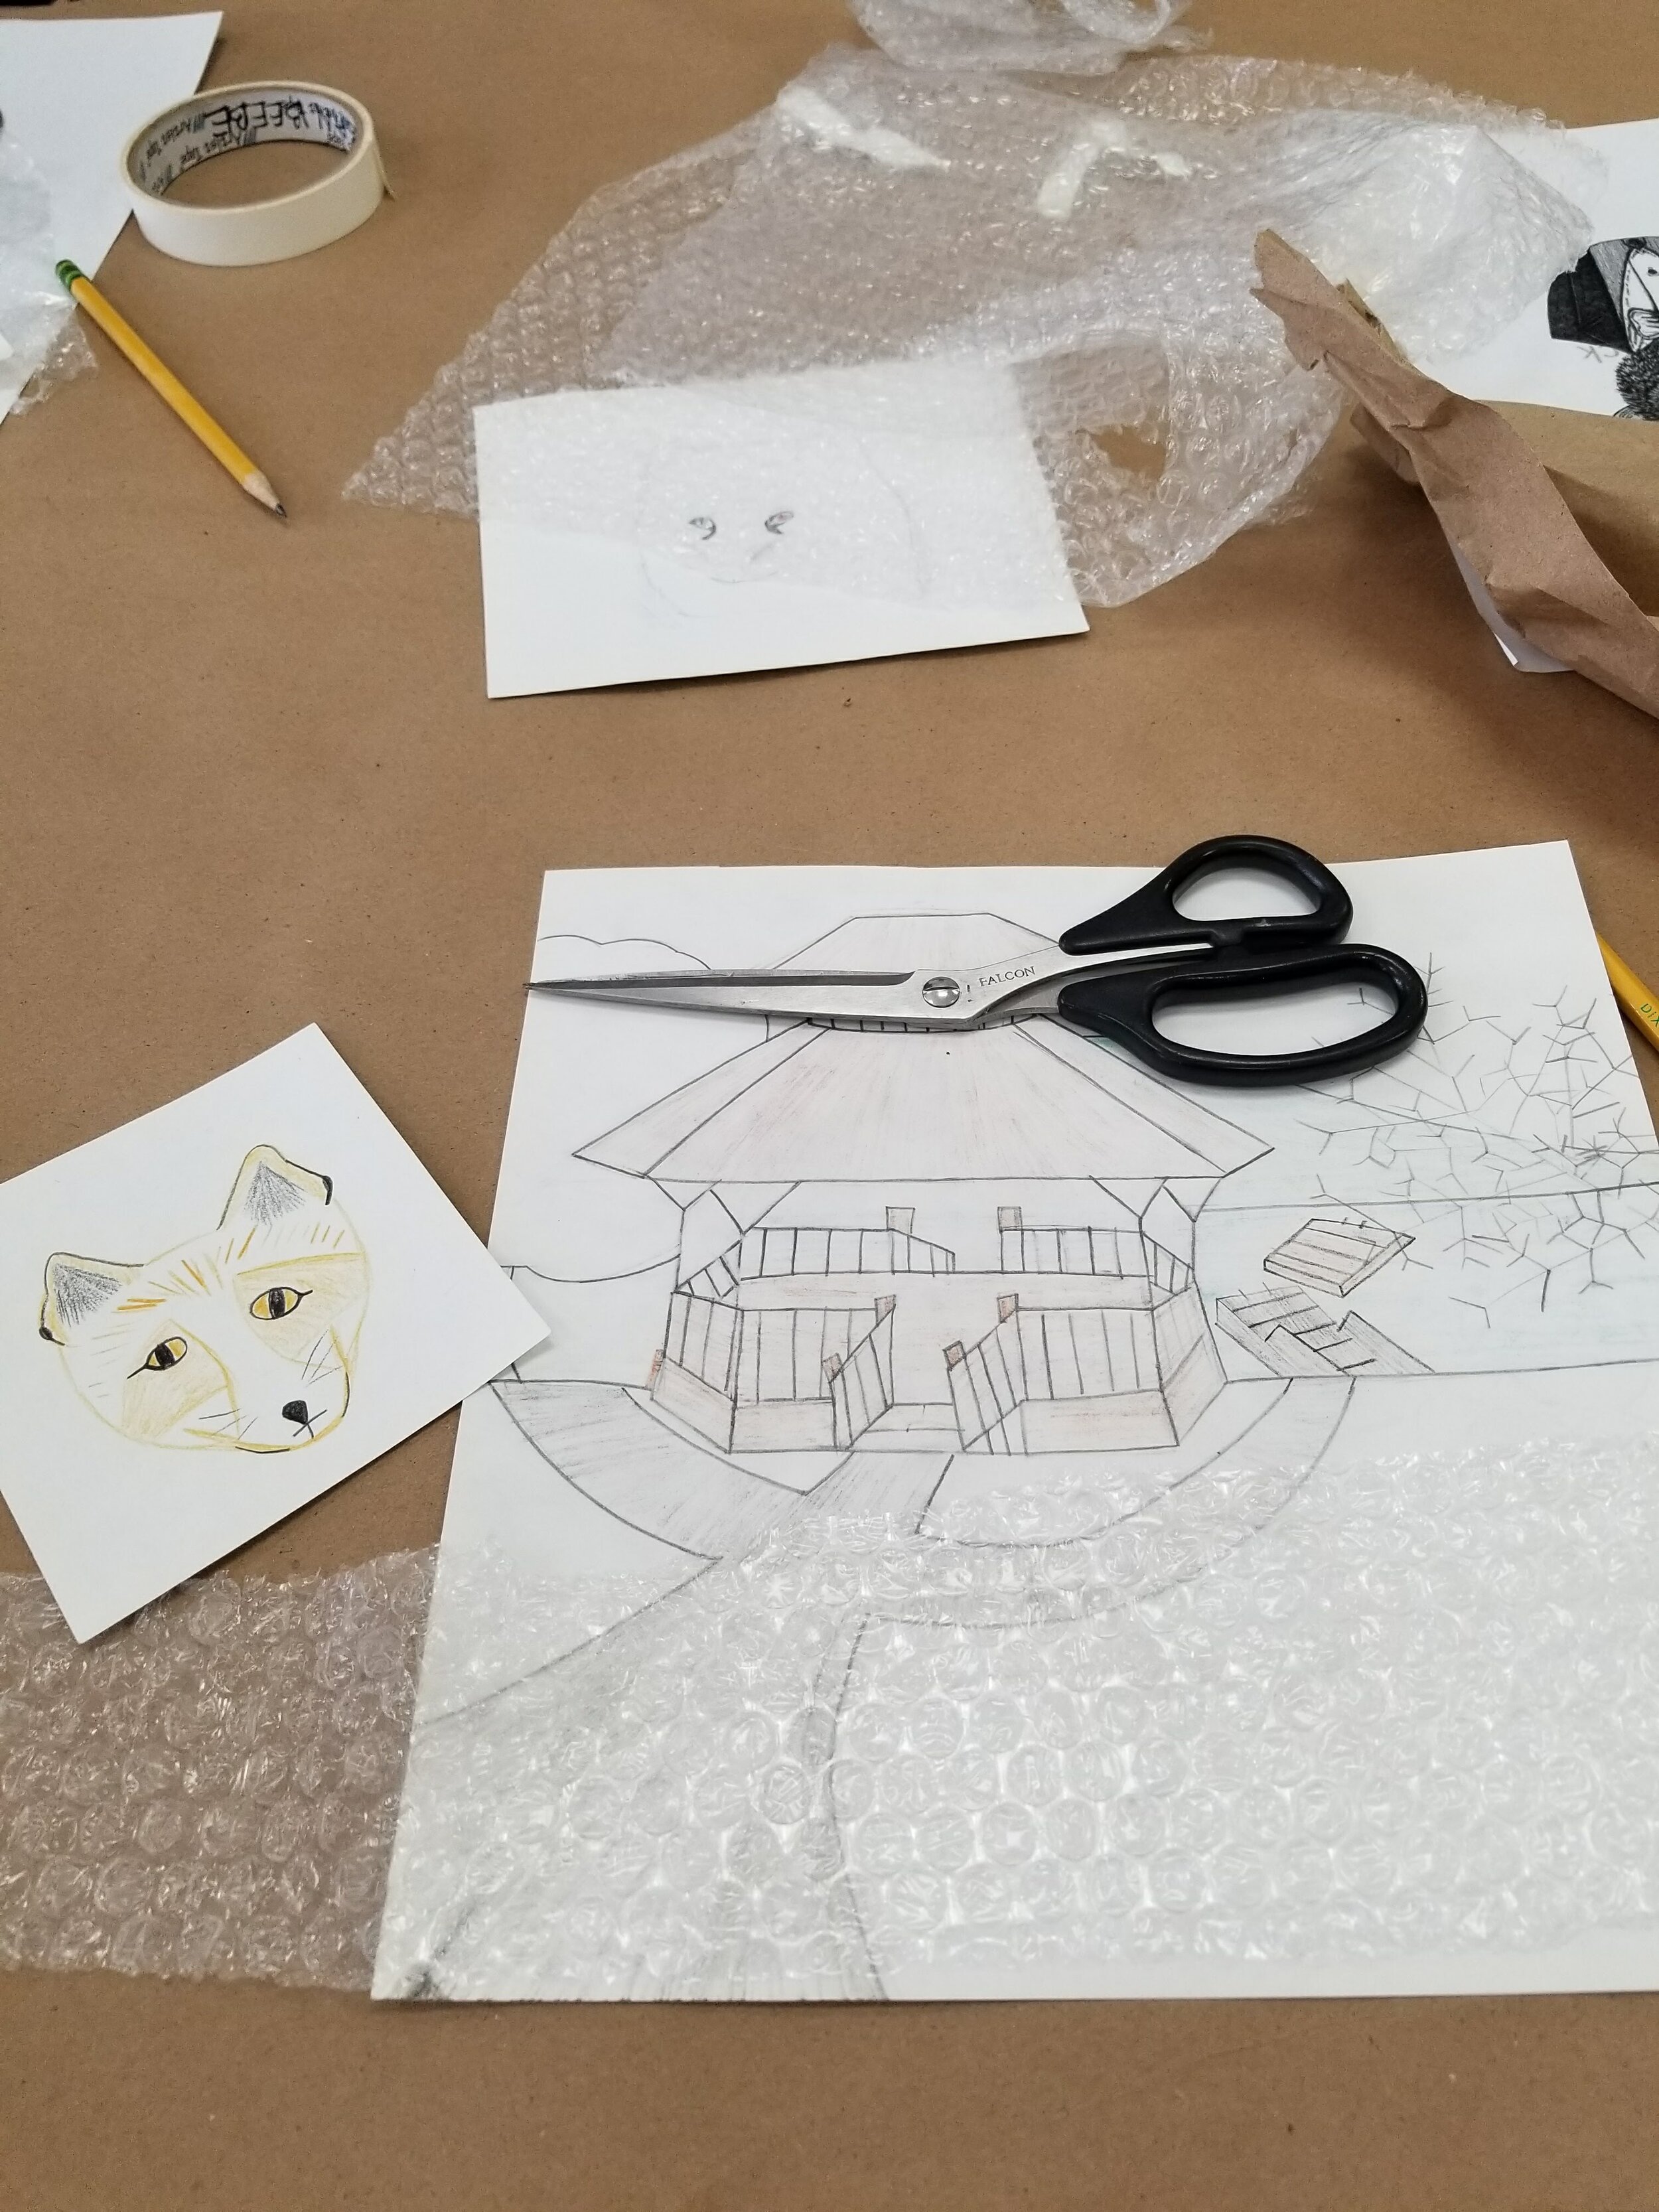
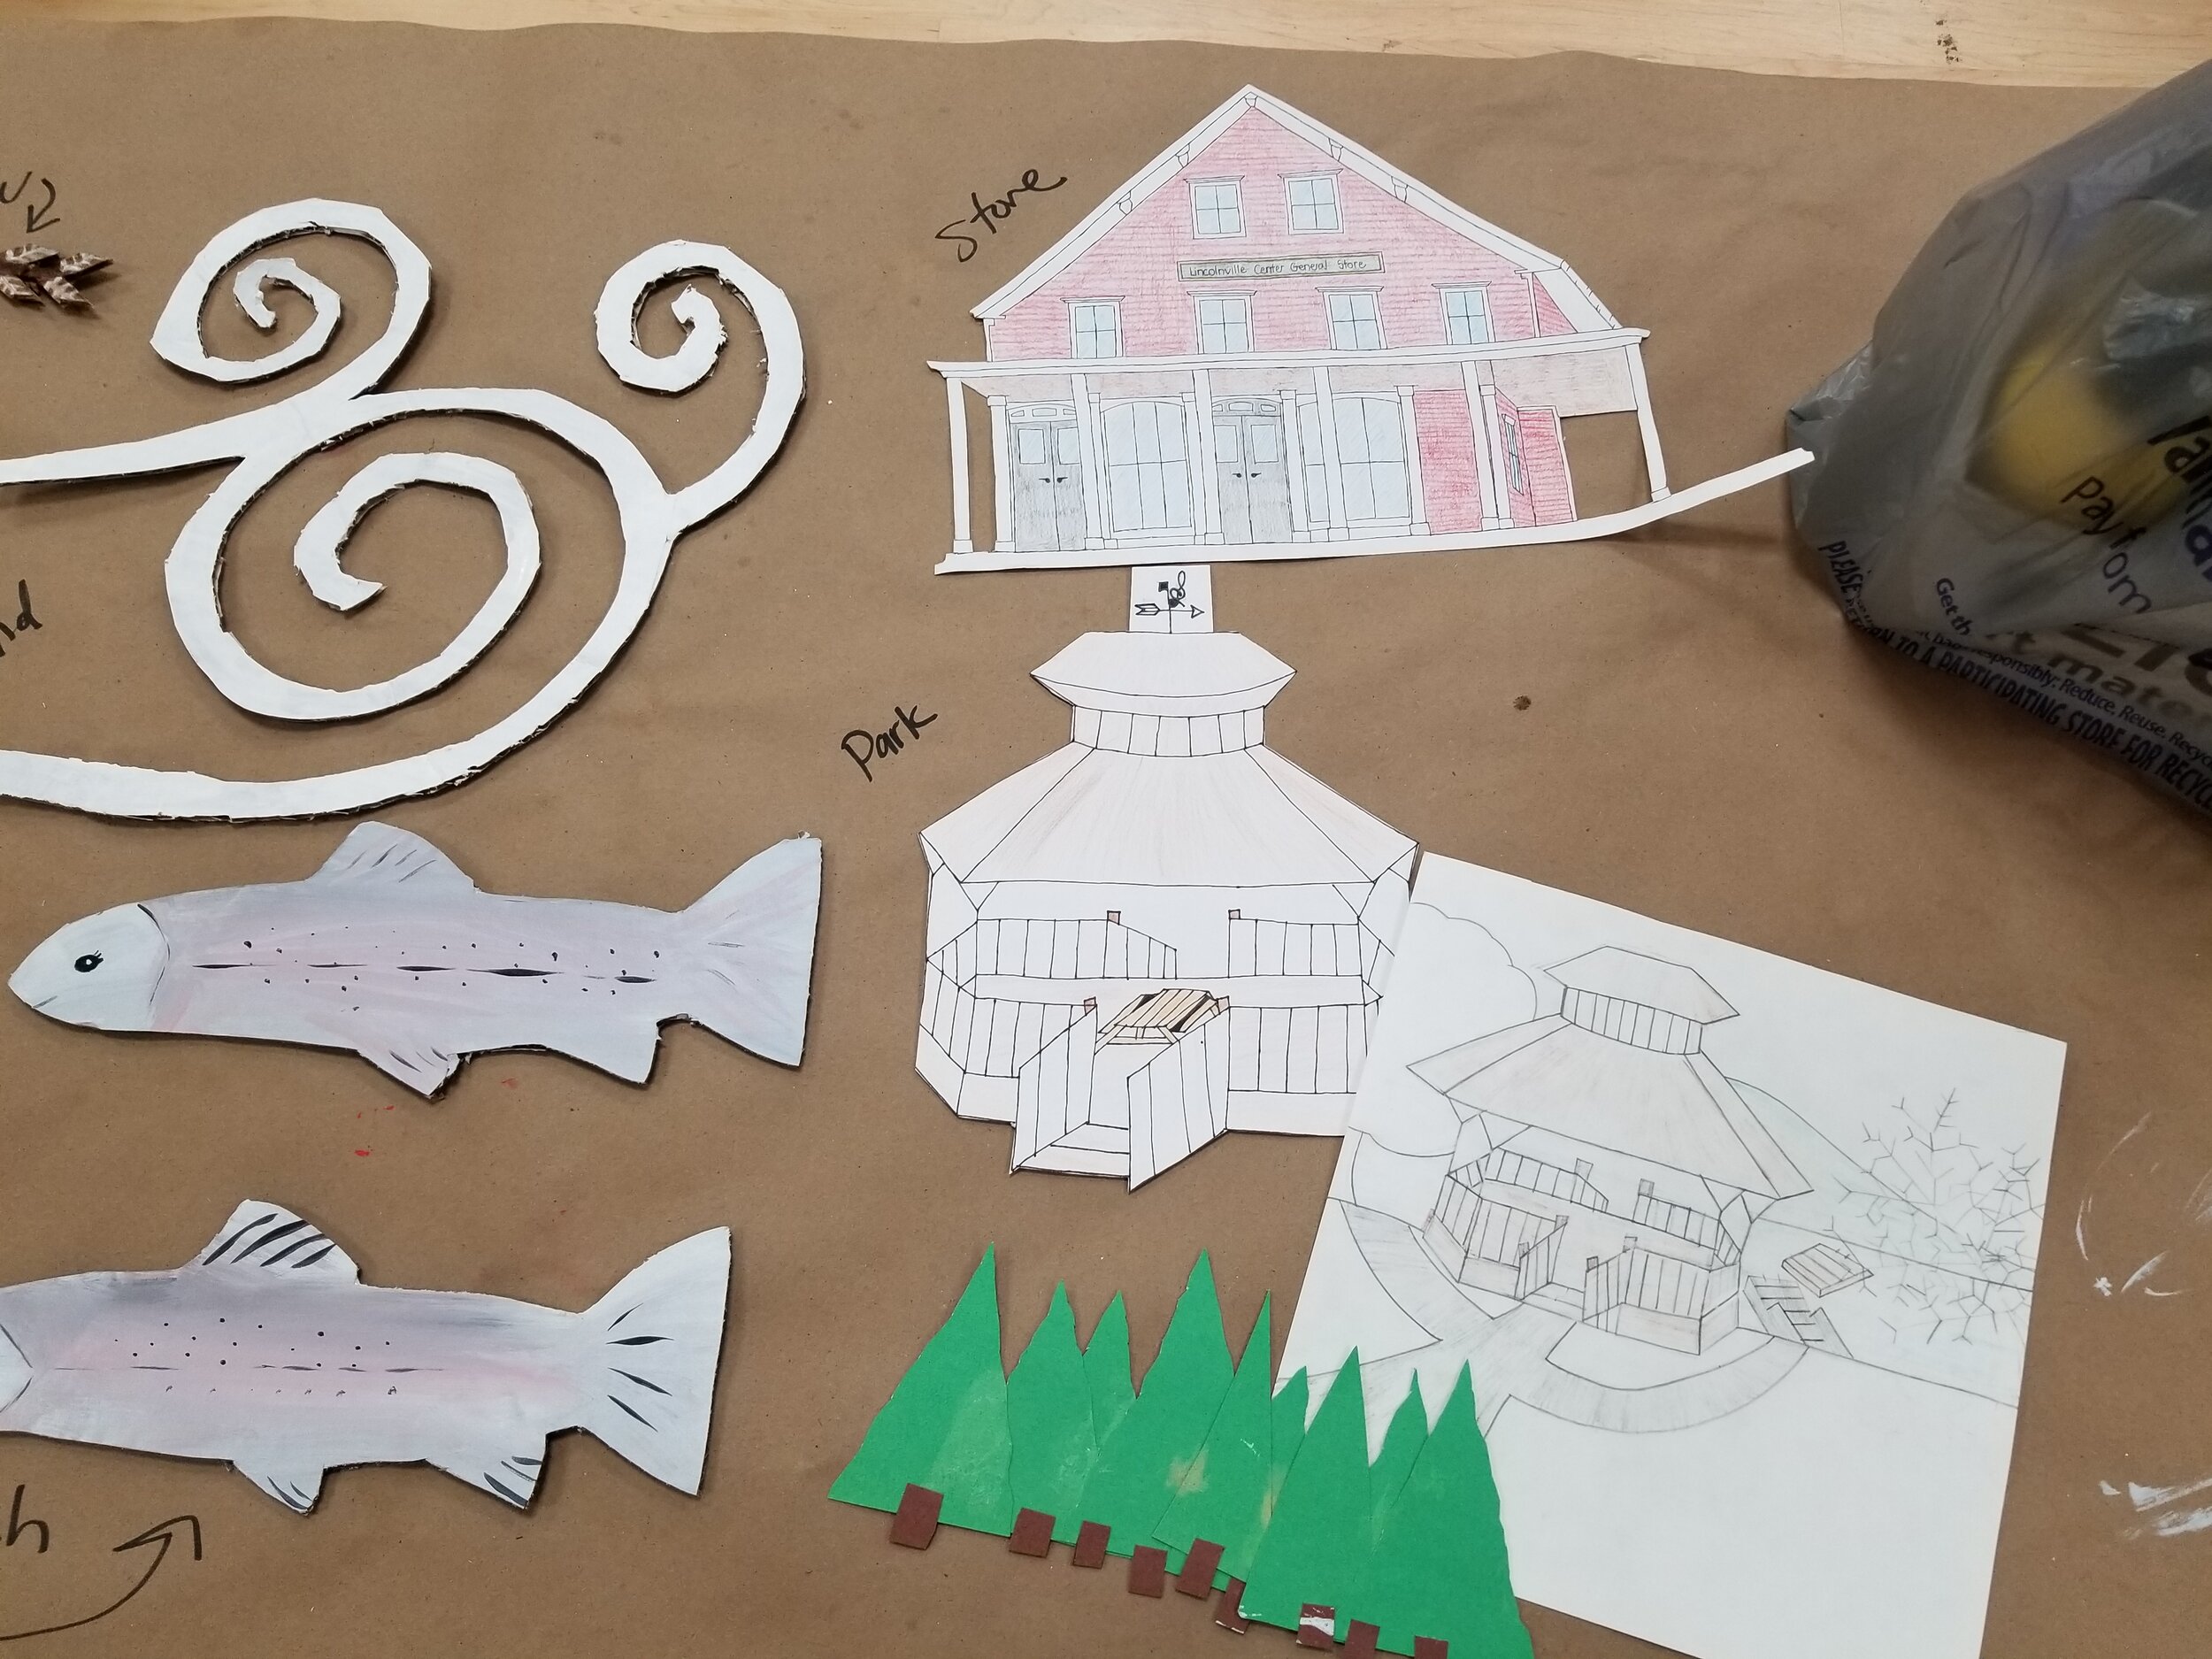
Expedition + Create: Visit or research different important structures in your town. Sketch or take photographs of buildings or places that are important to the history of your community.
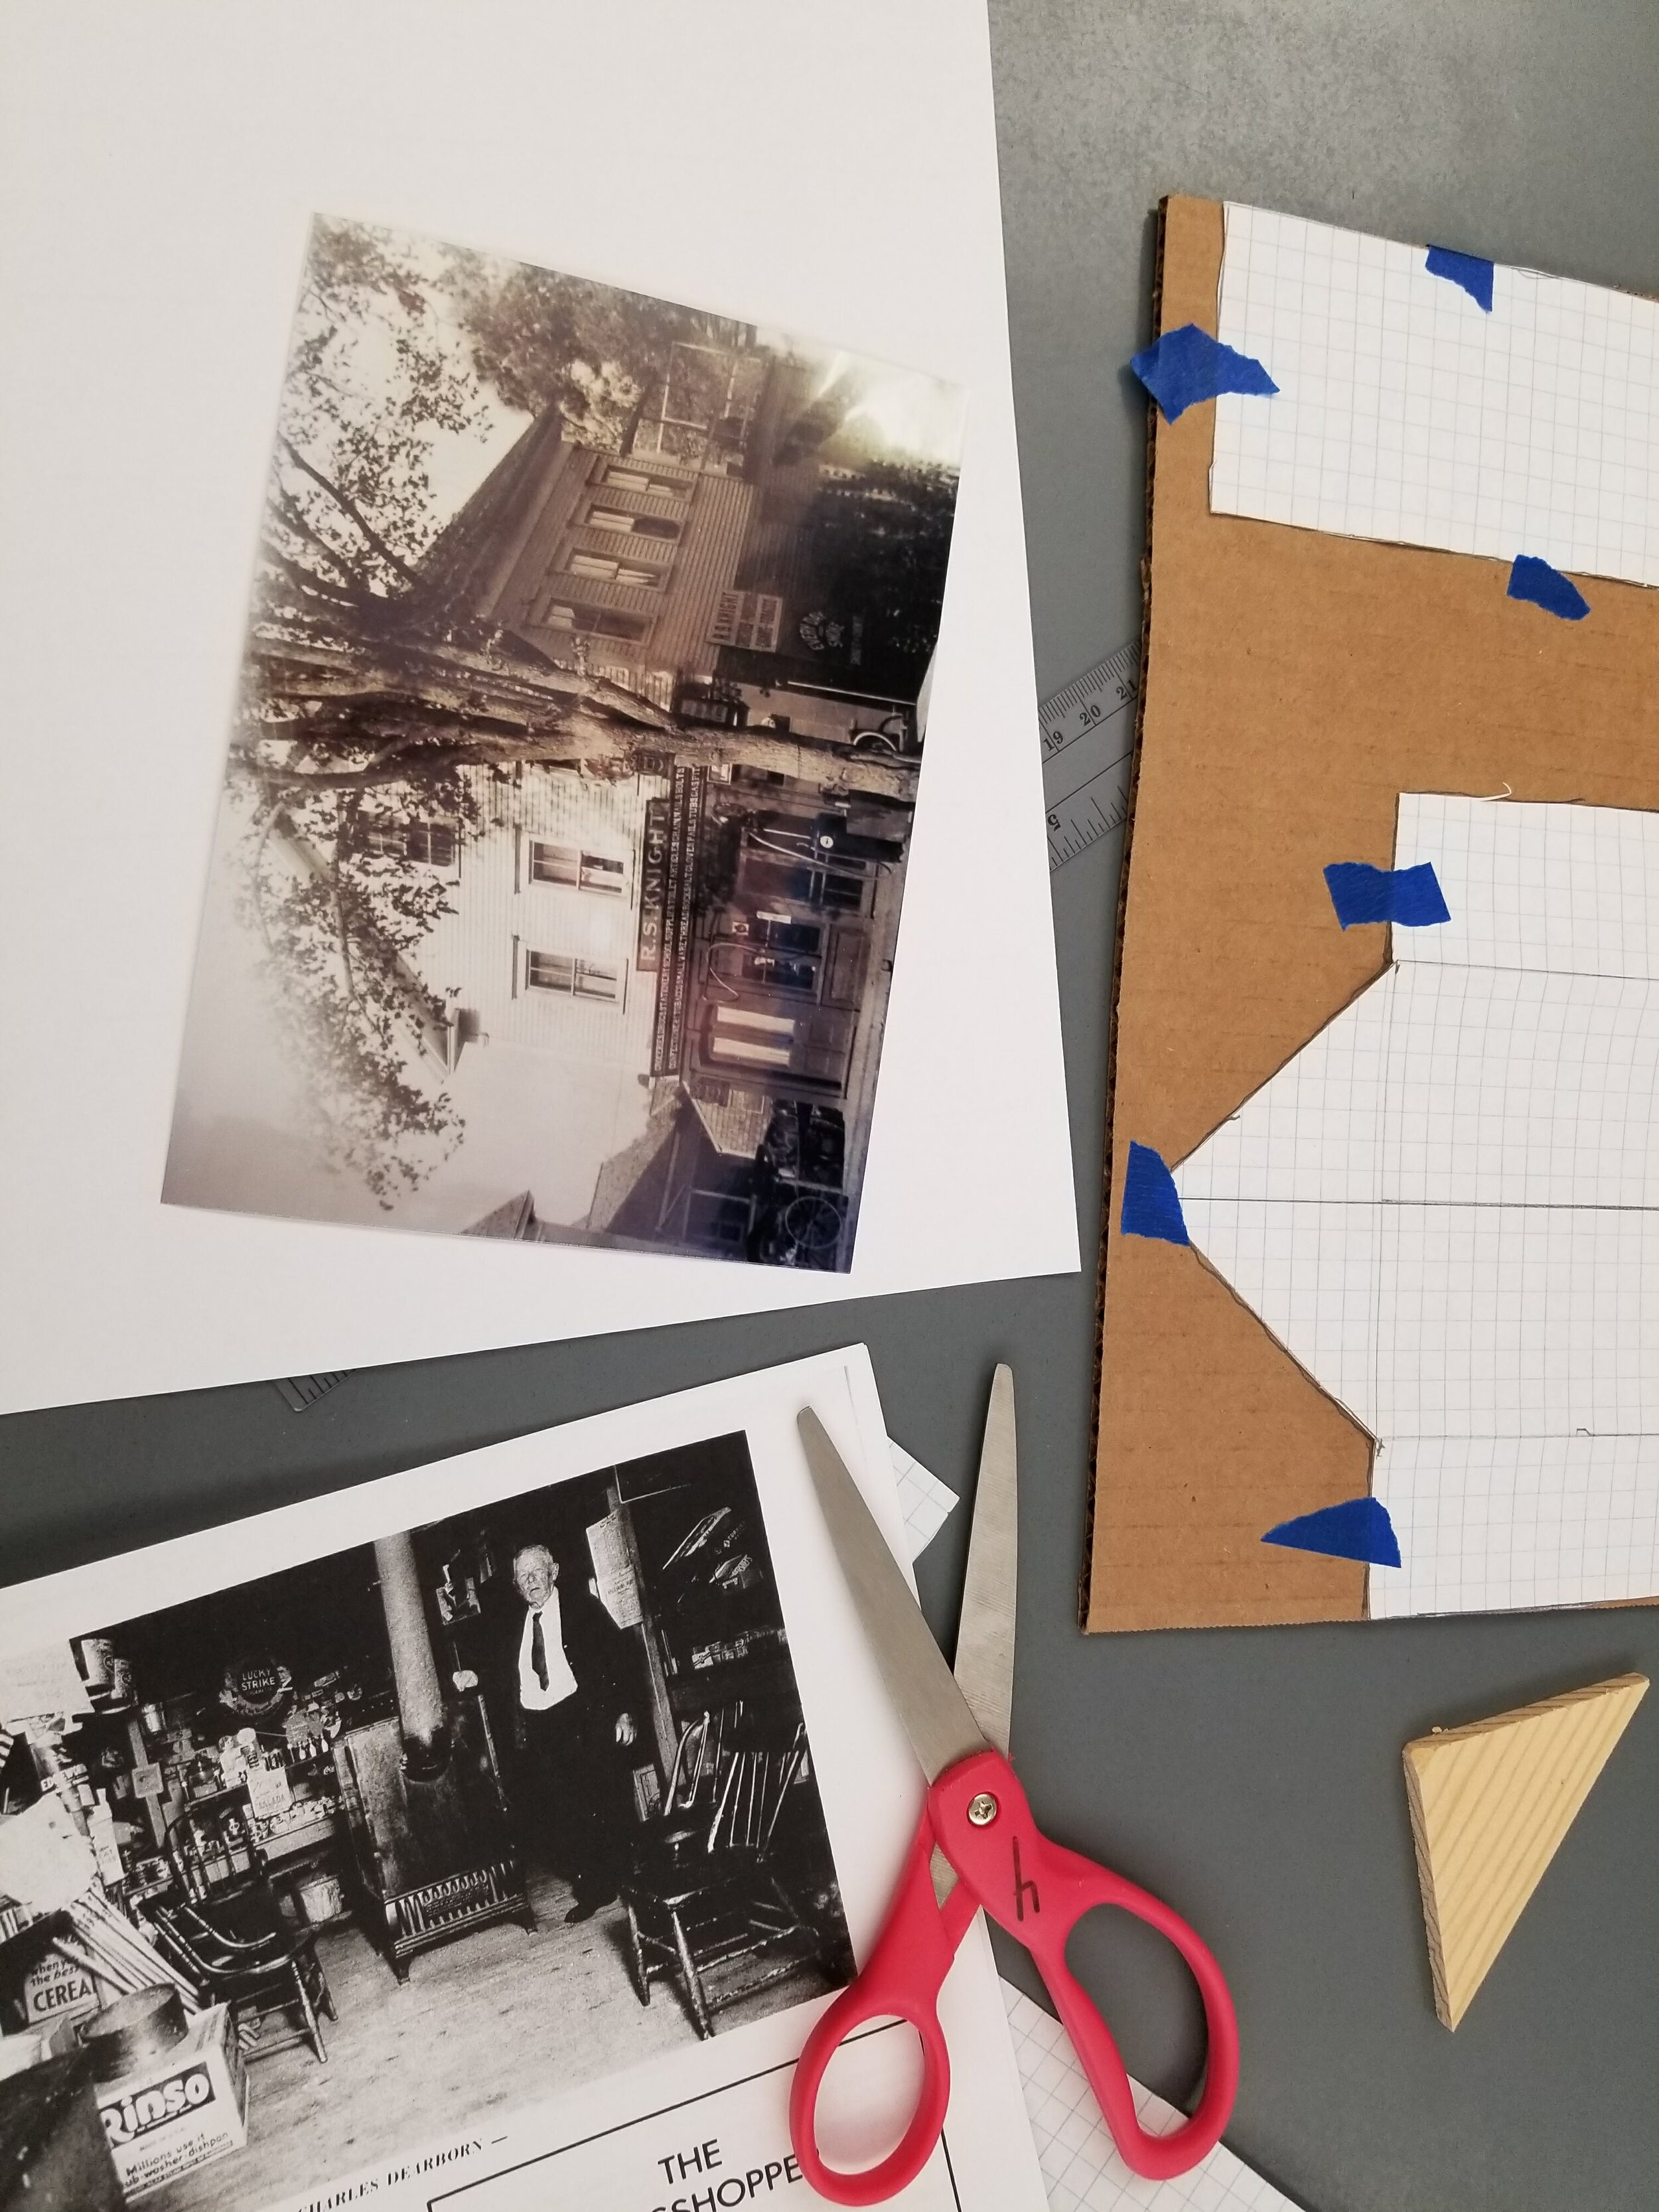
Curricular Connections: Interview people, connect with local historians, and research the time period in which the buildings were built. Consider how they are being used today and how things have changed over time.
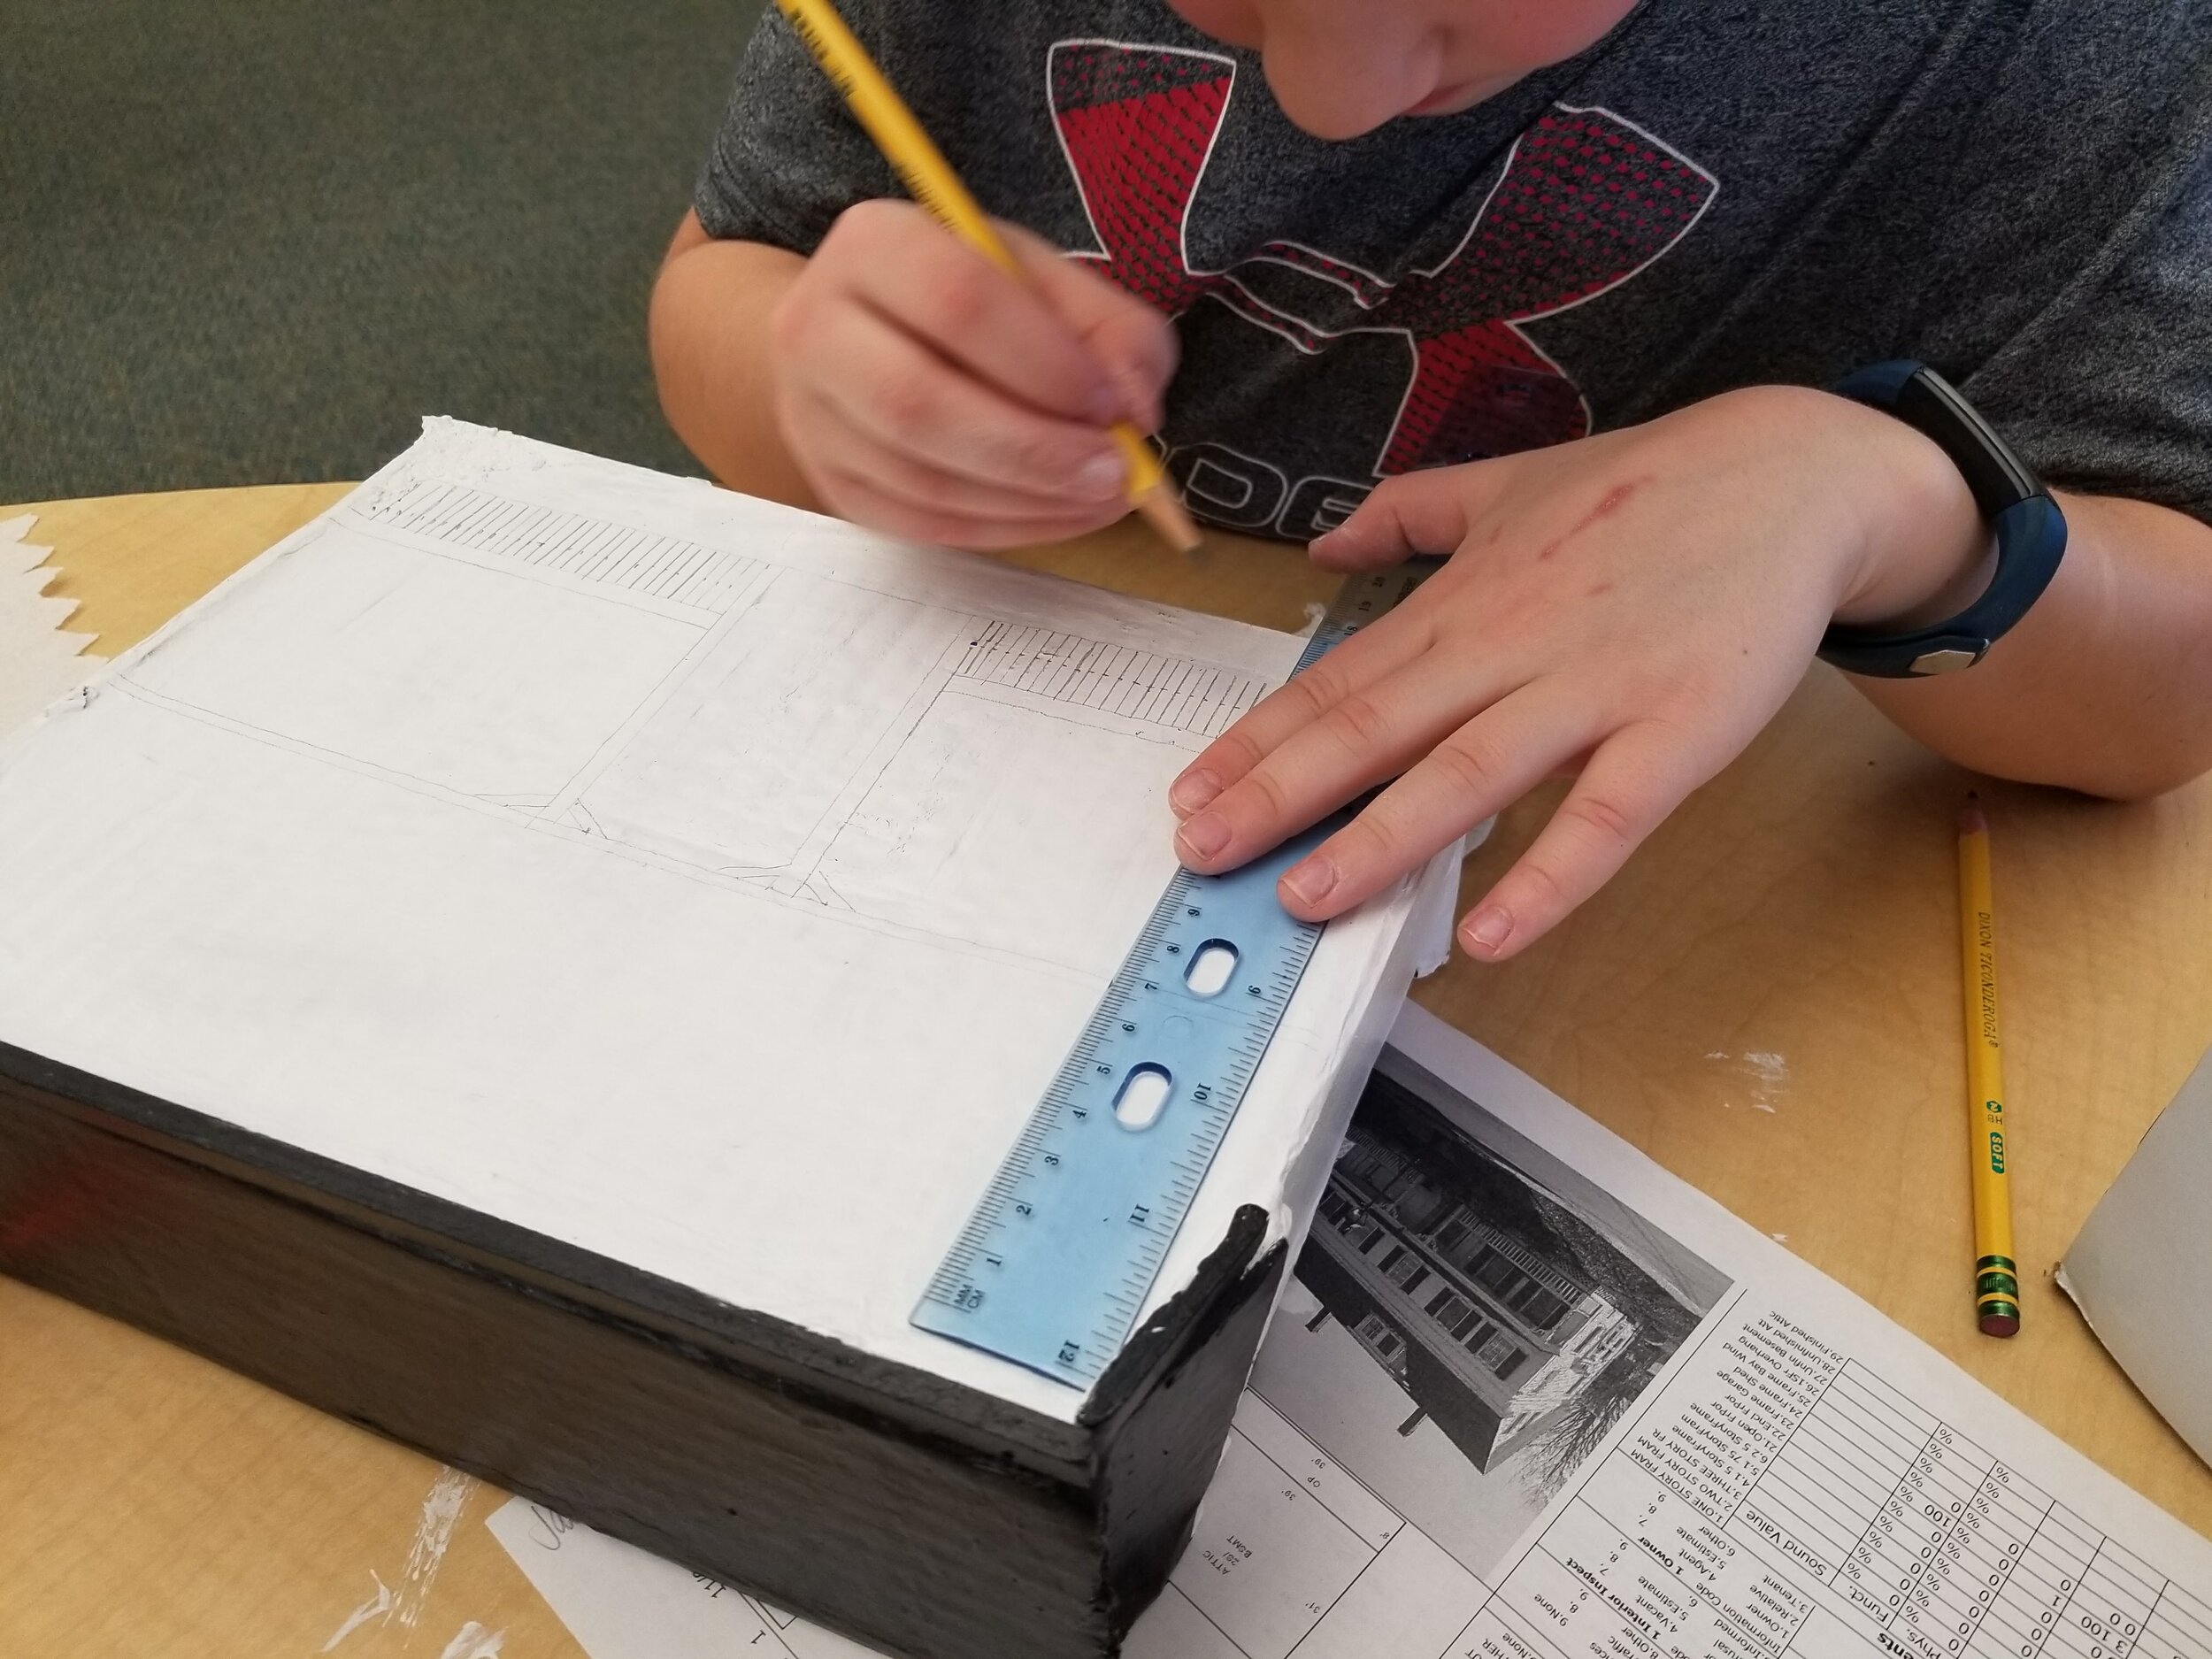
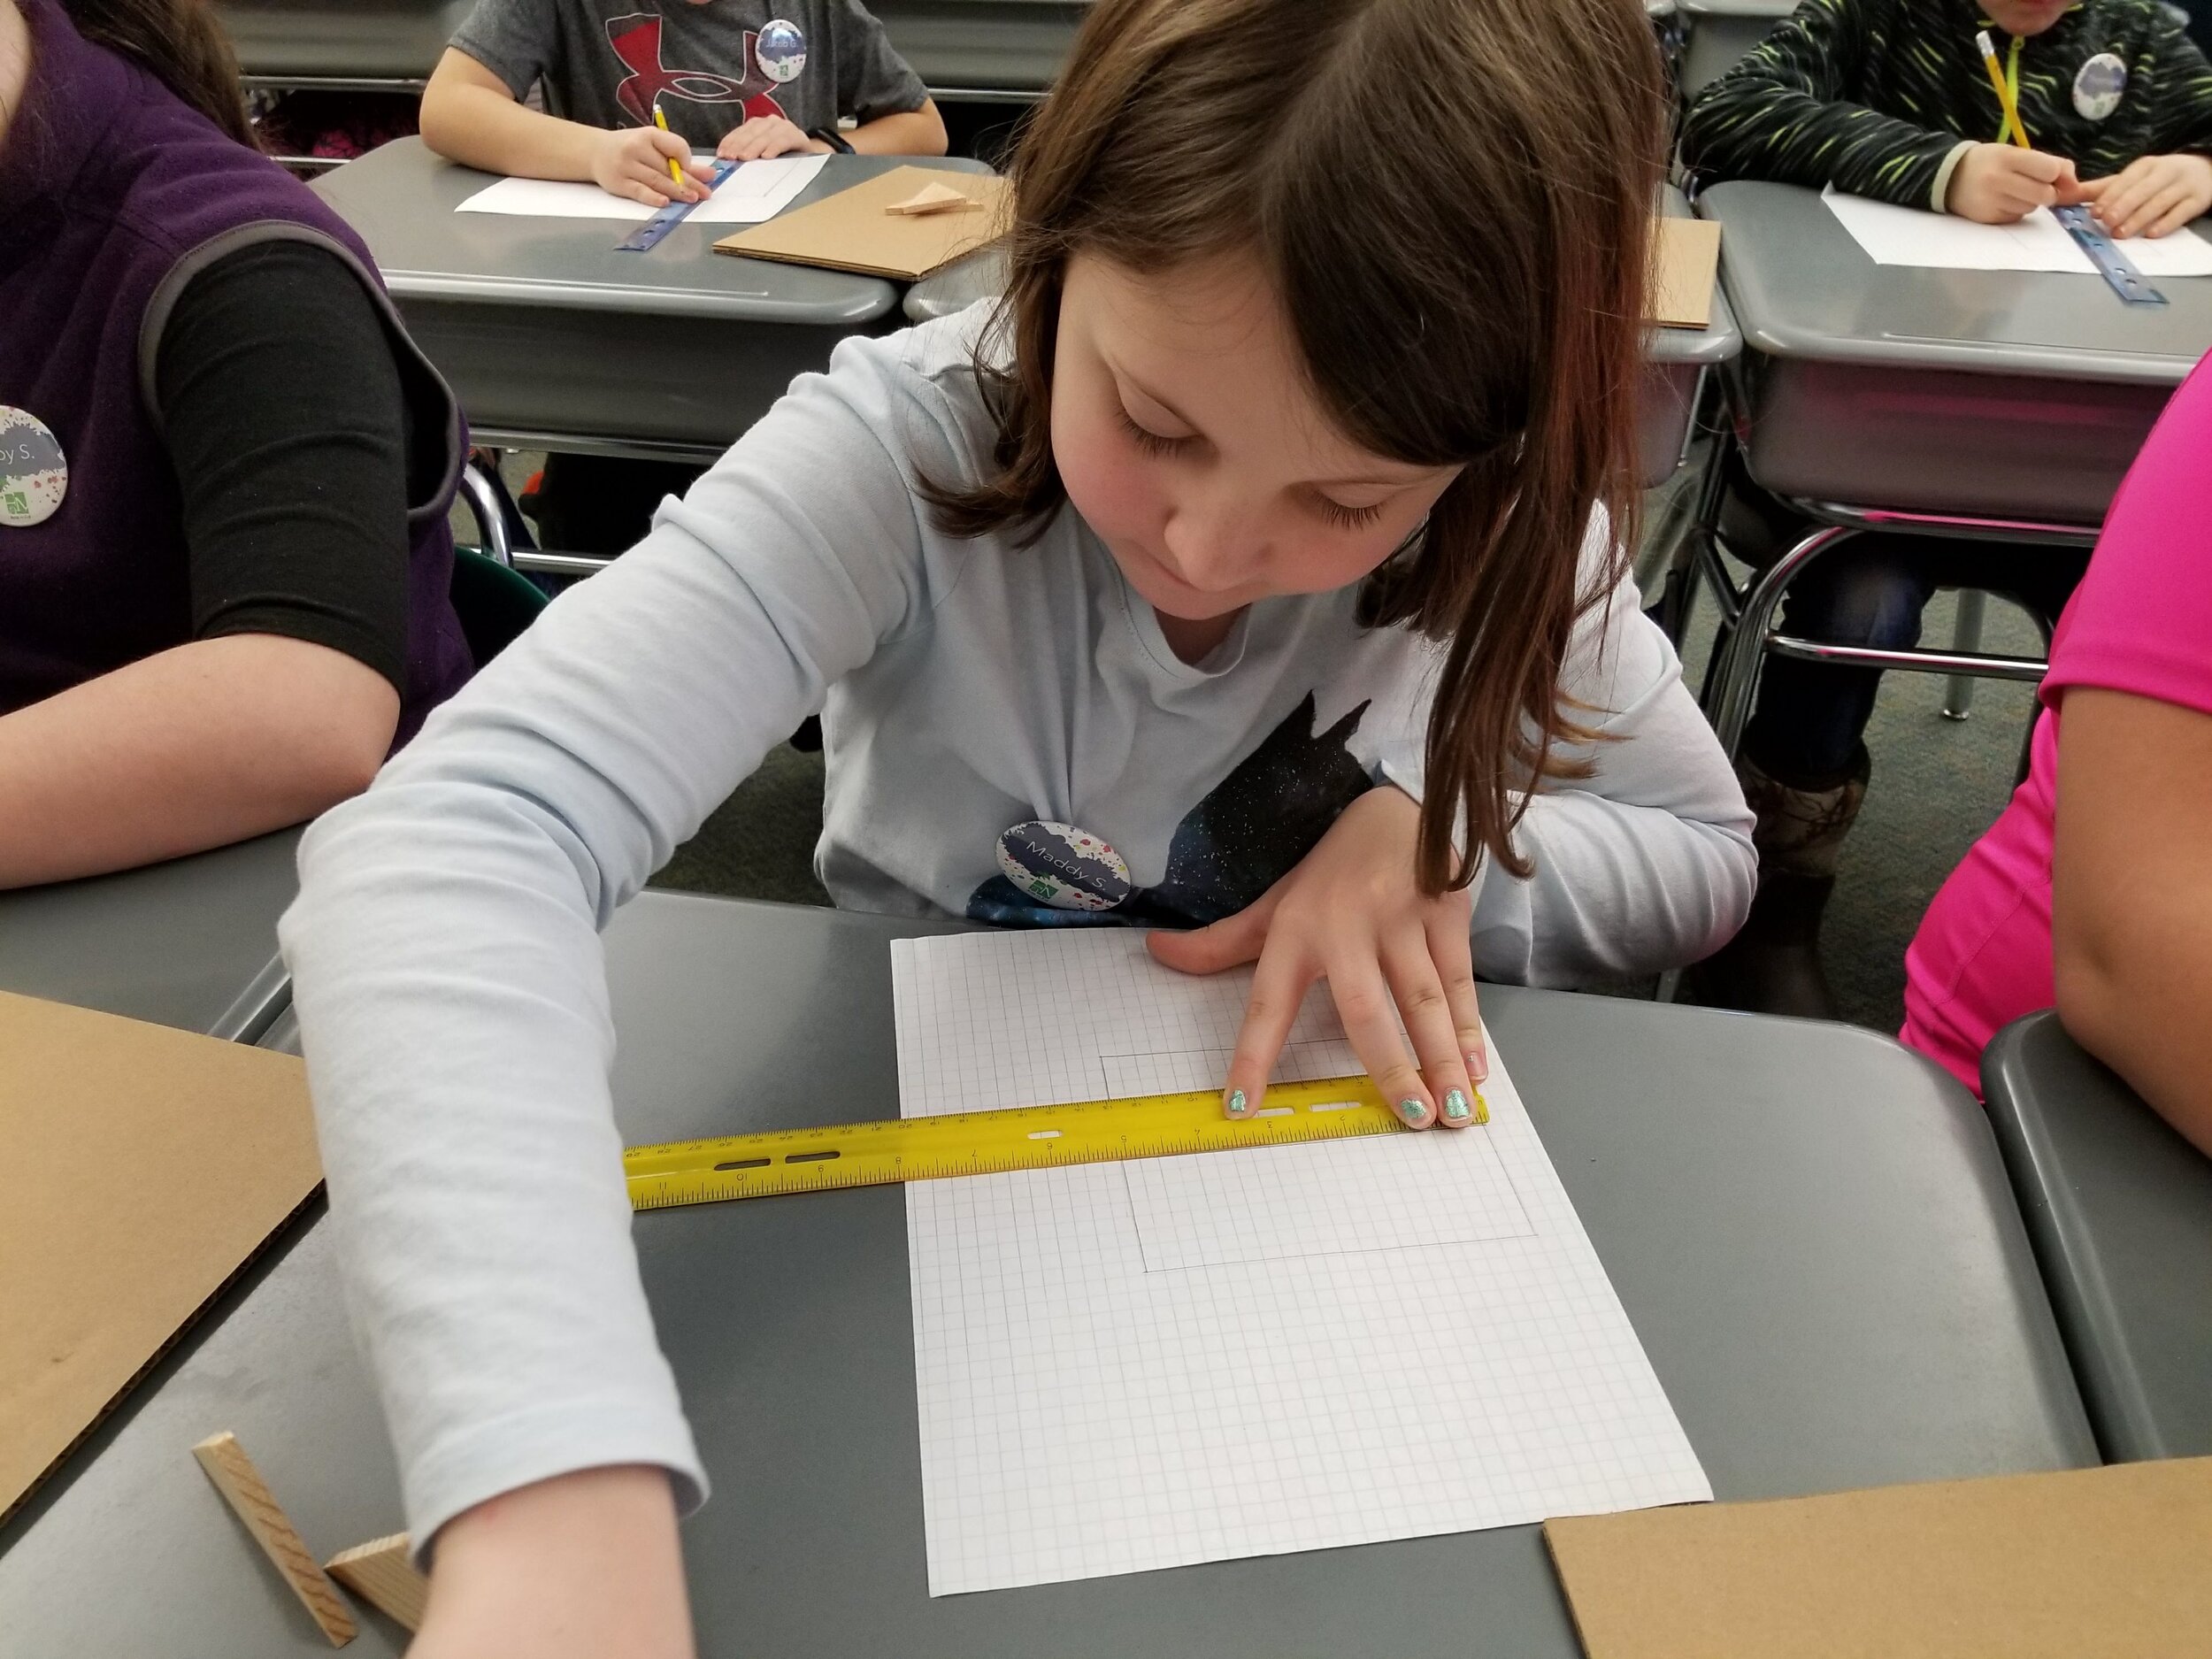
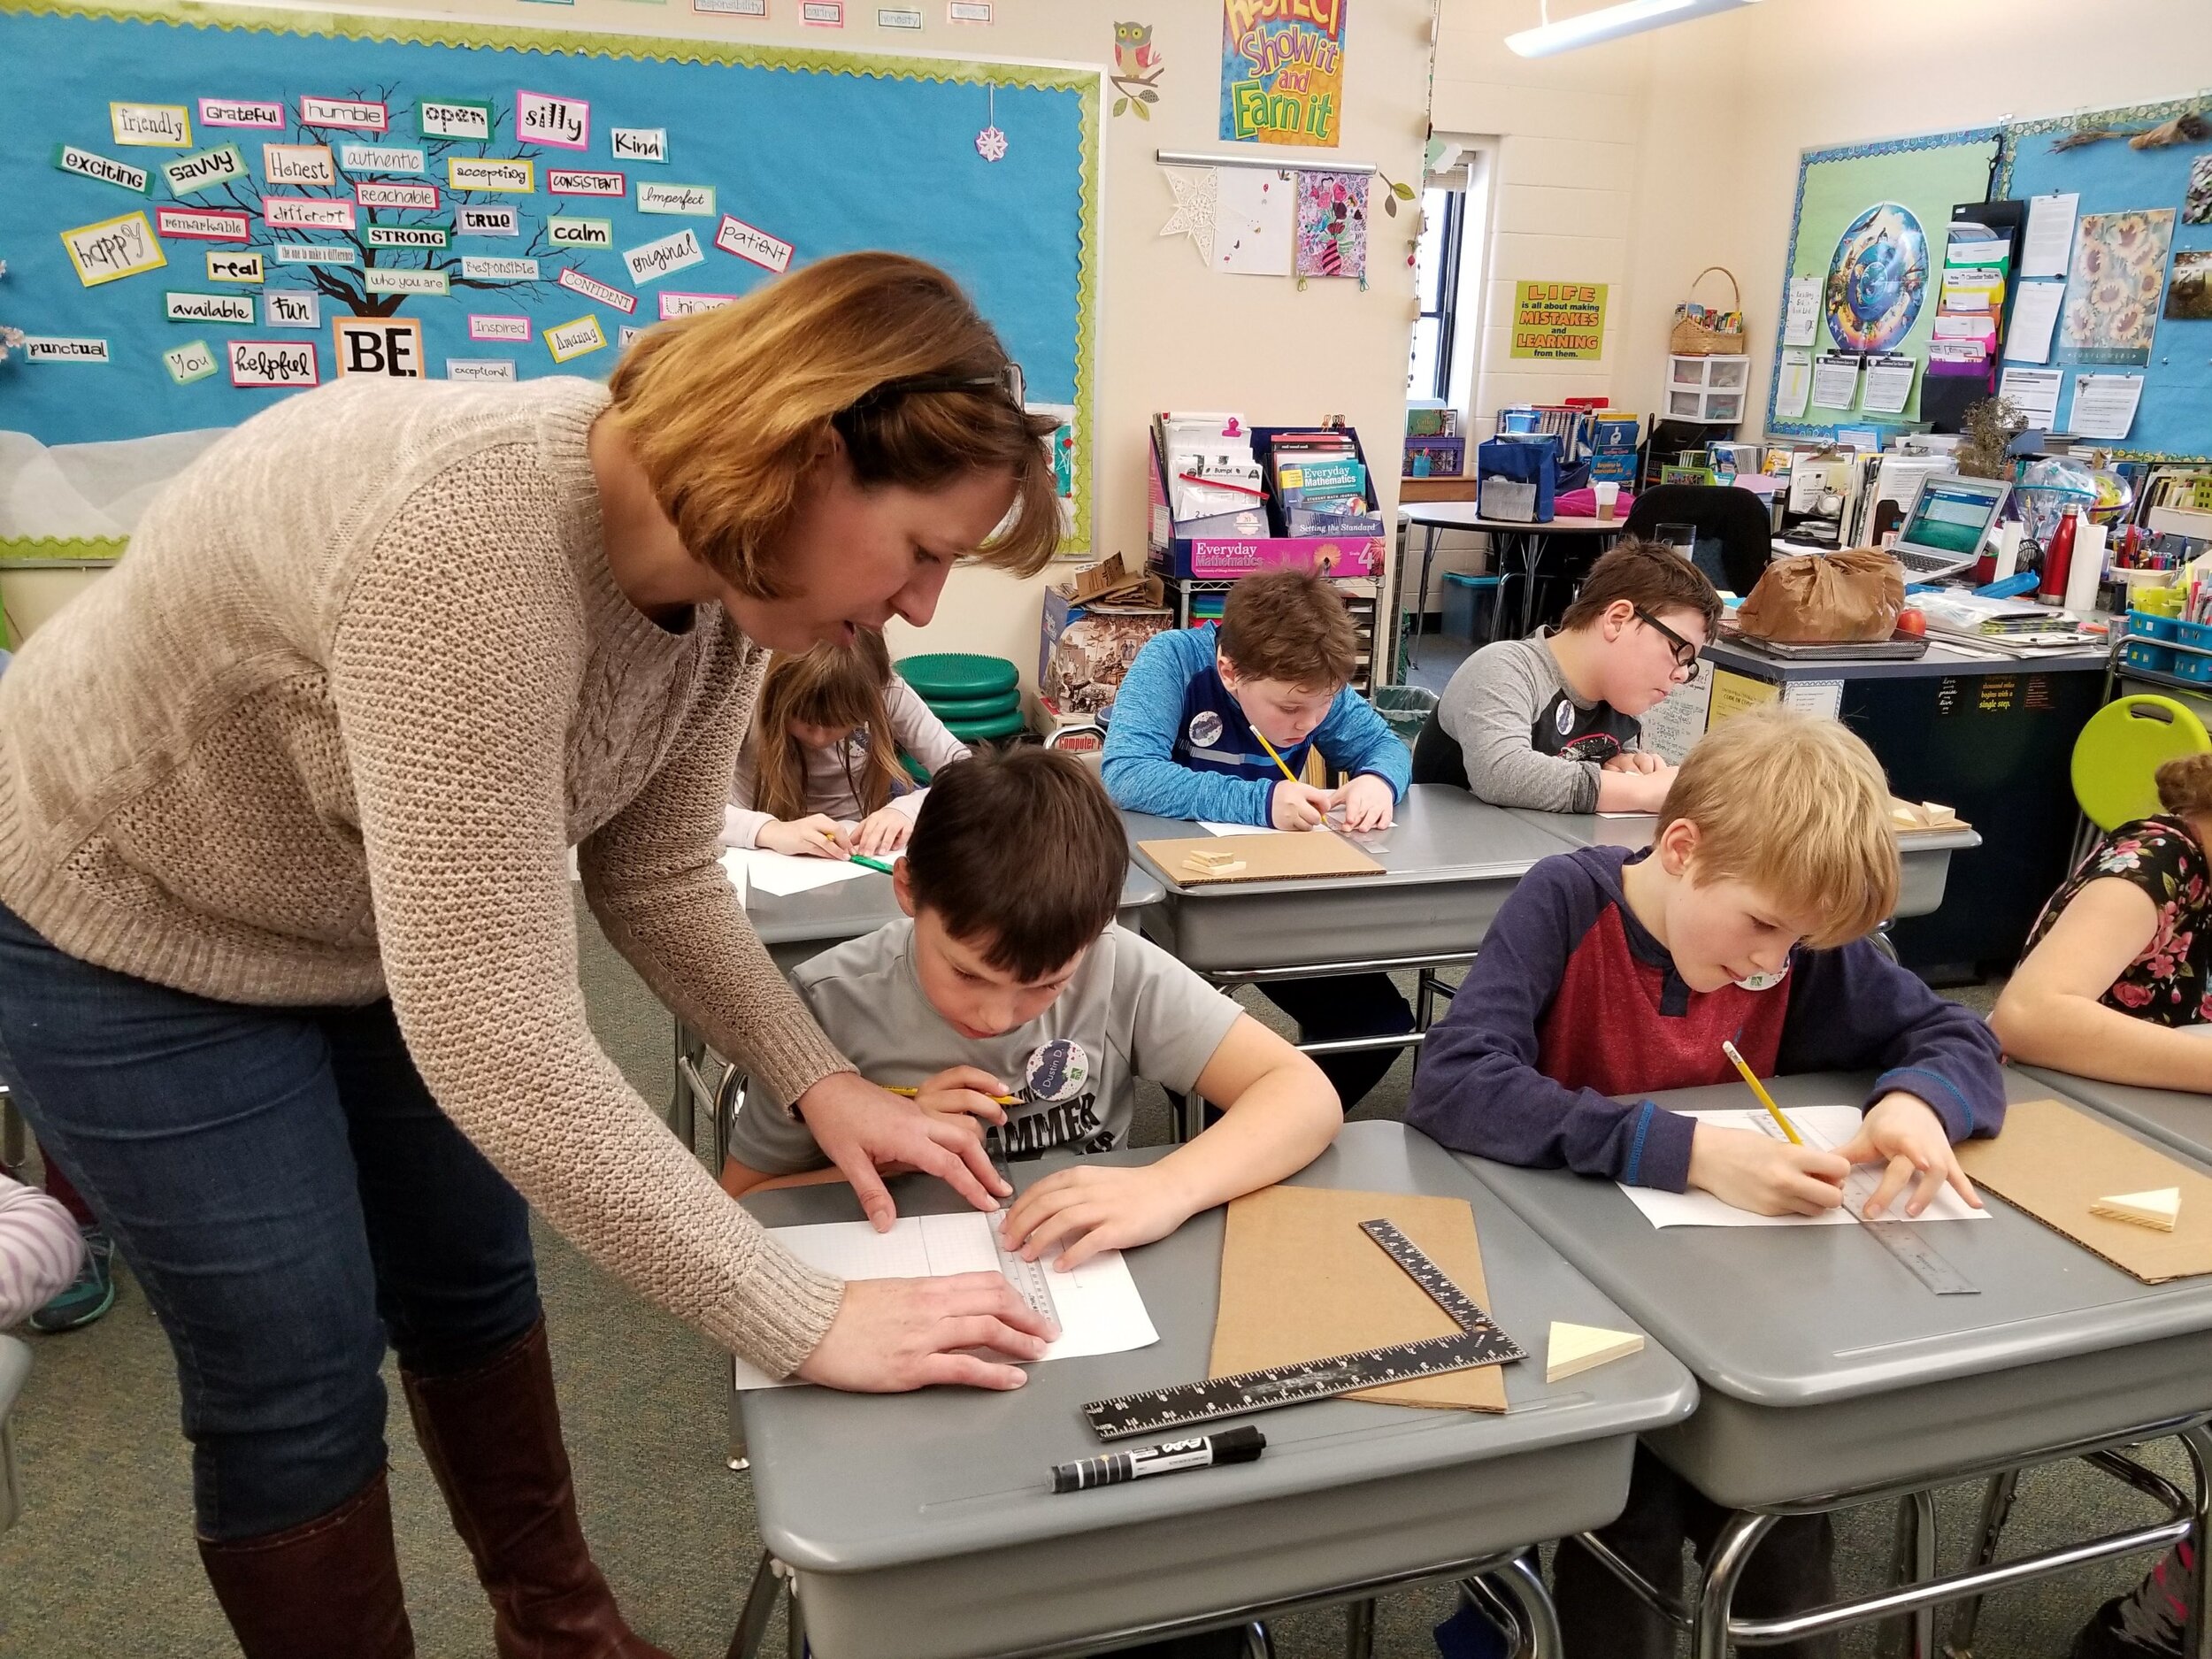
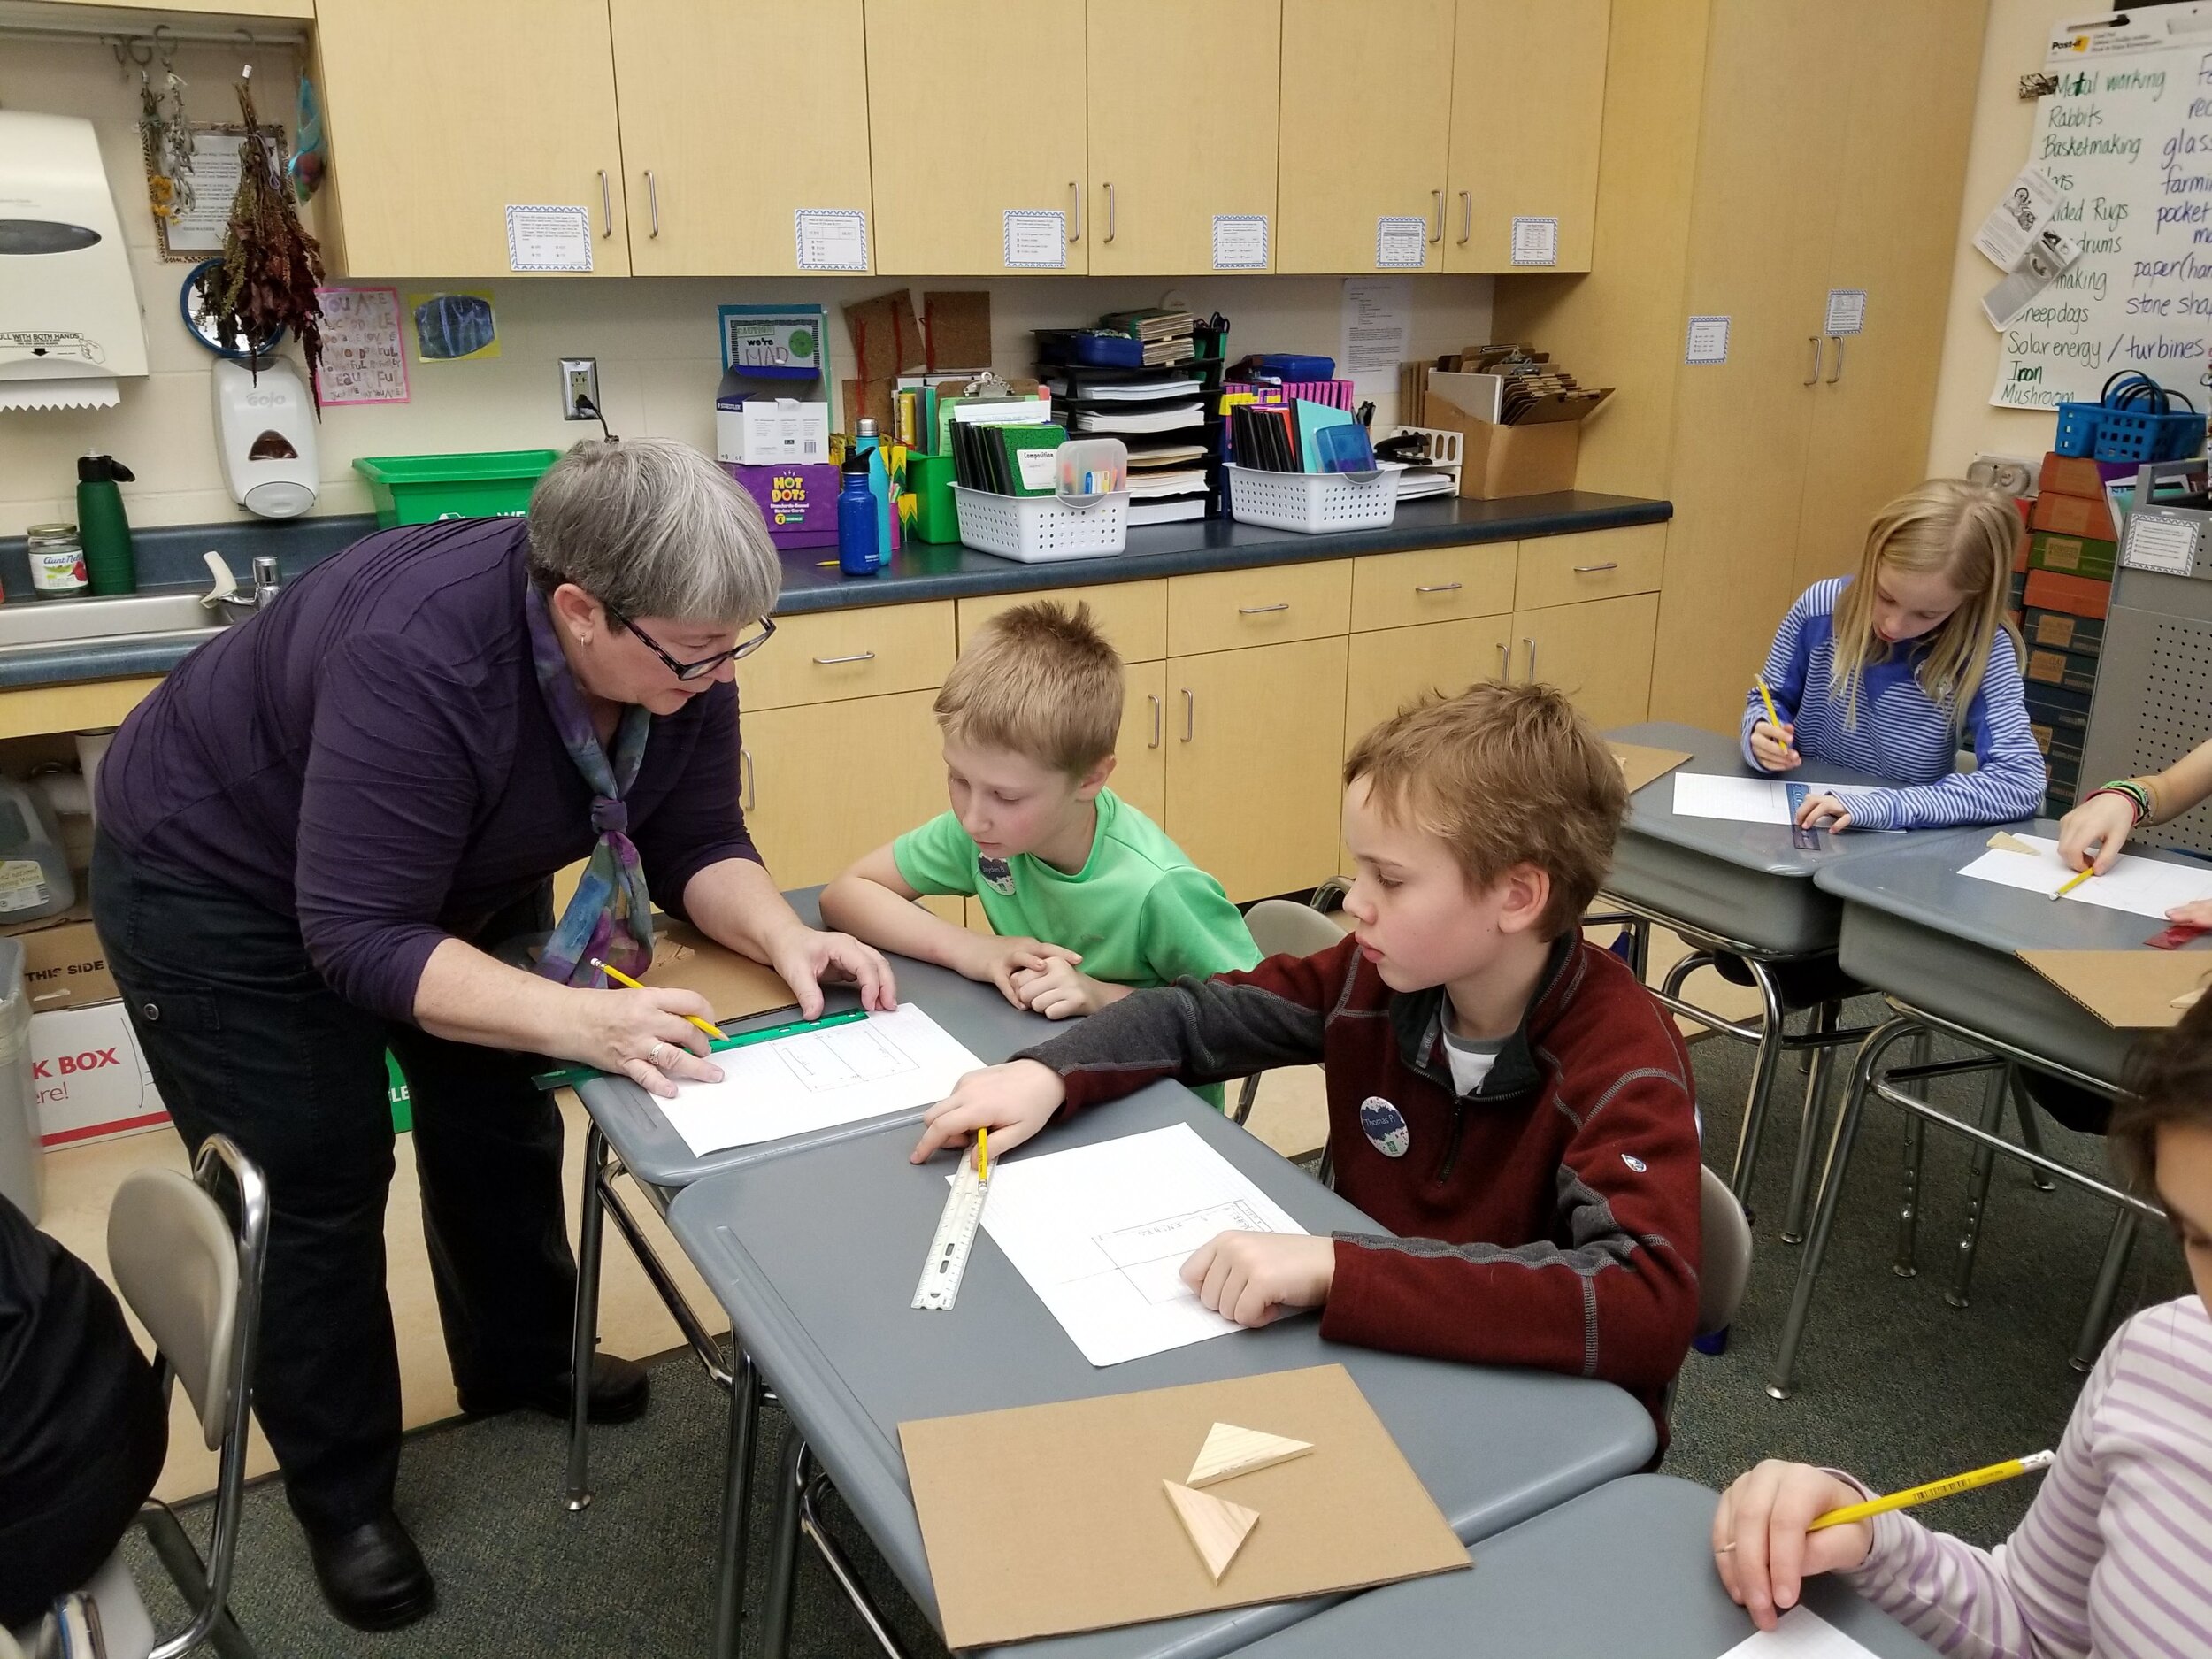
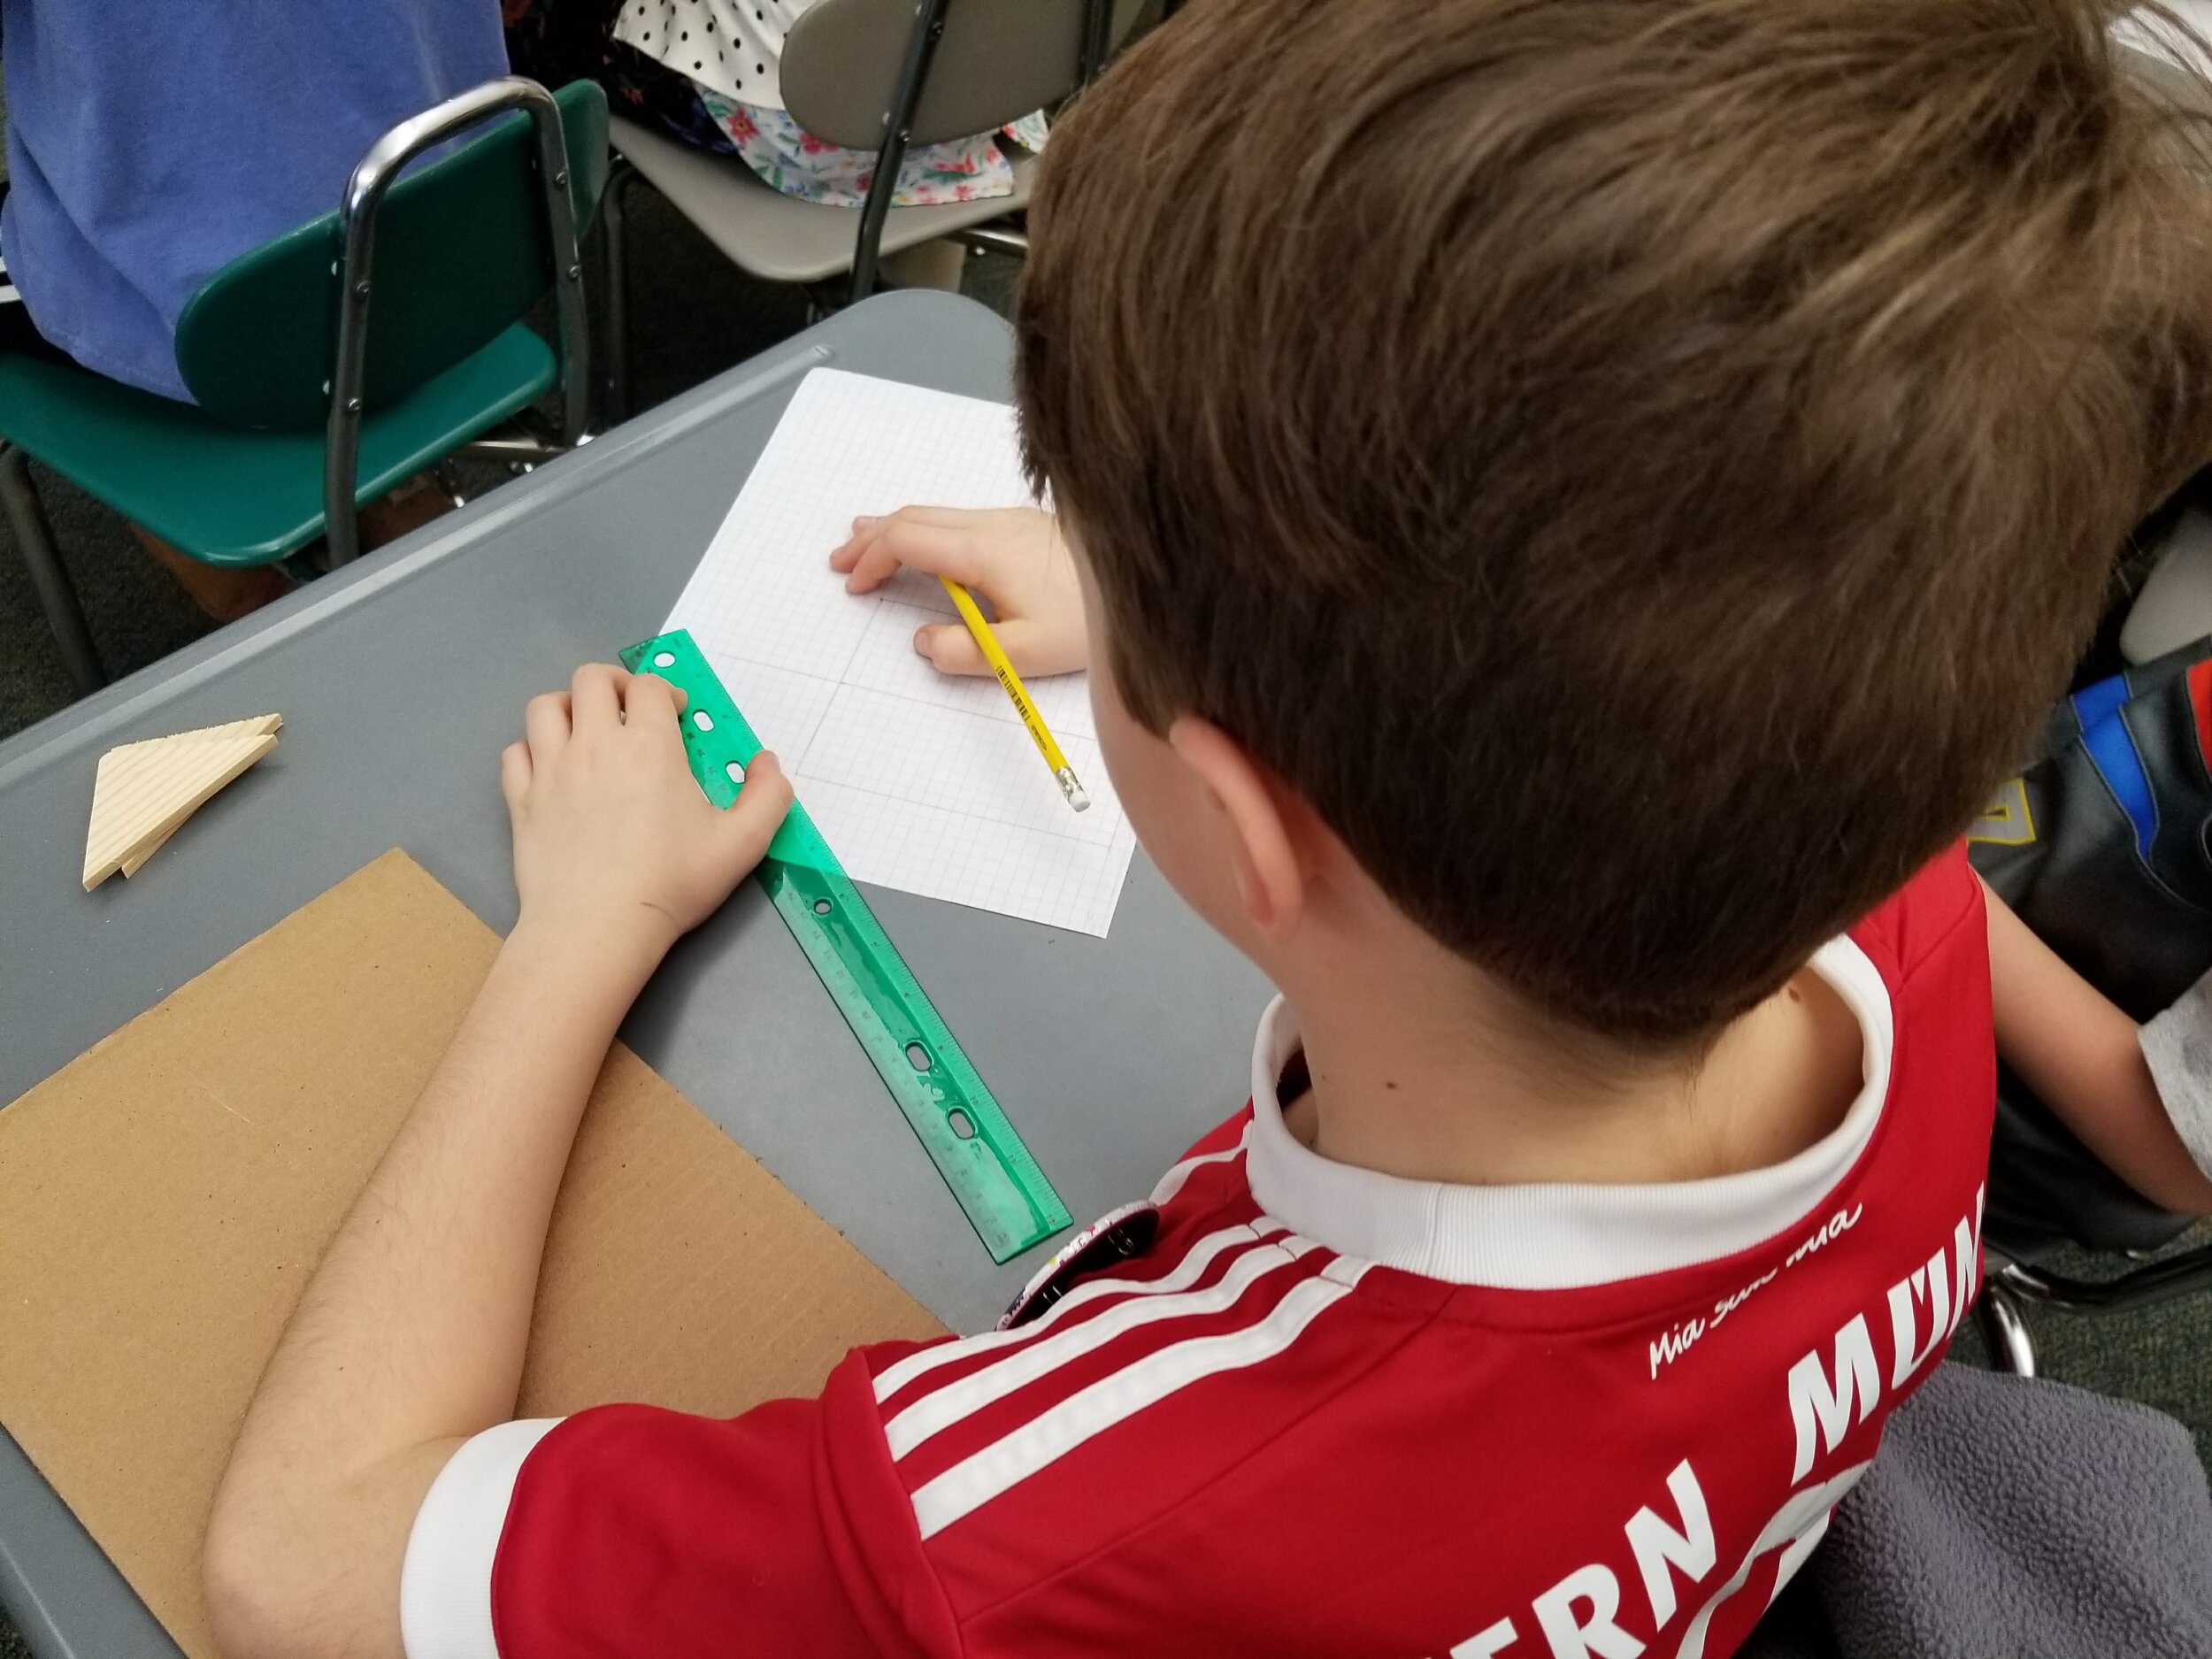
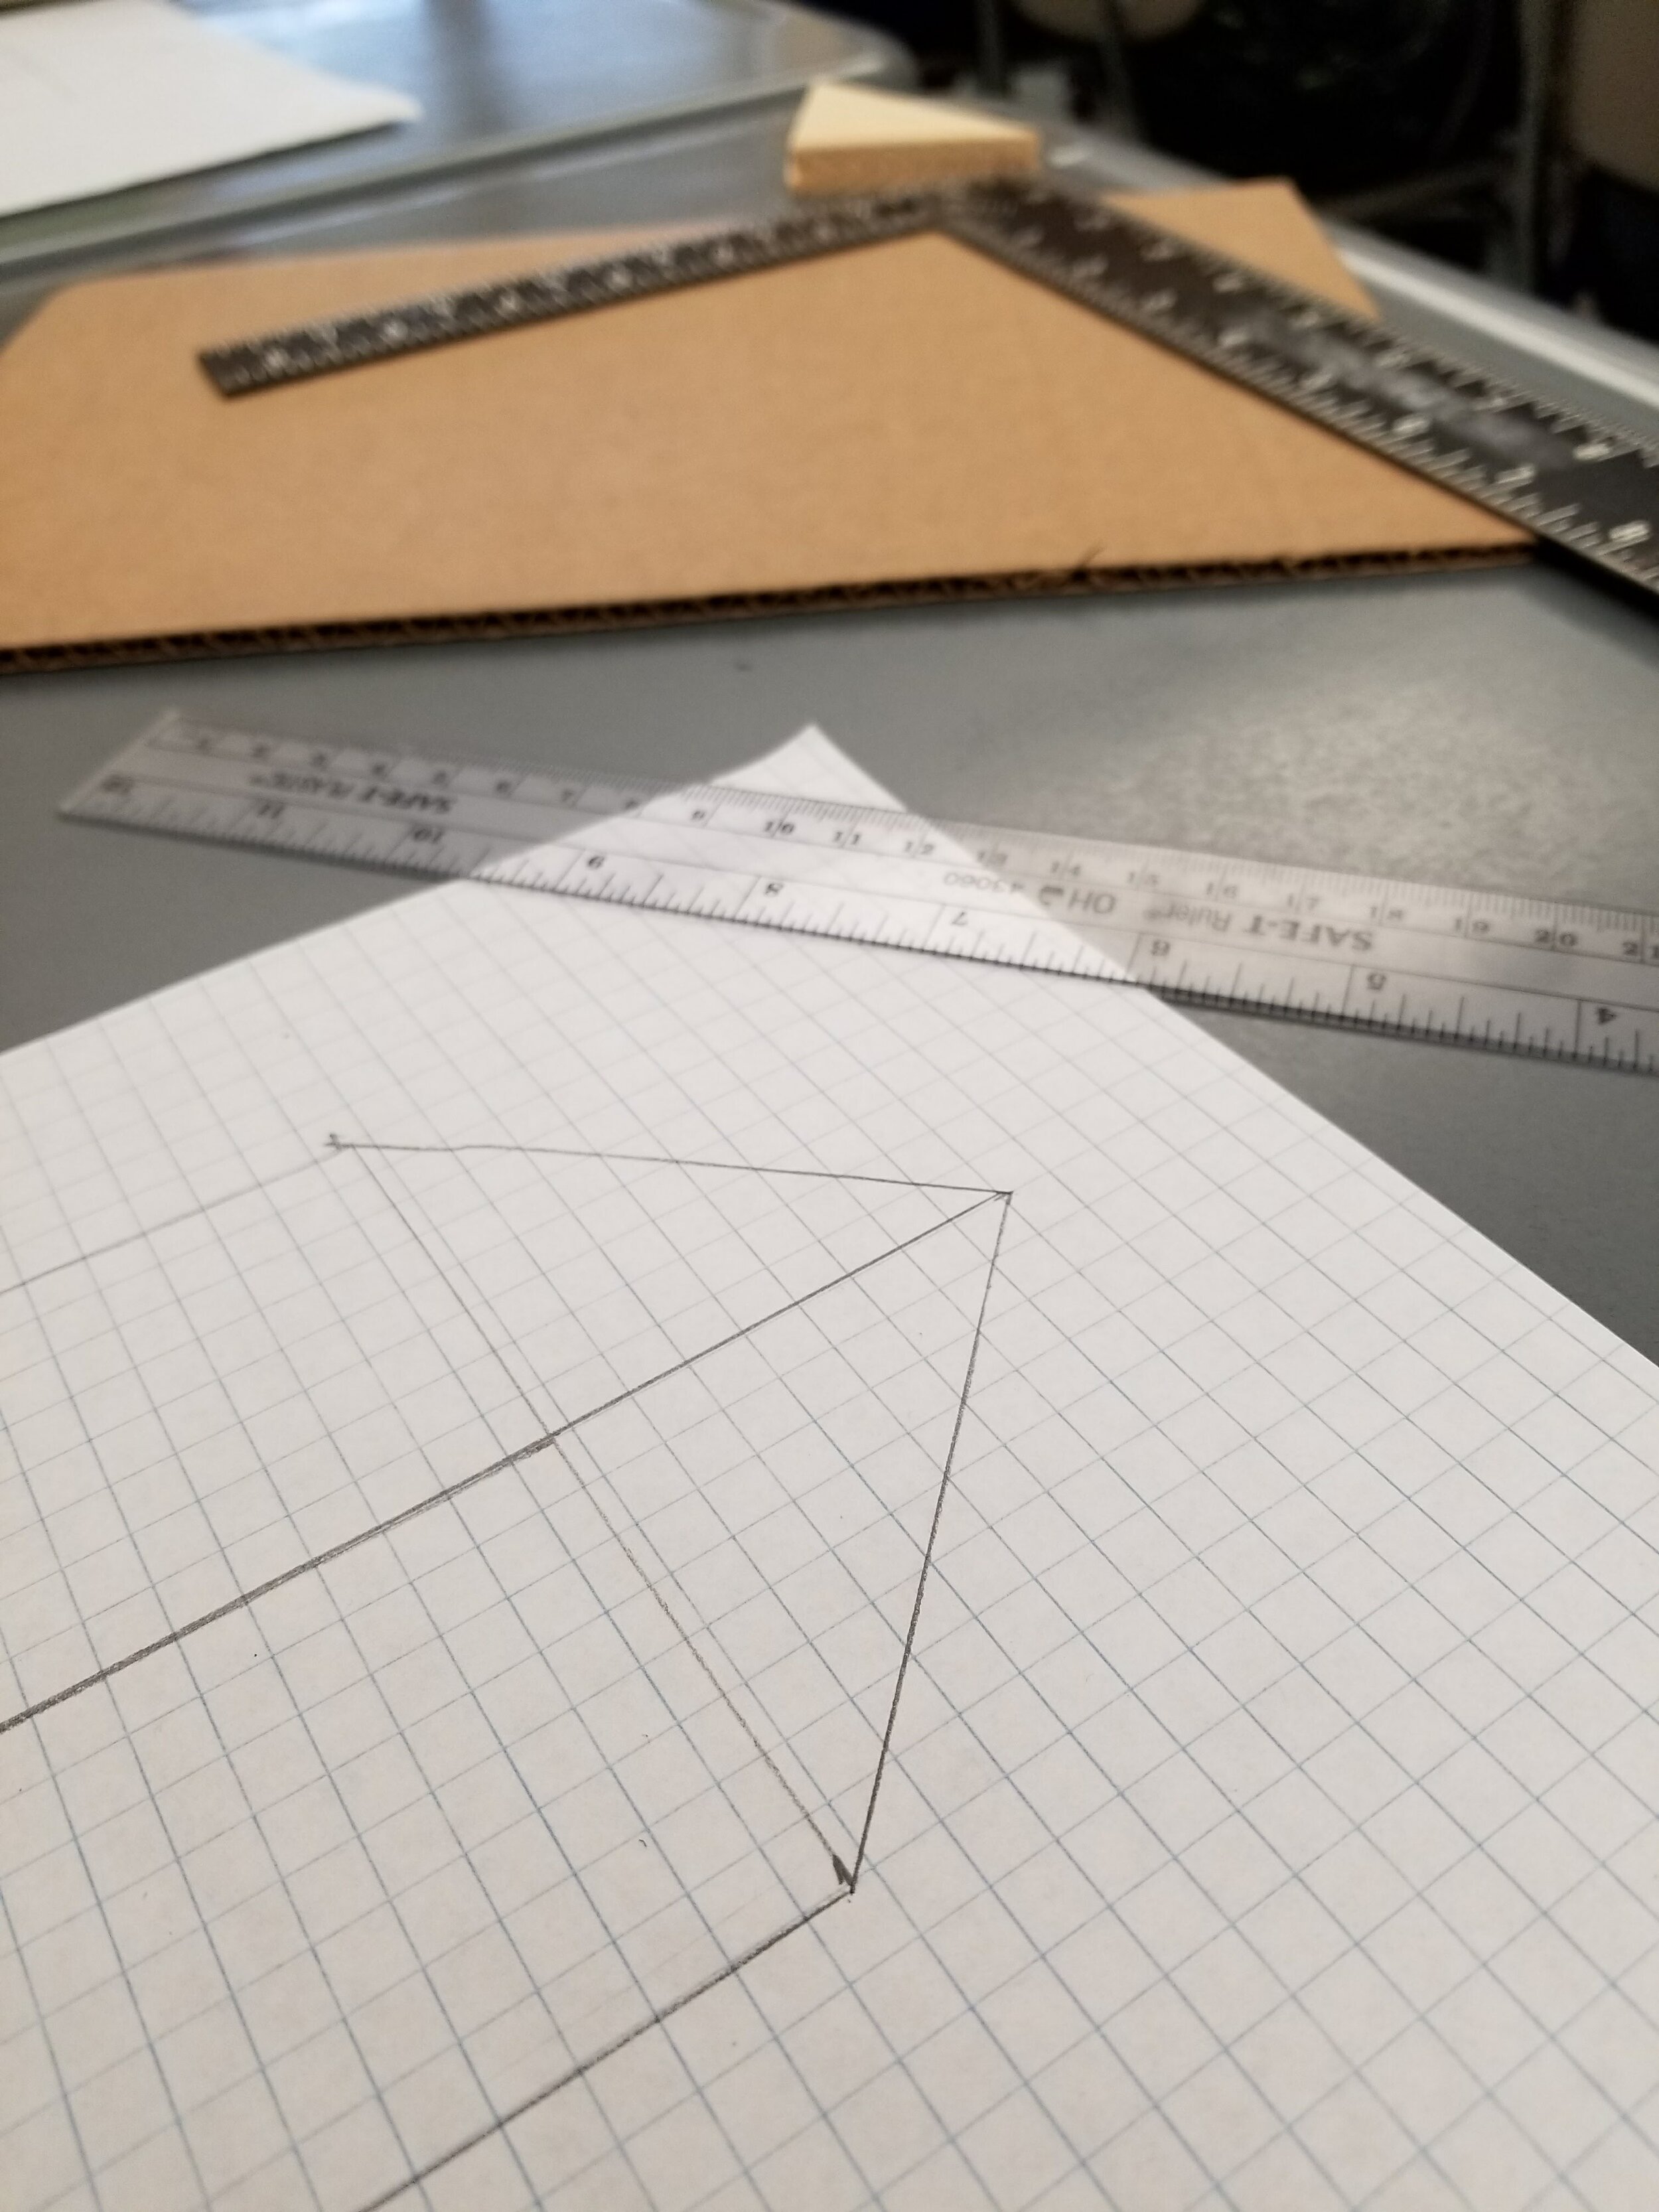
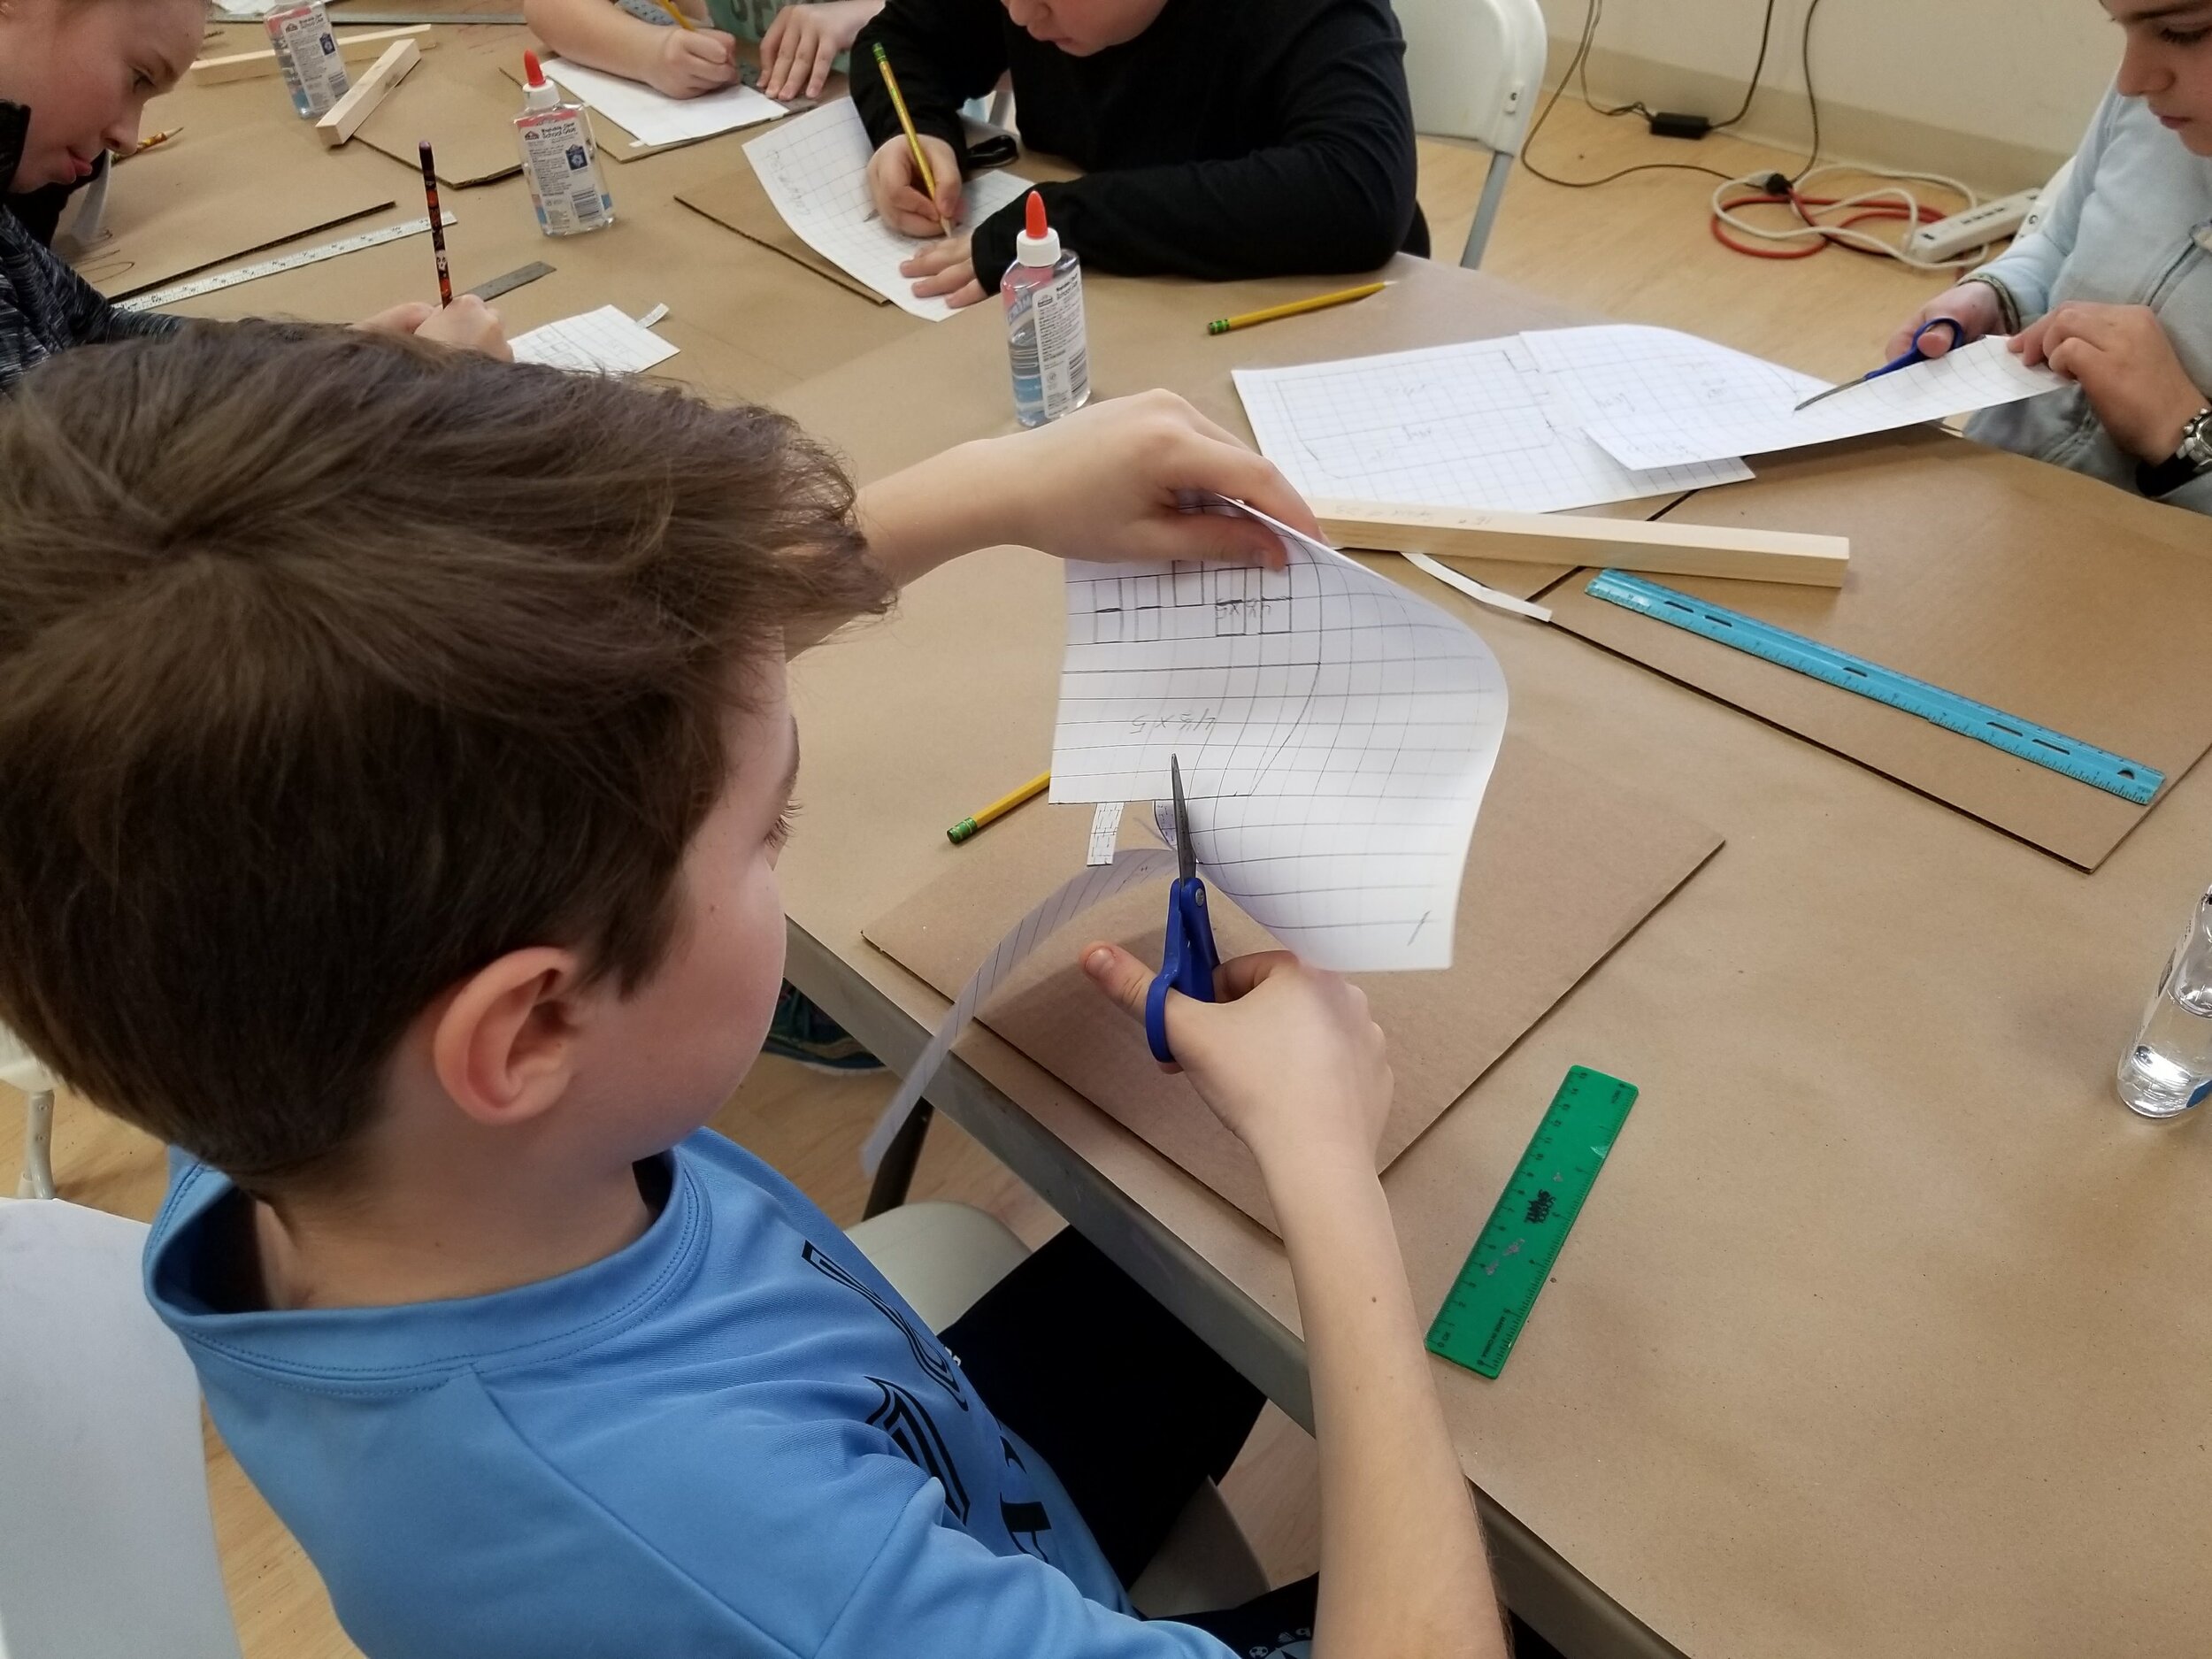
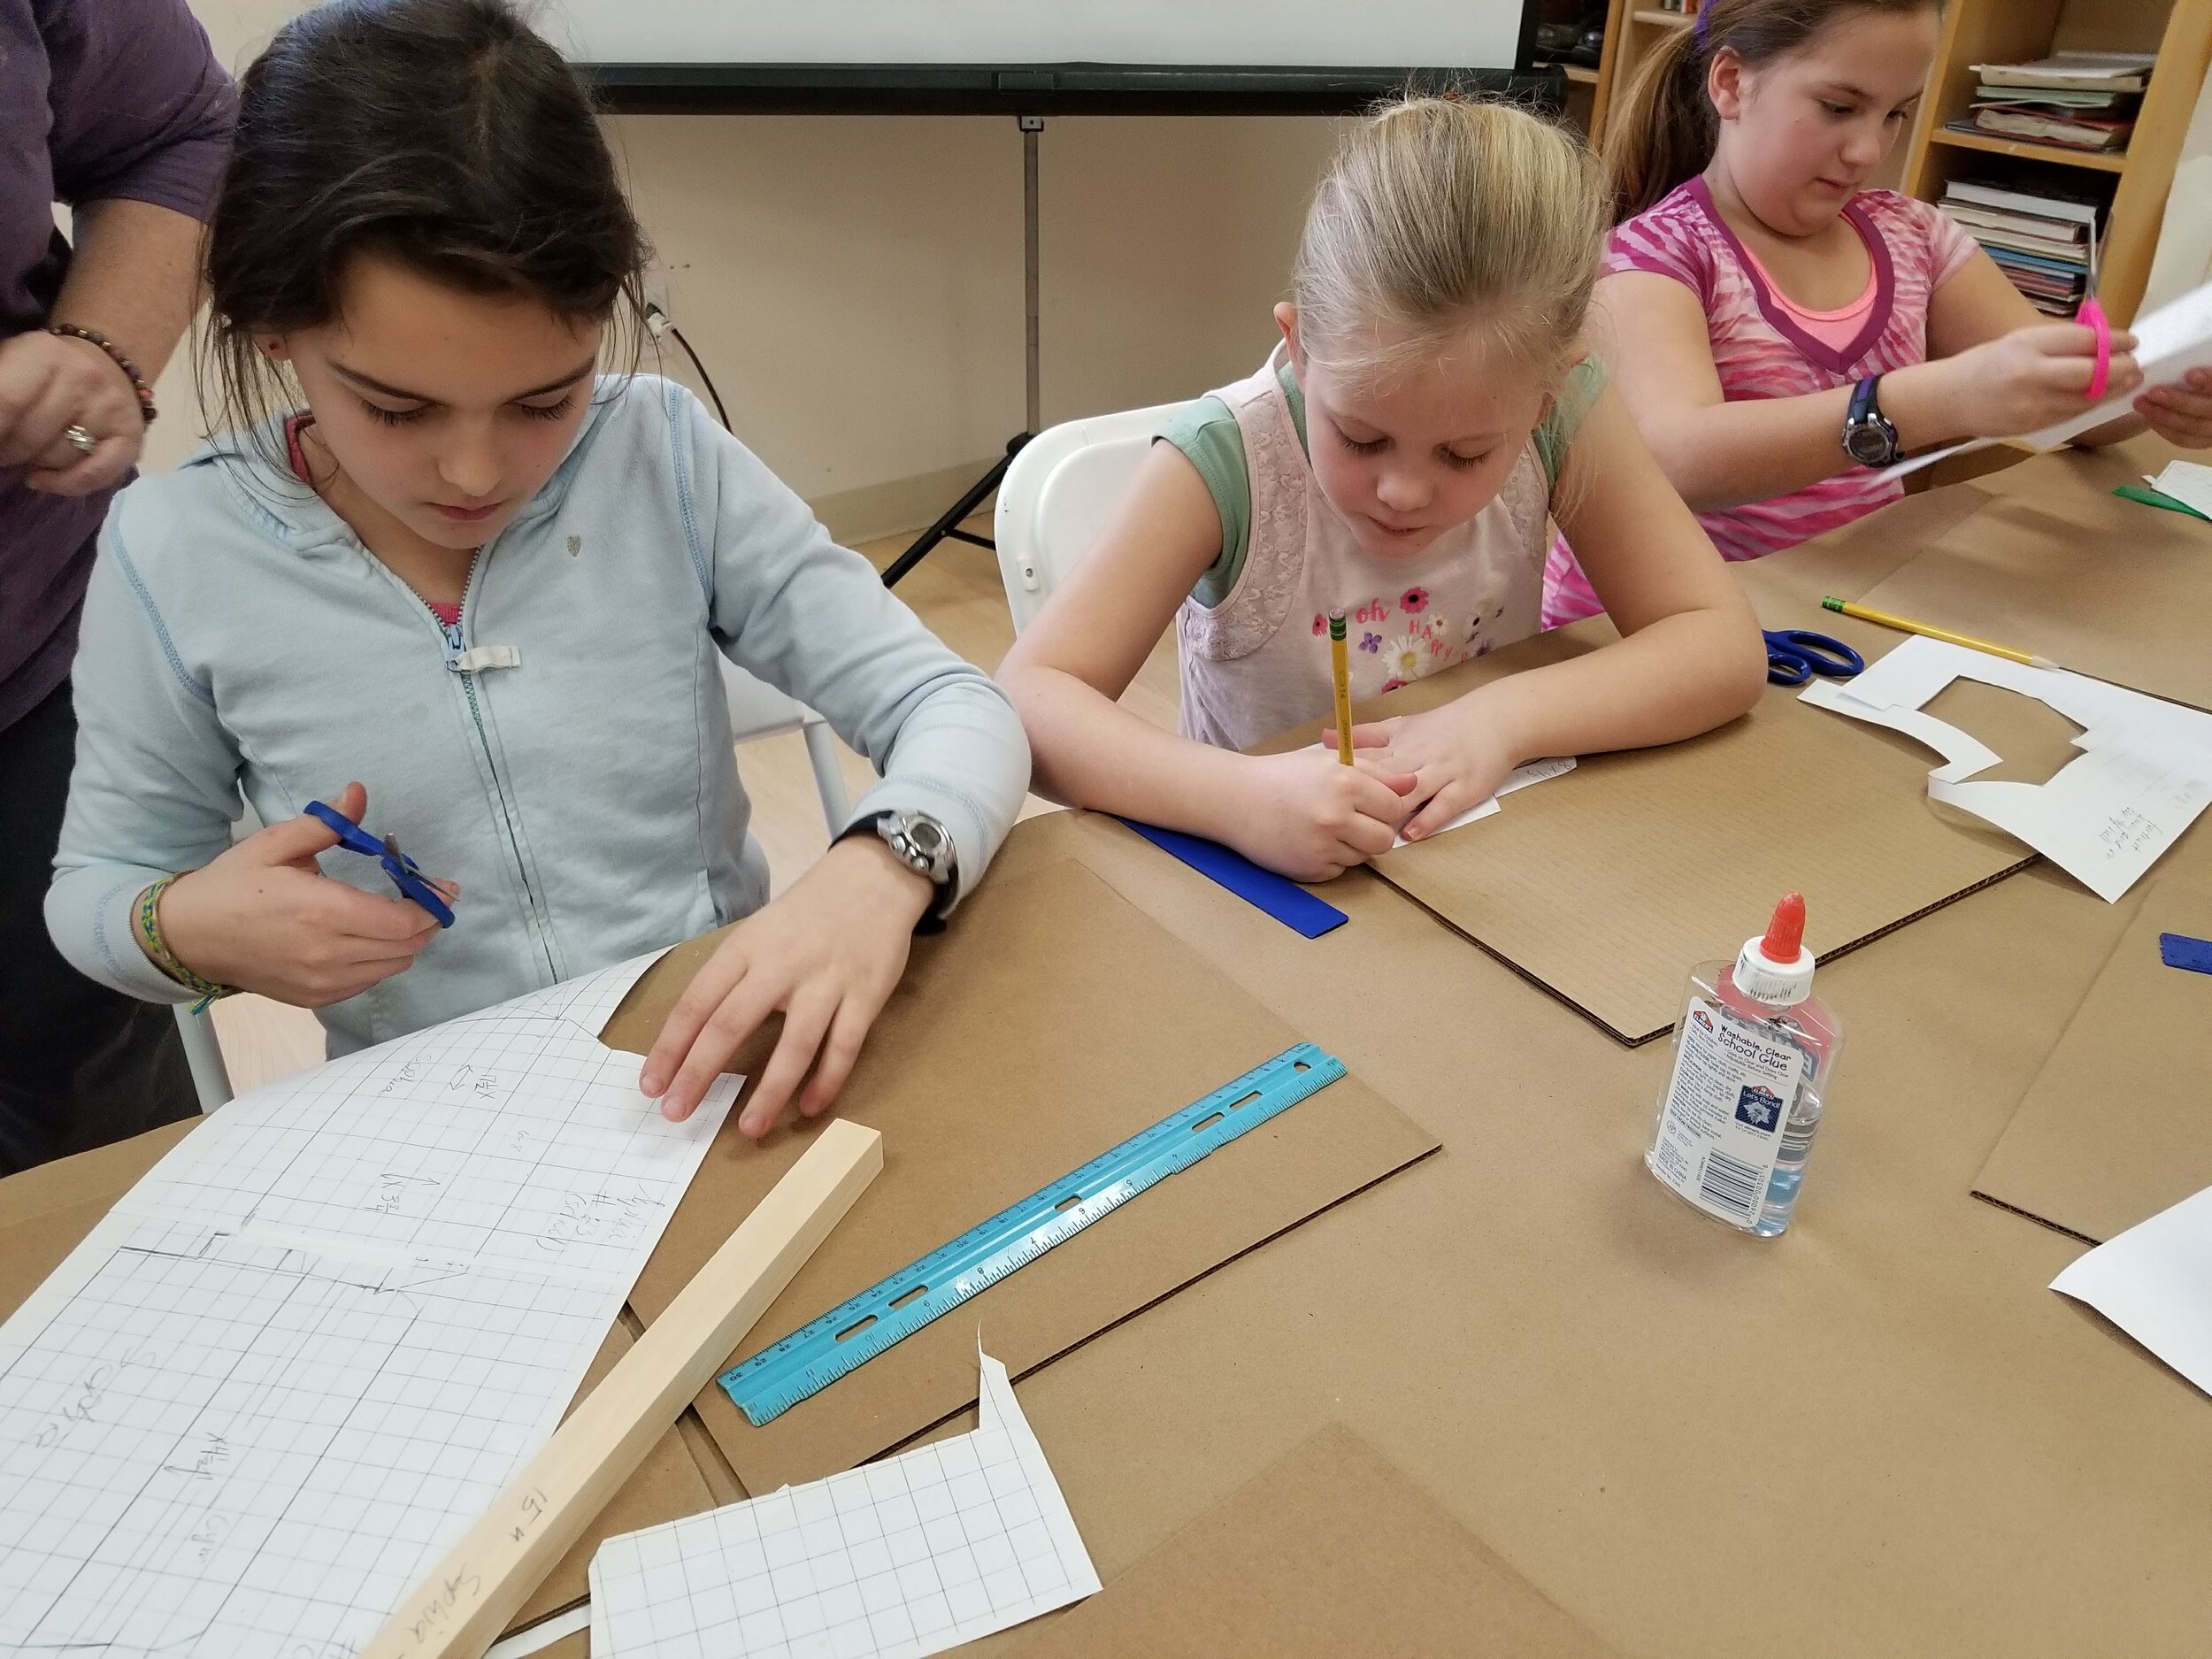
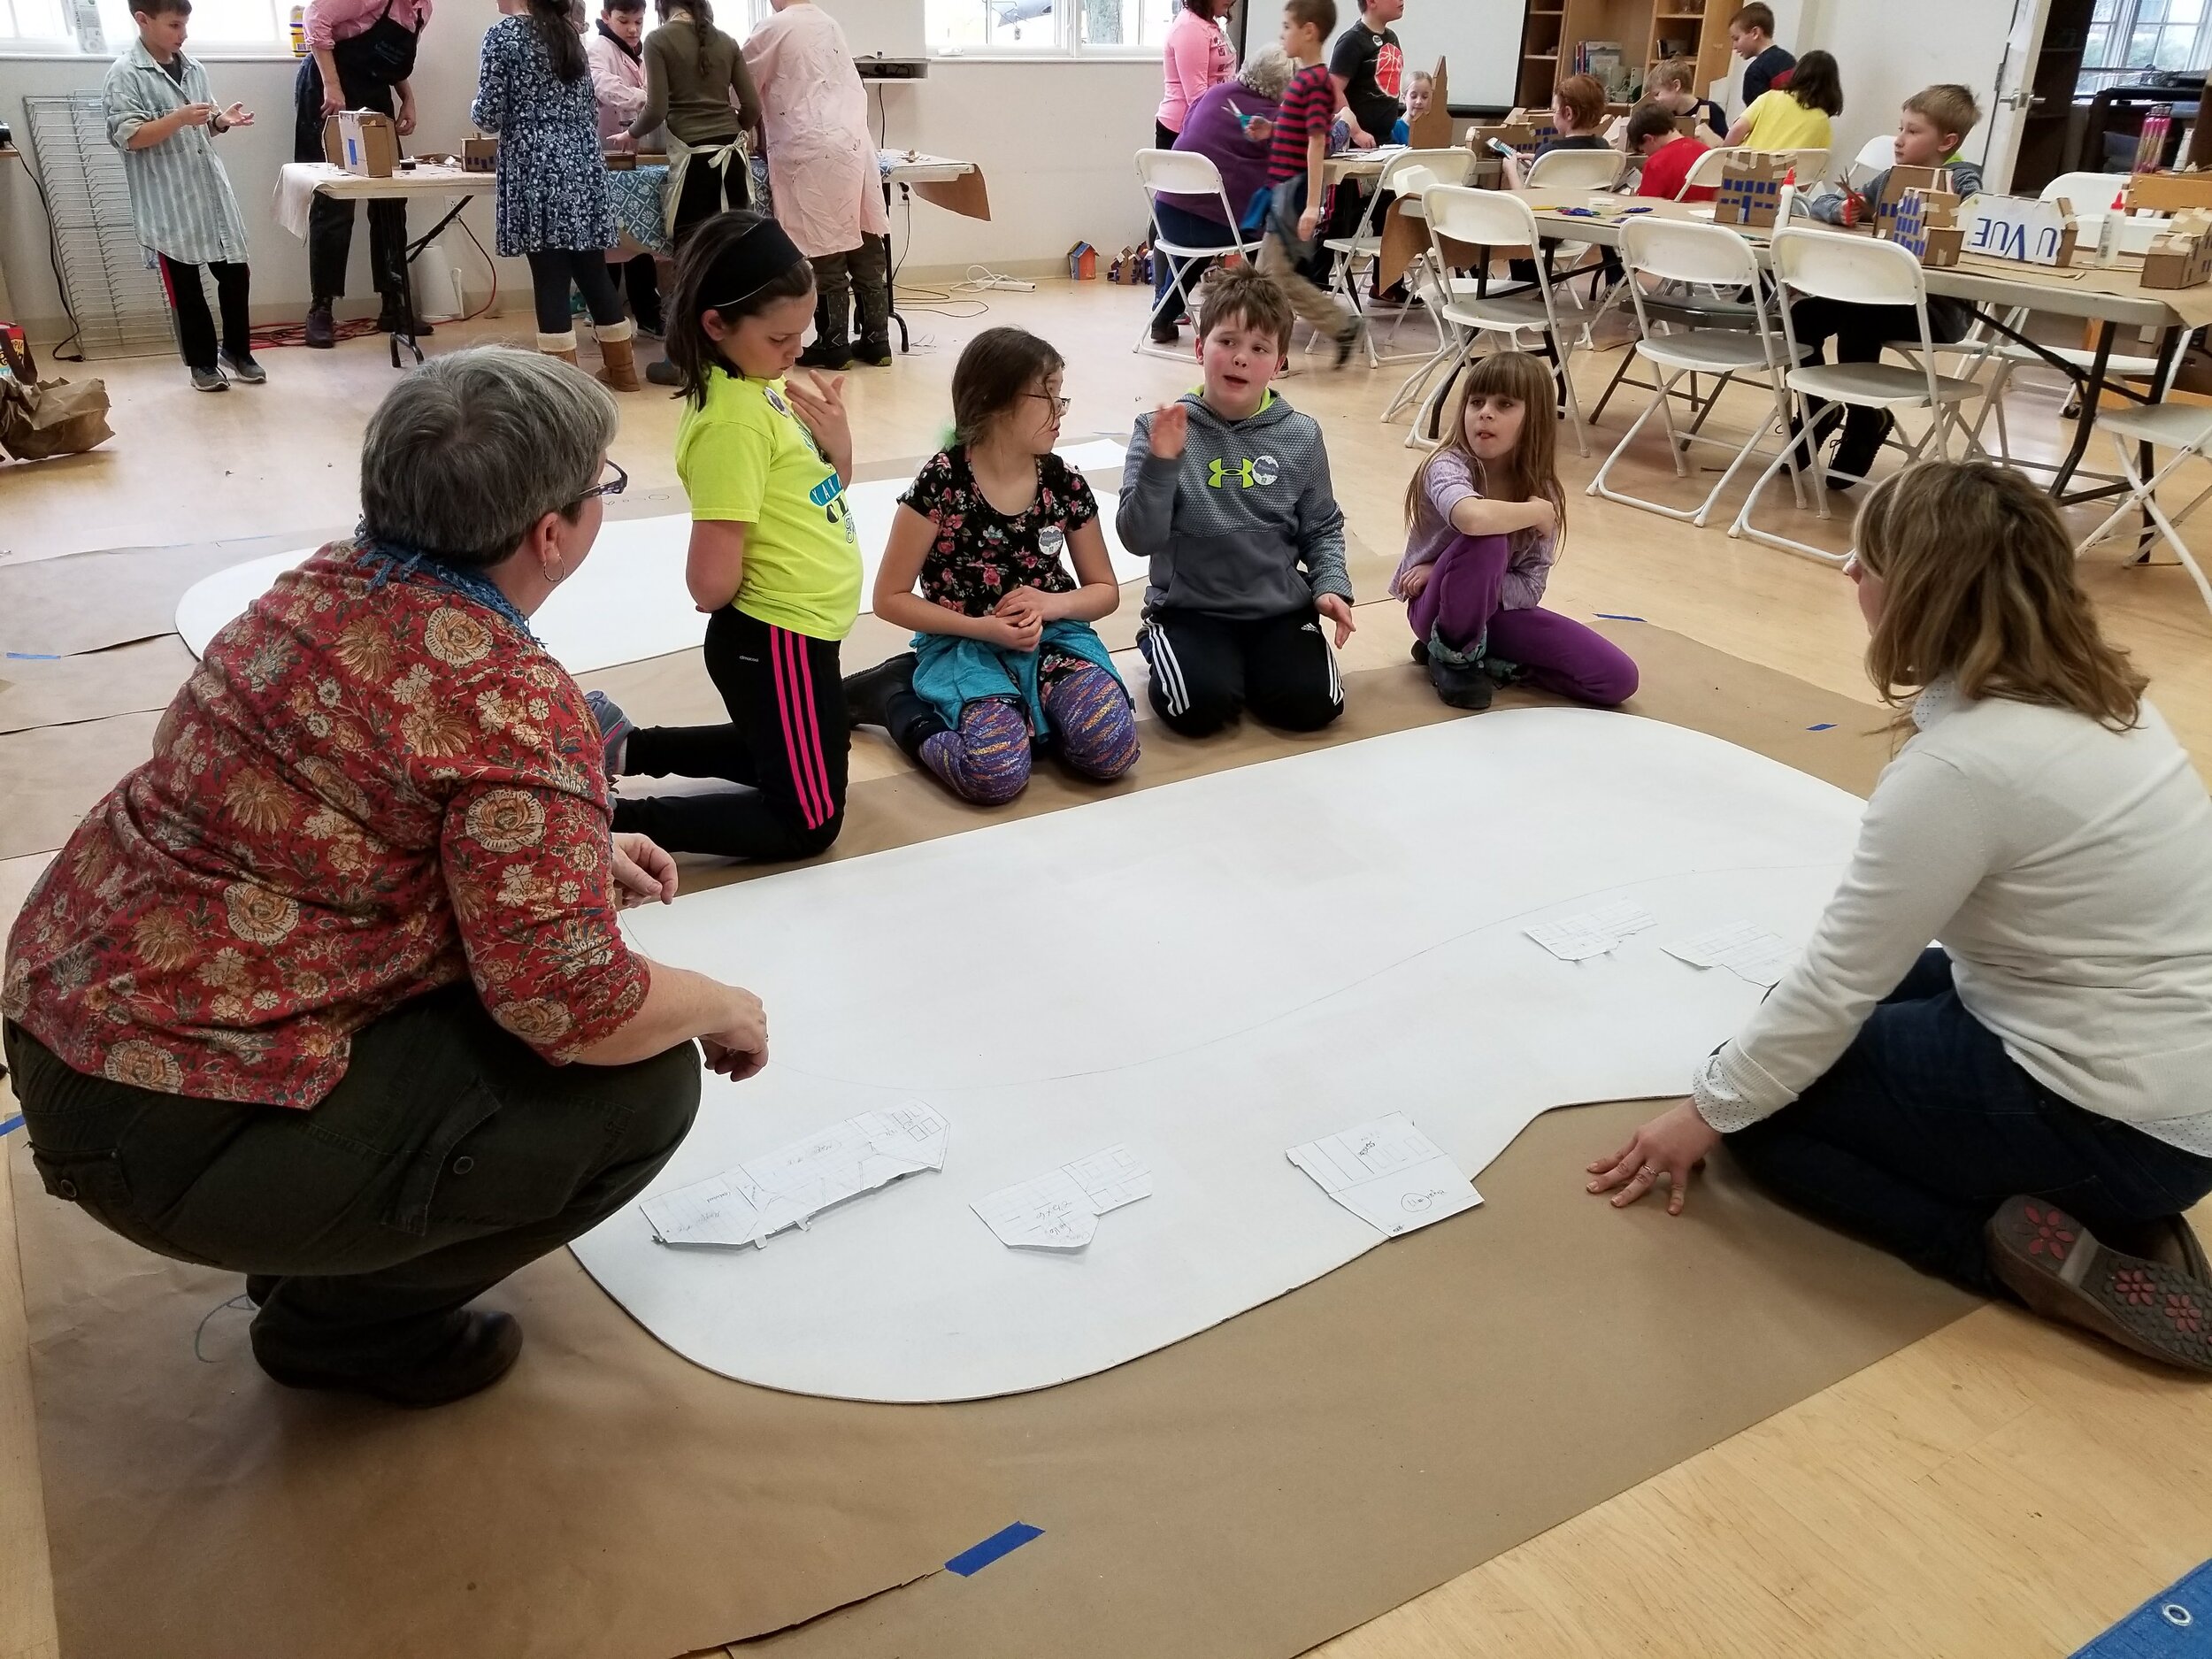
Create + Curricular Connections: Use your own photos or reference photos to create scaled drawings of your place.
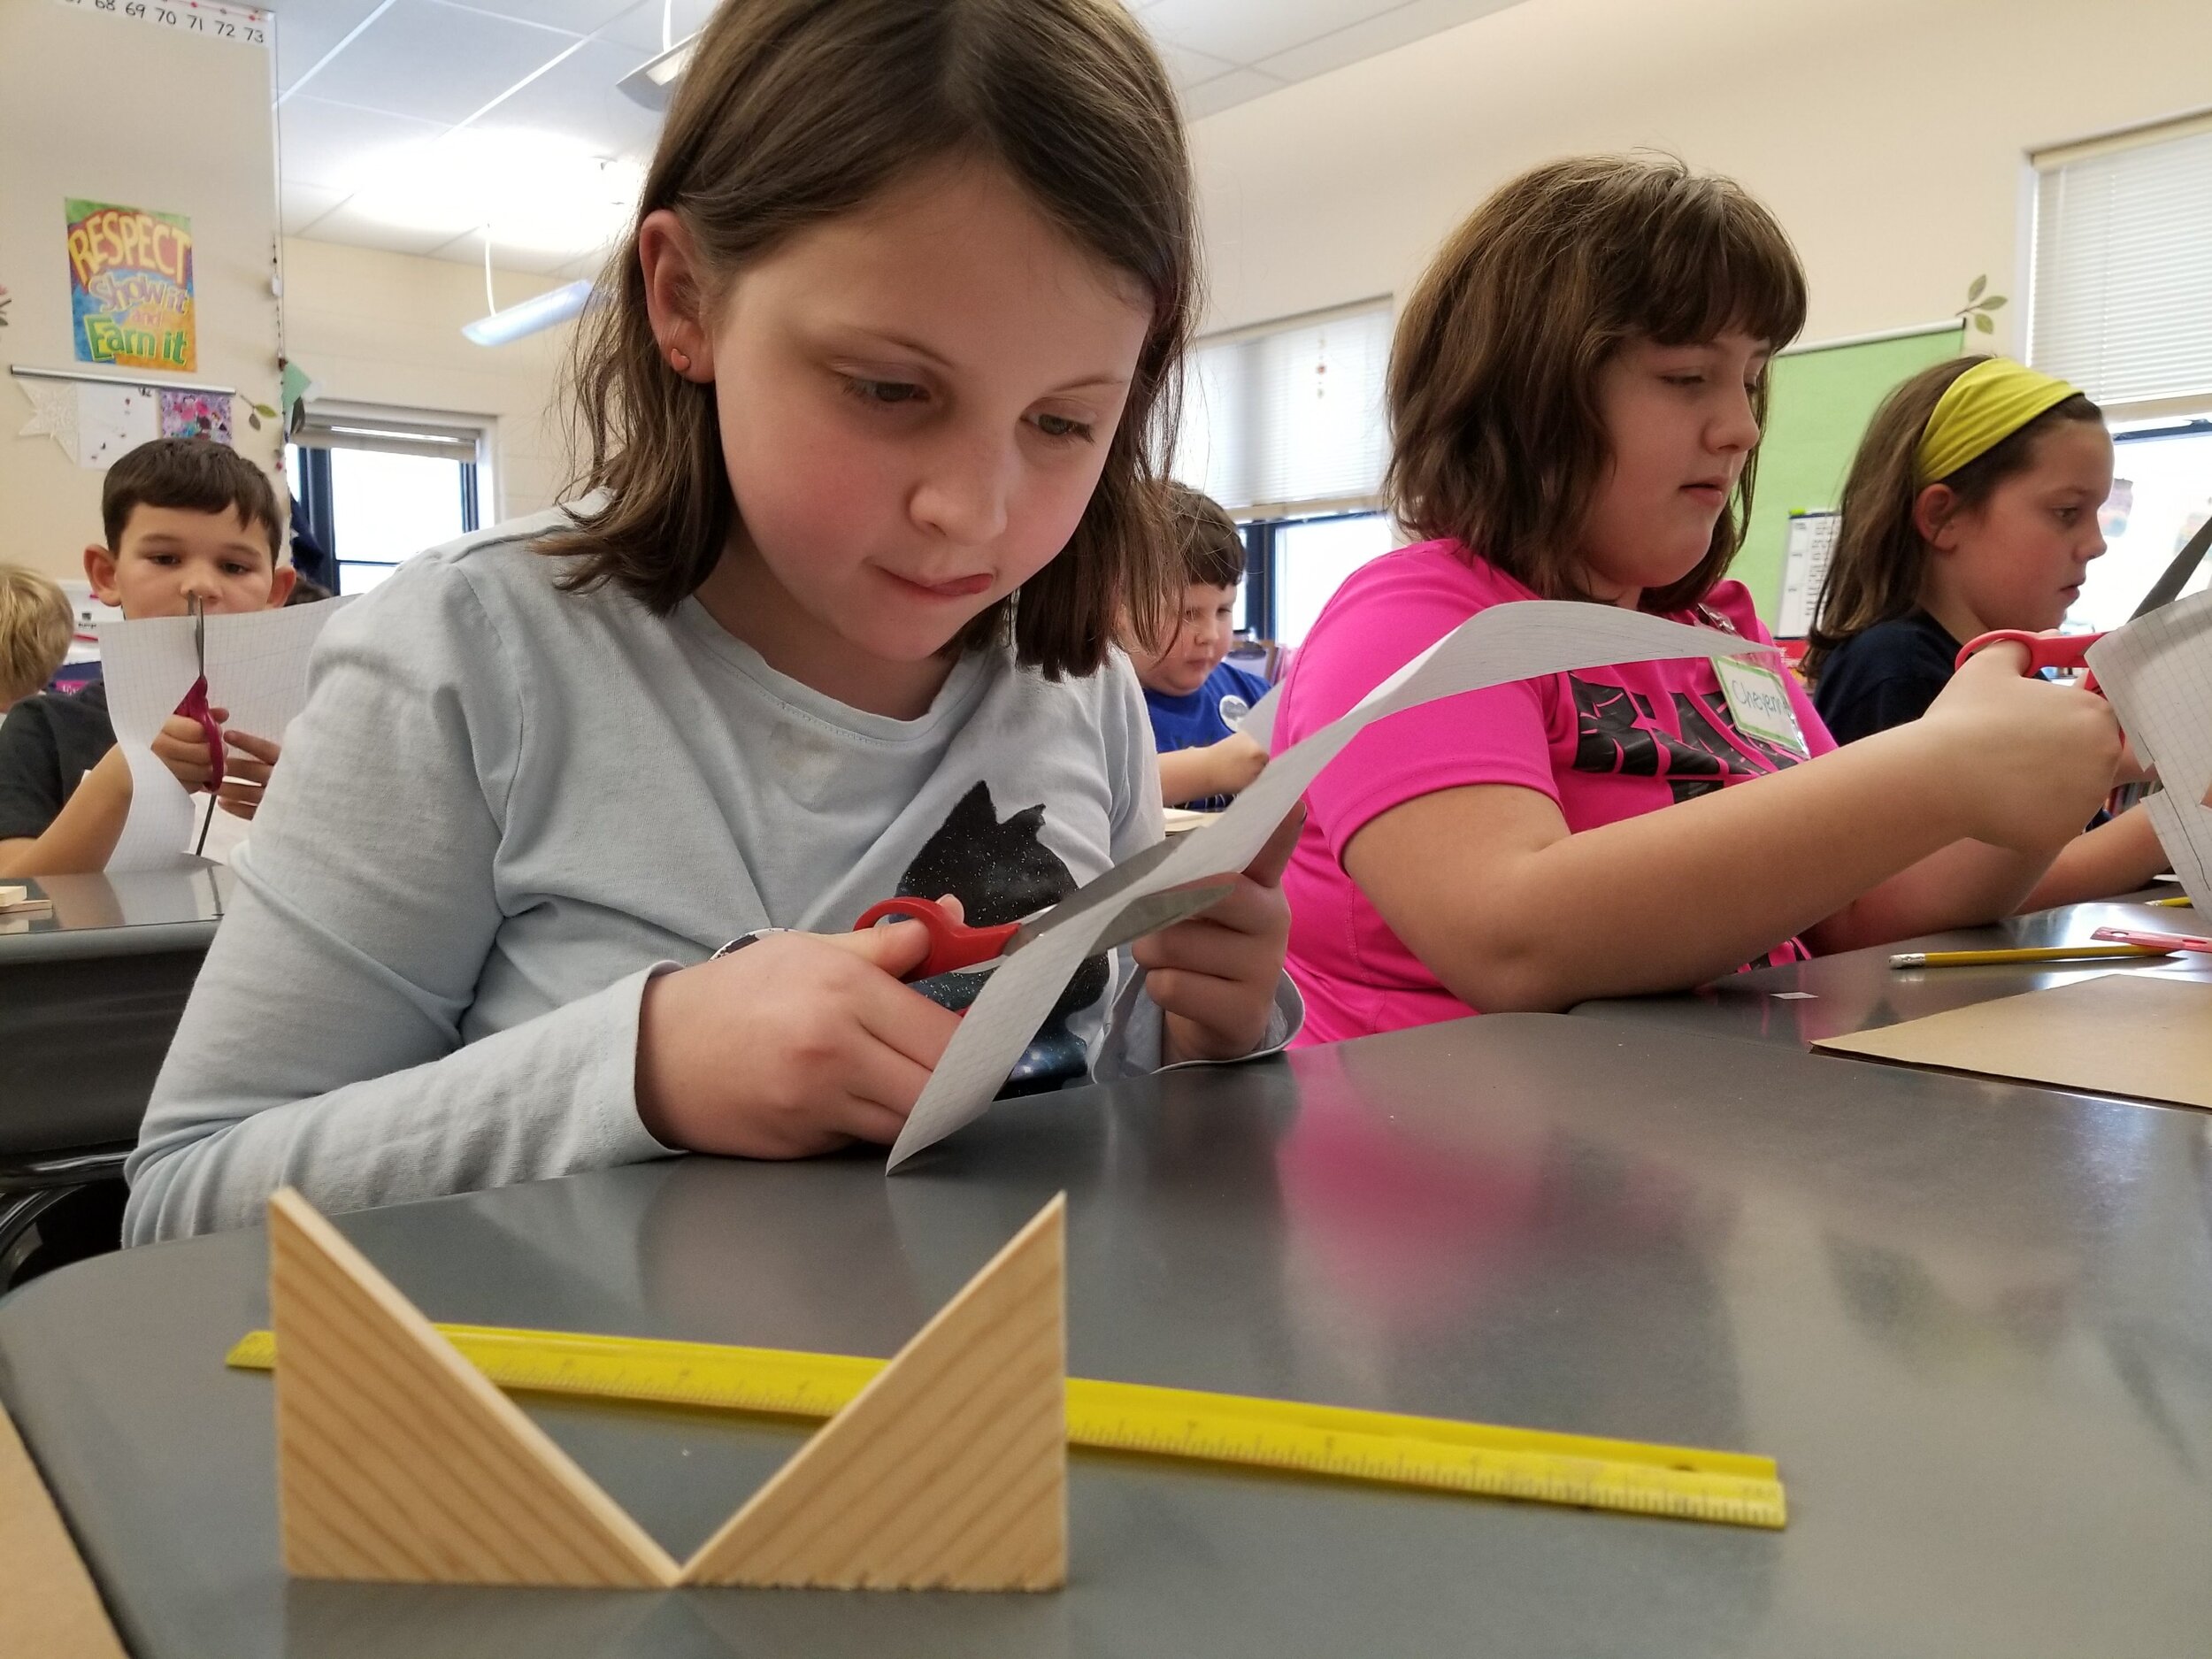
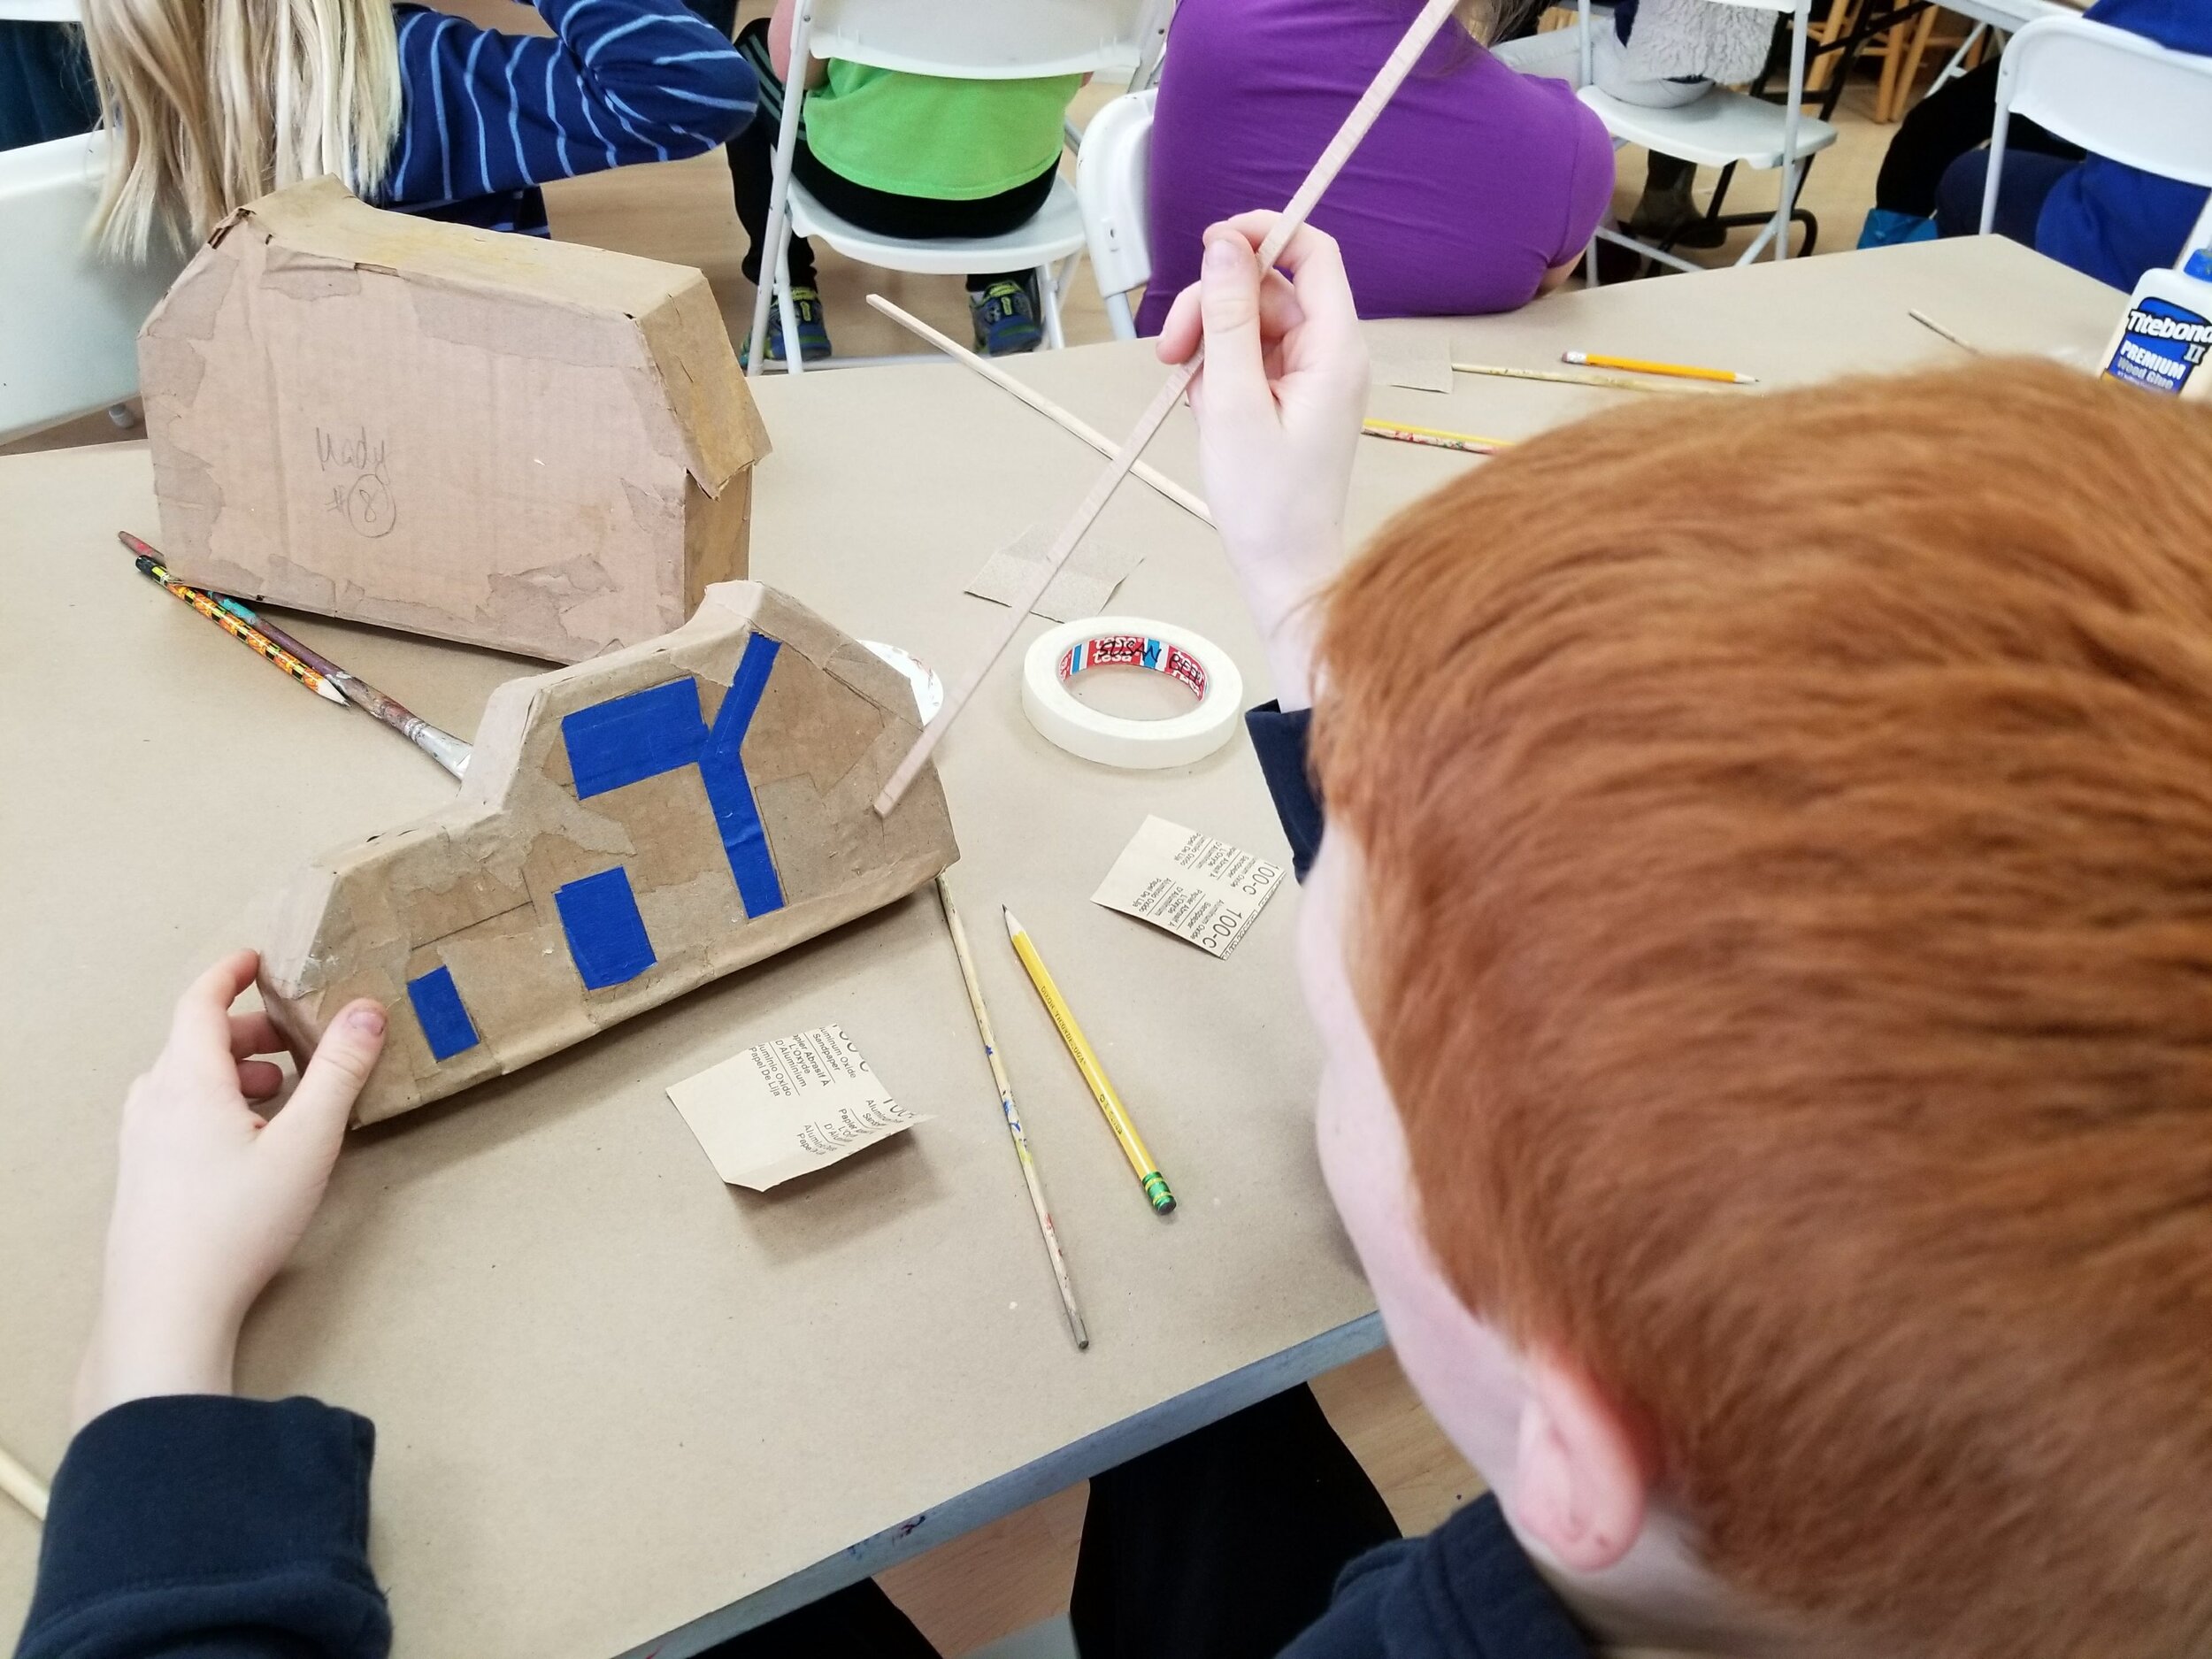
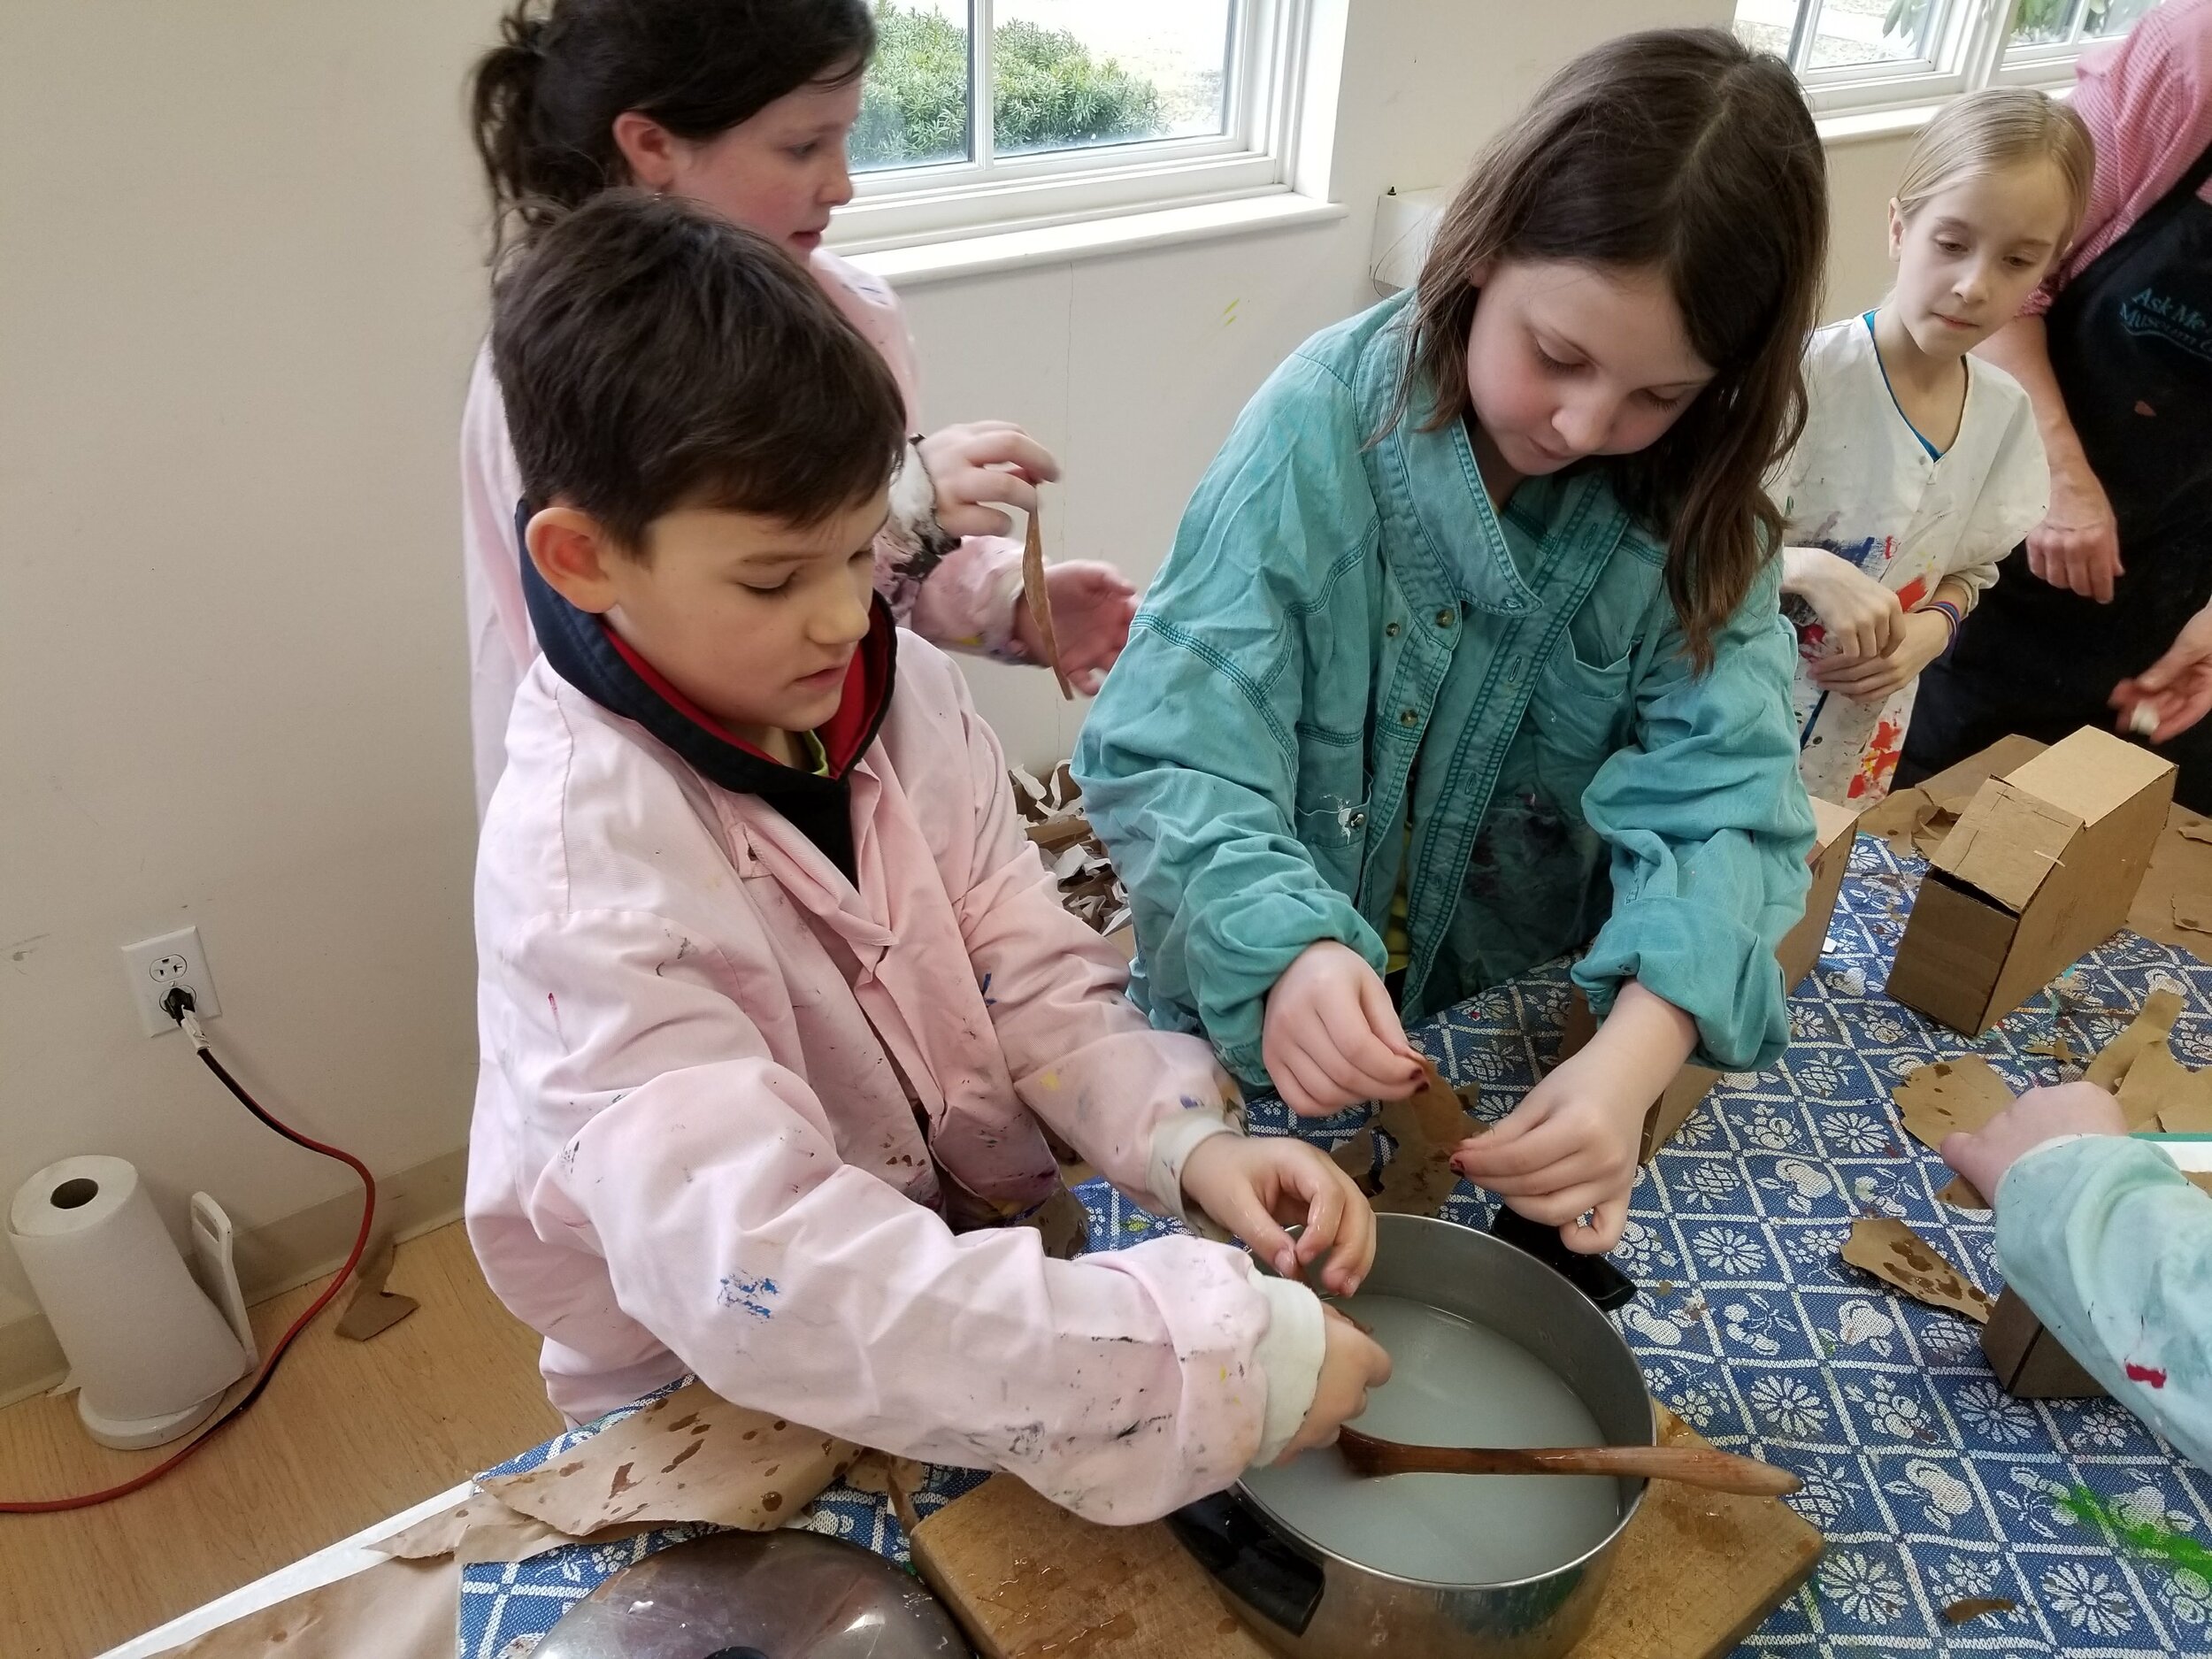
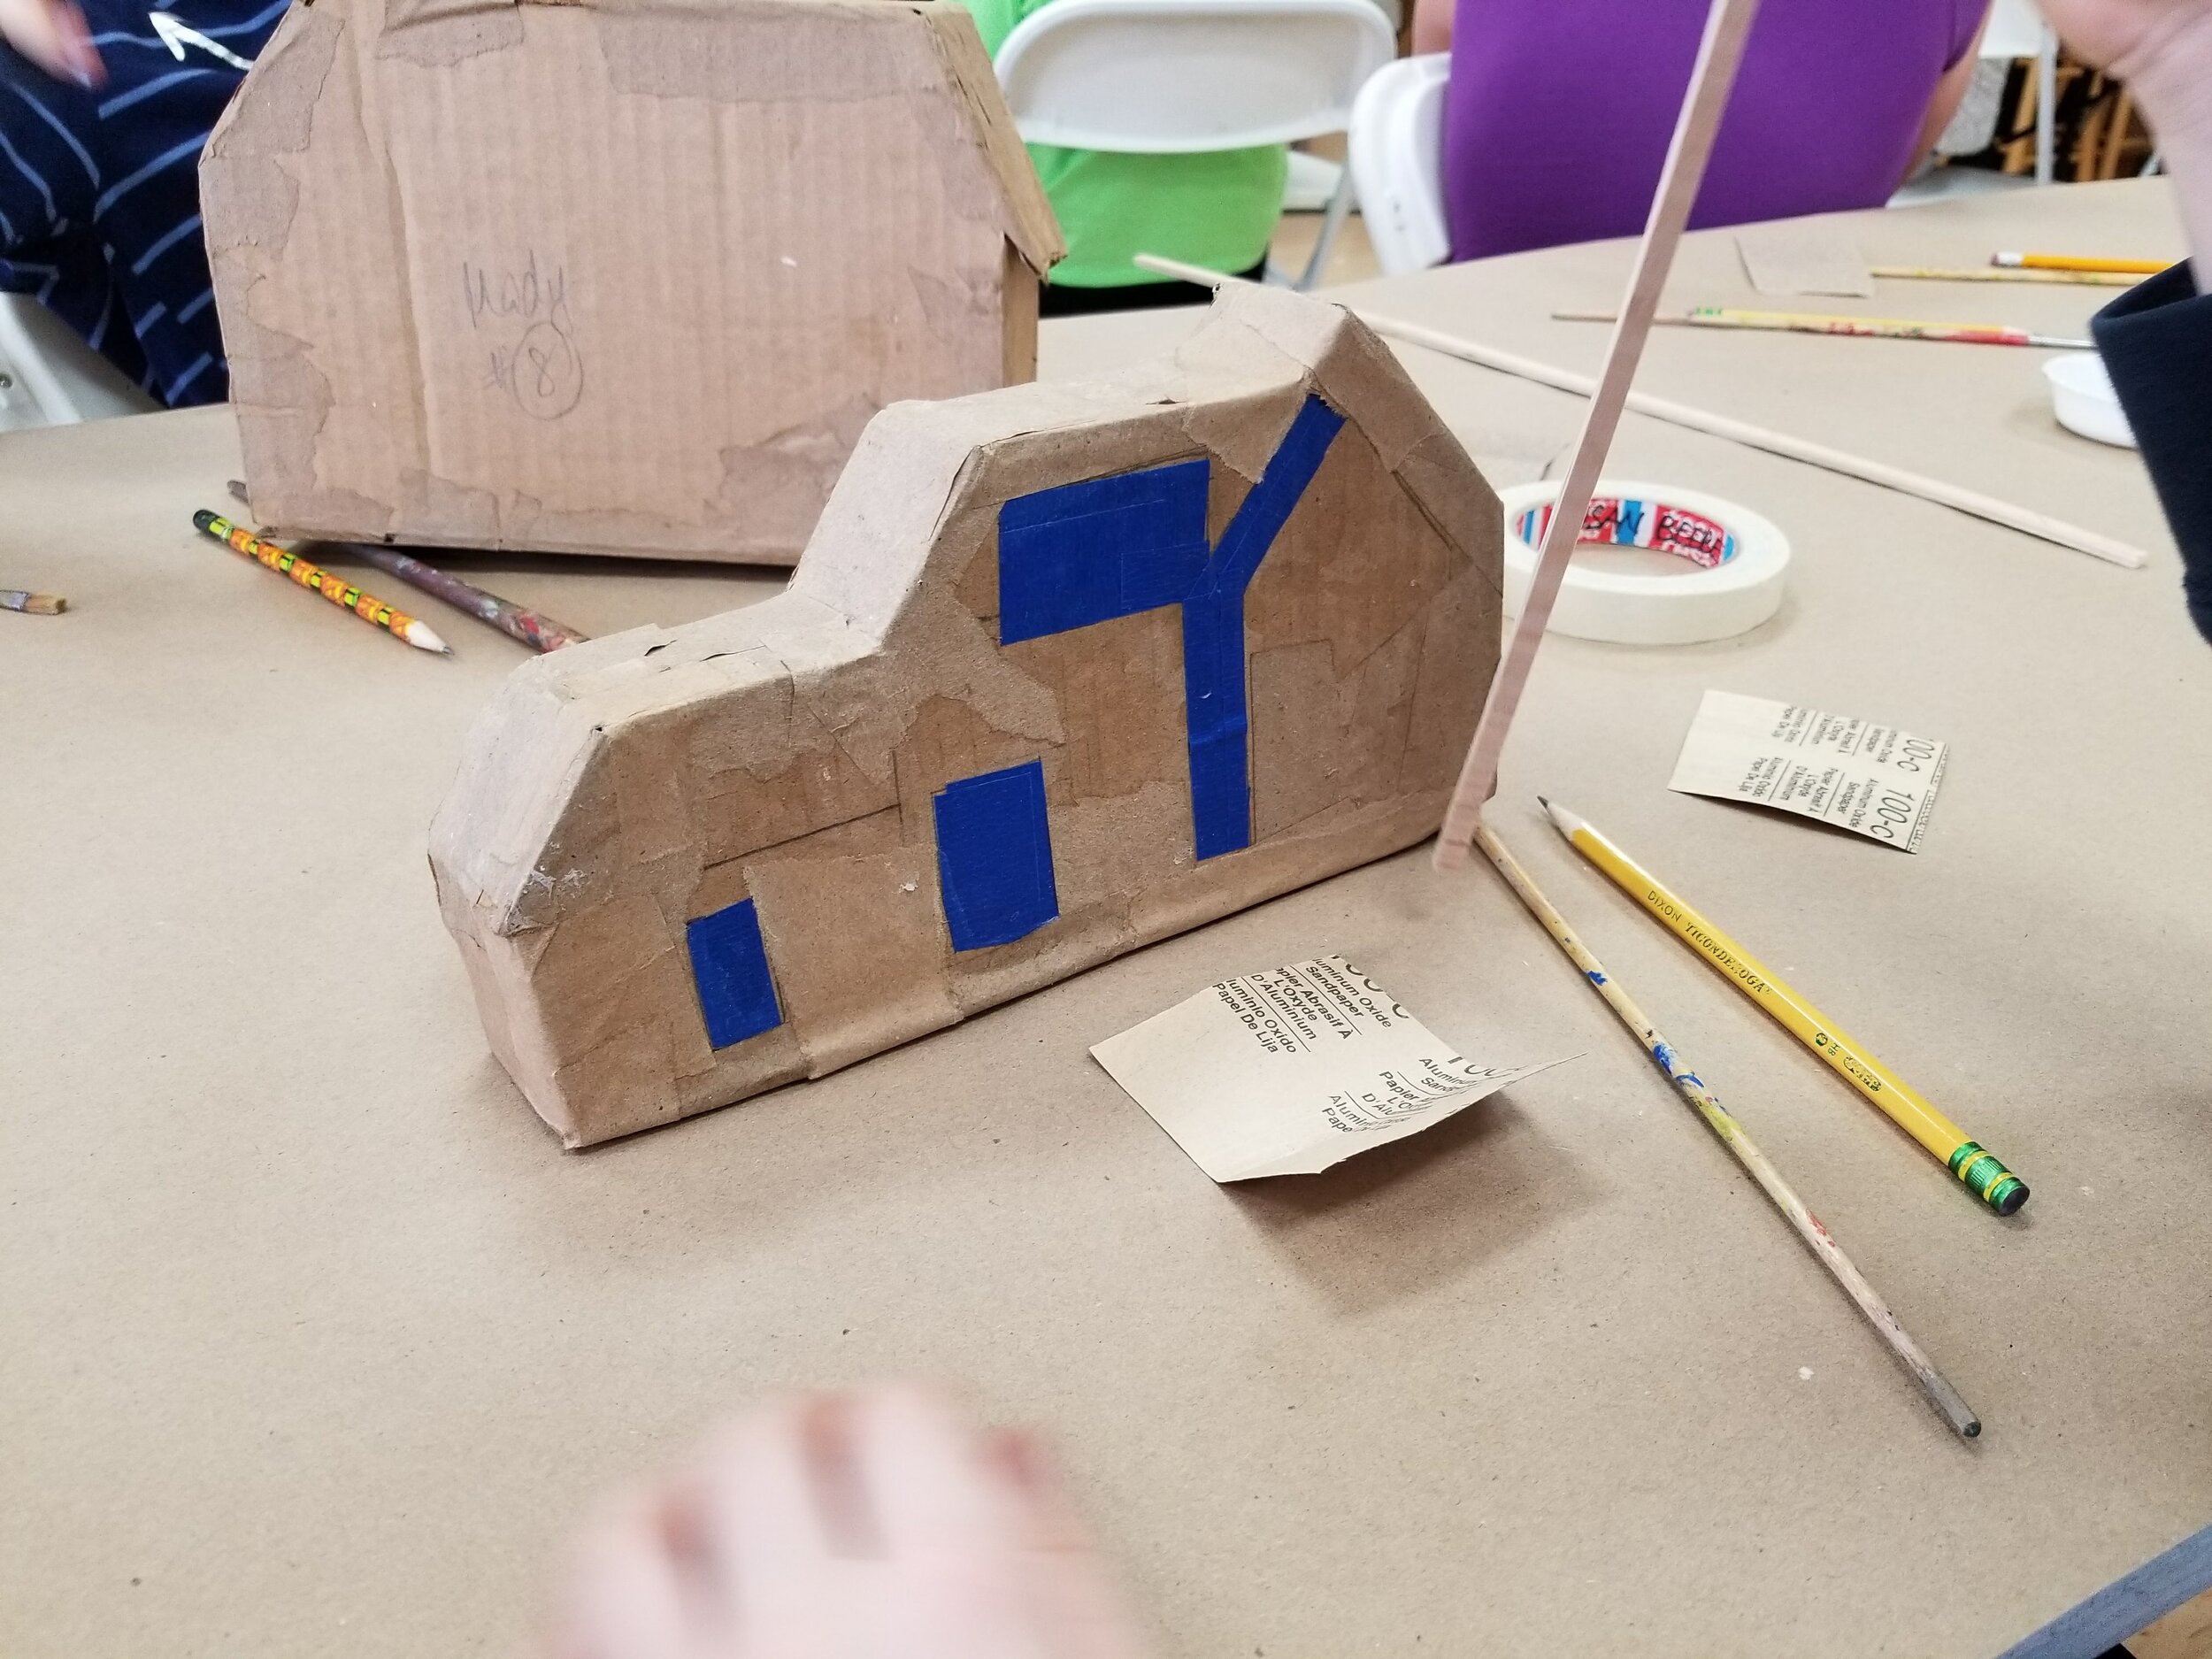
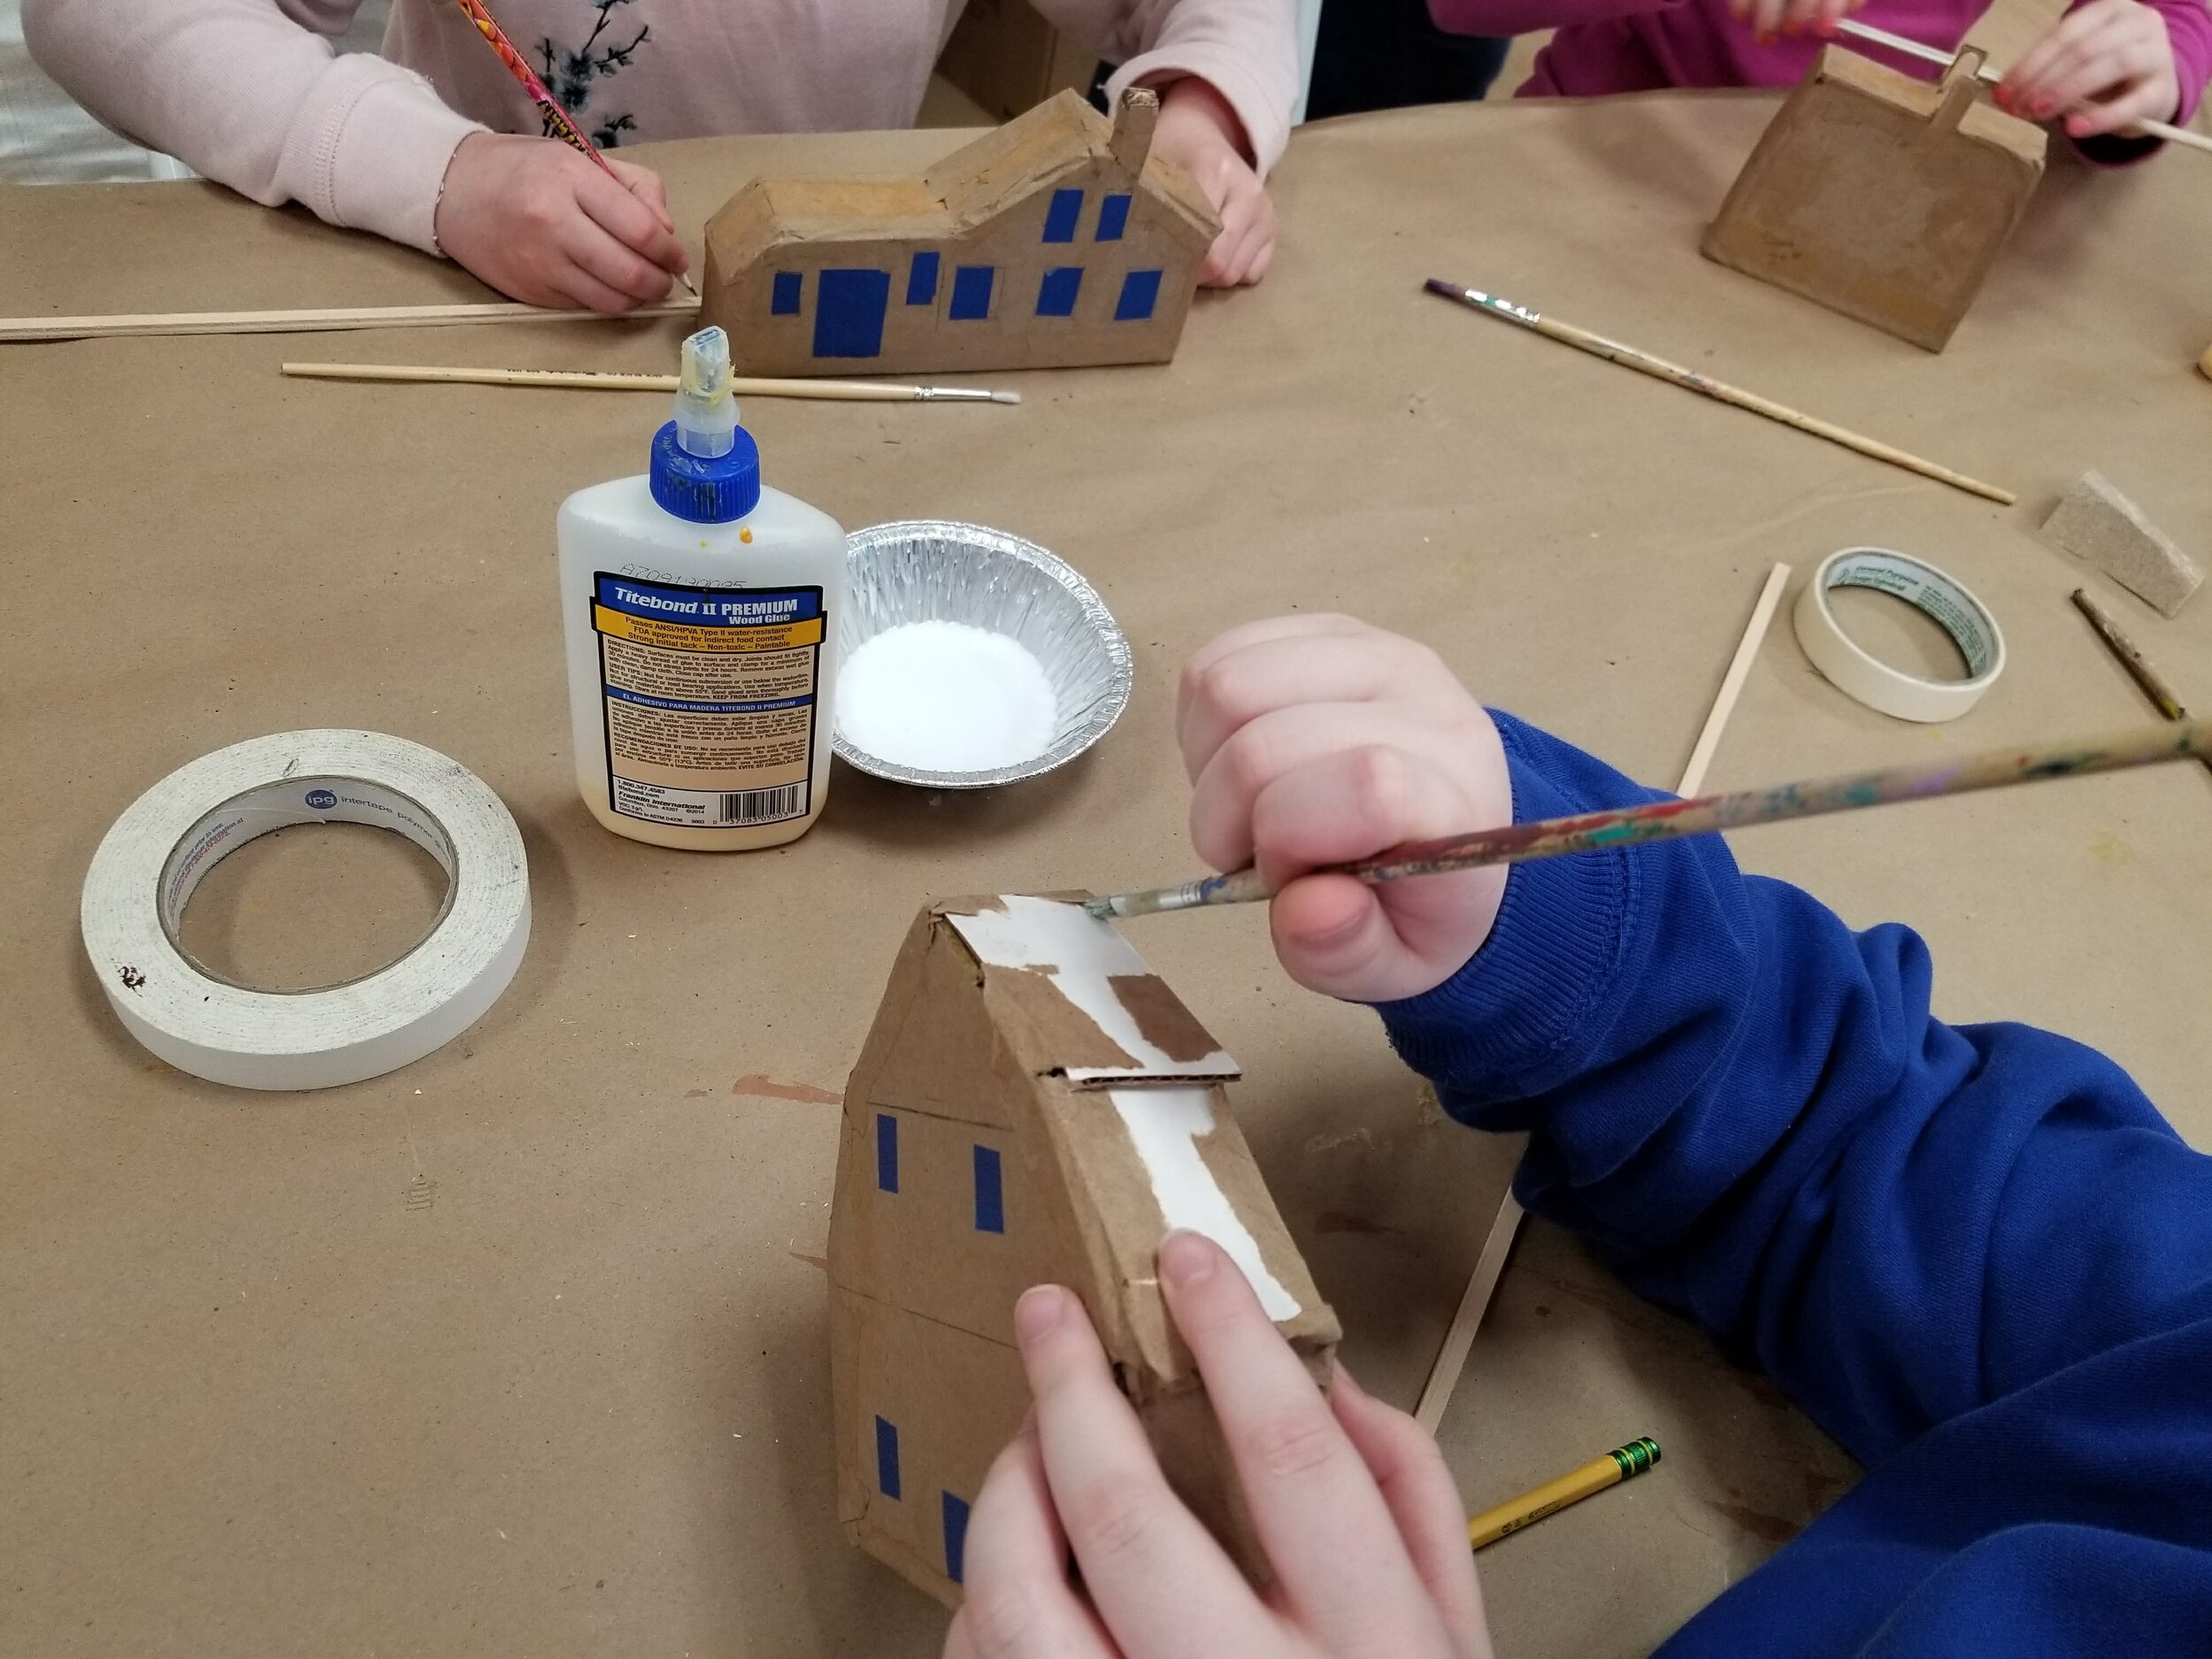
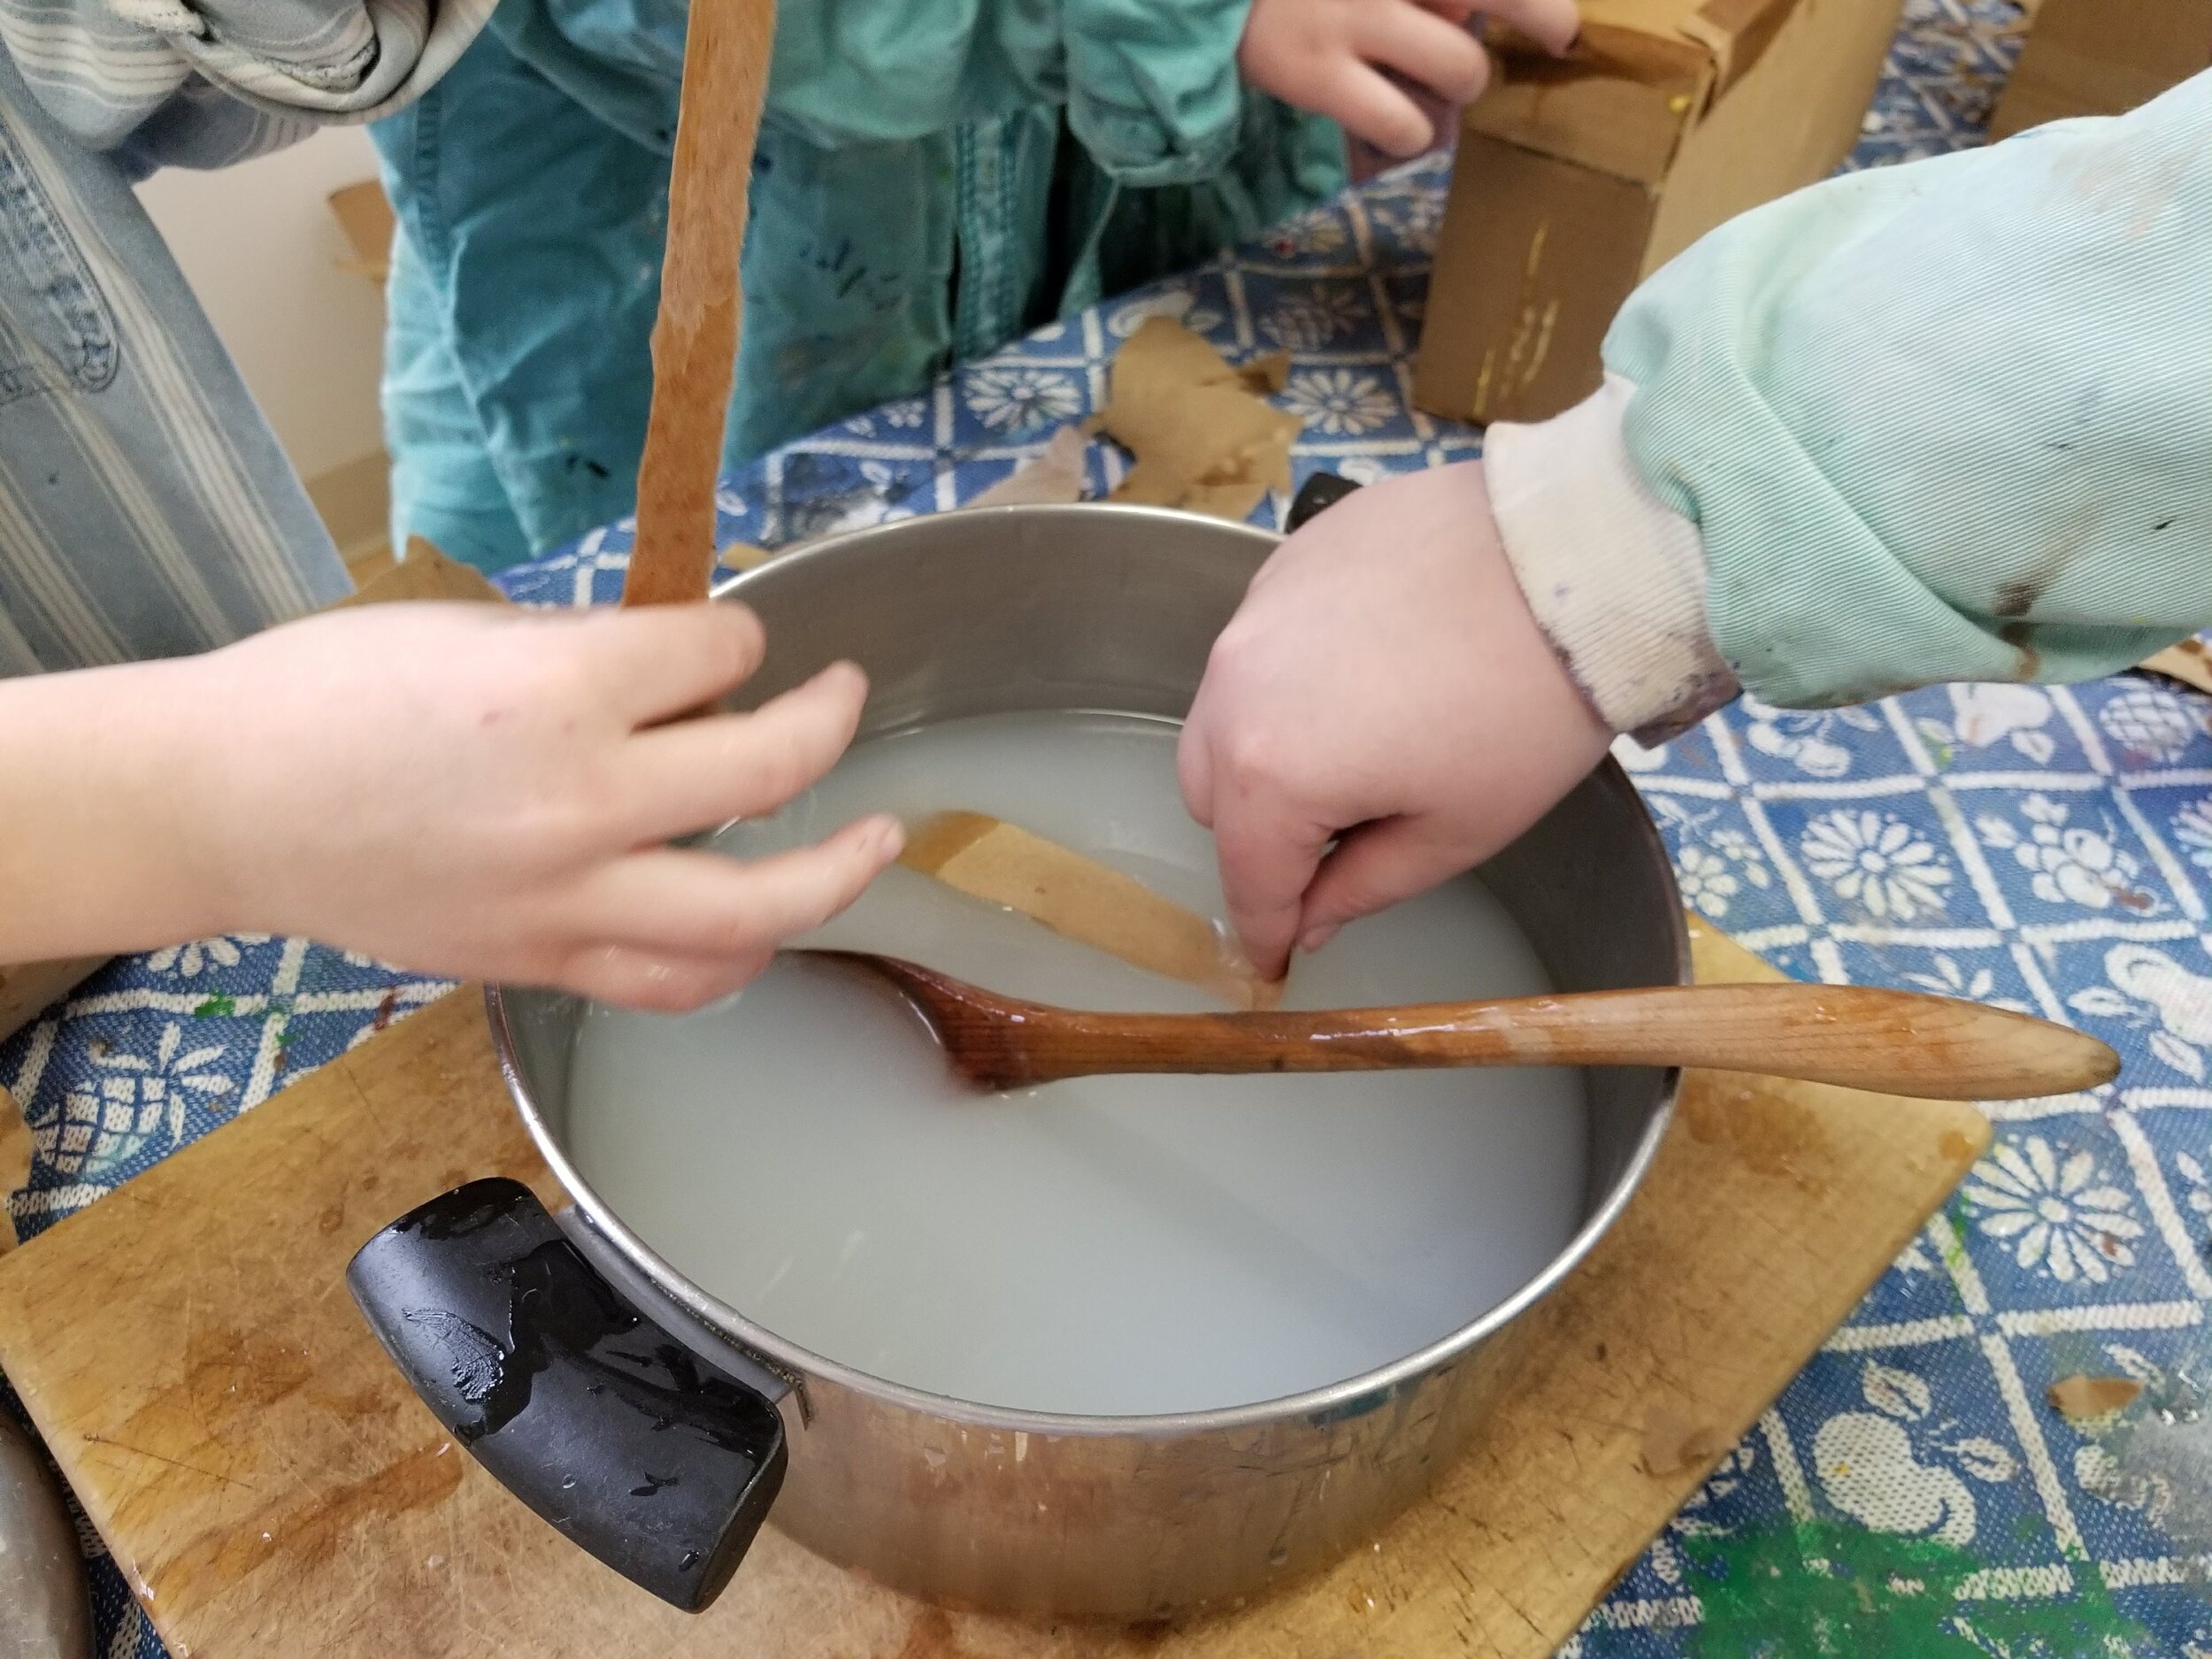
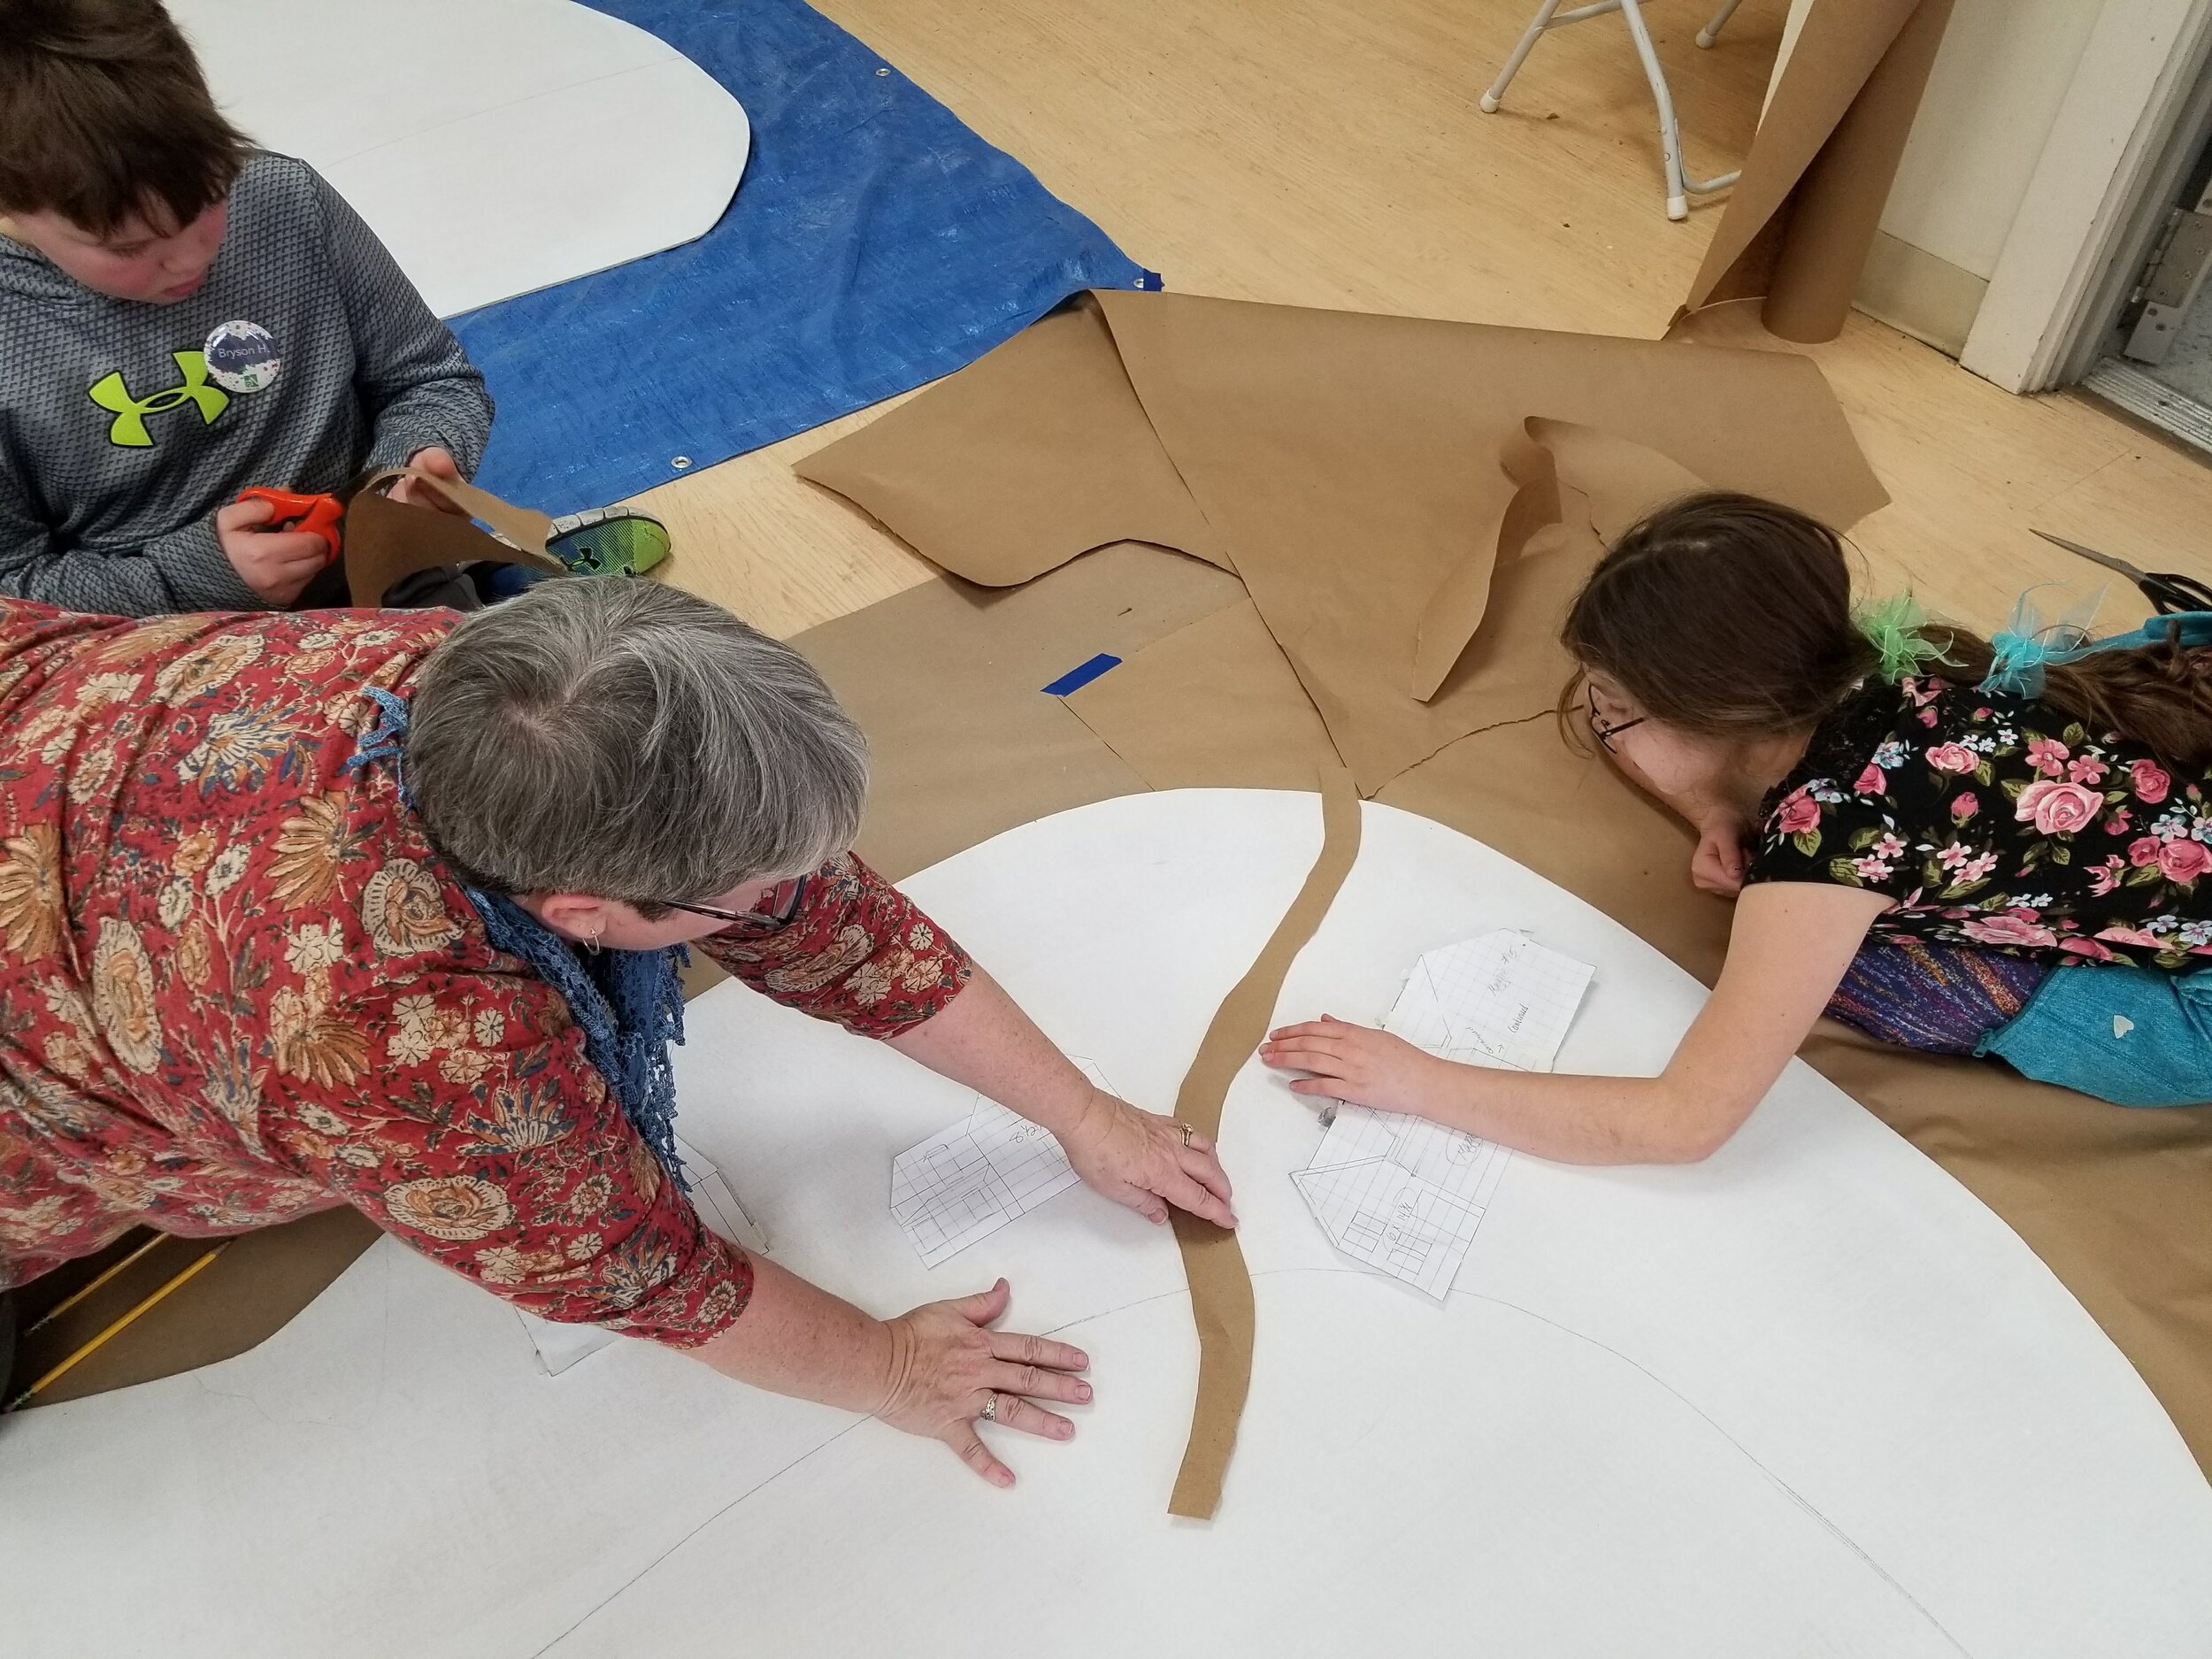
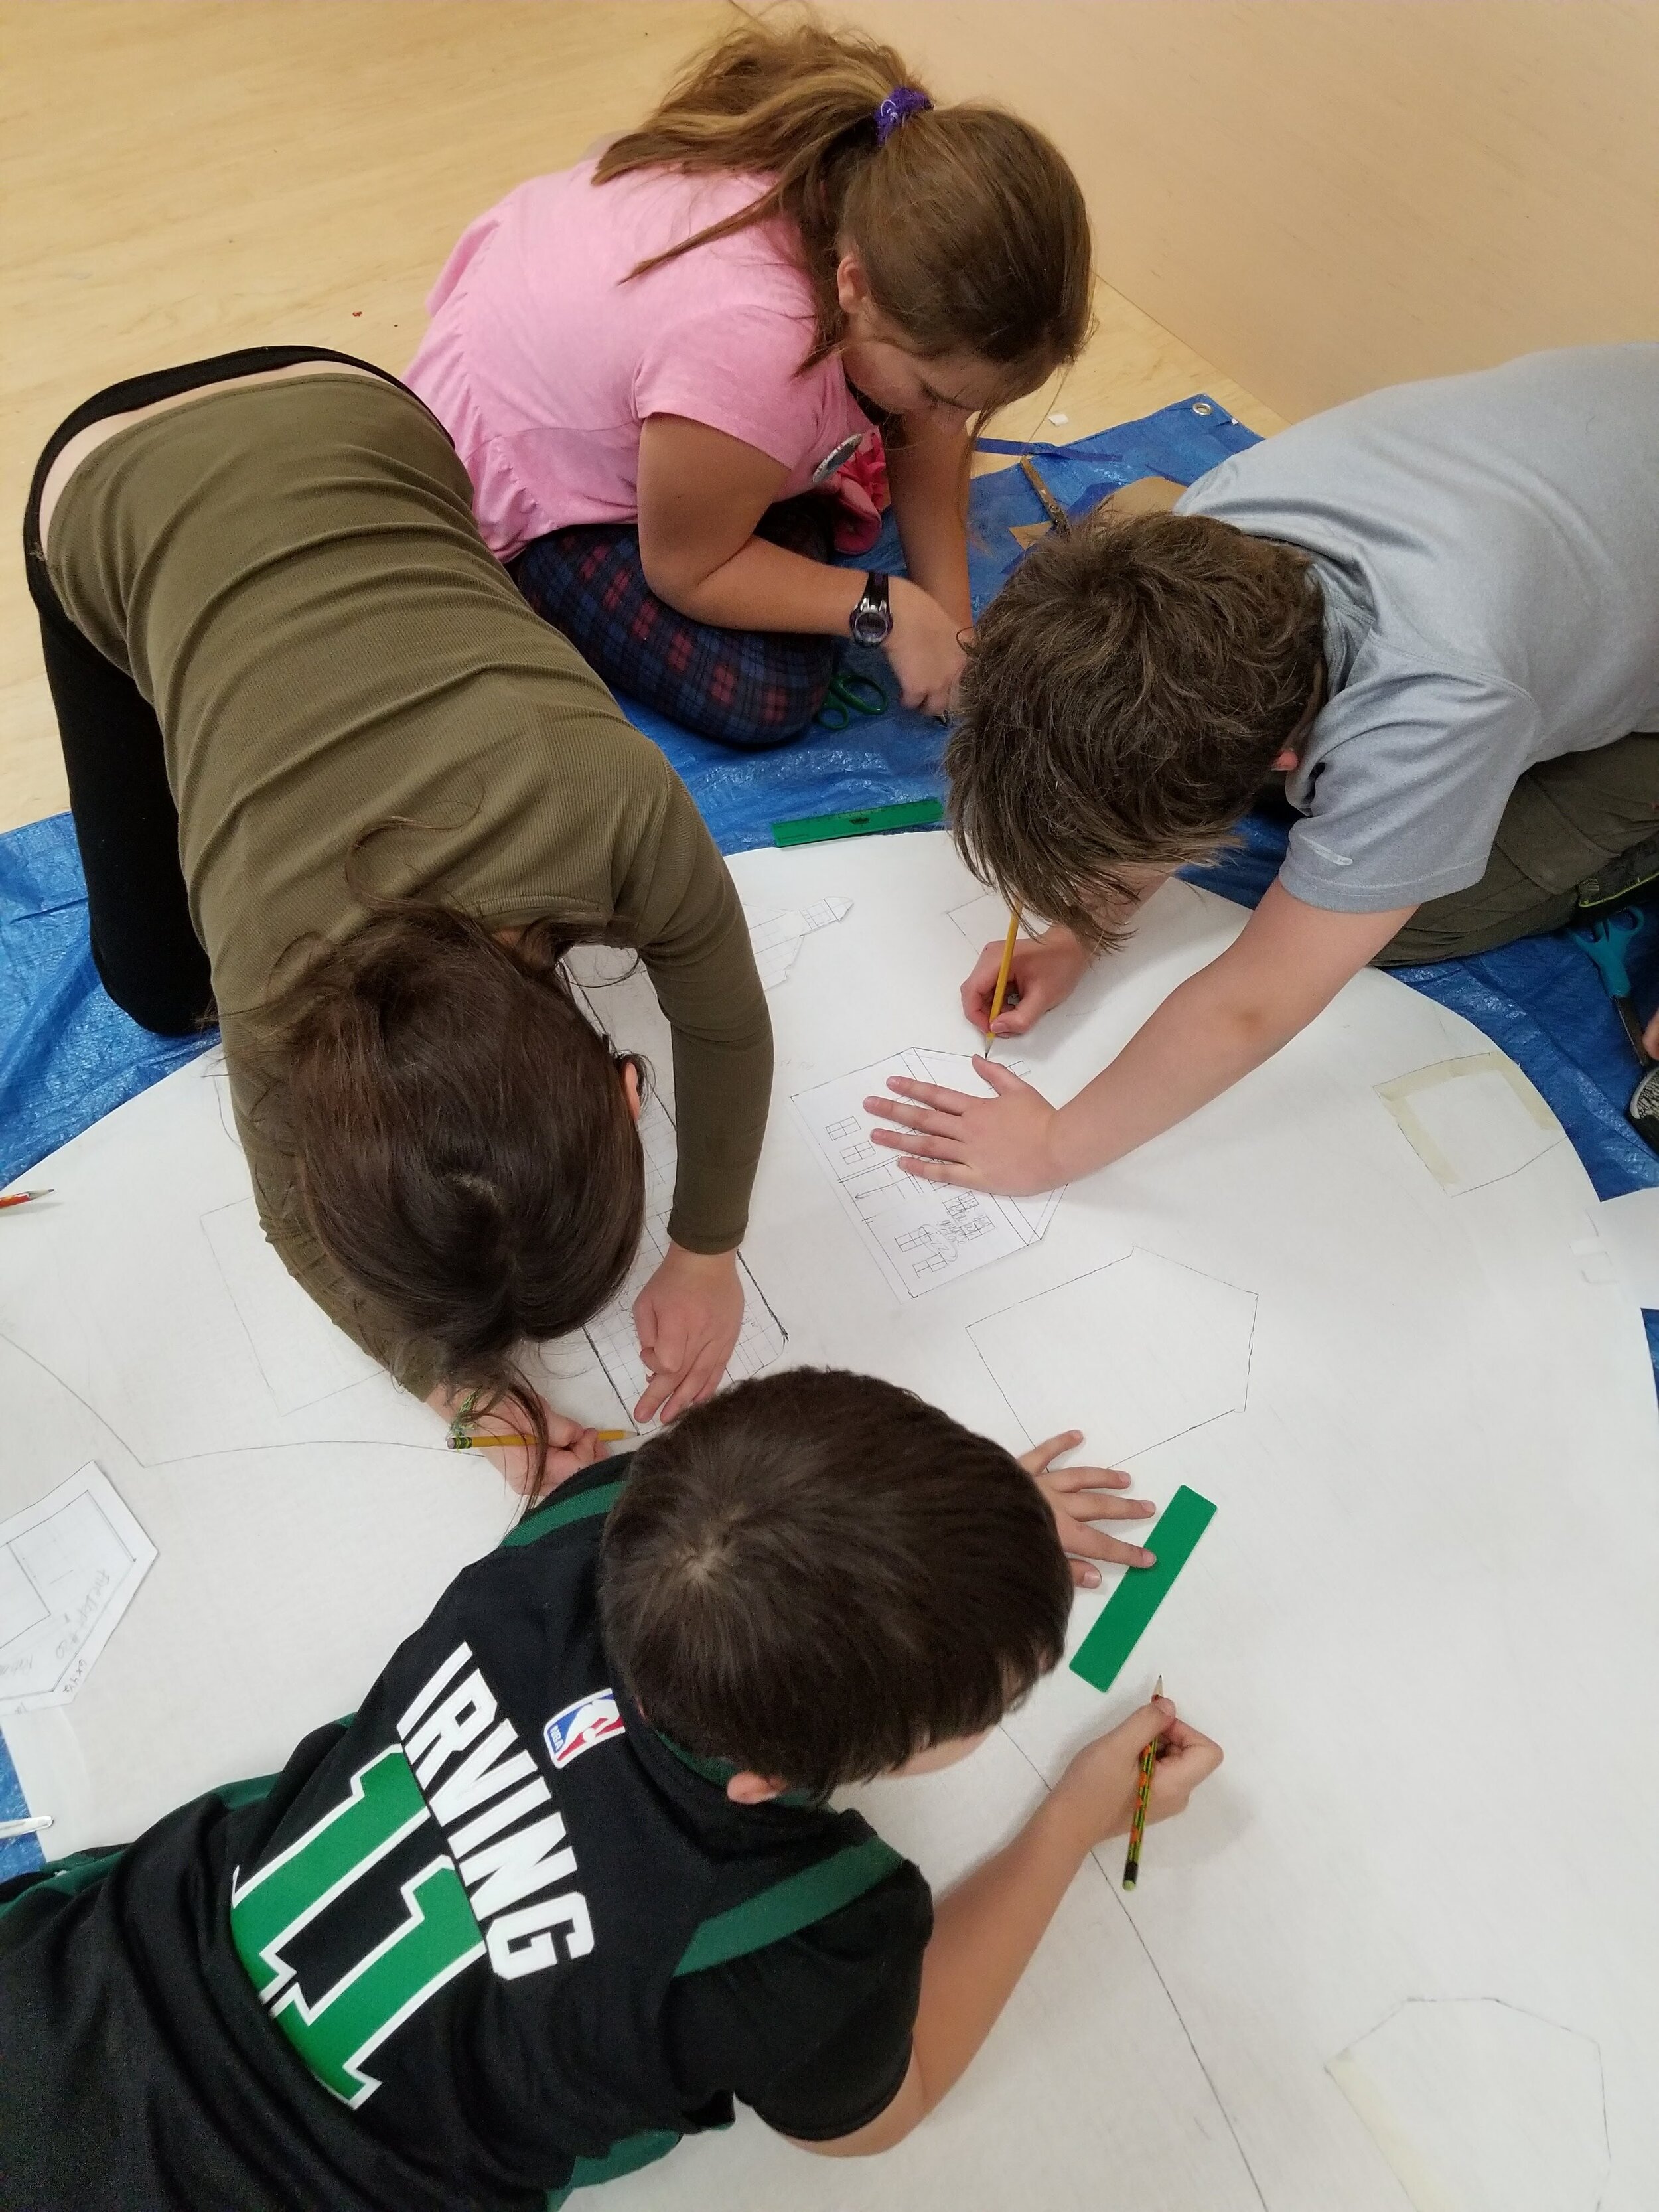
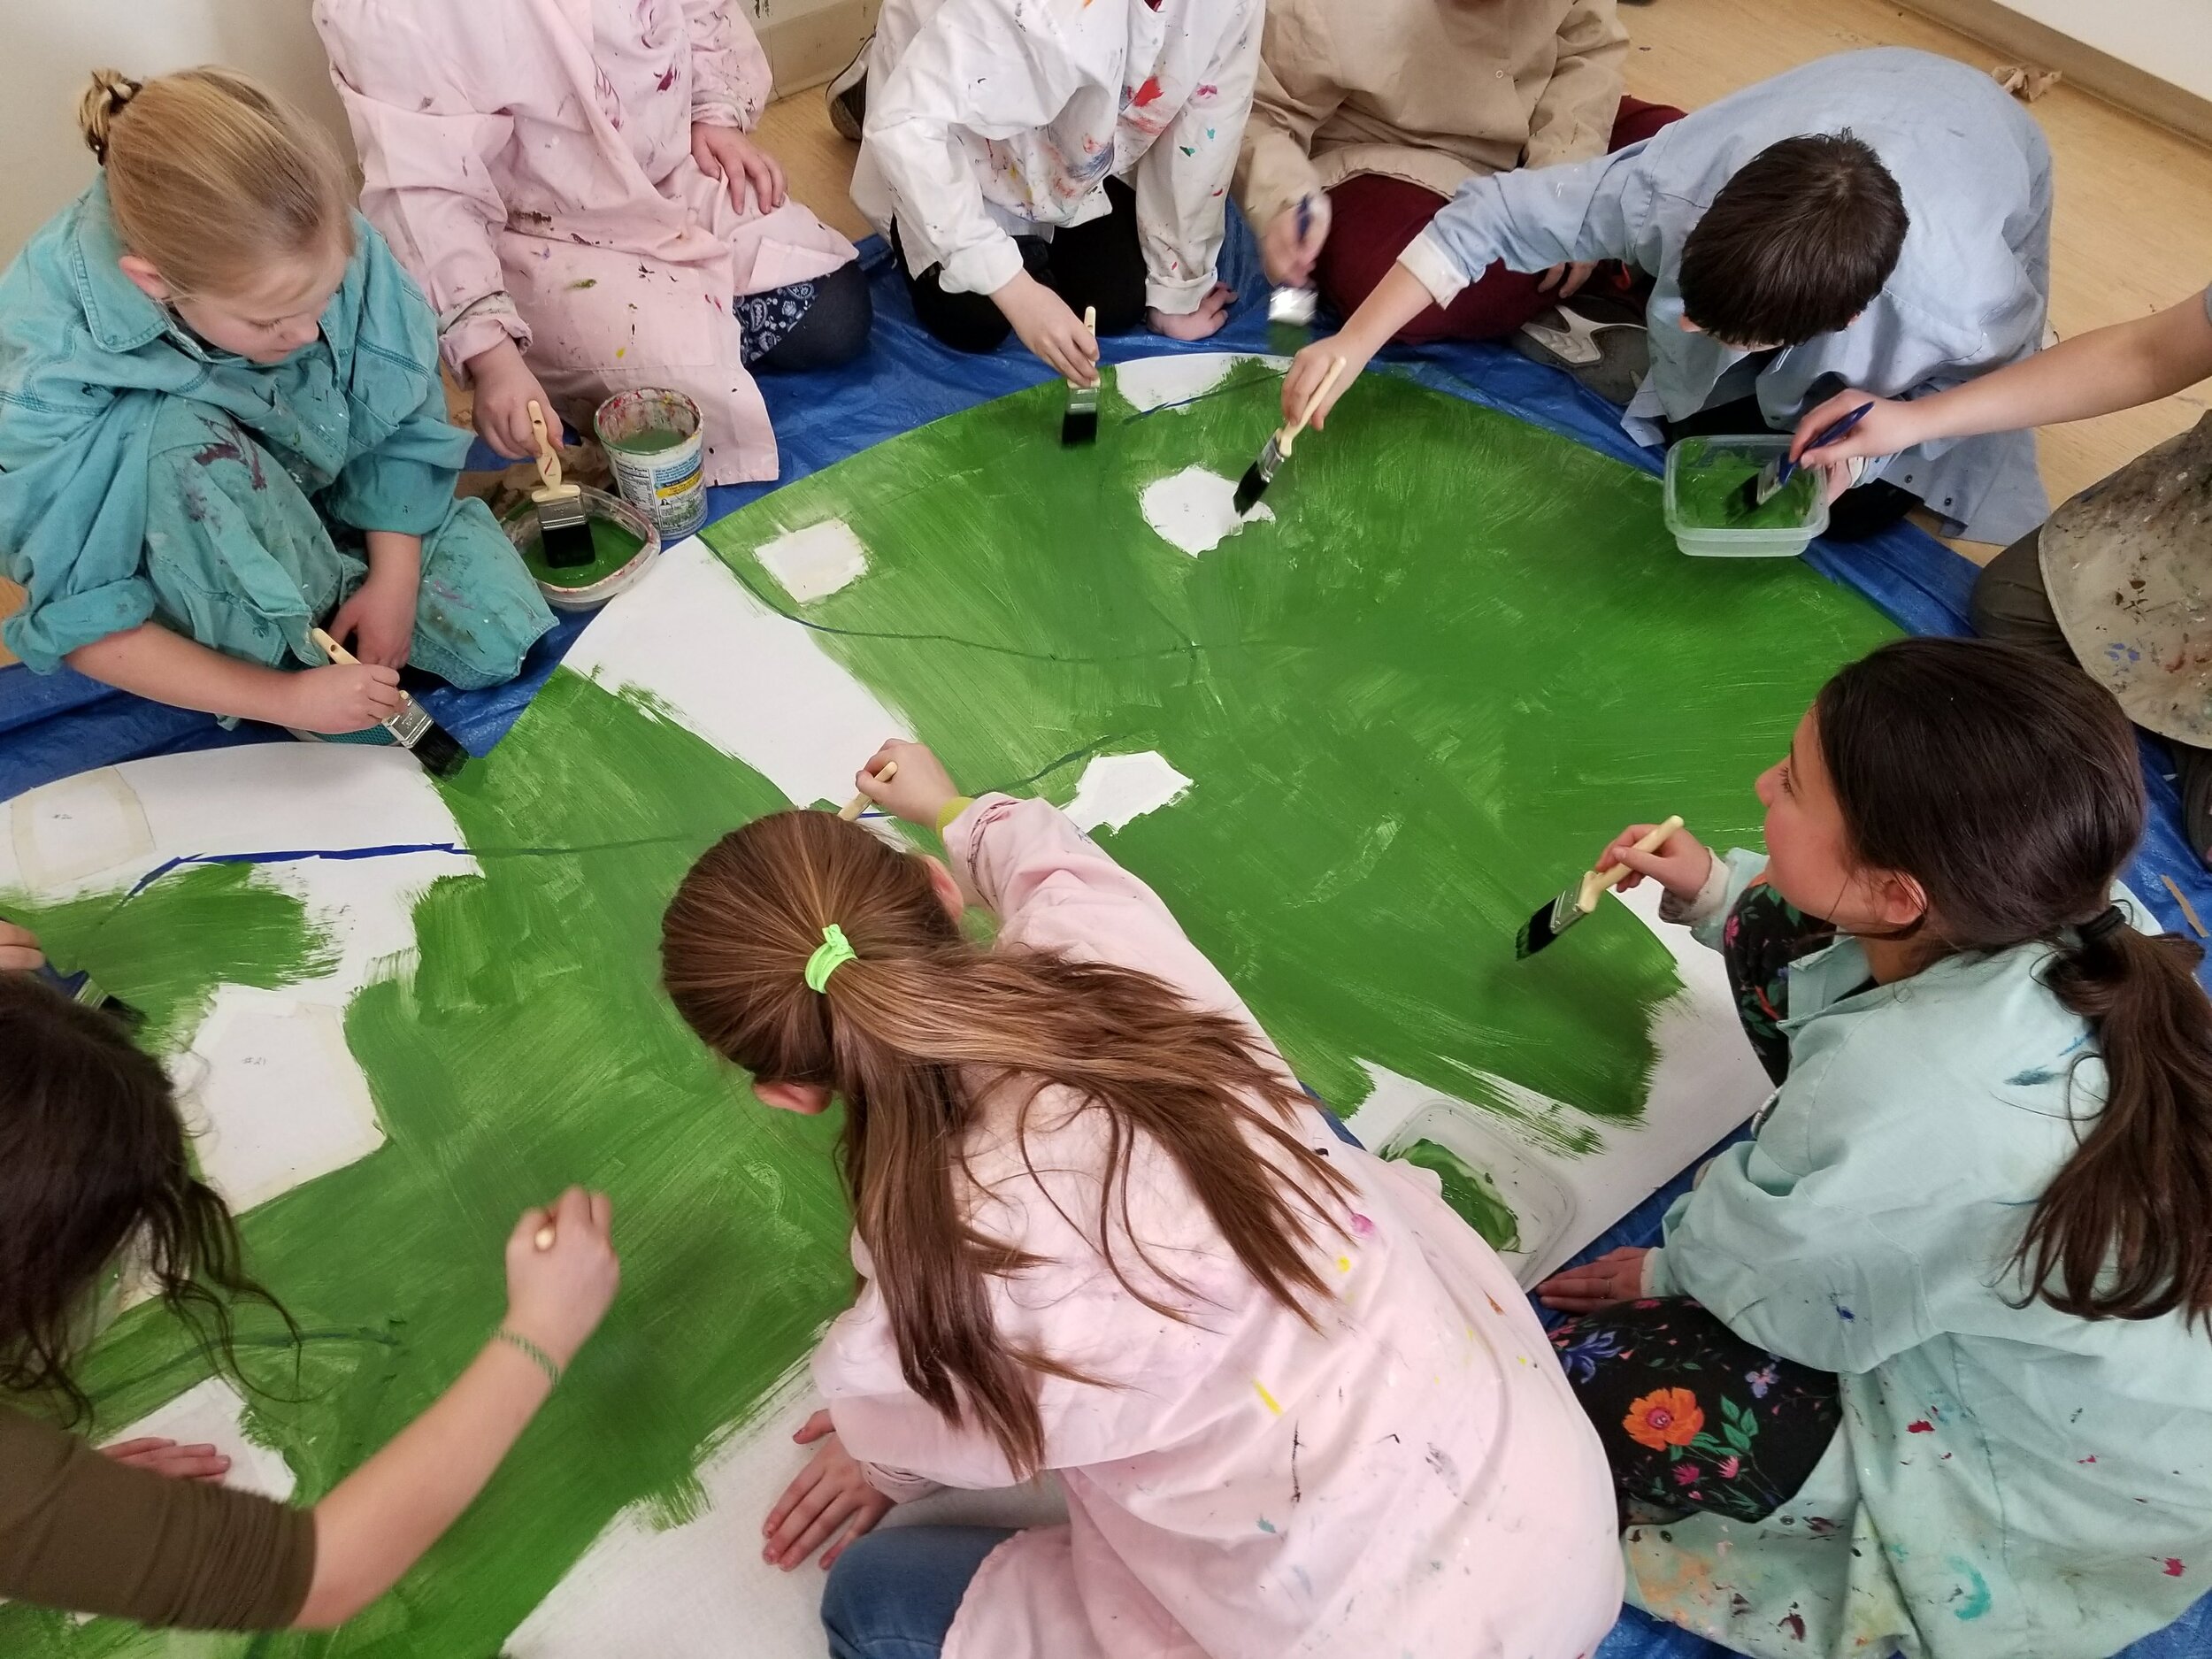
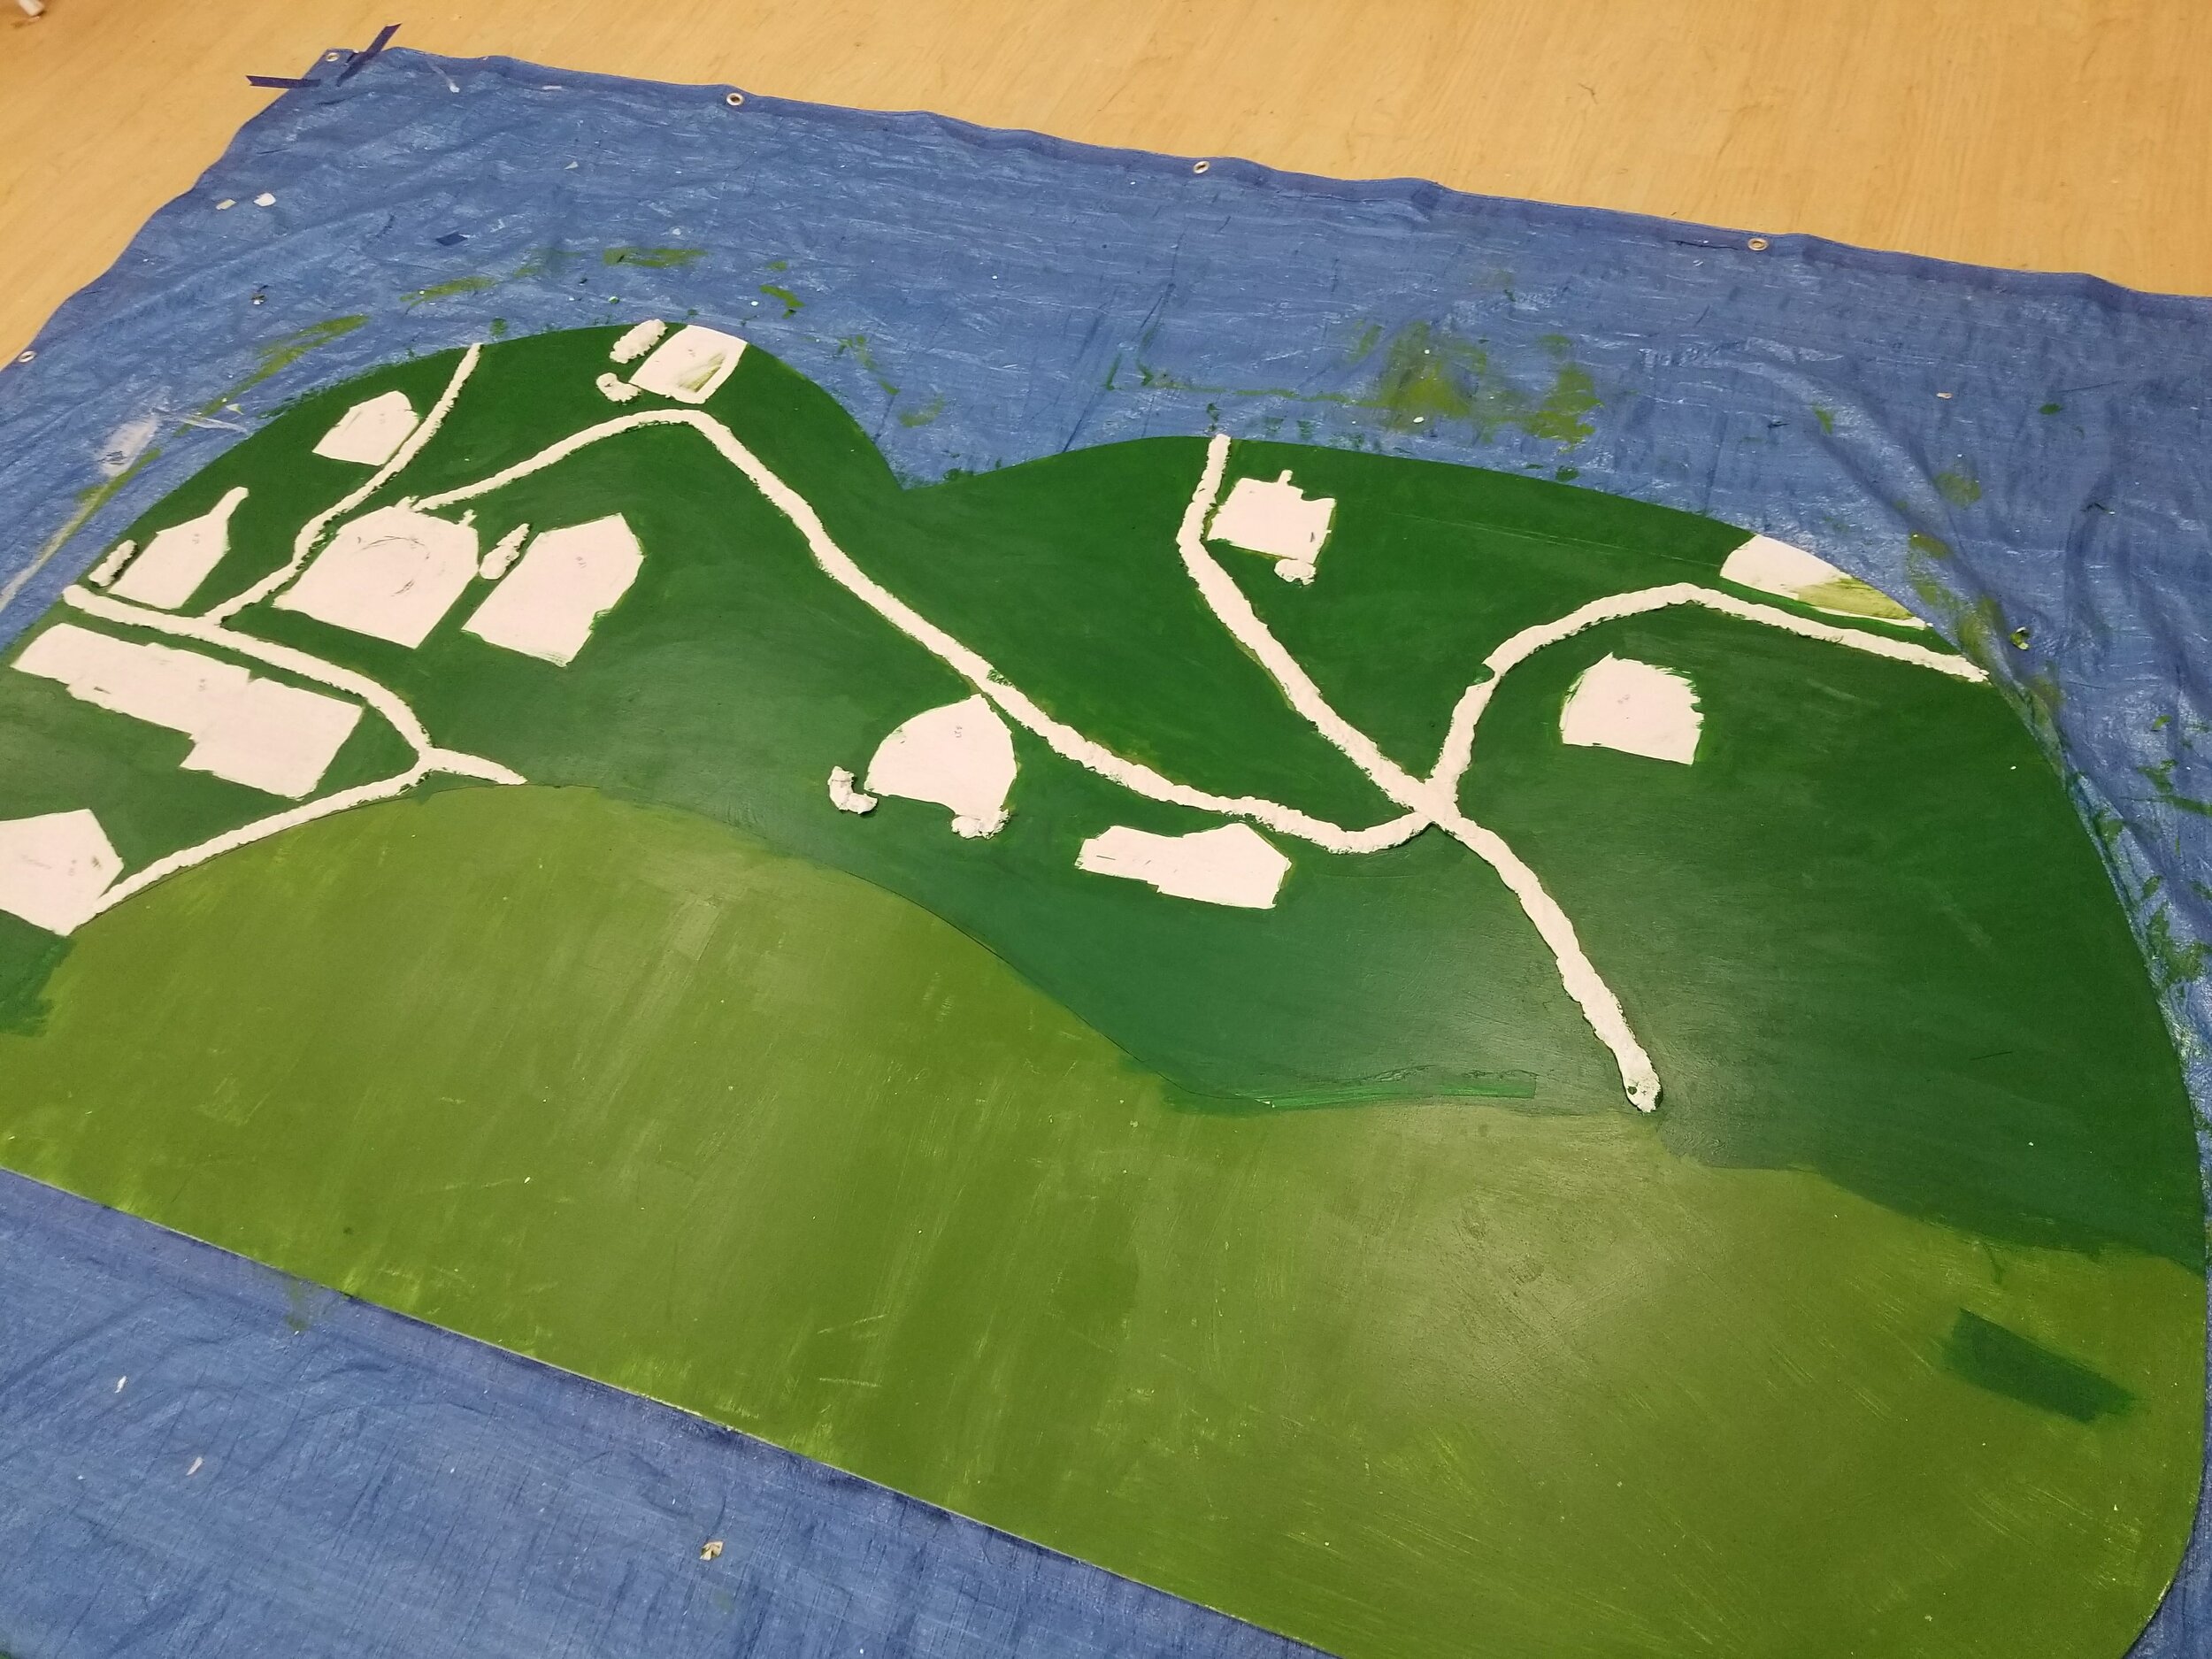
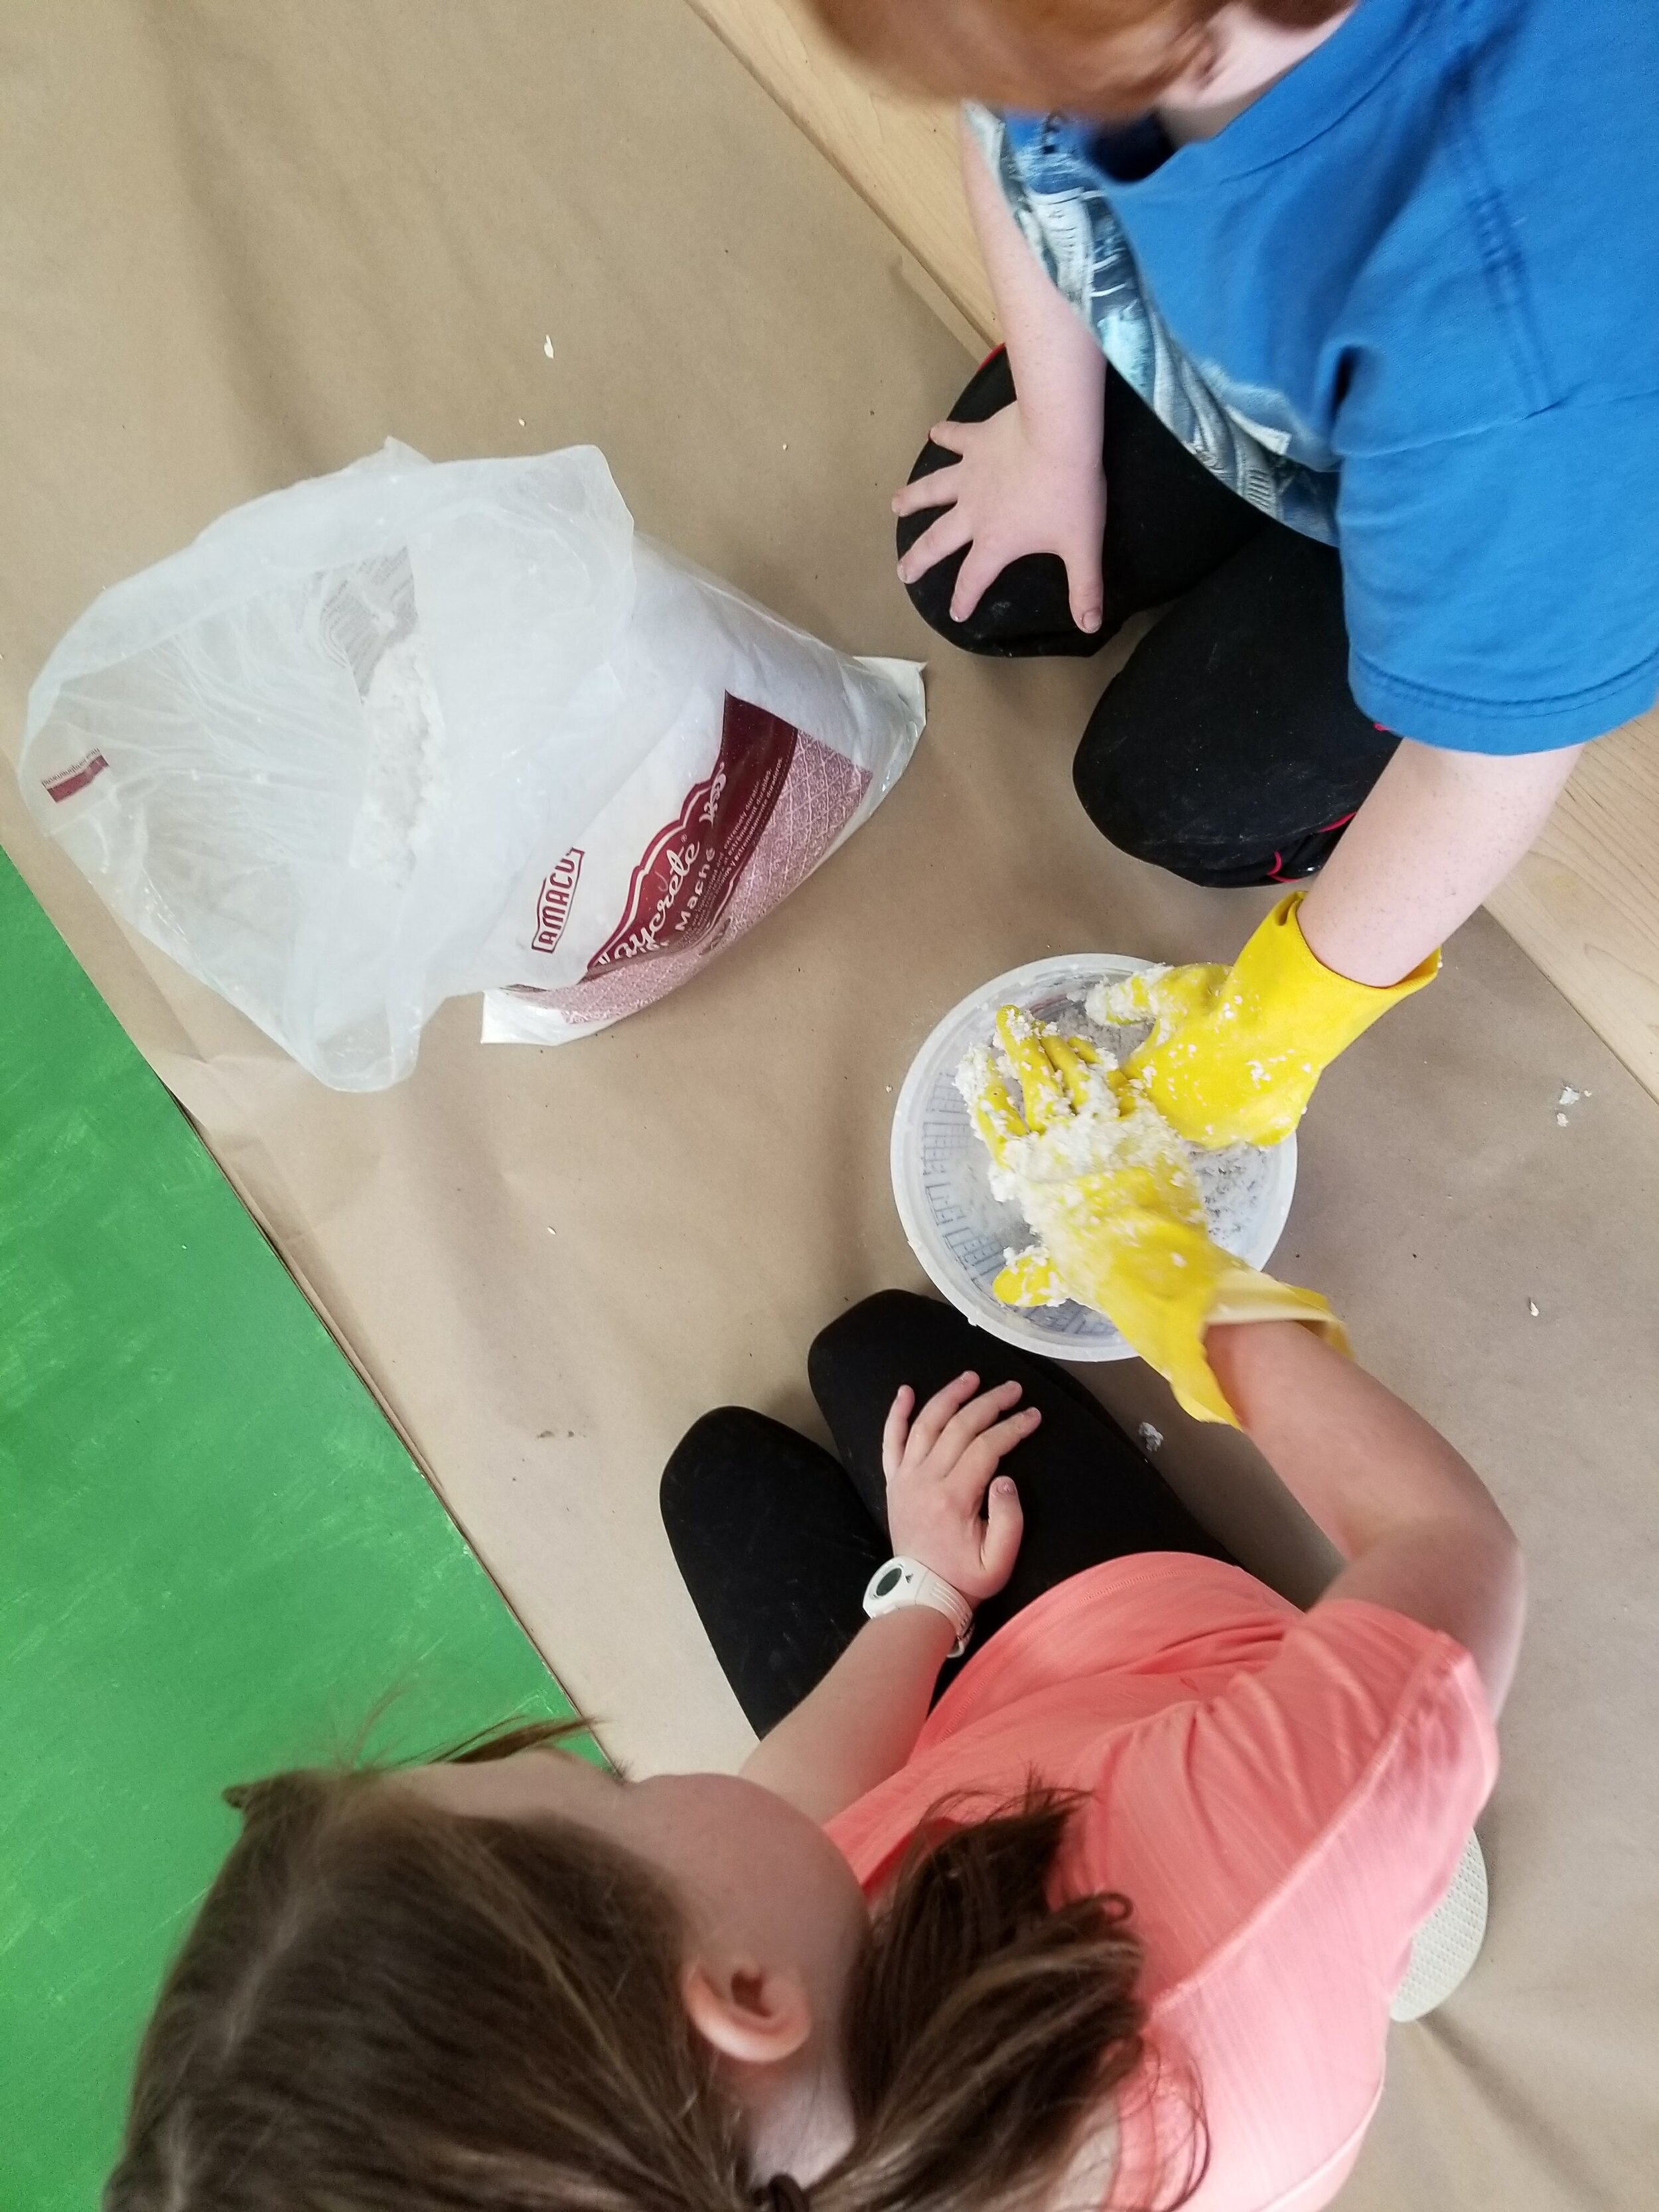
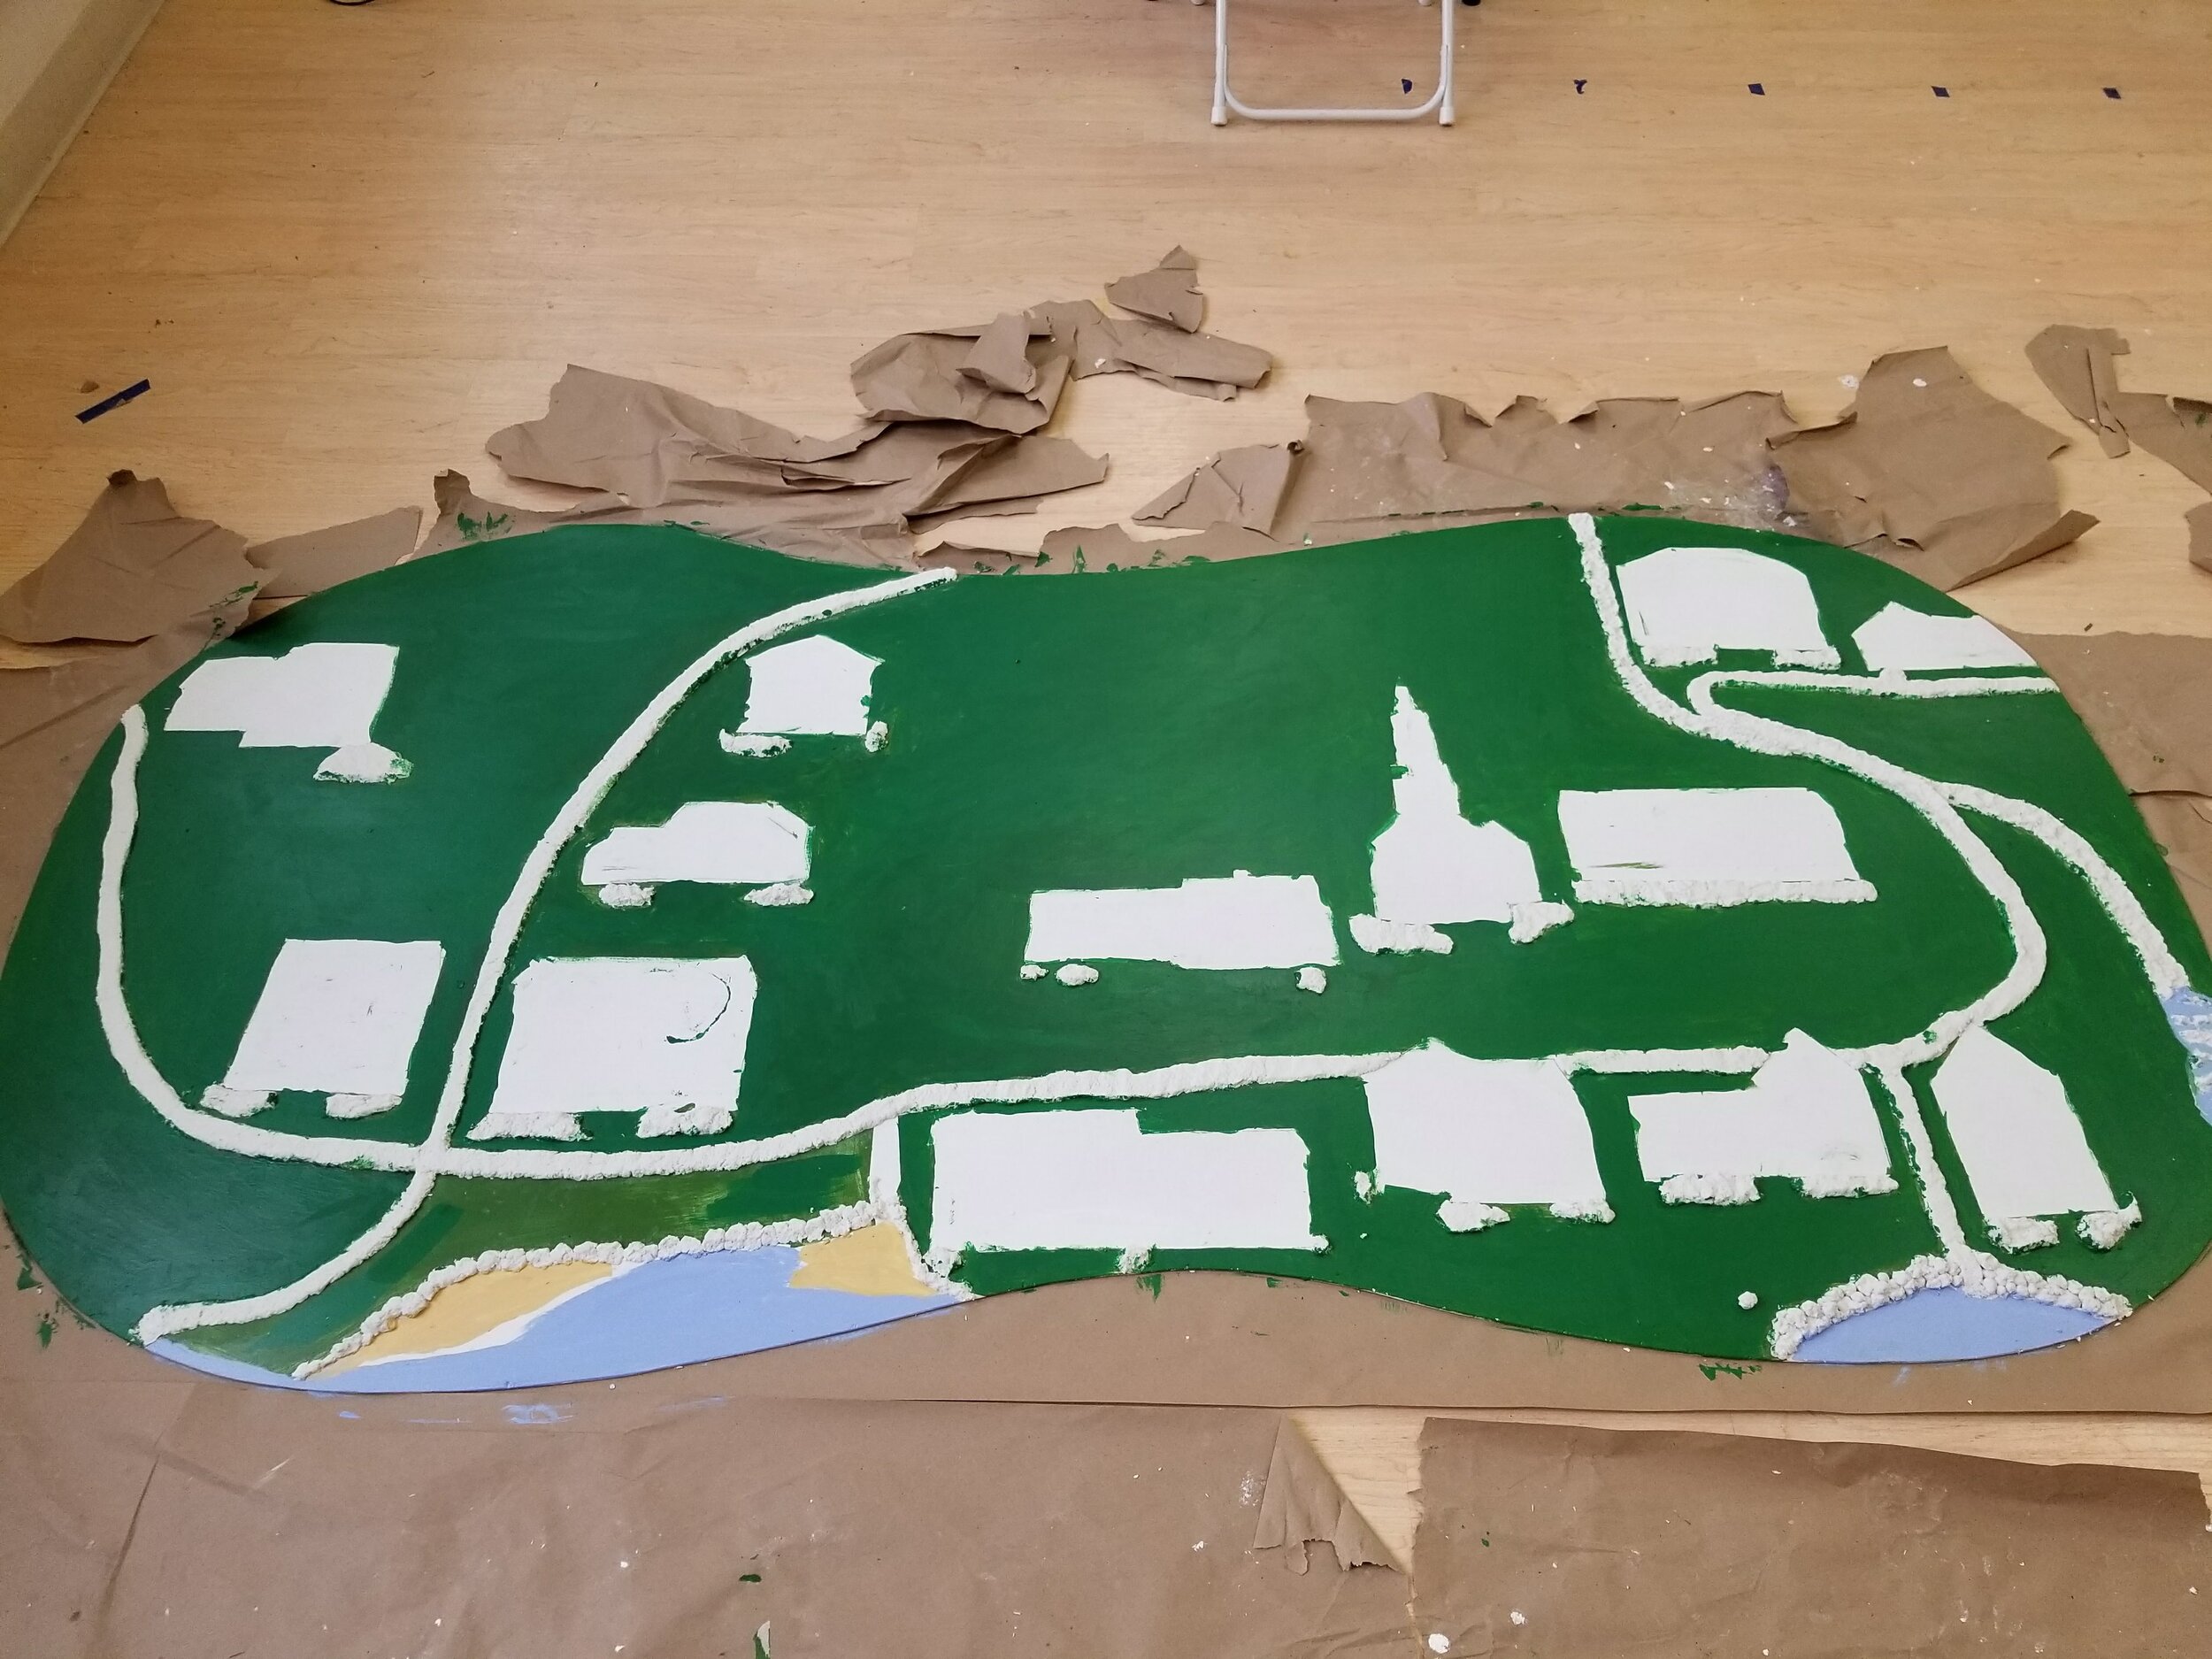
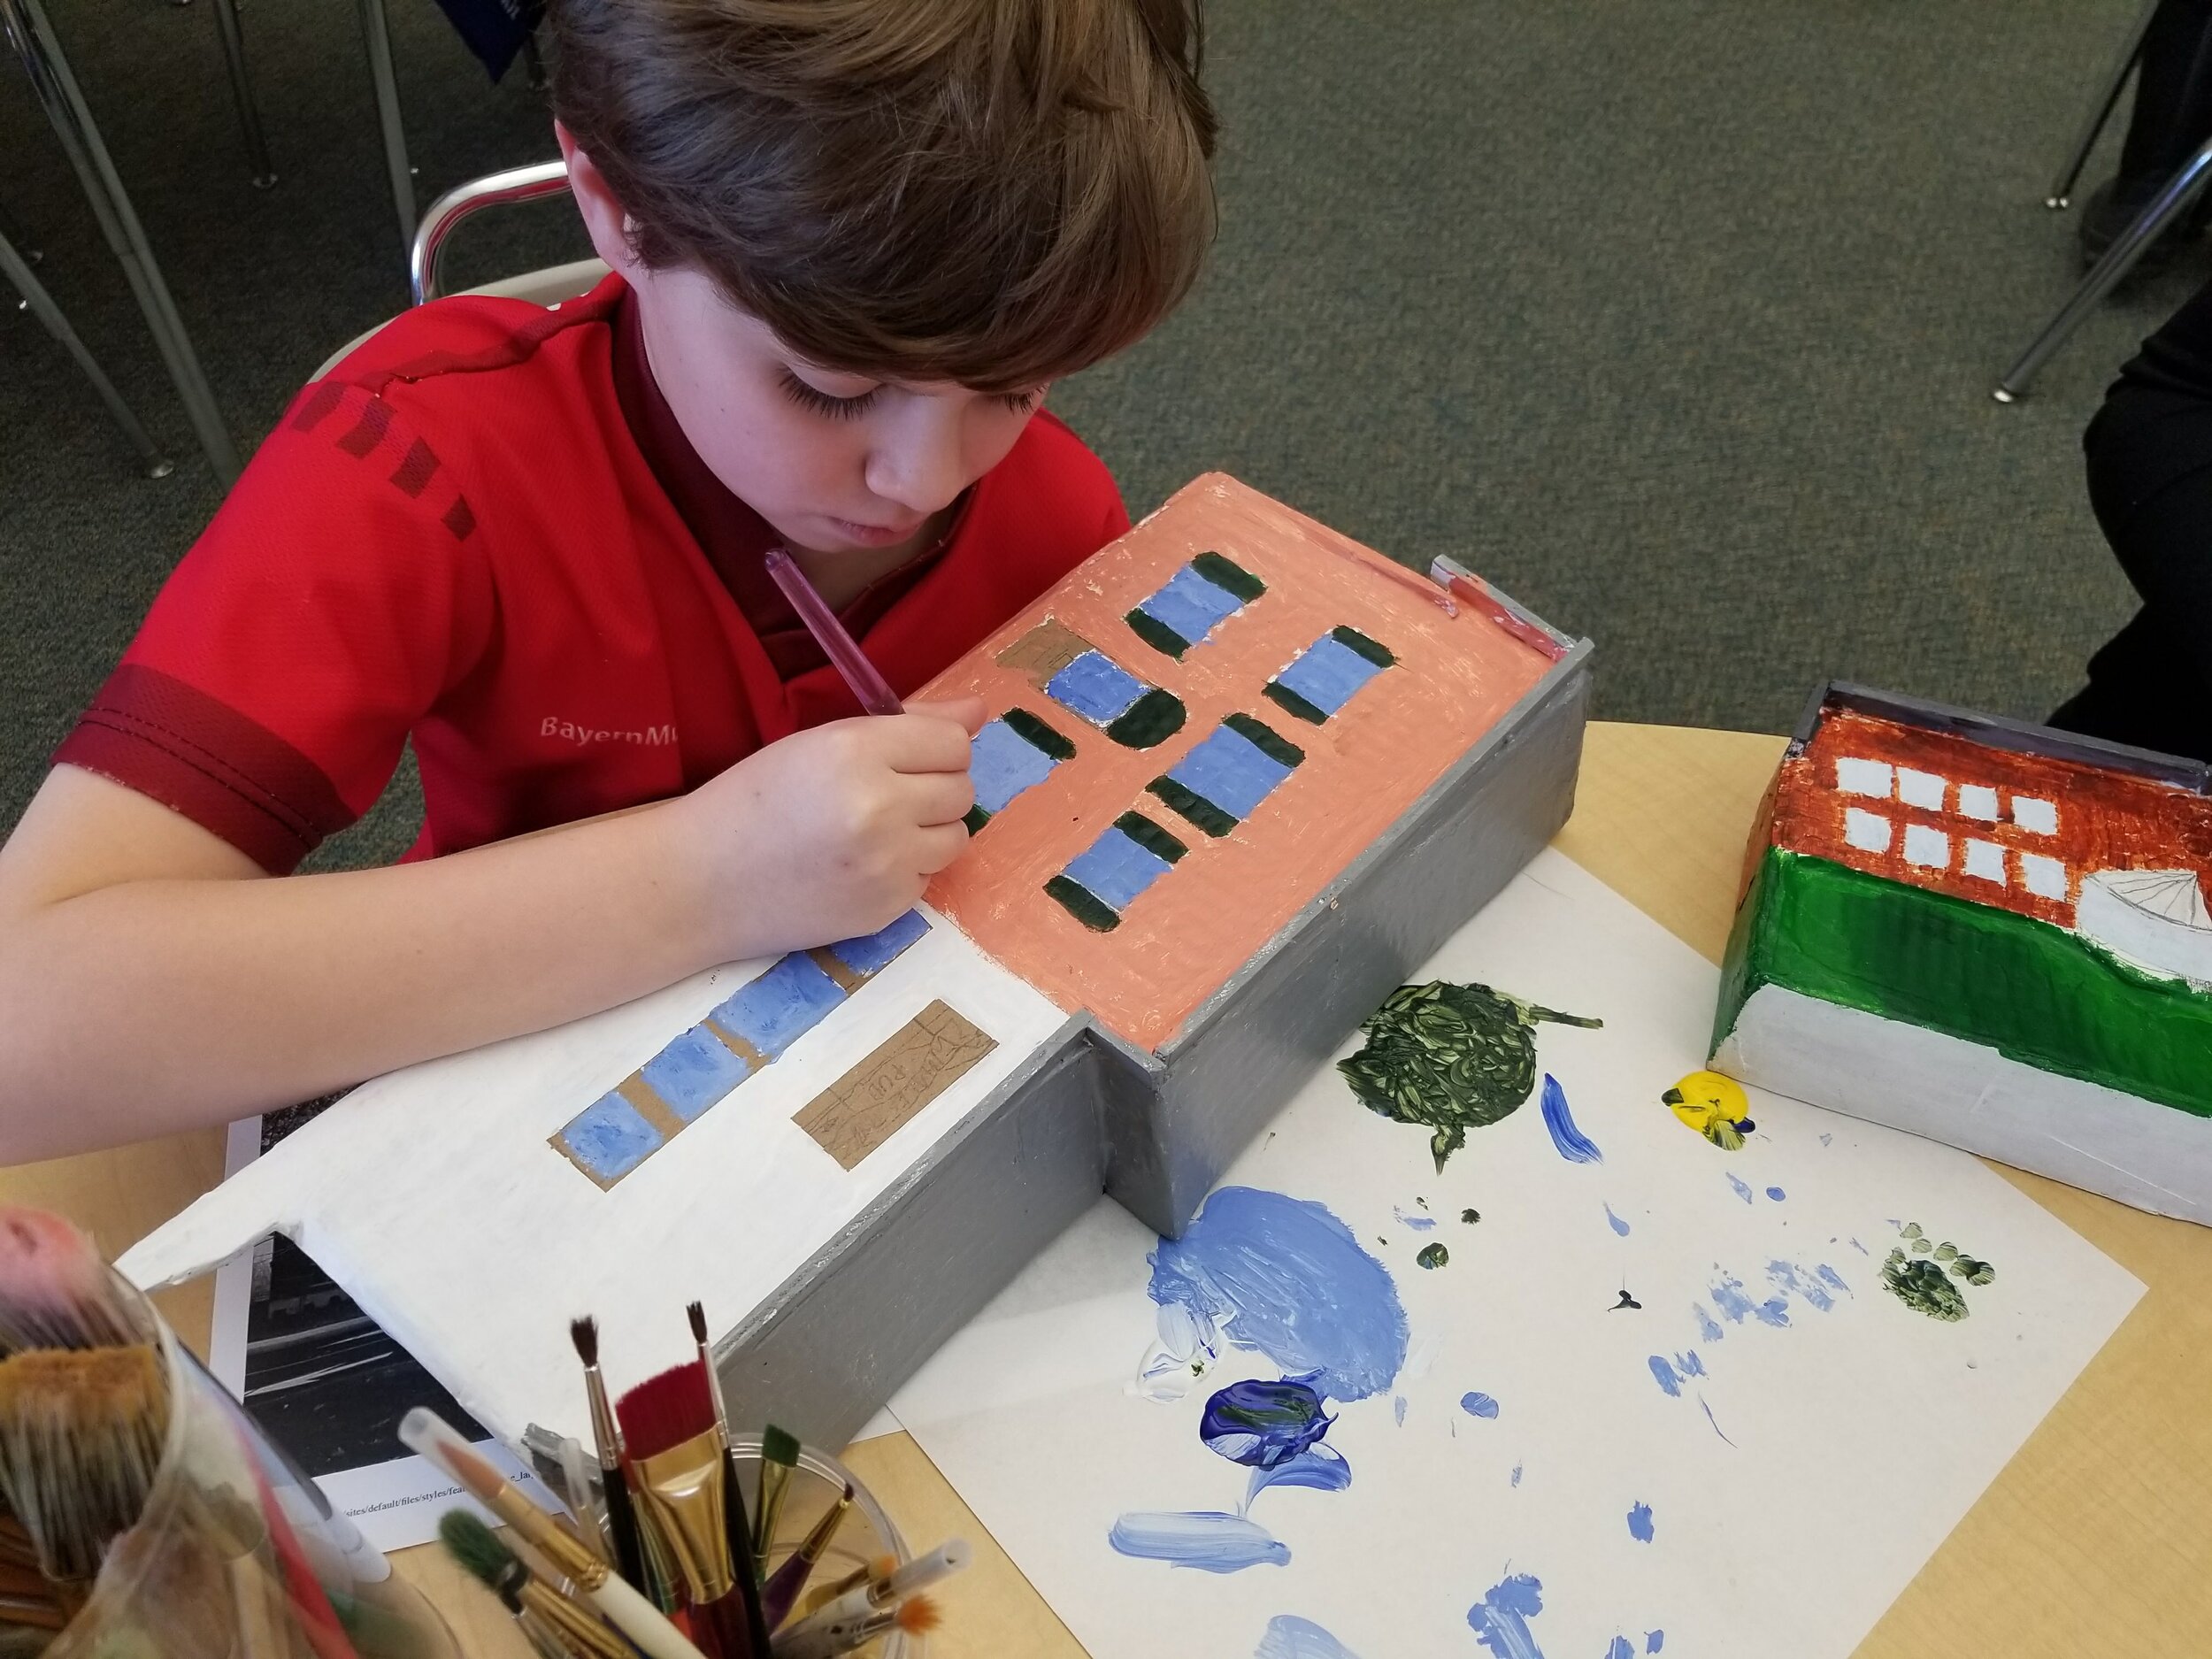
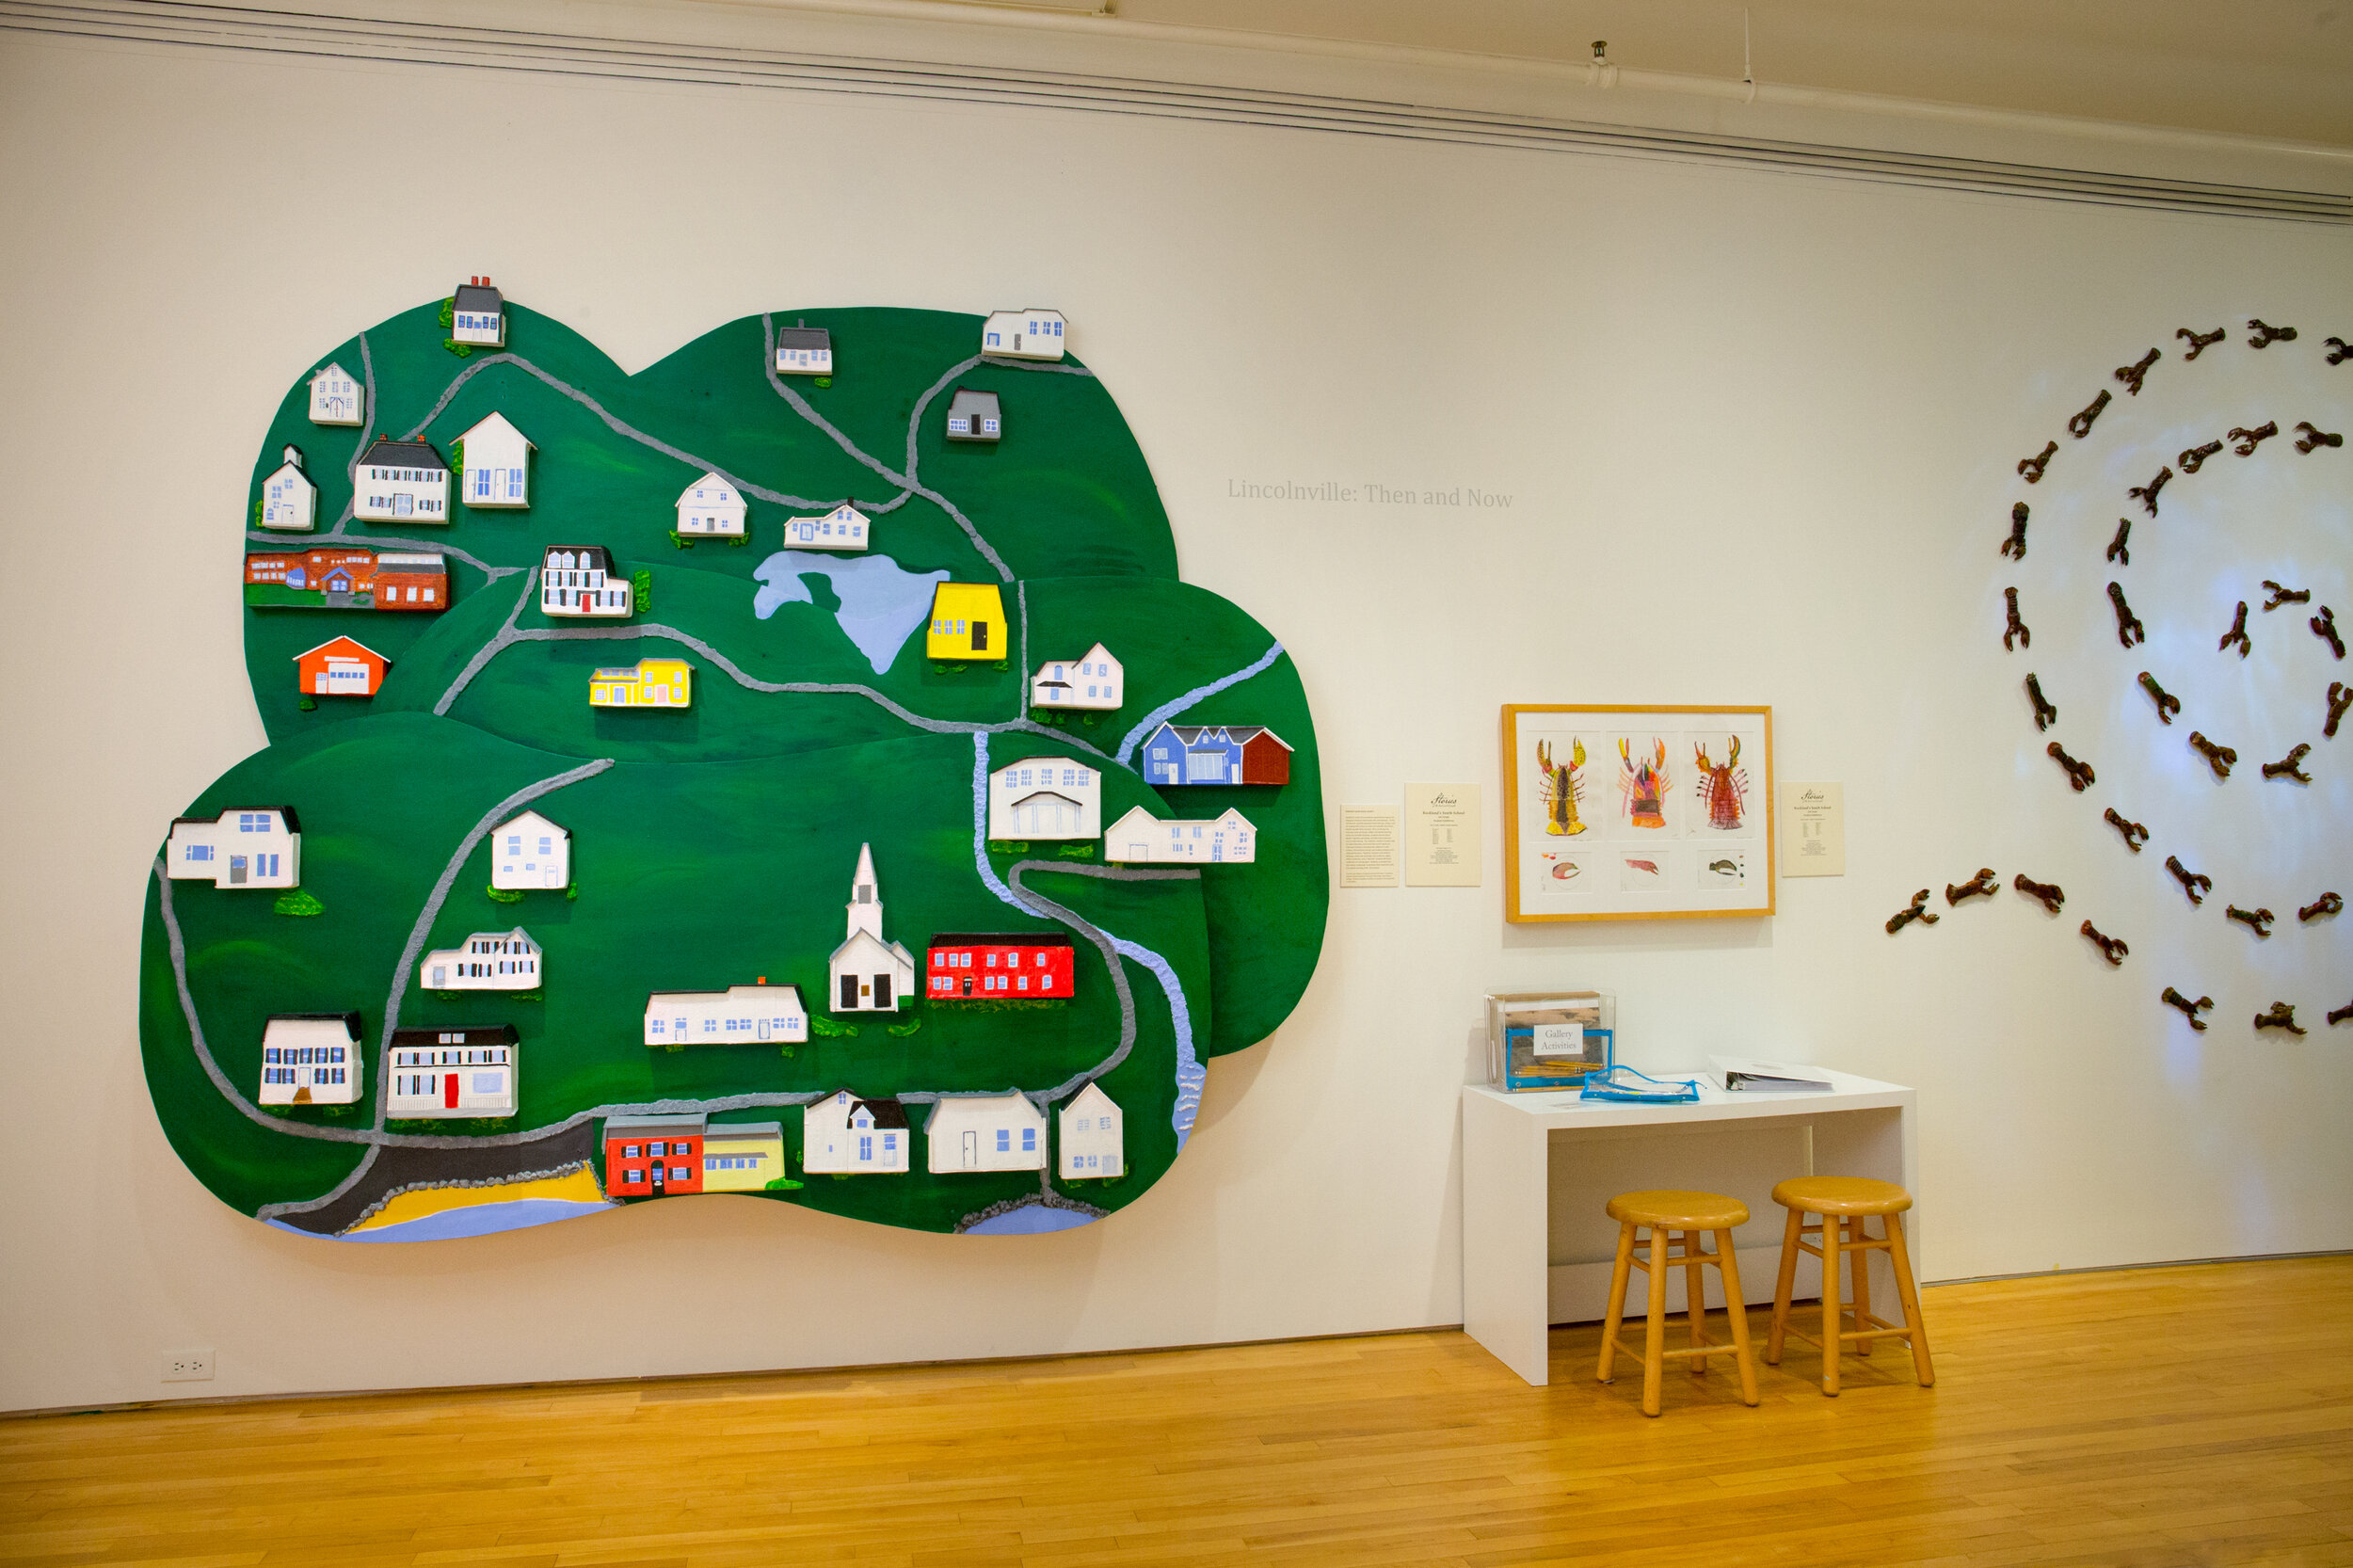
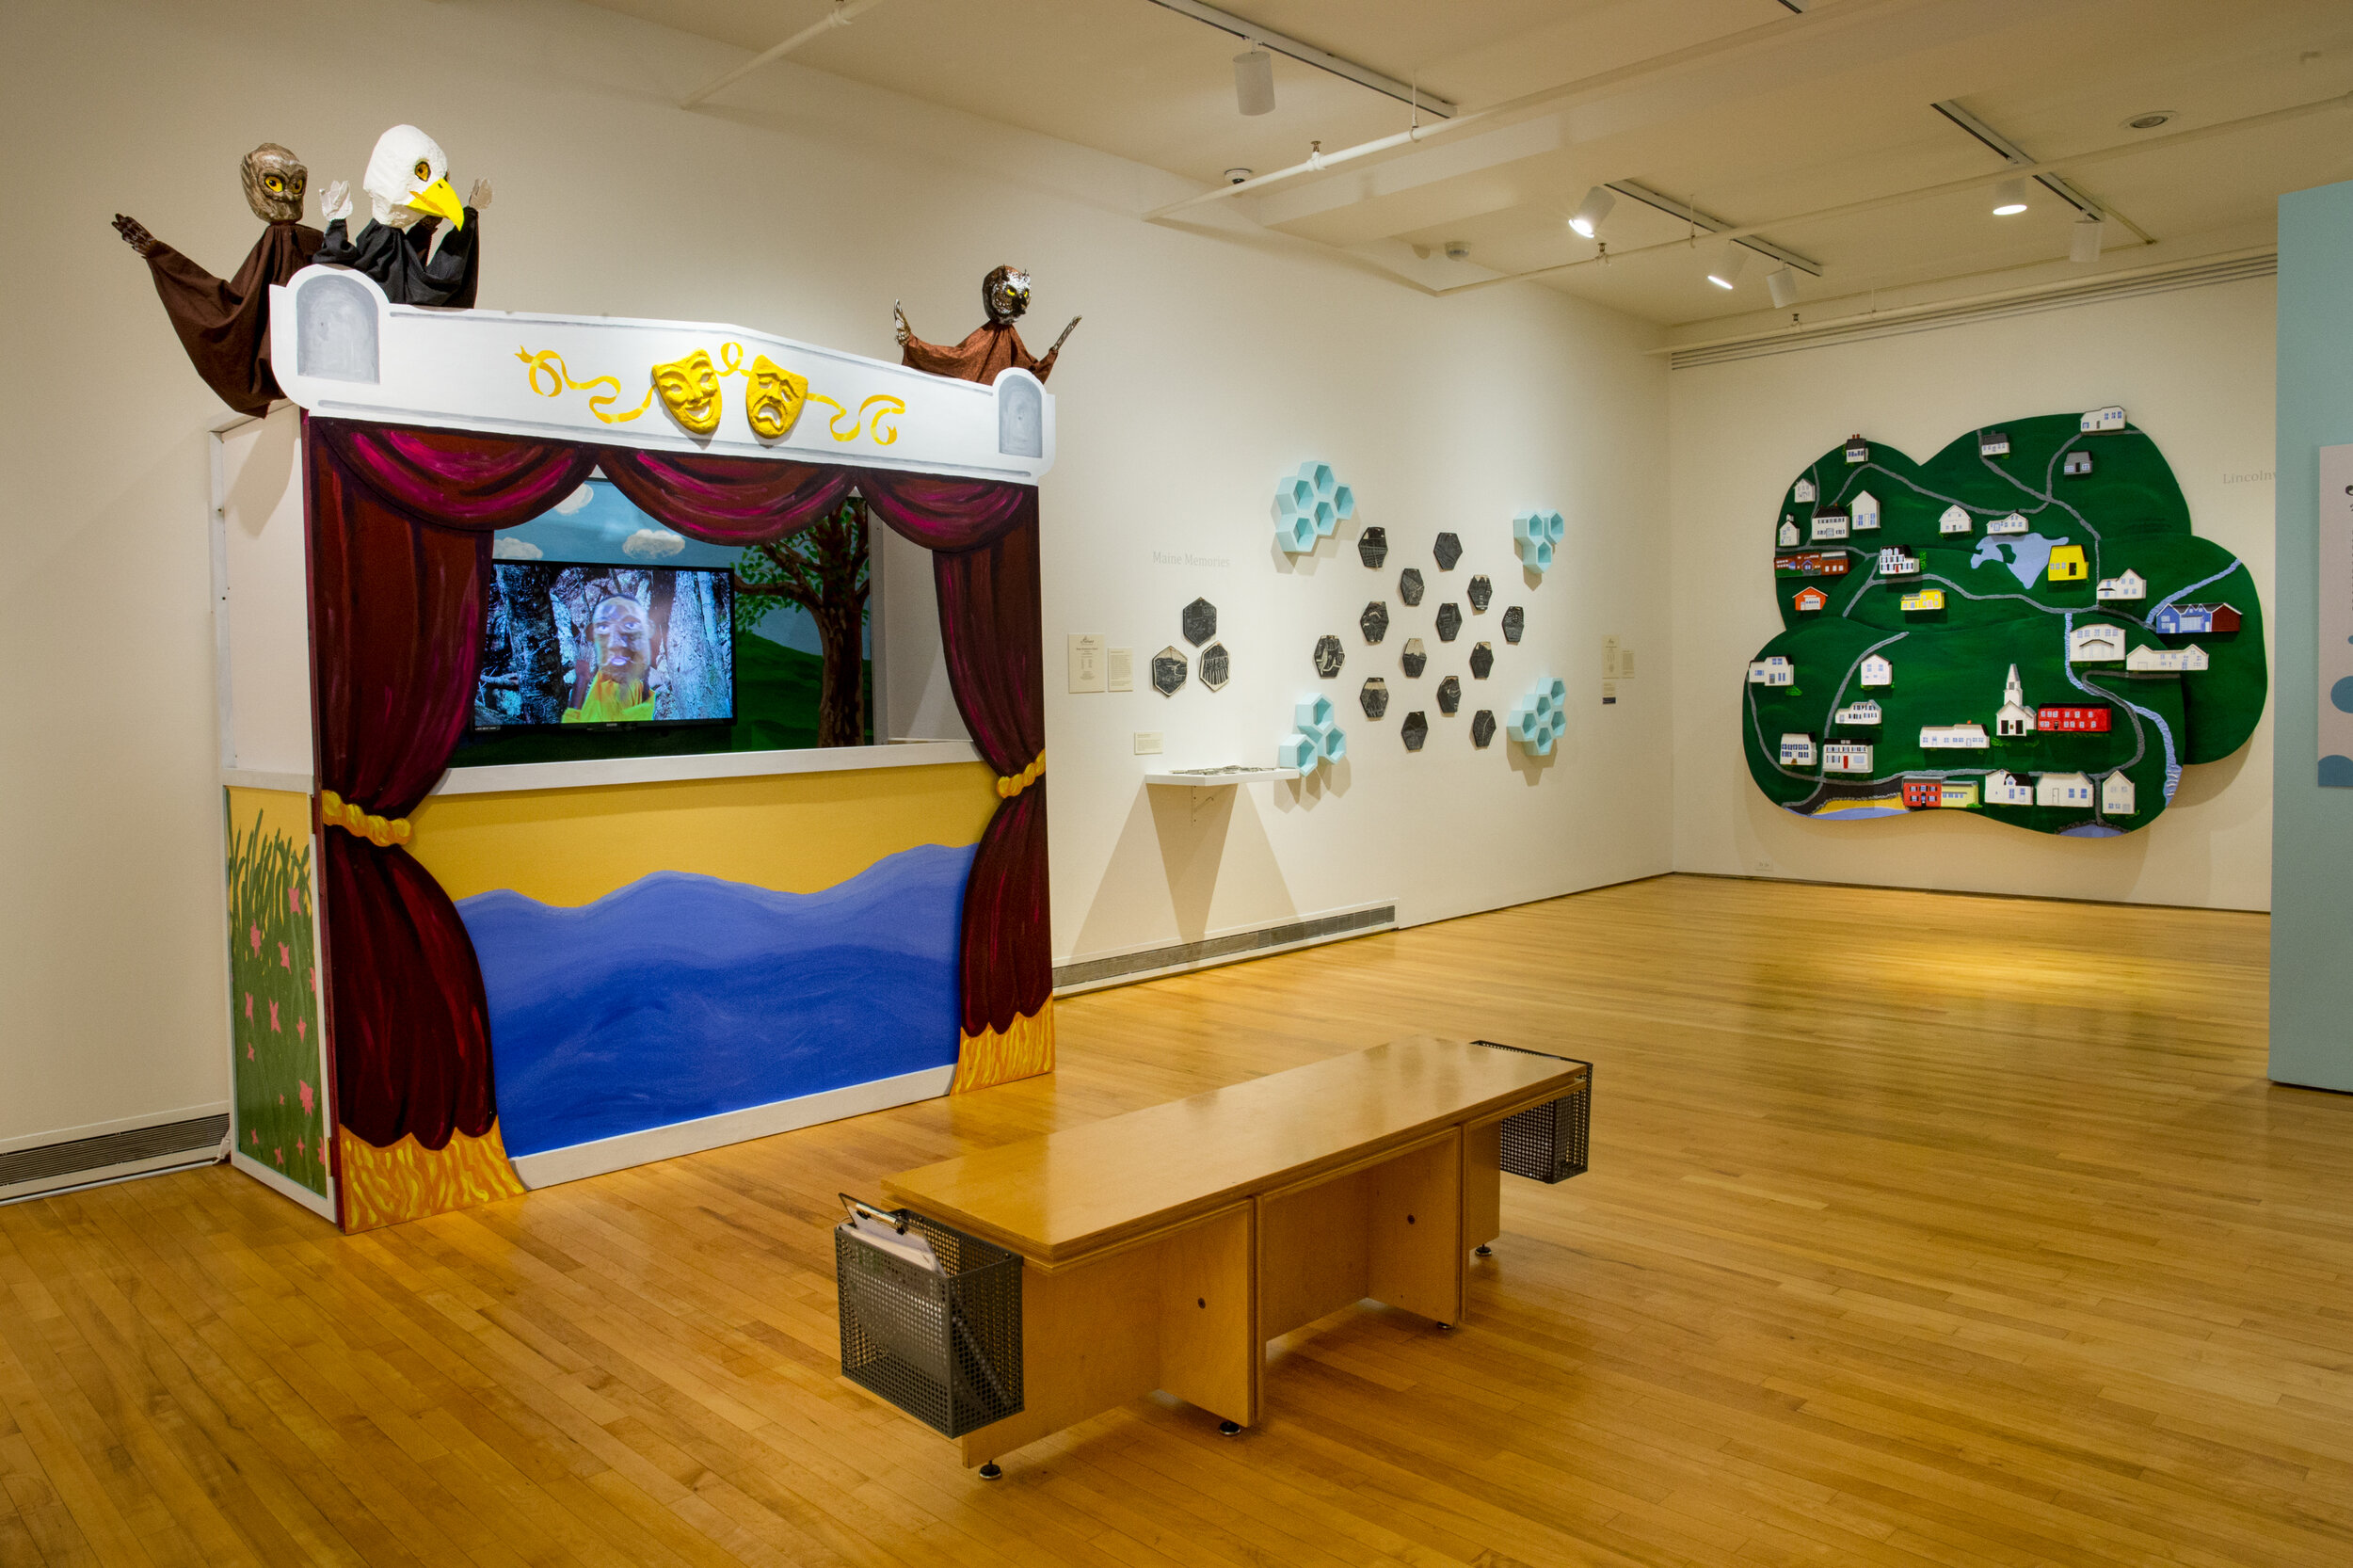
Create: Create a 3-dimensional mural! Examine old and new maps to inspire your layout. Build structures out of recycled materials such as old cardboard boxes.
Exhibition: Share your research on exhibition labels or create your own book.

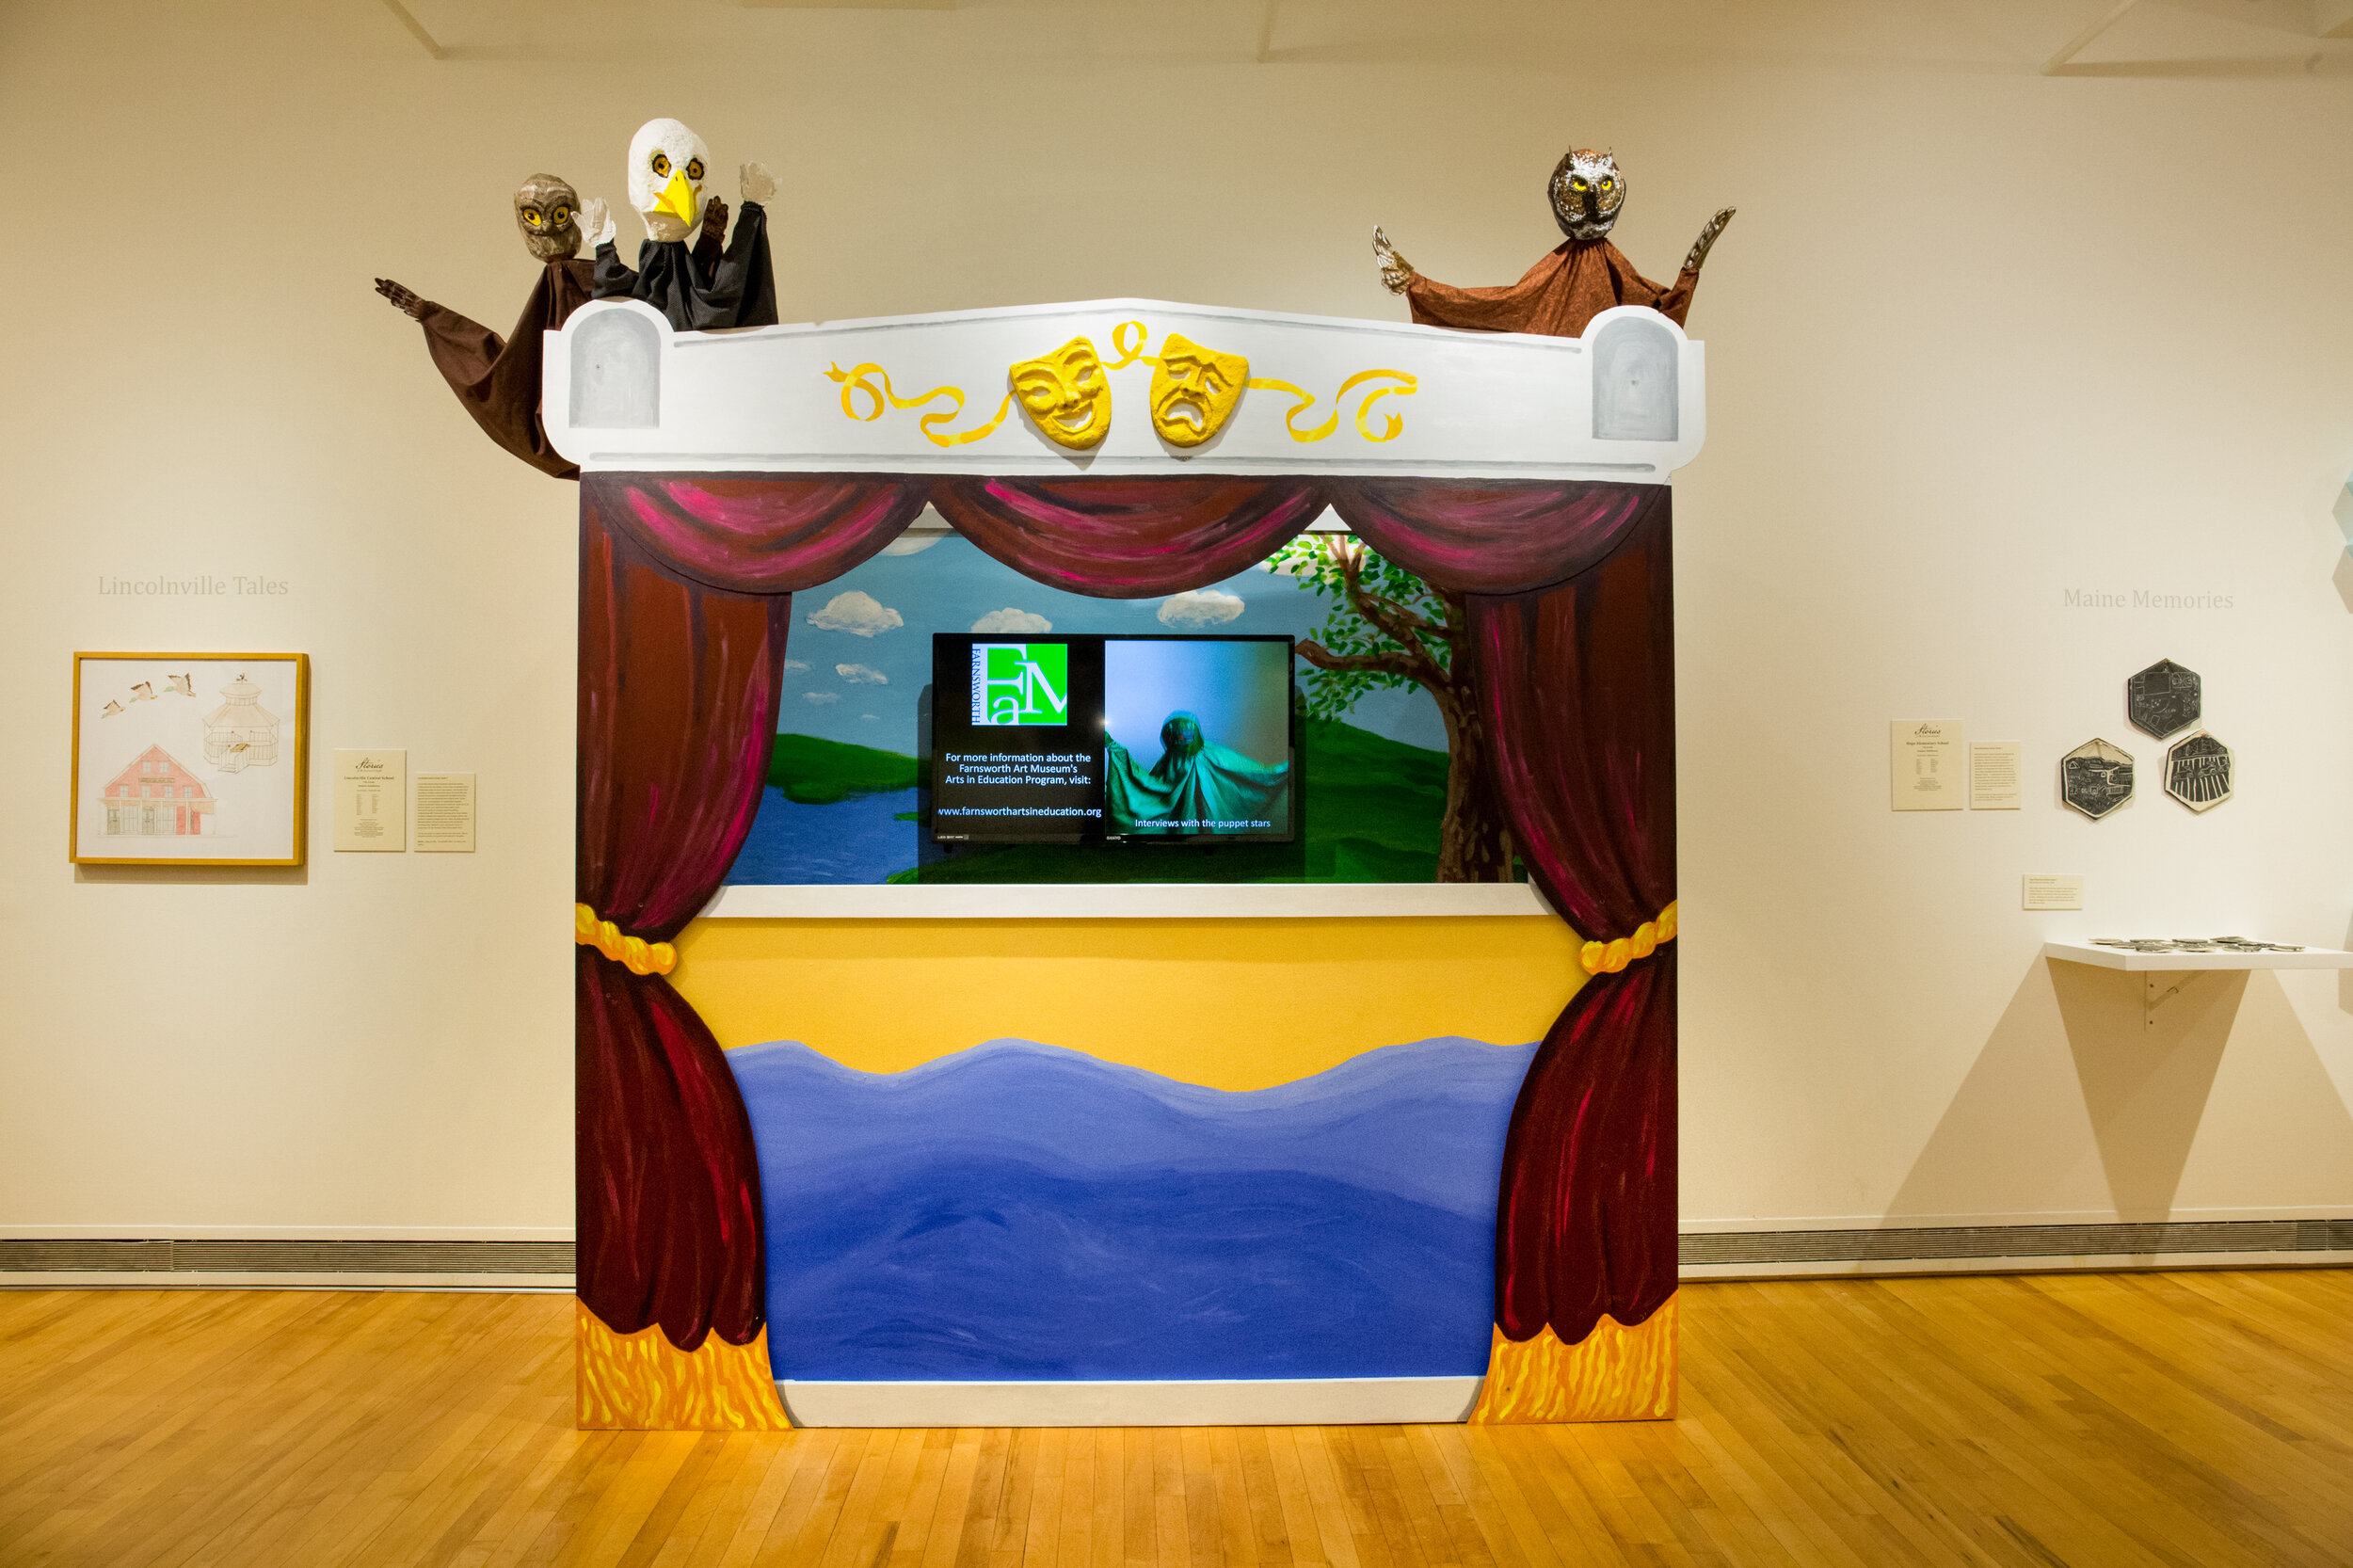
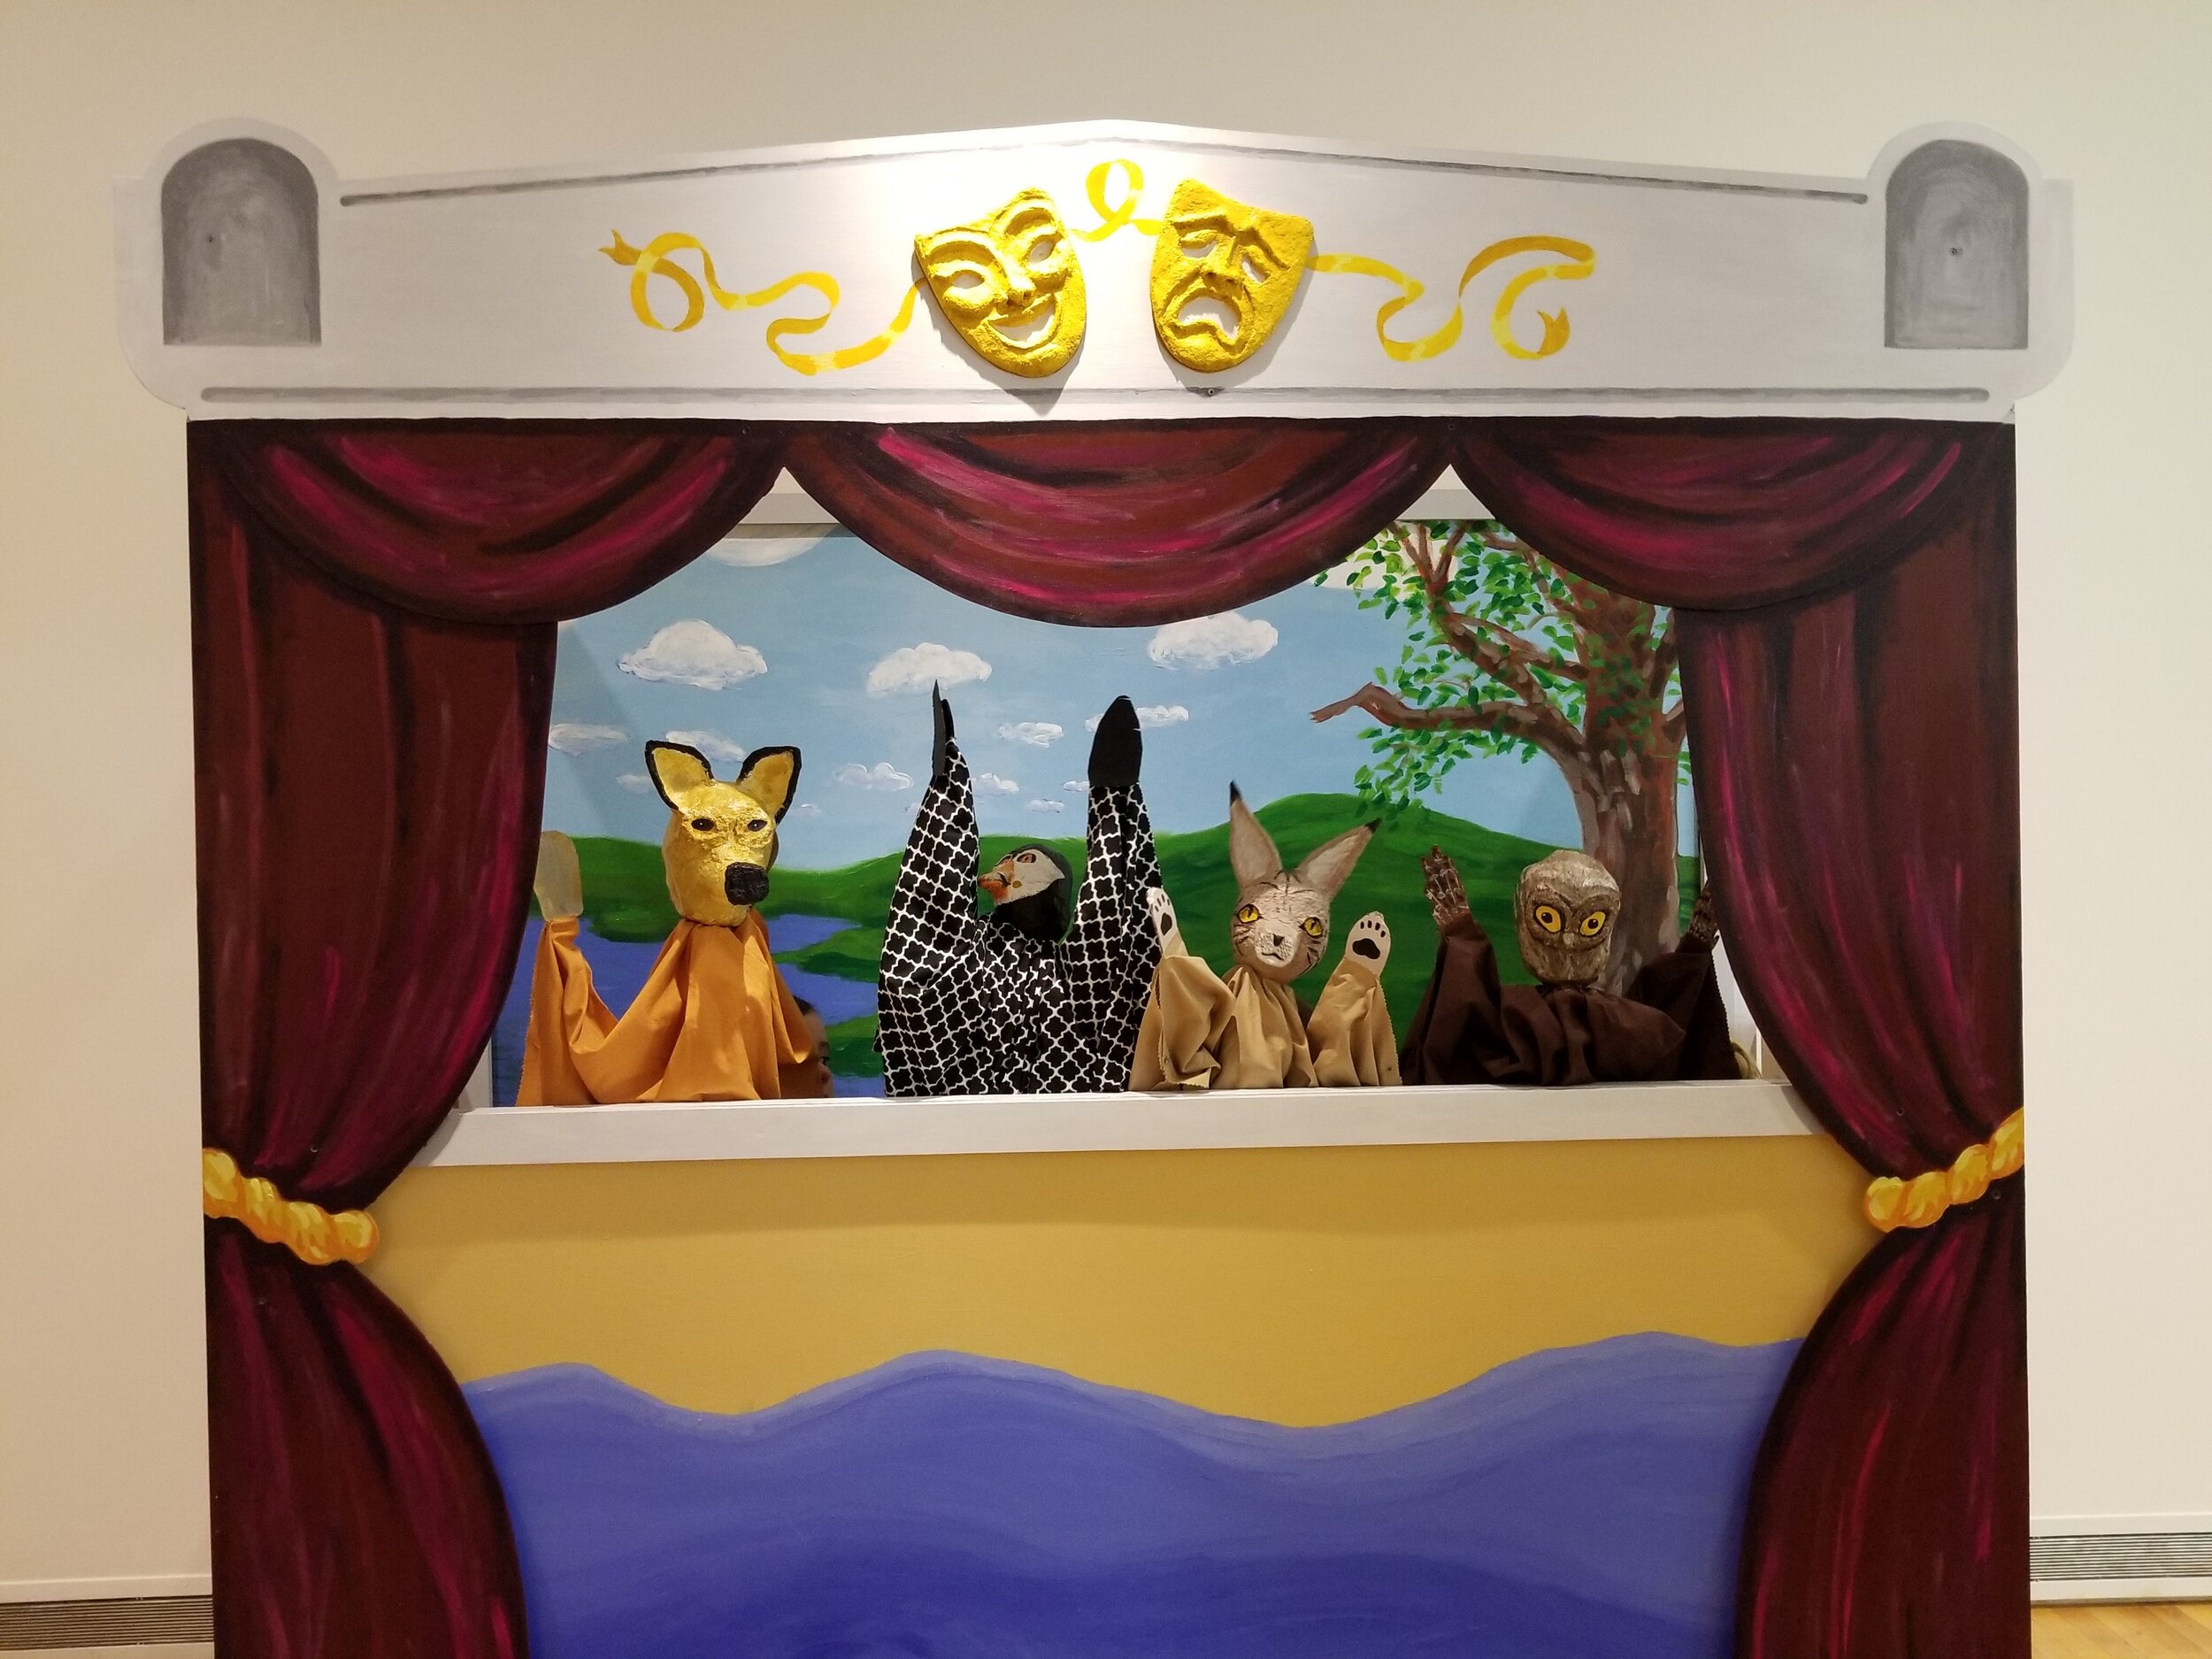
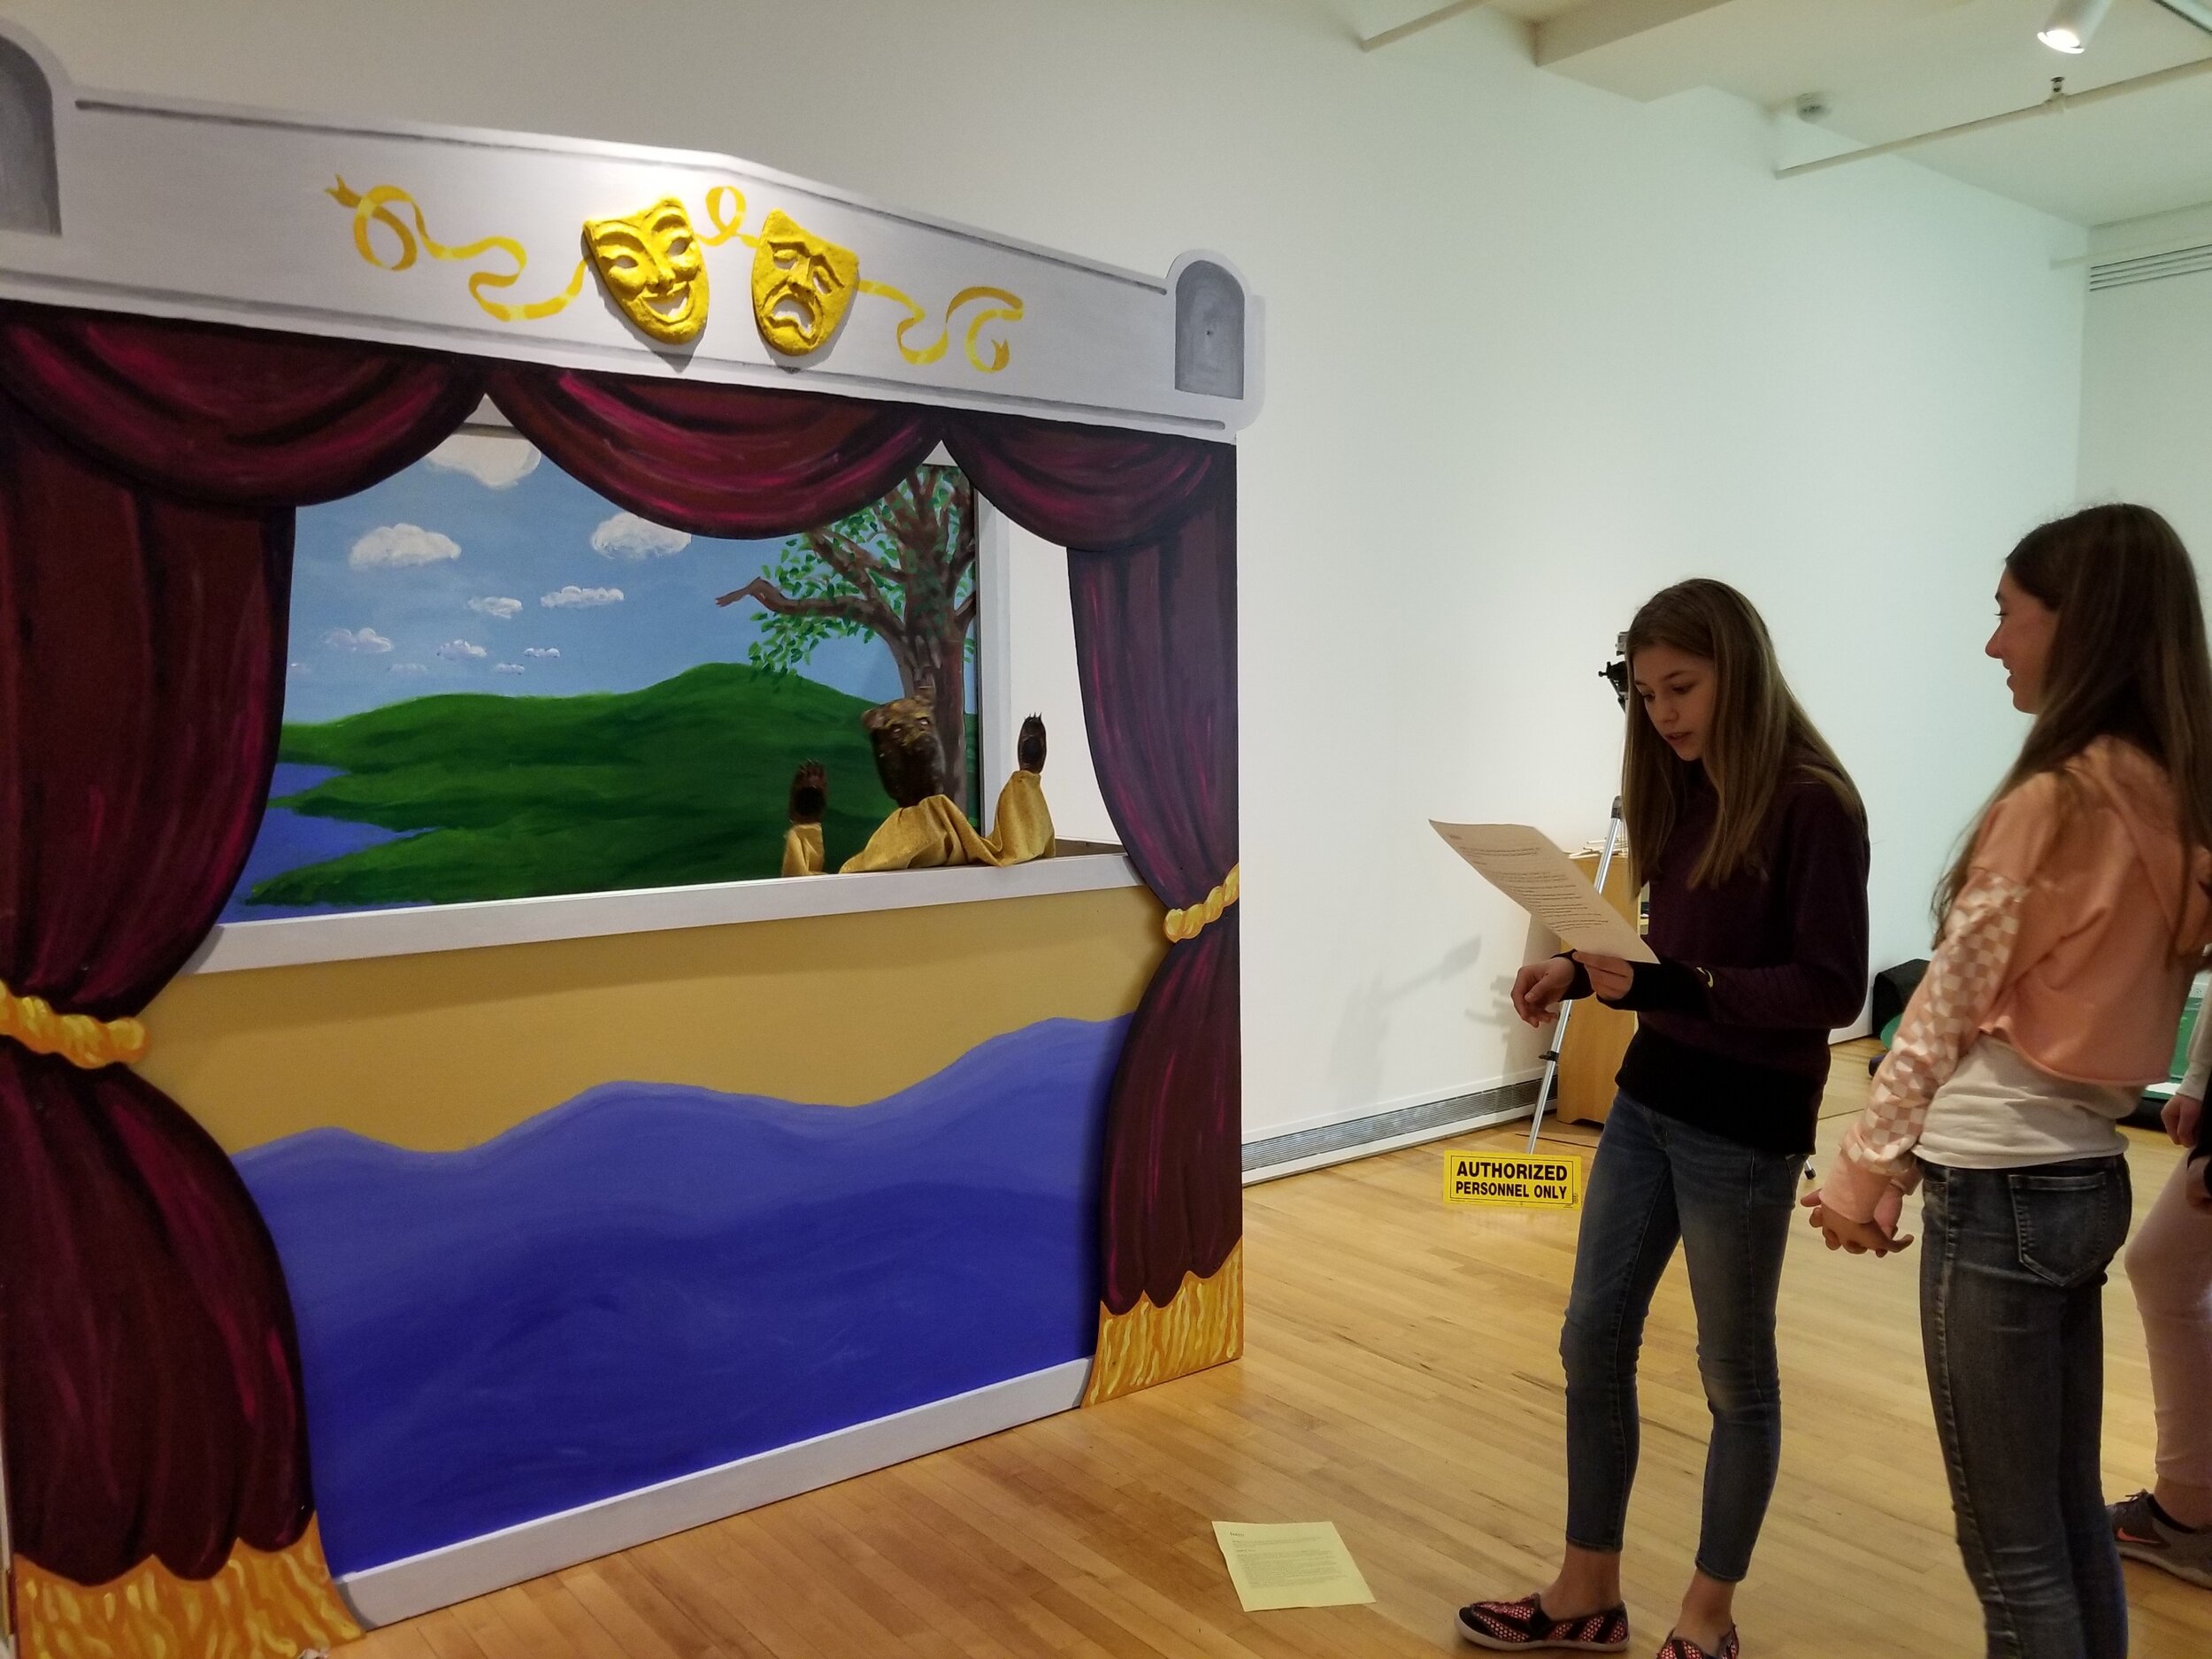
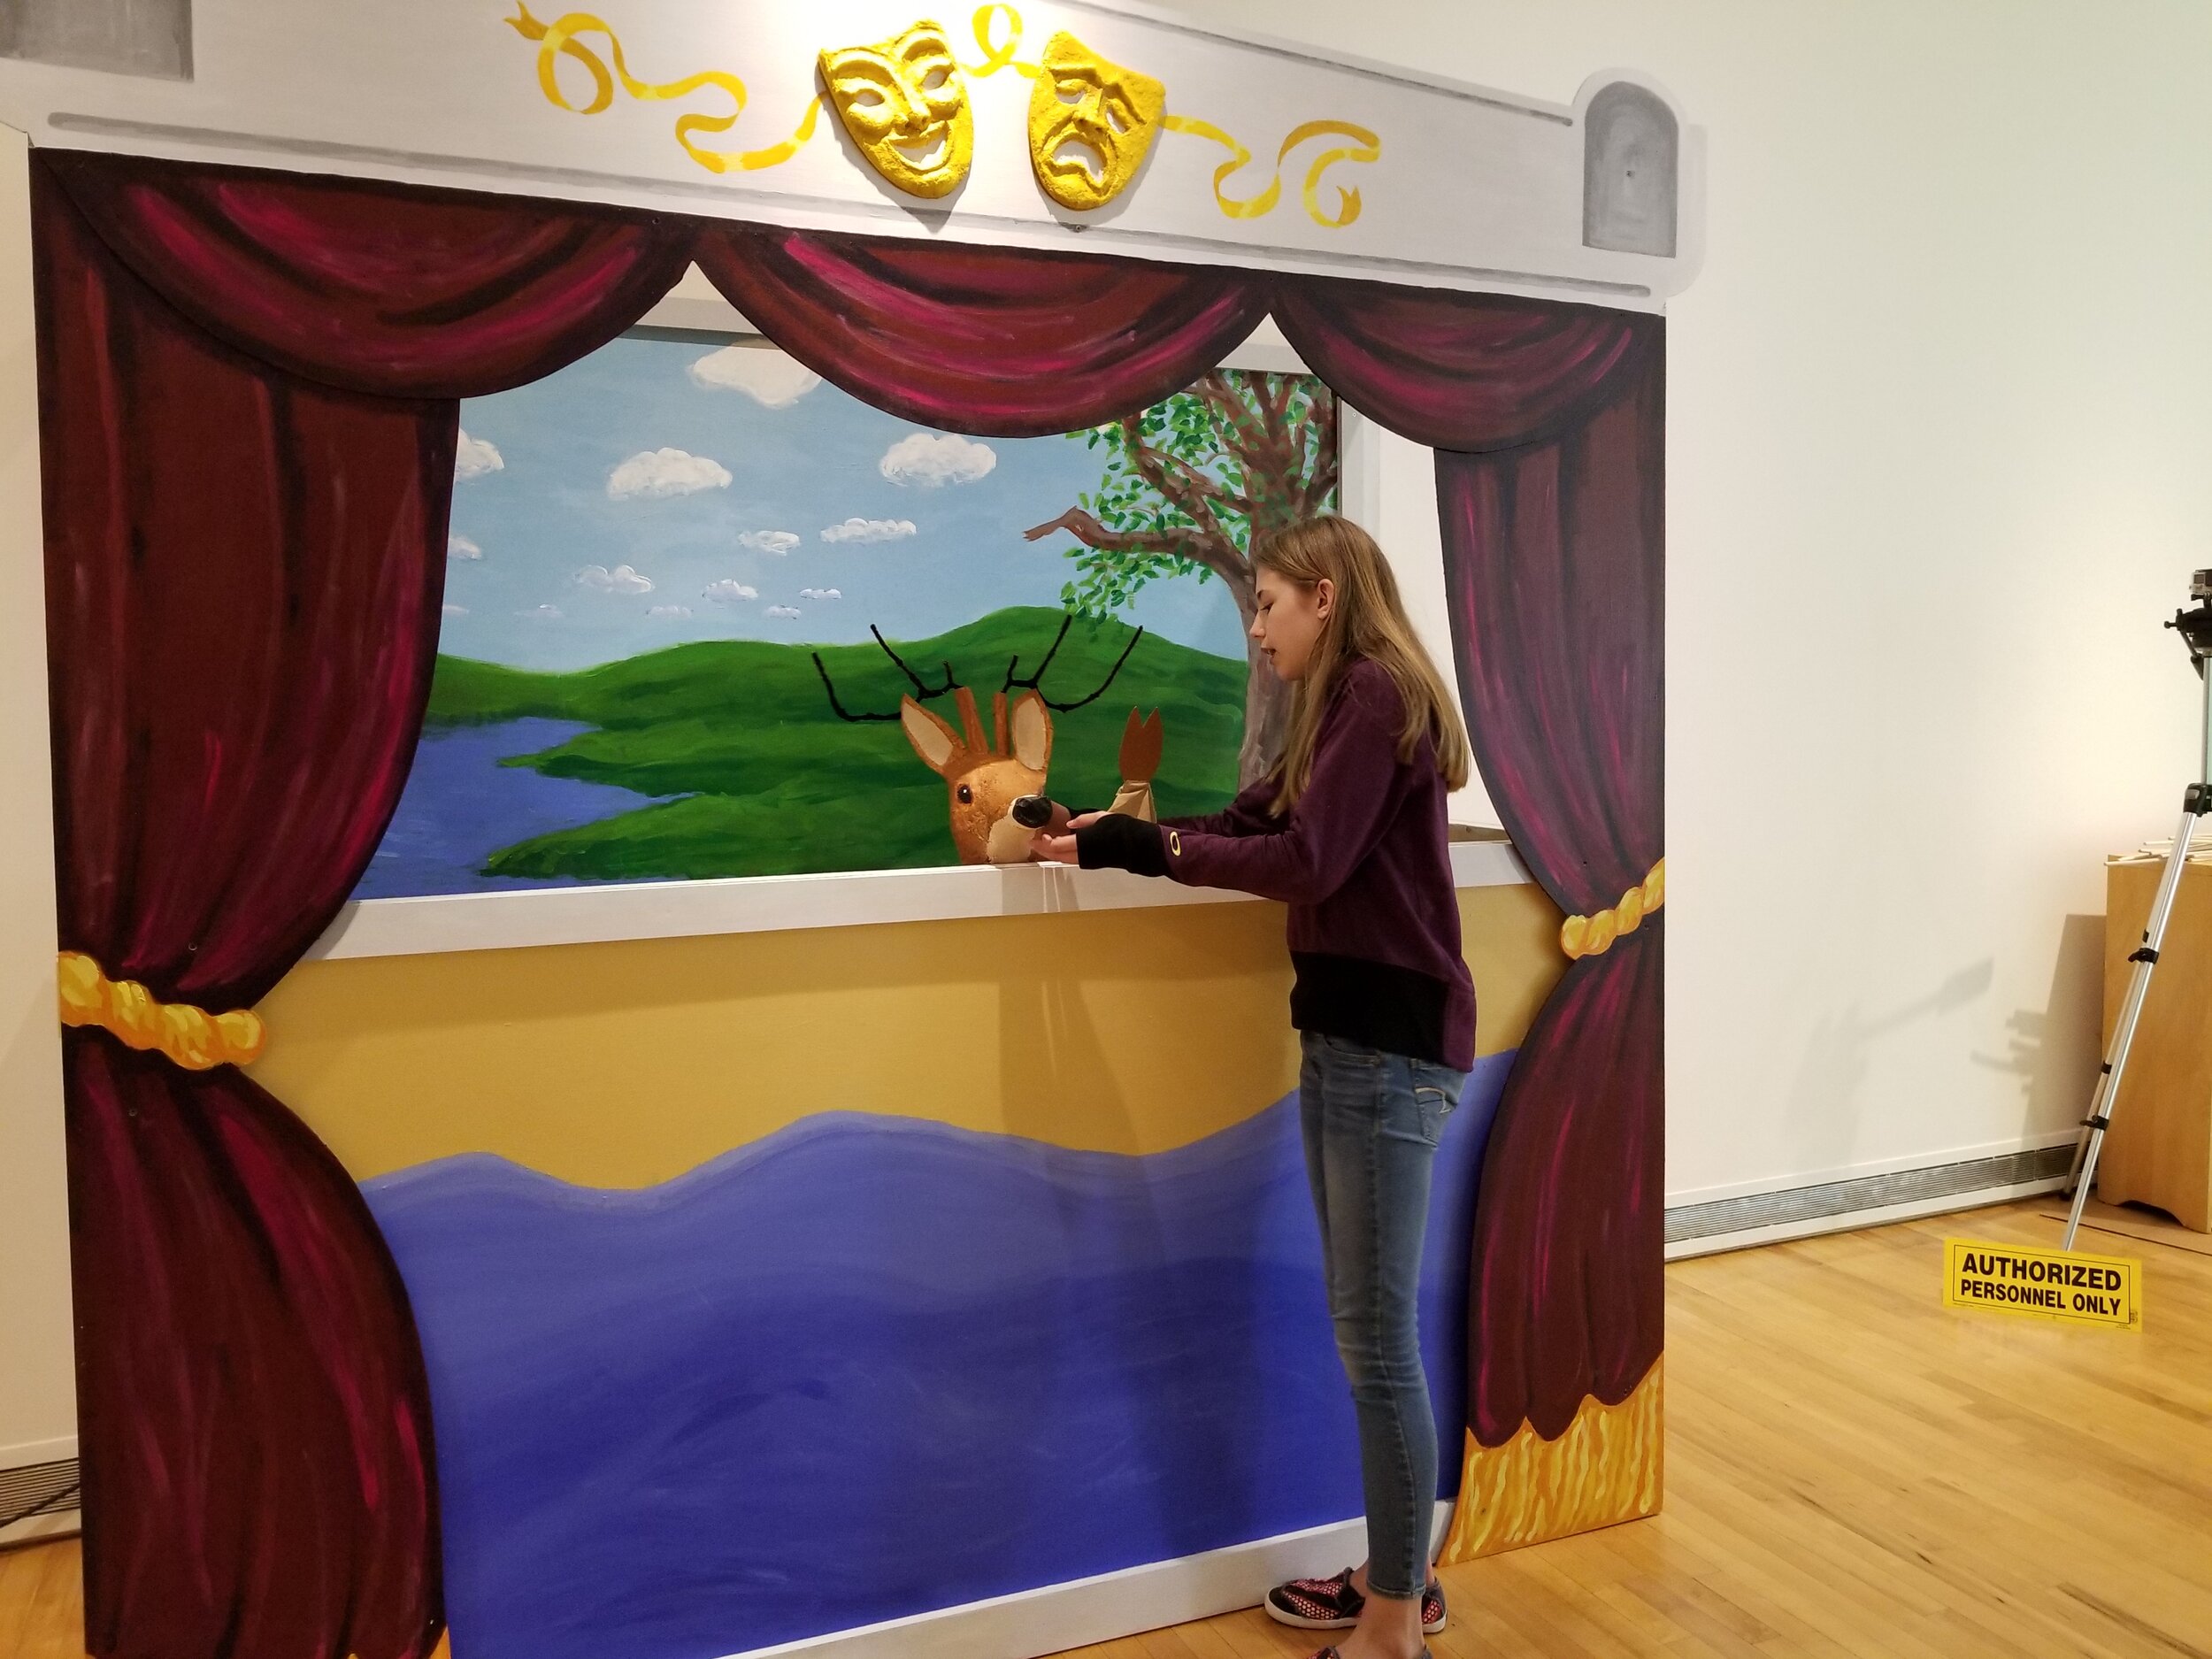
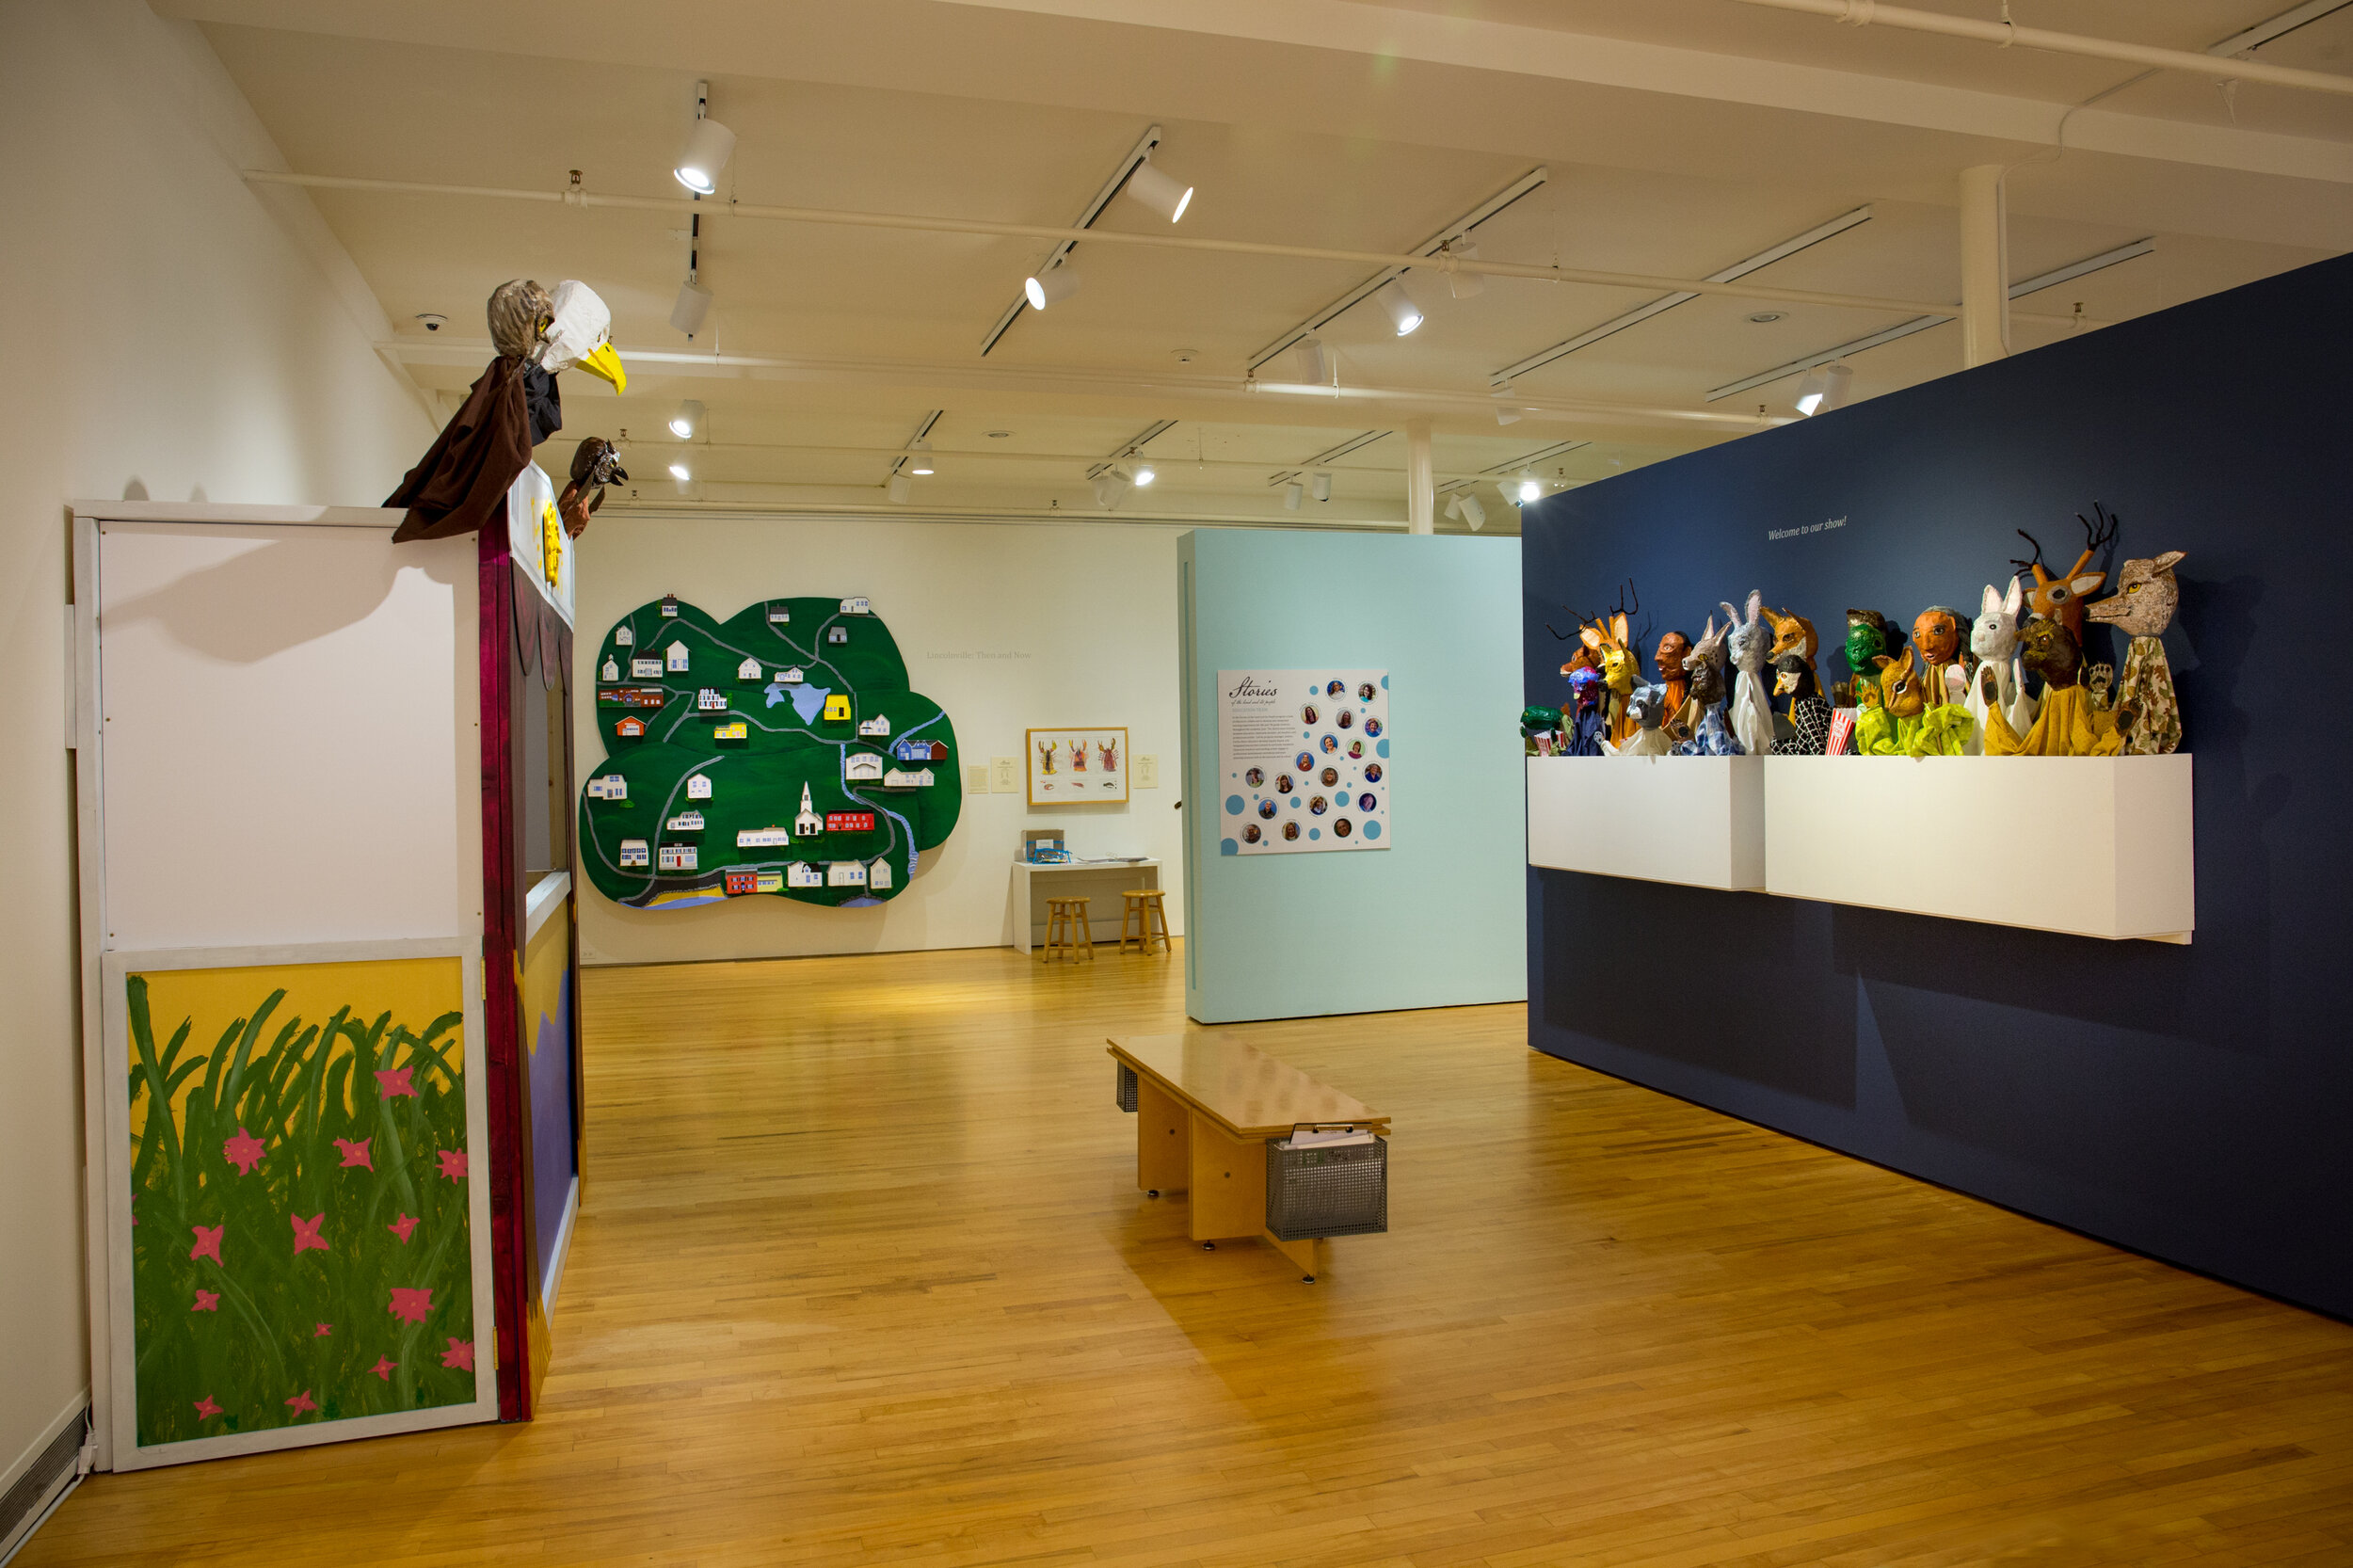
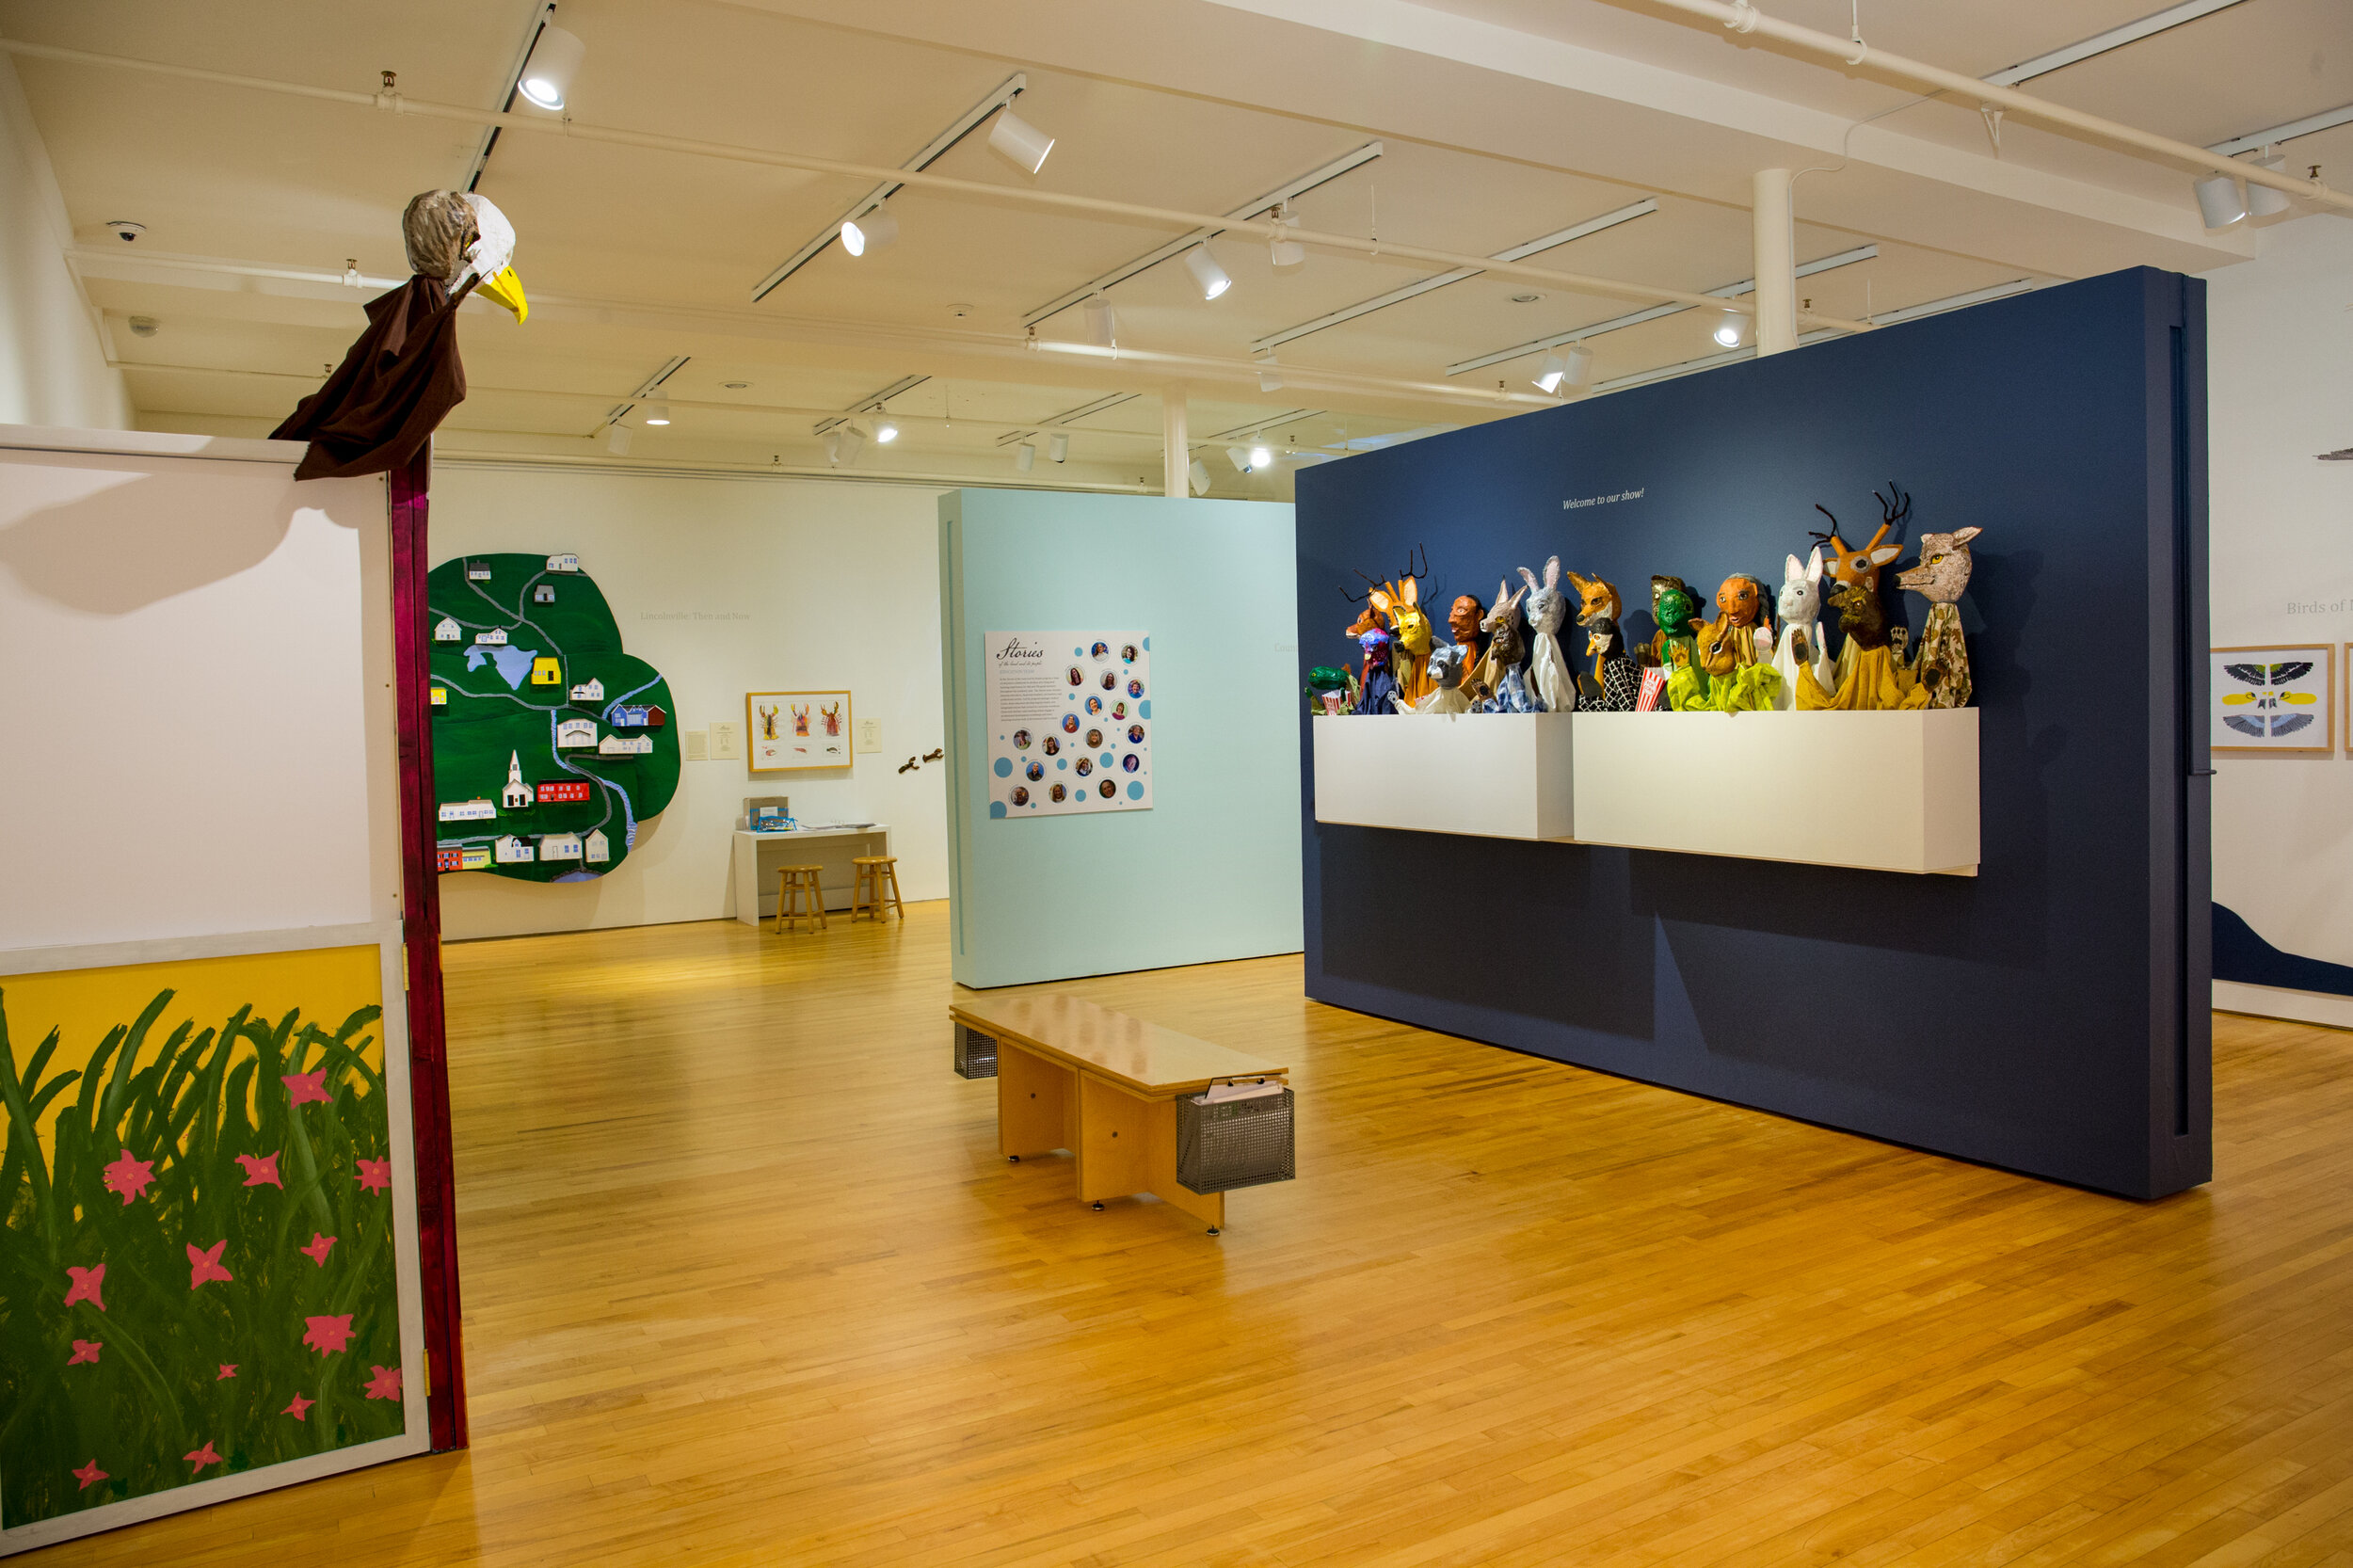
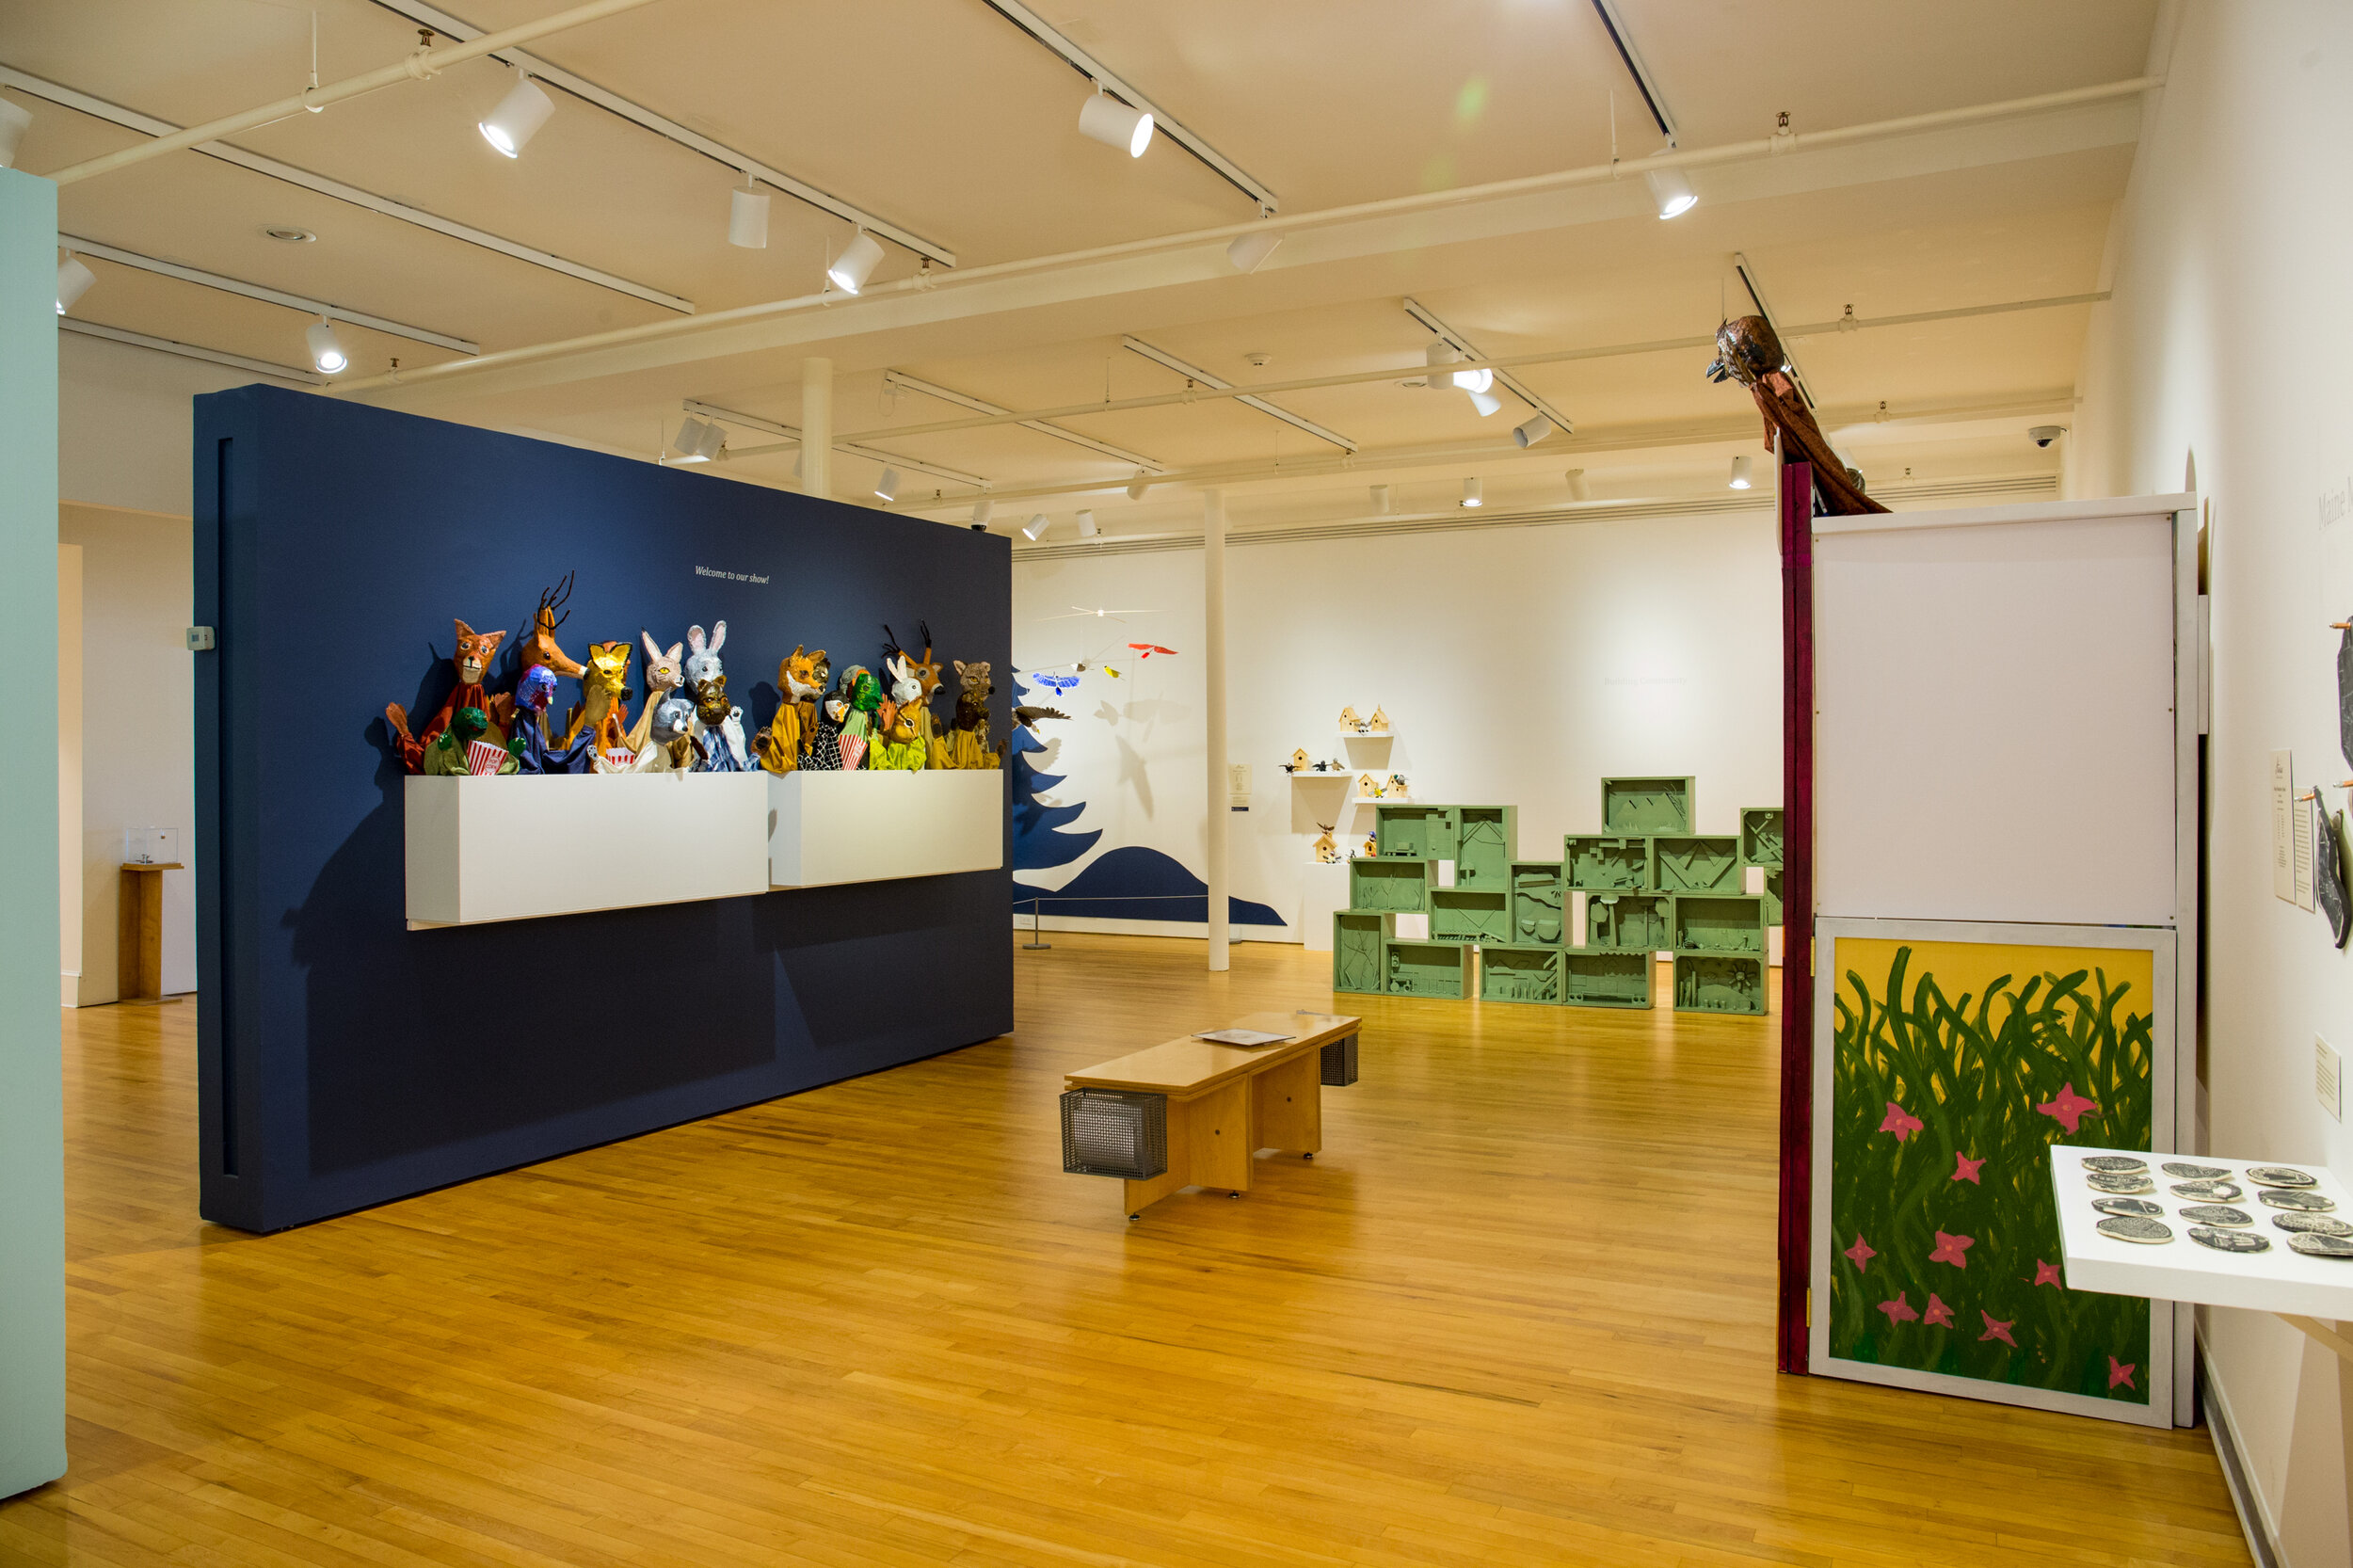
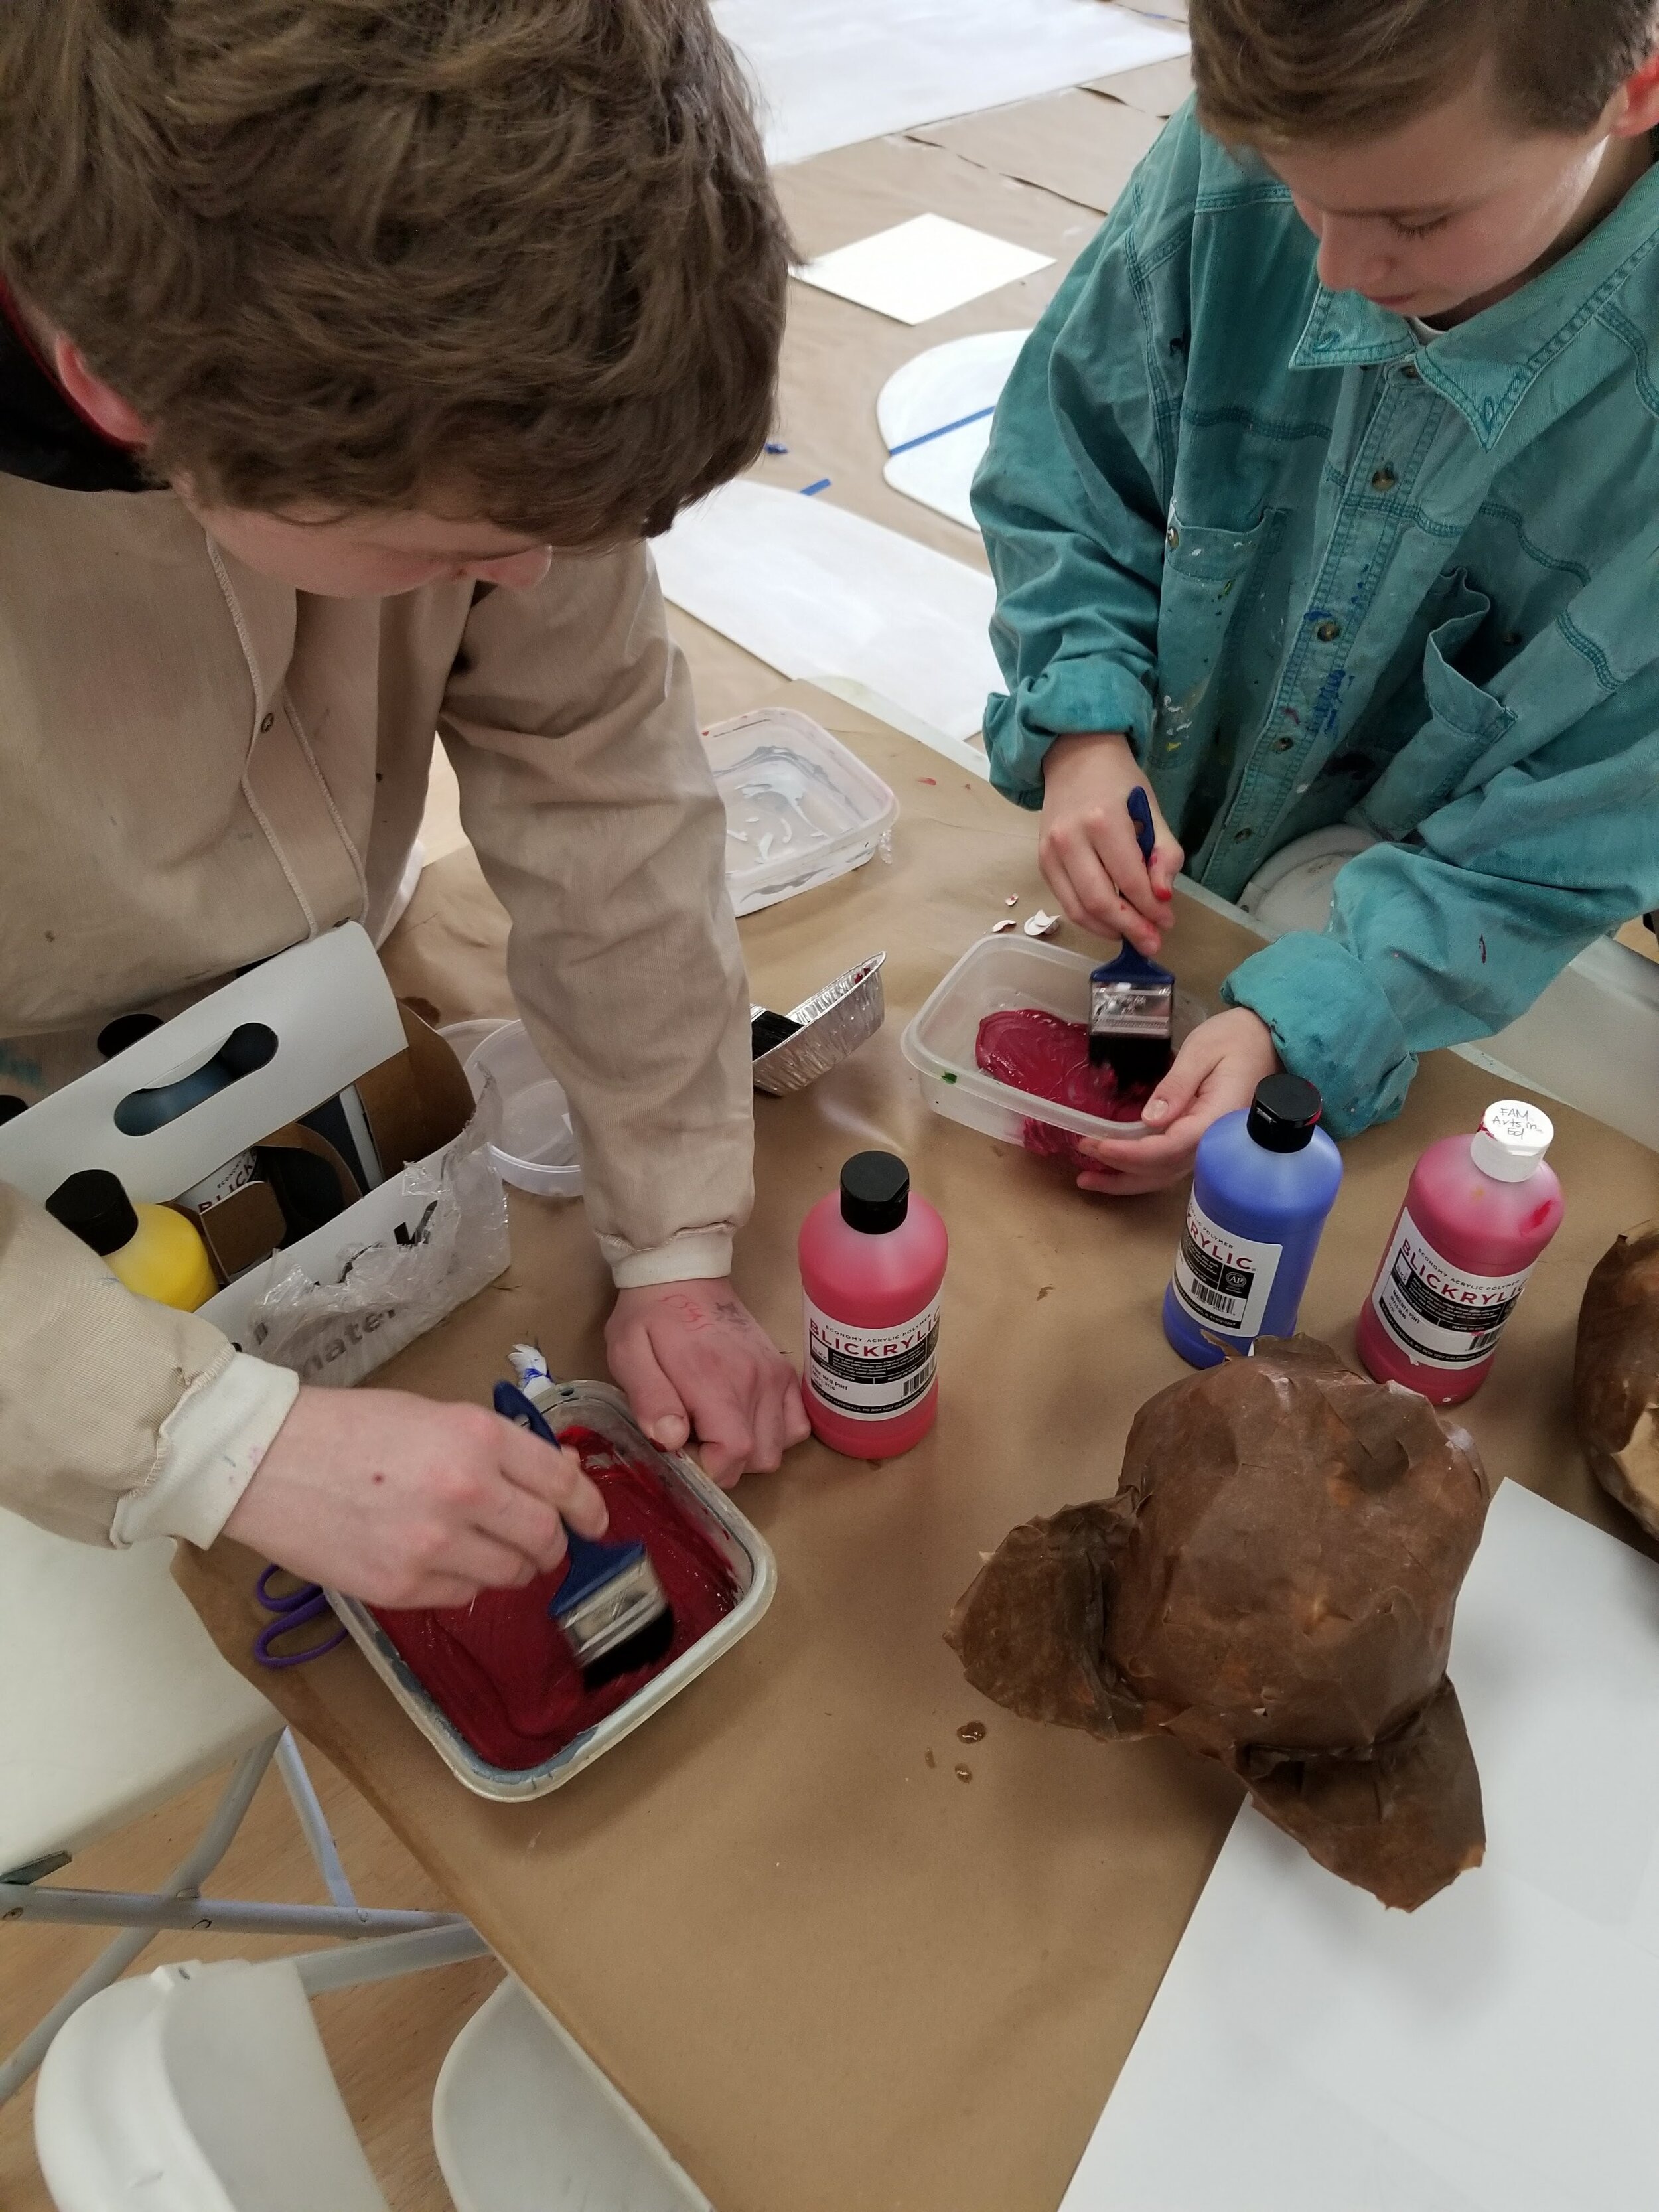
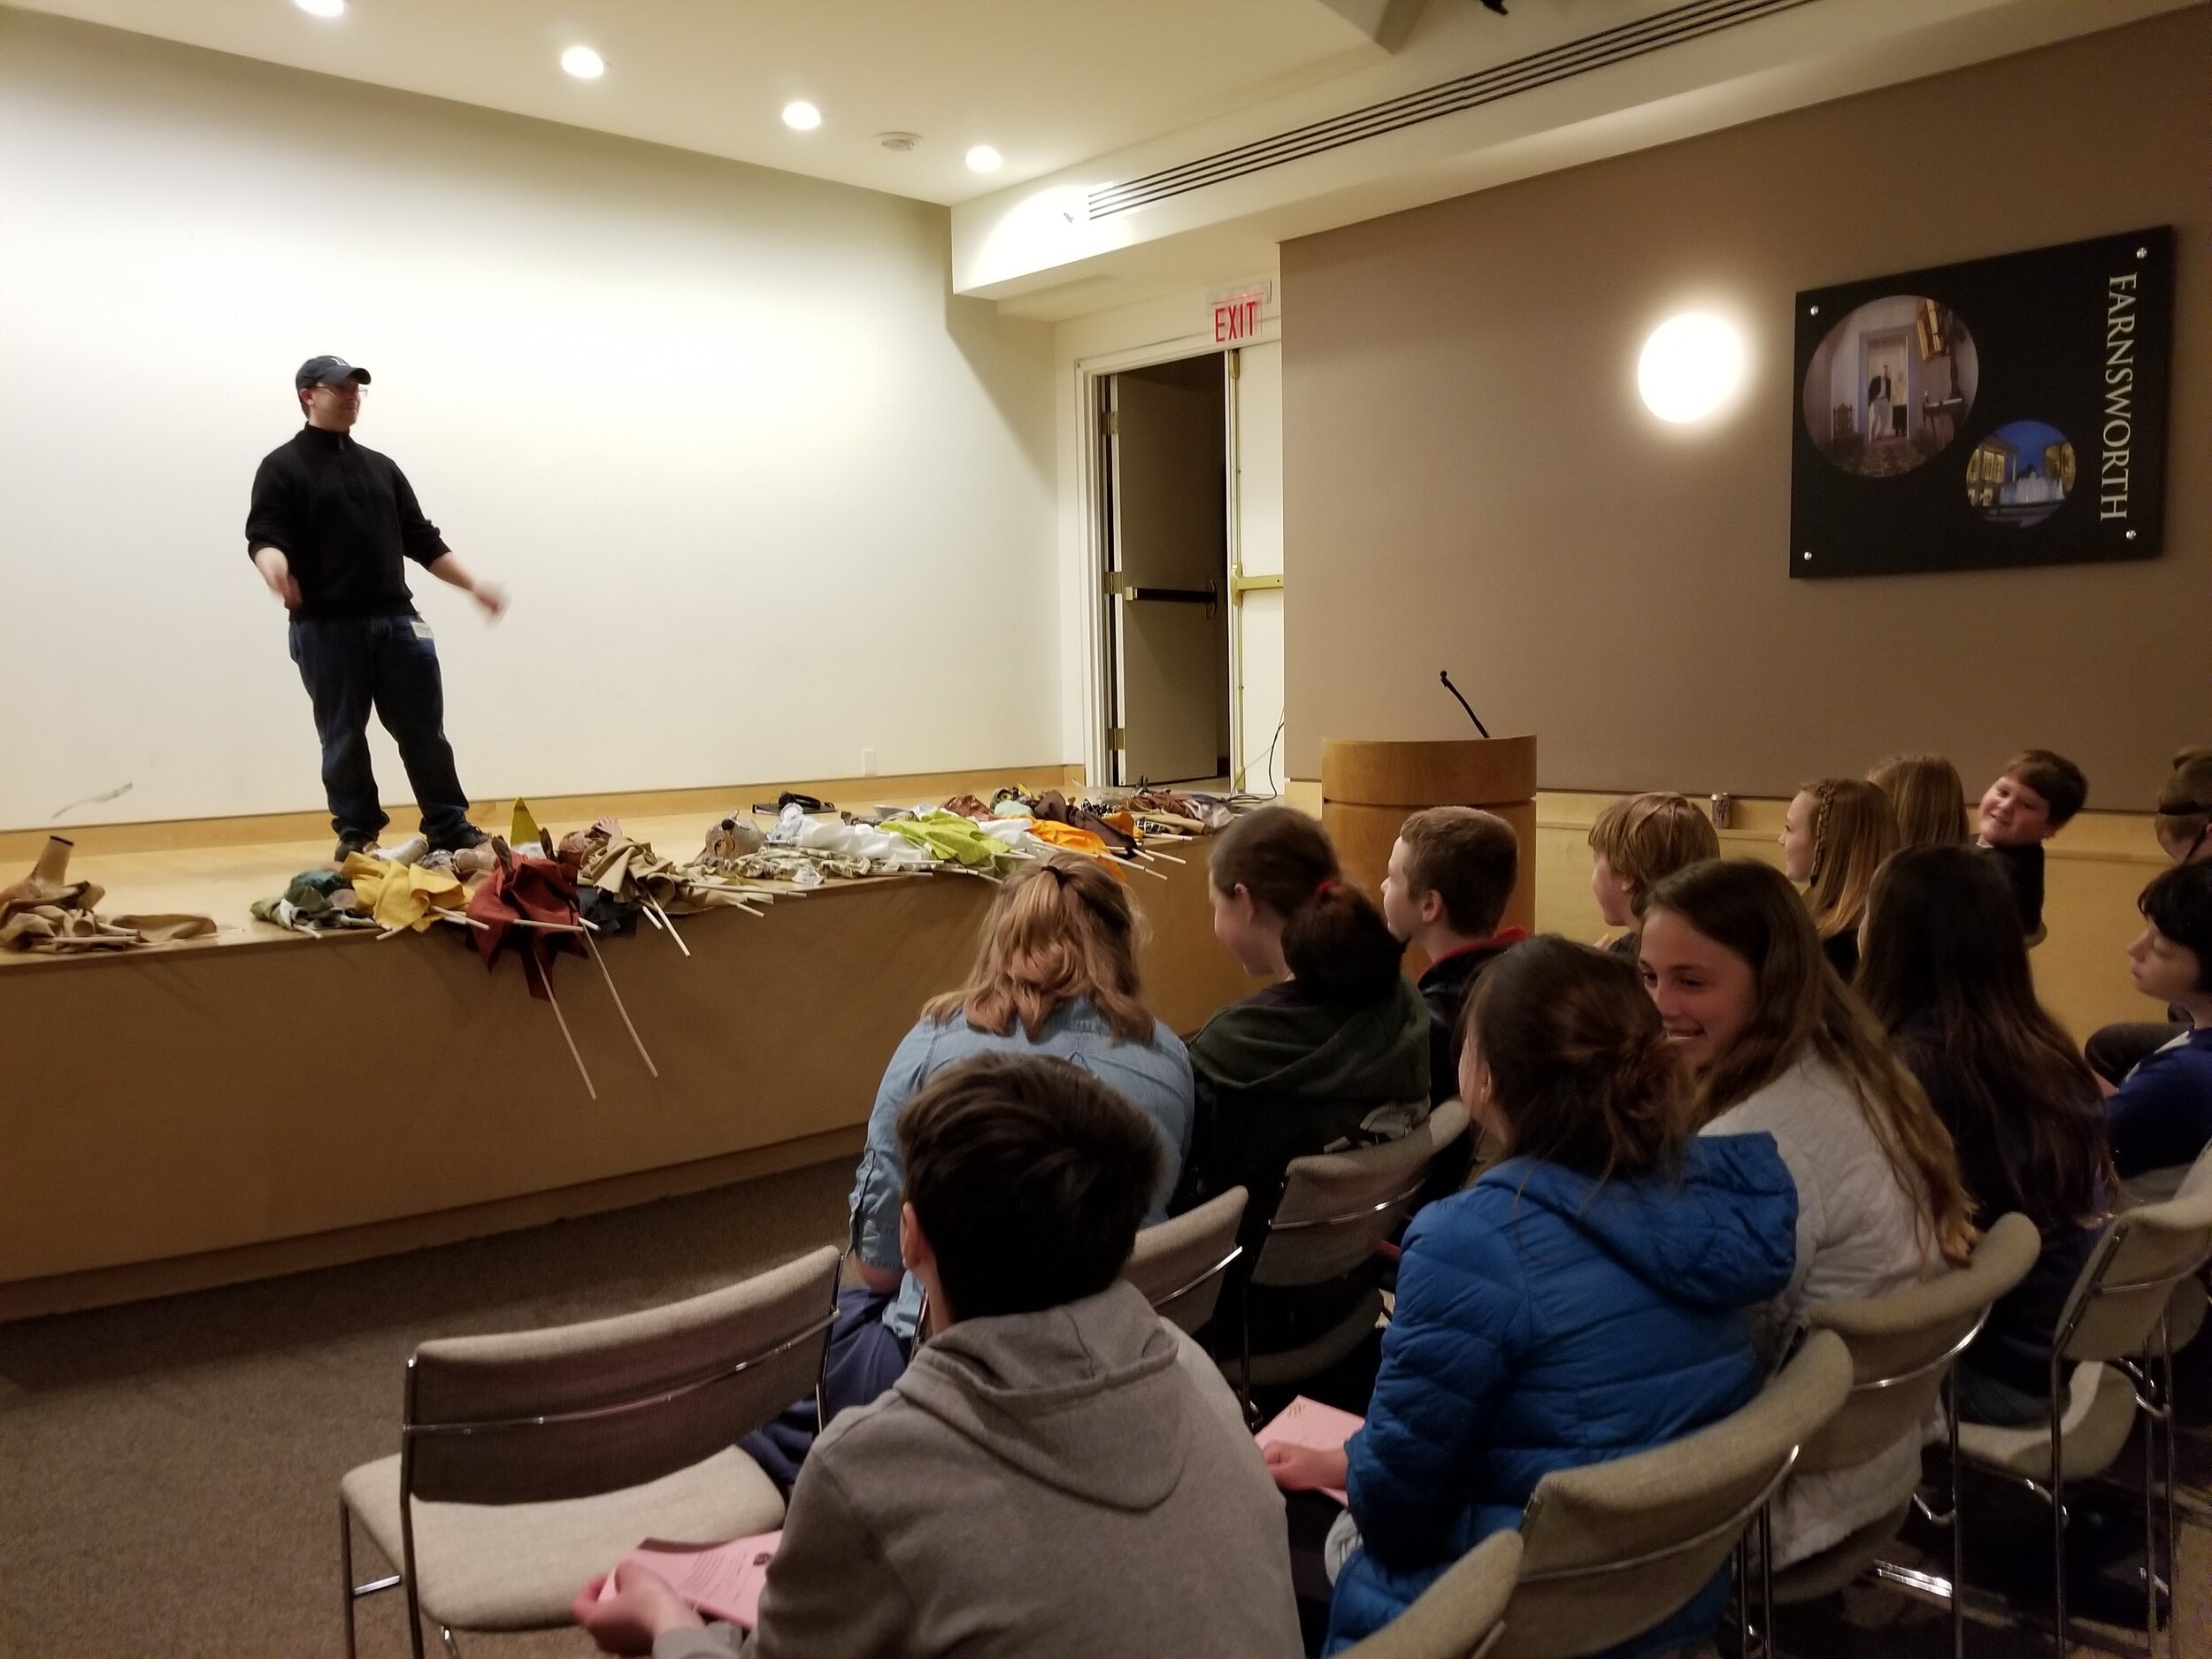
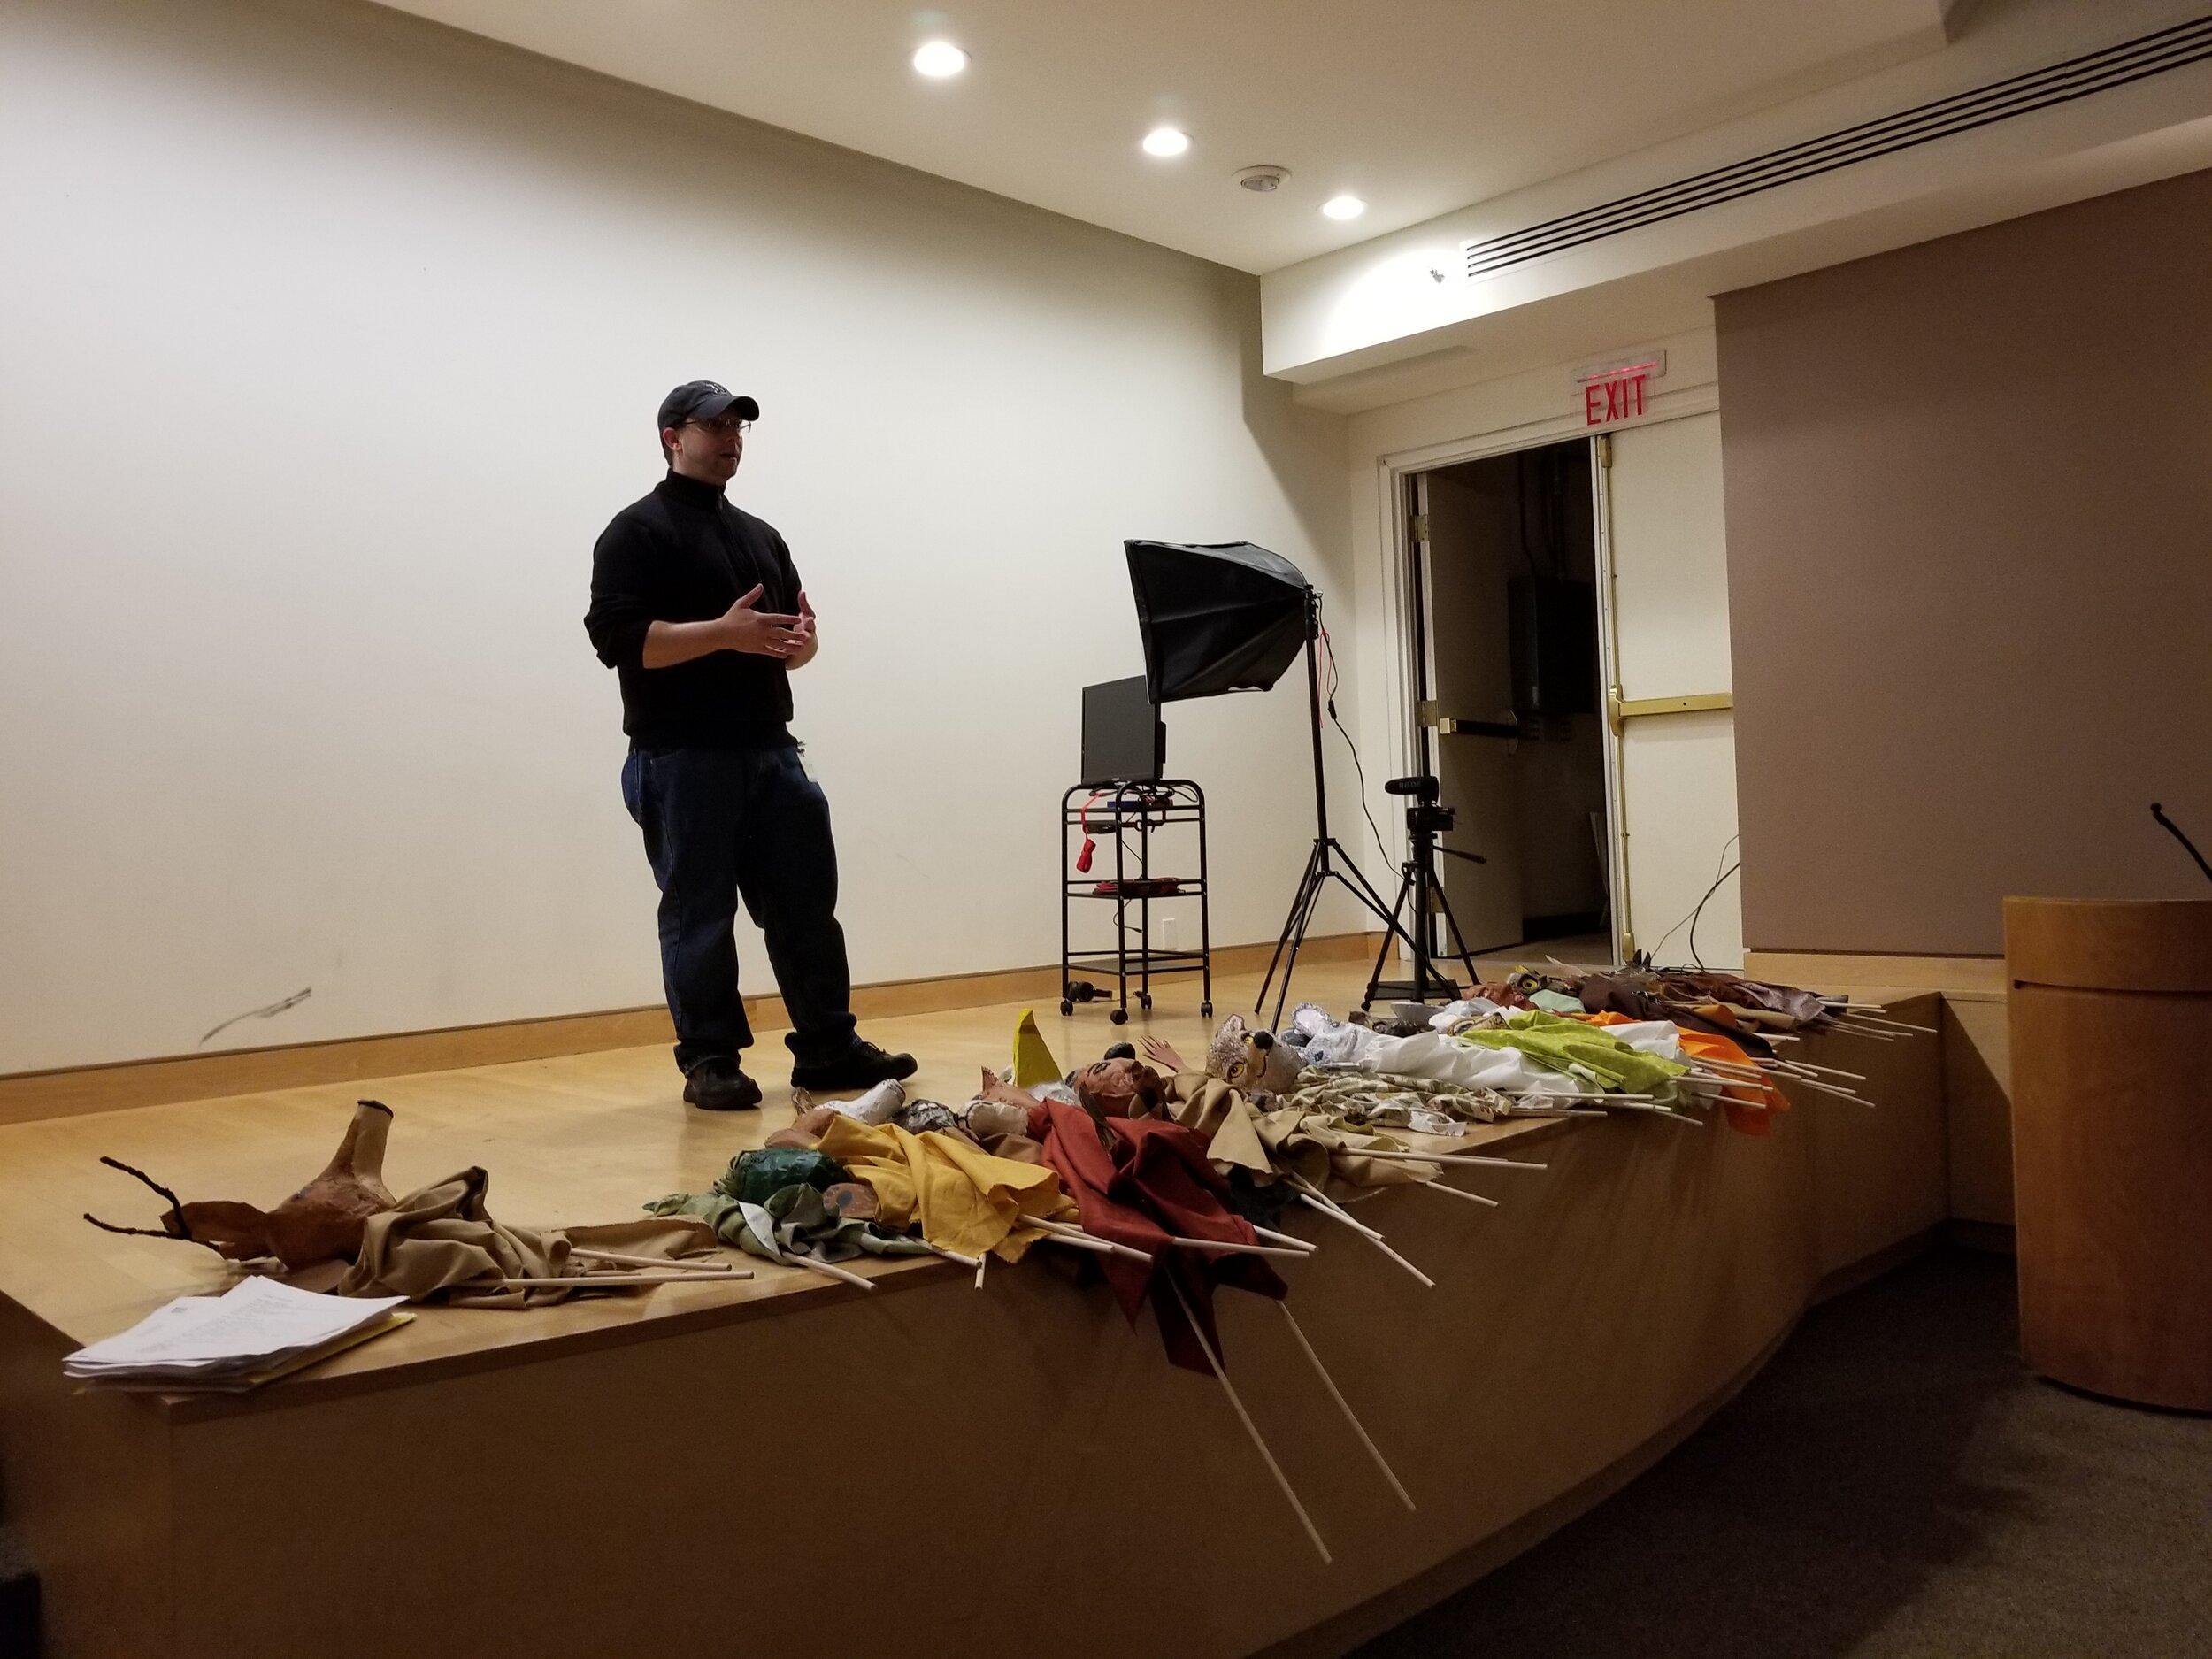
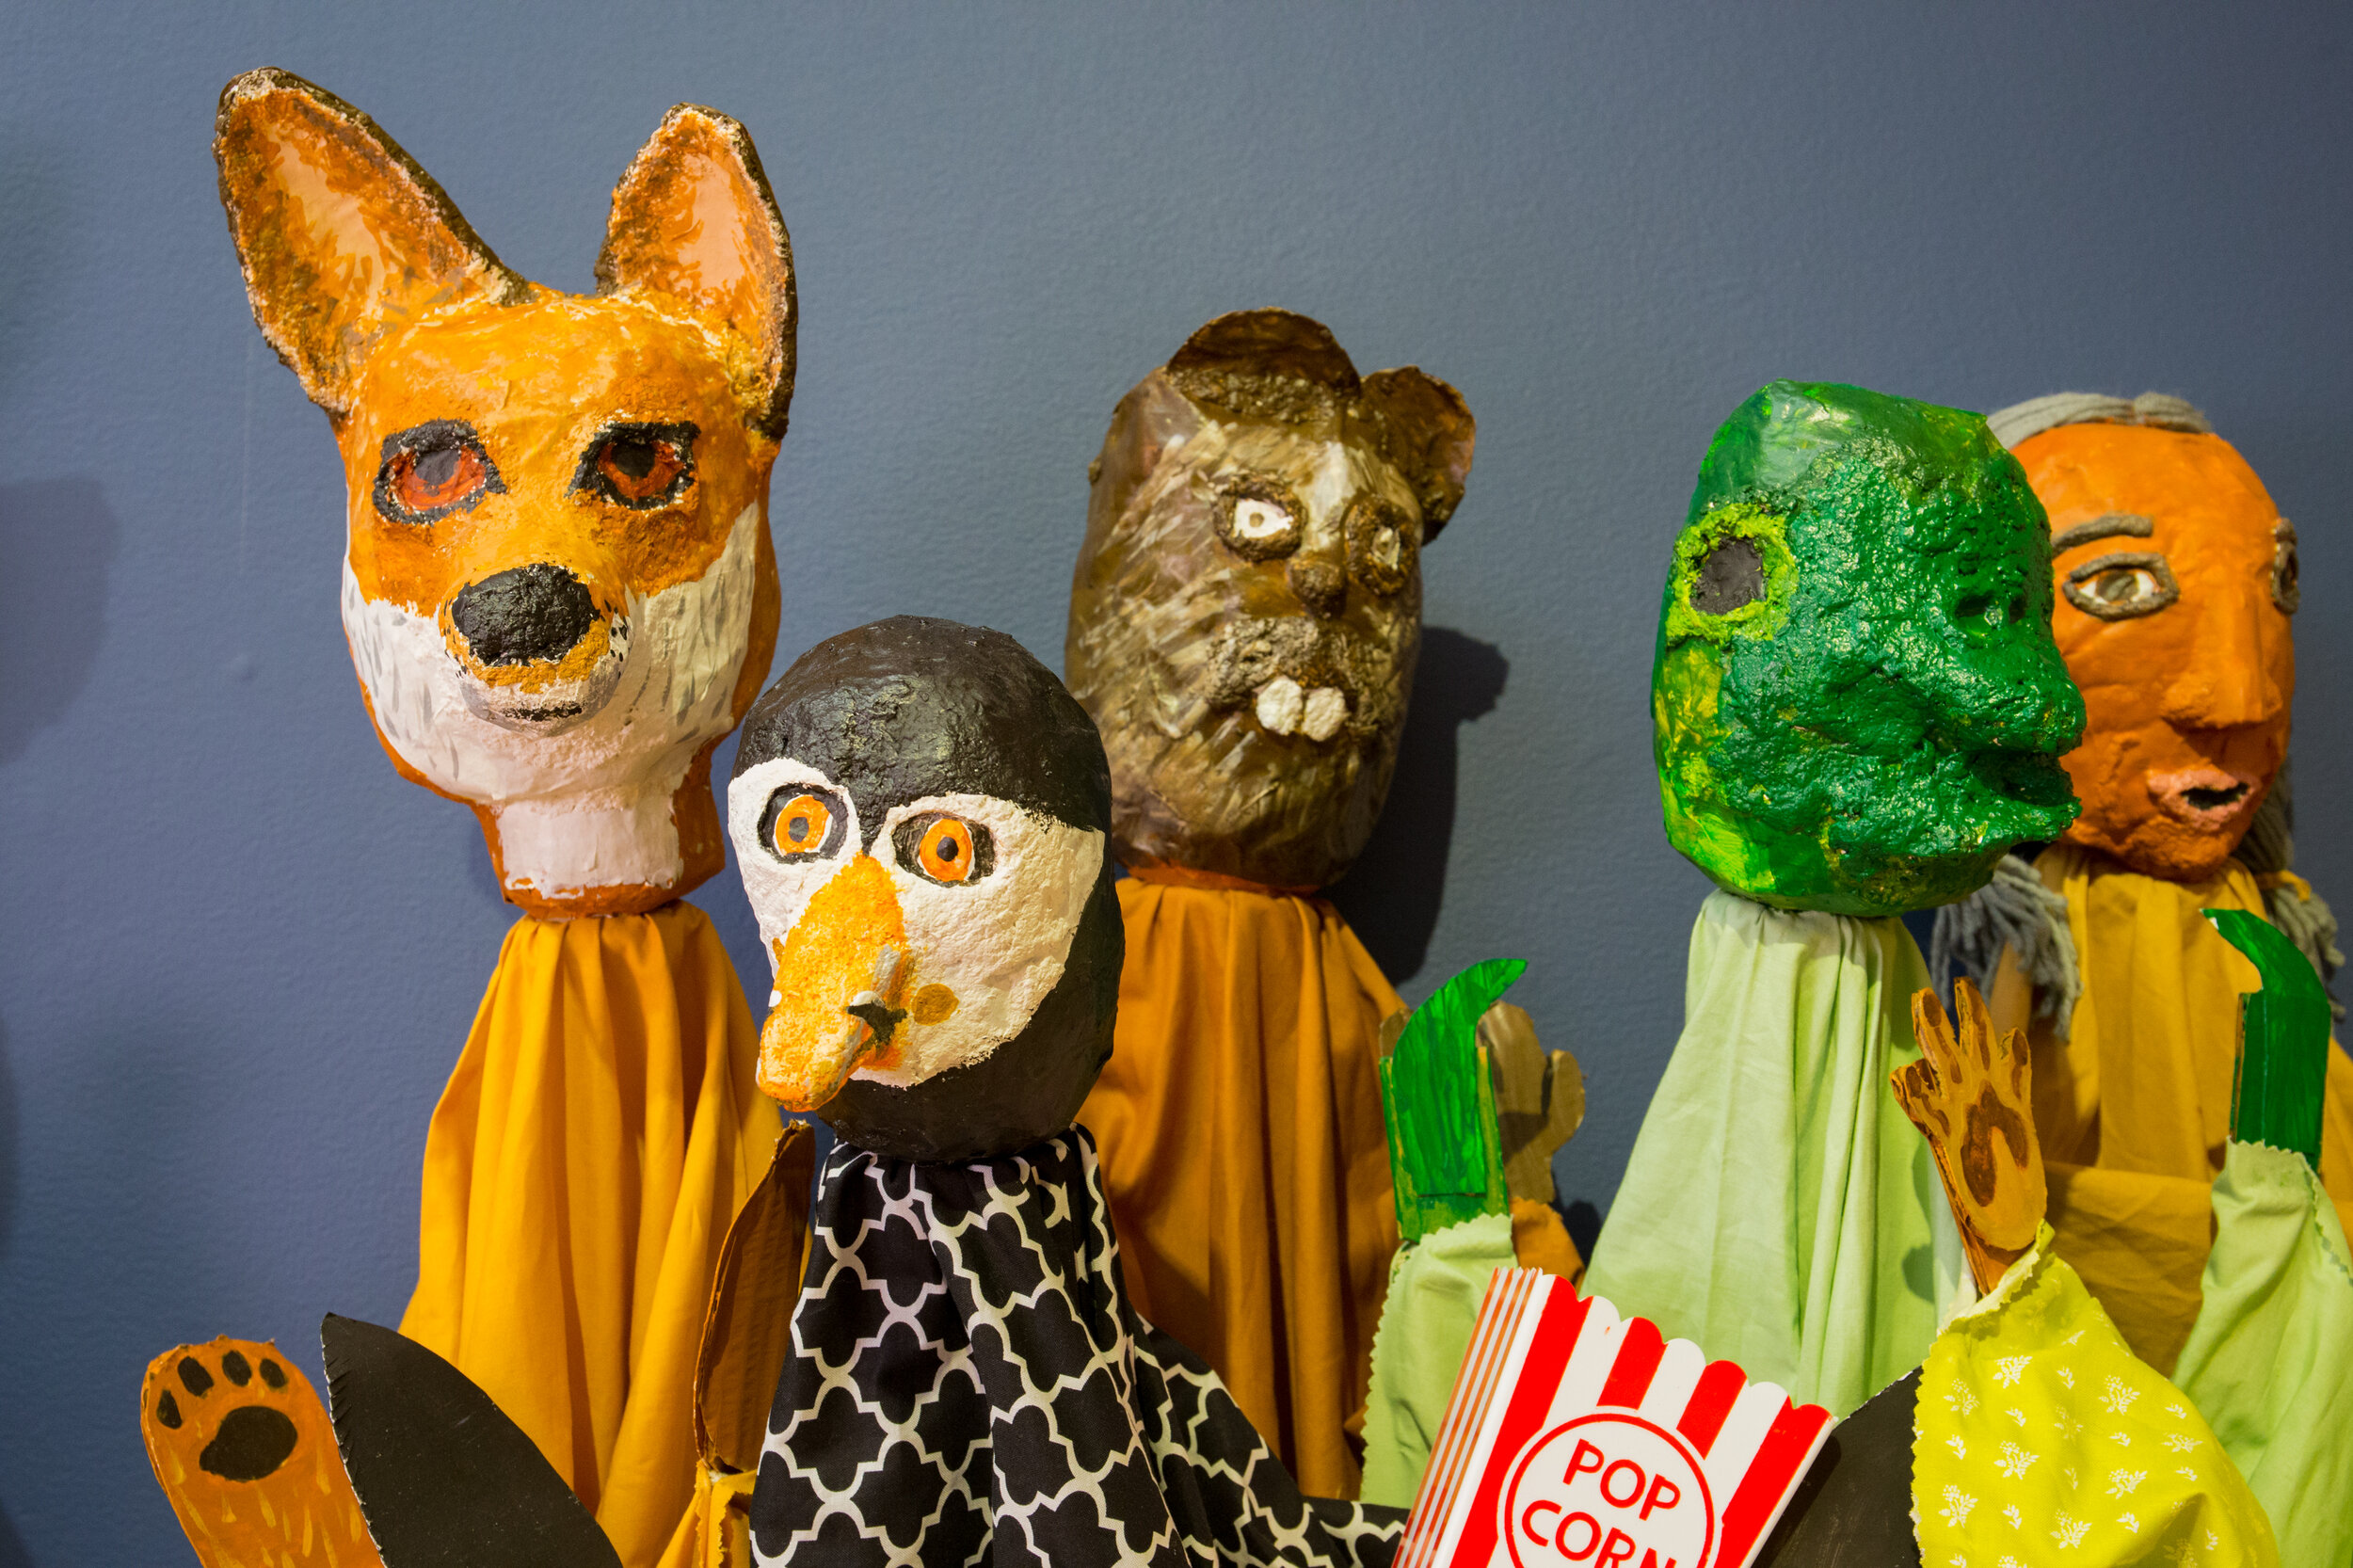
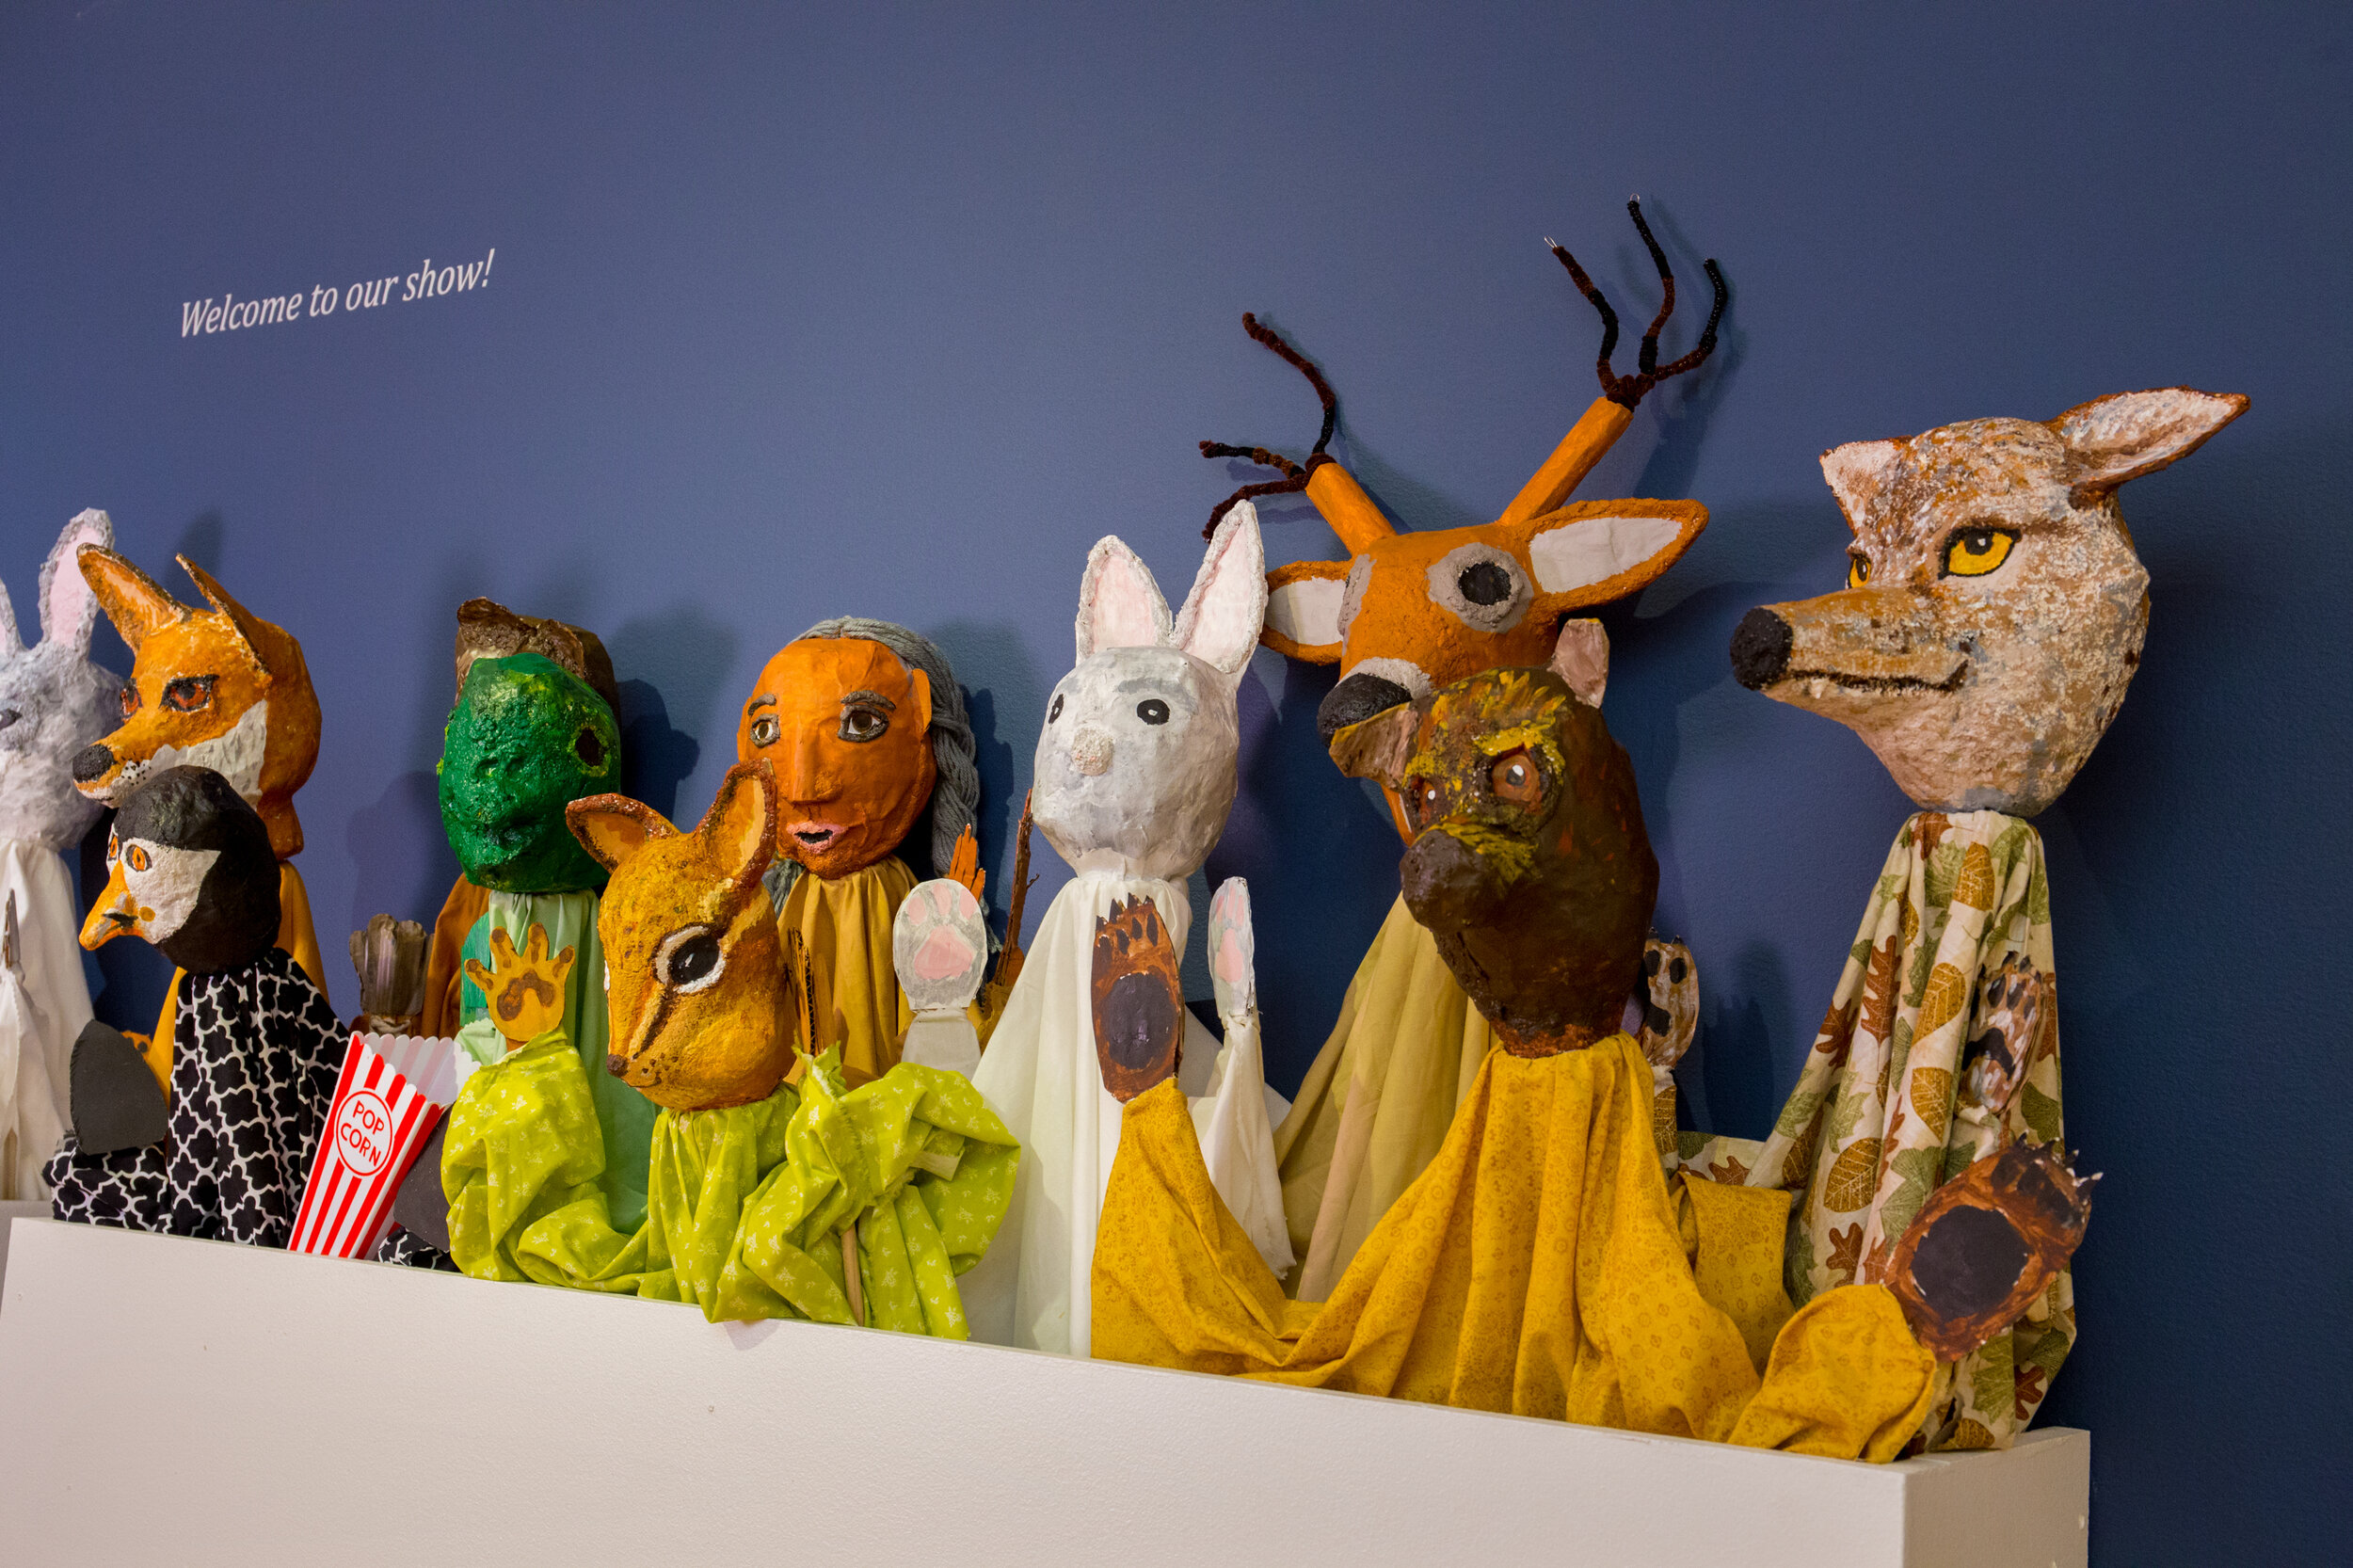
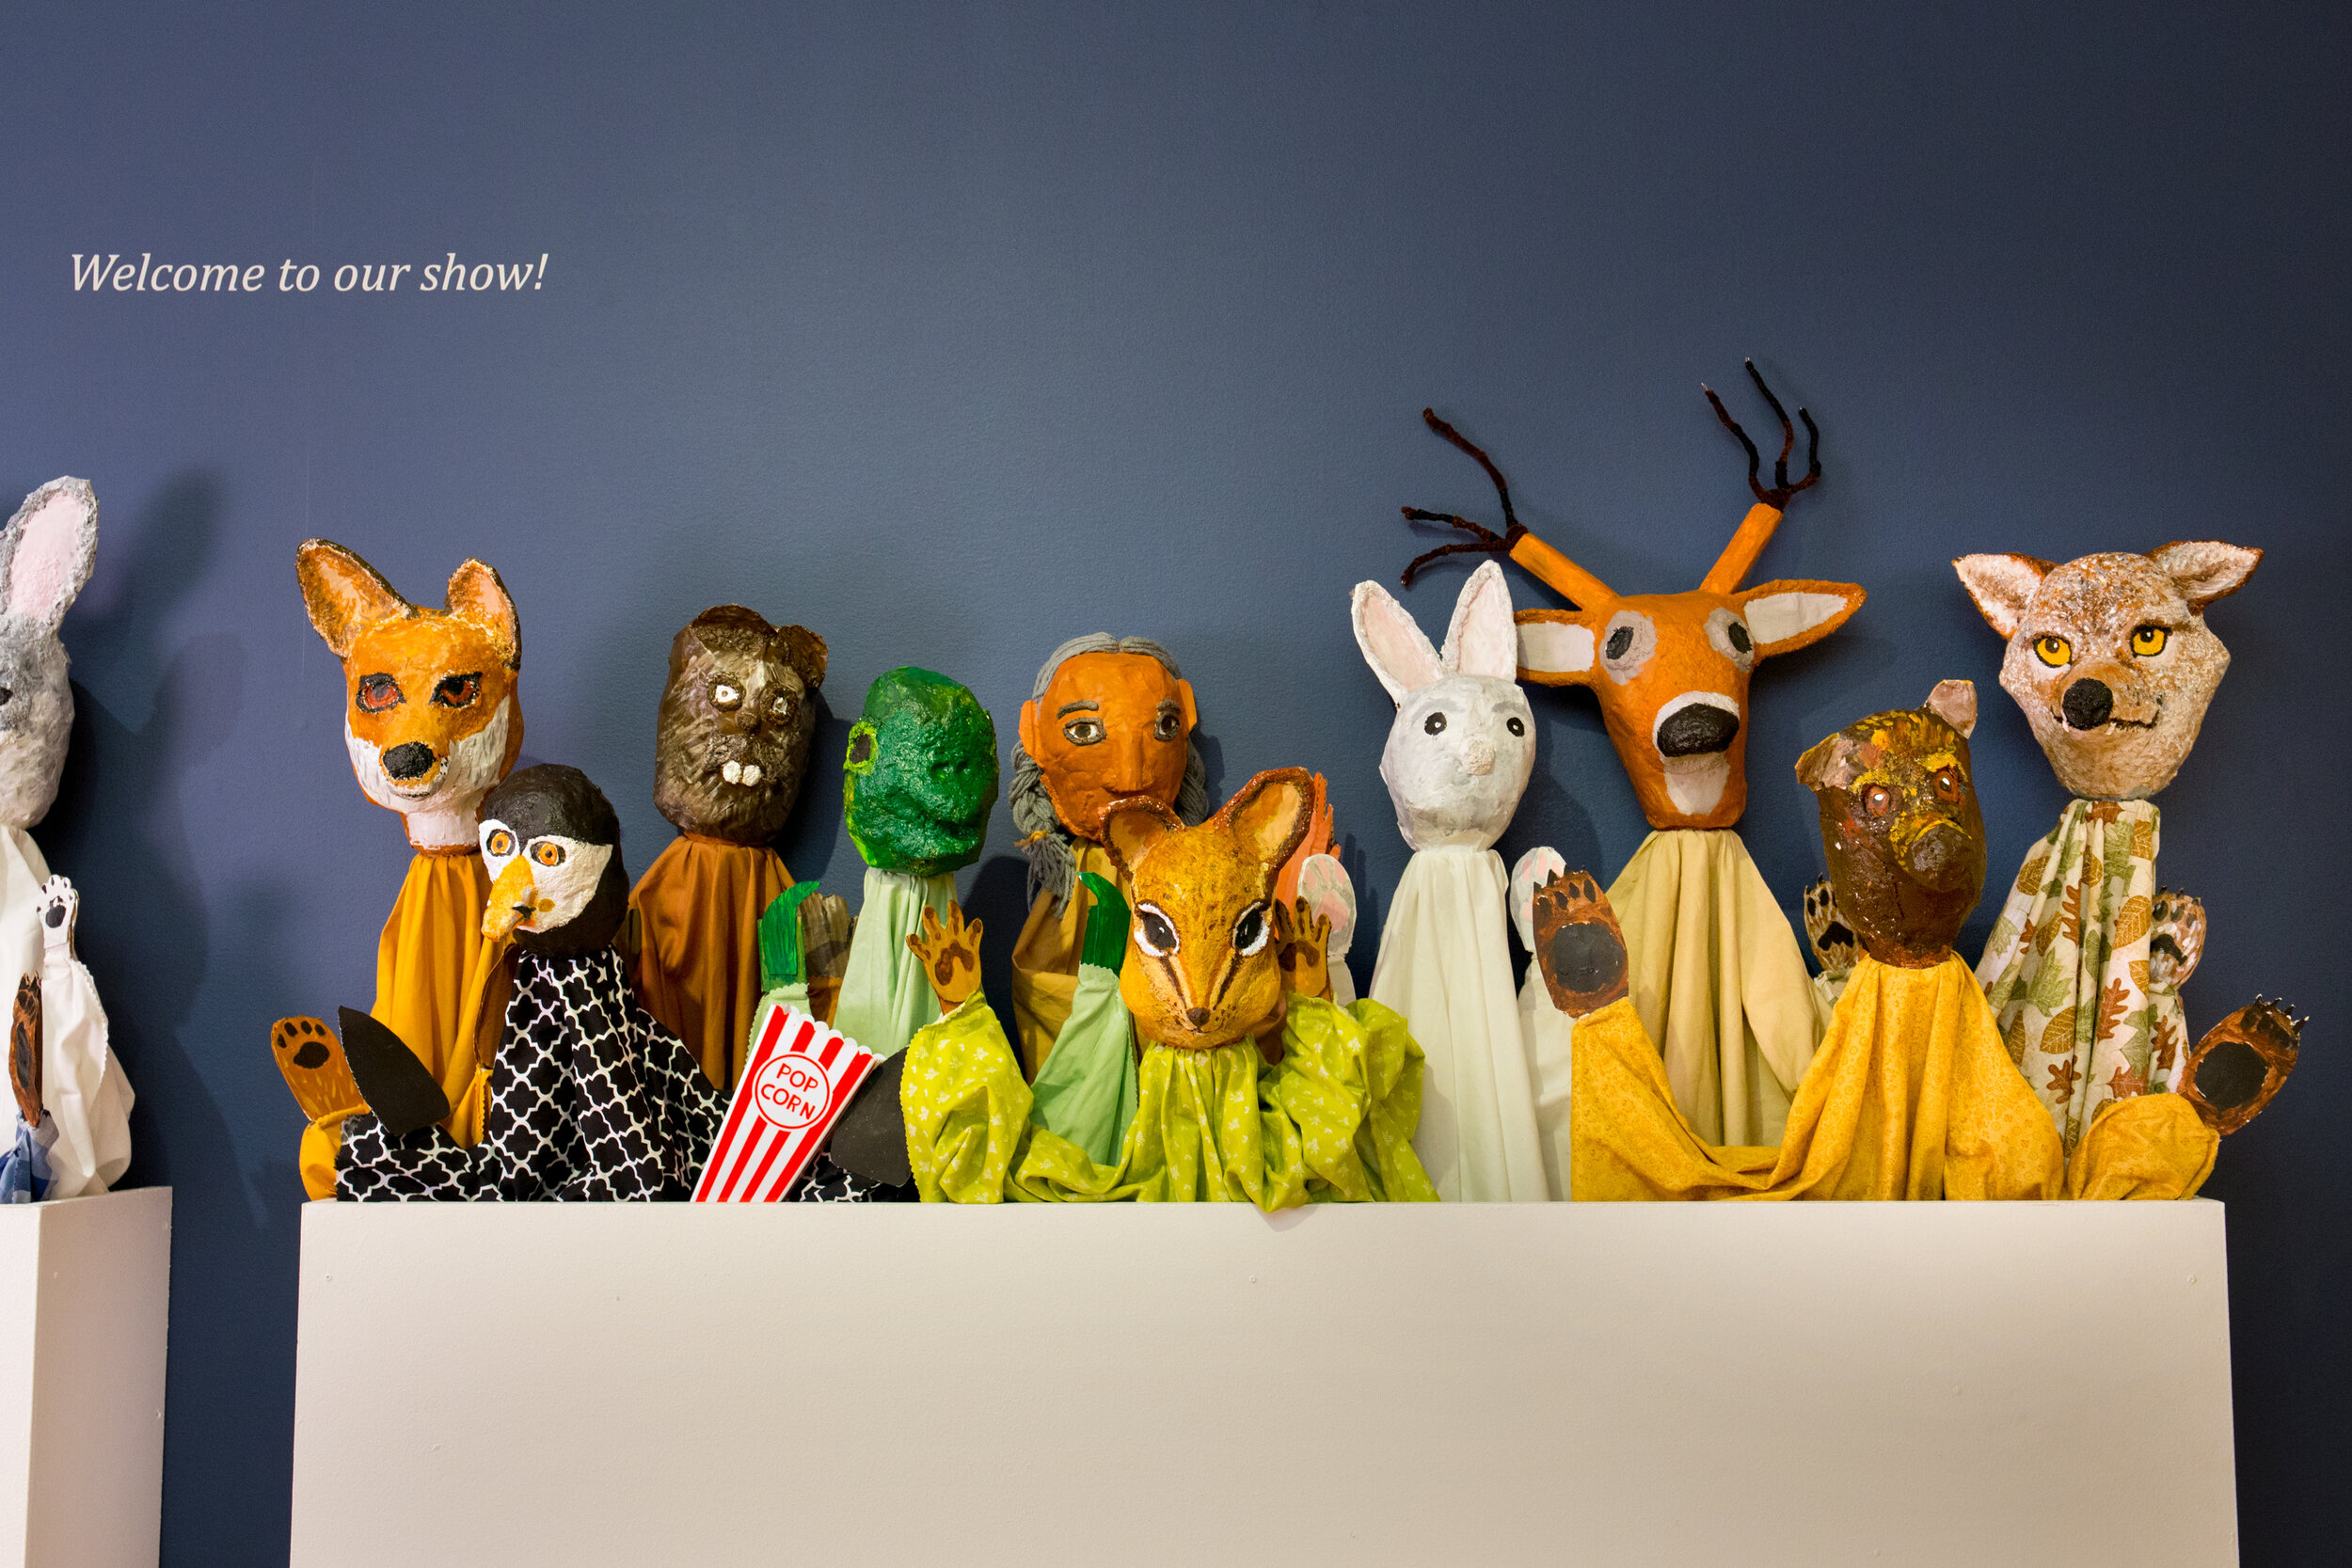
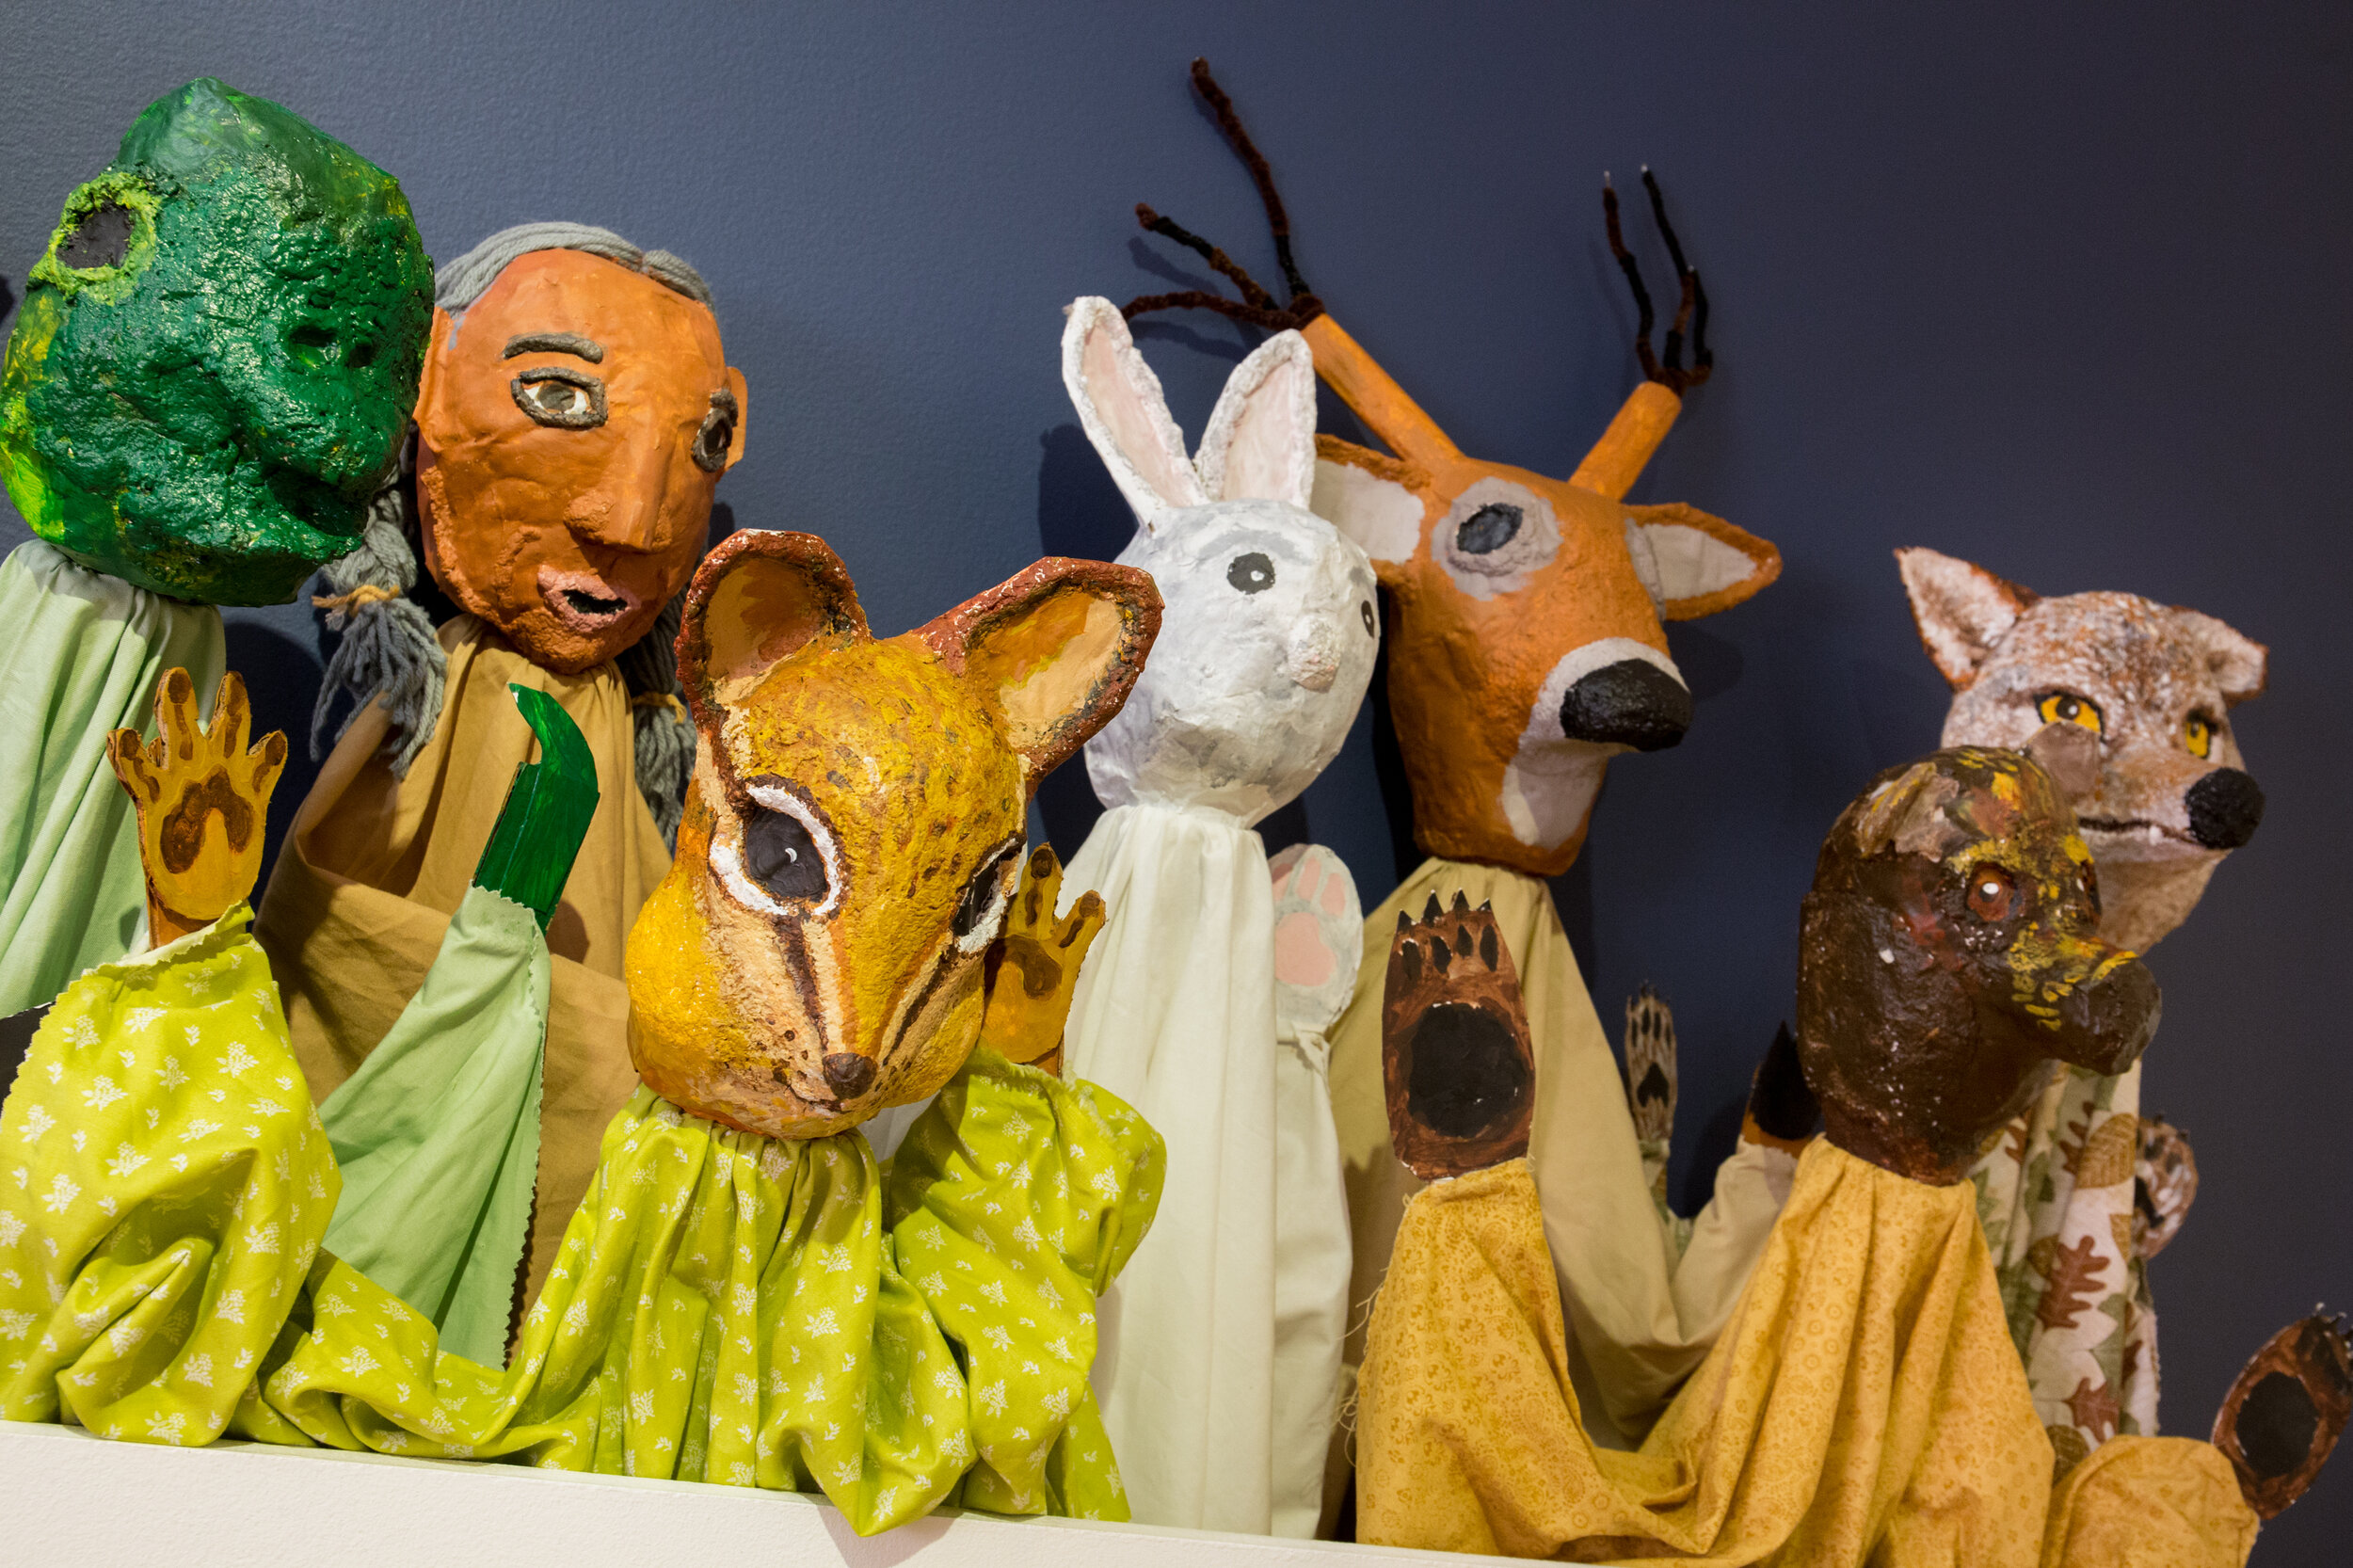
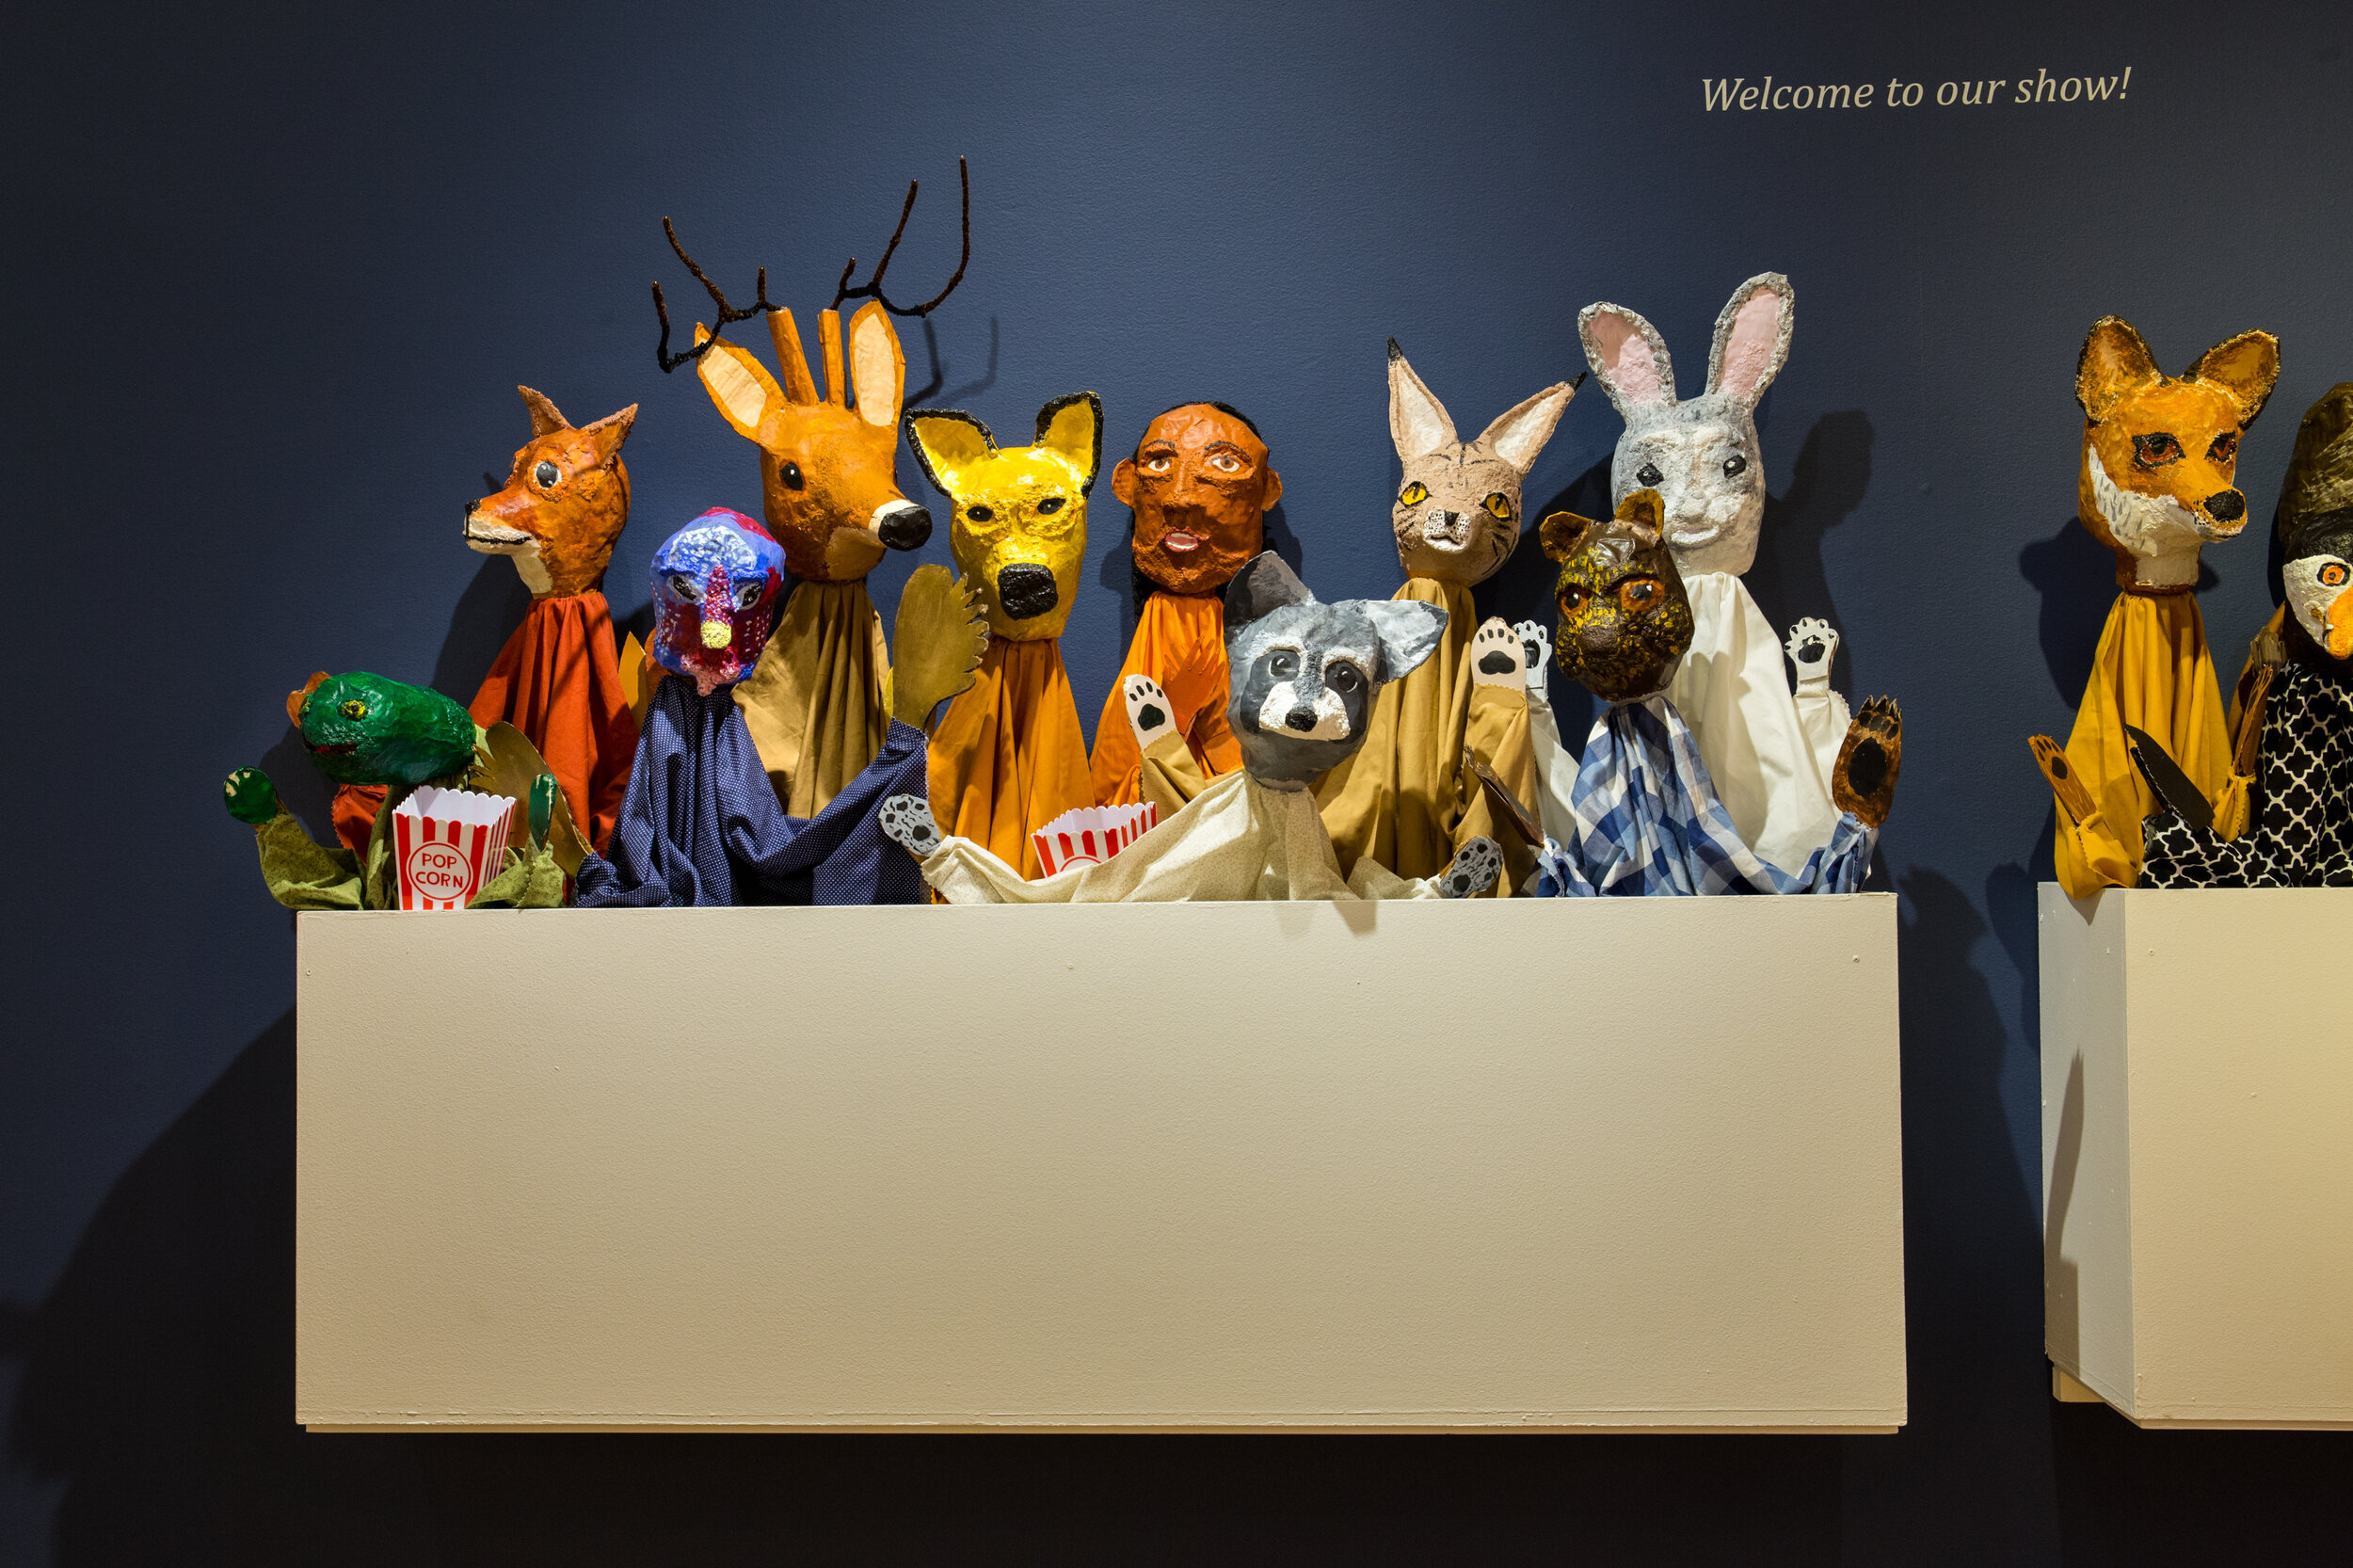
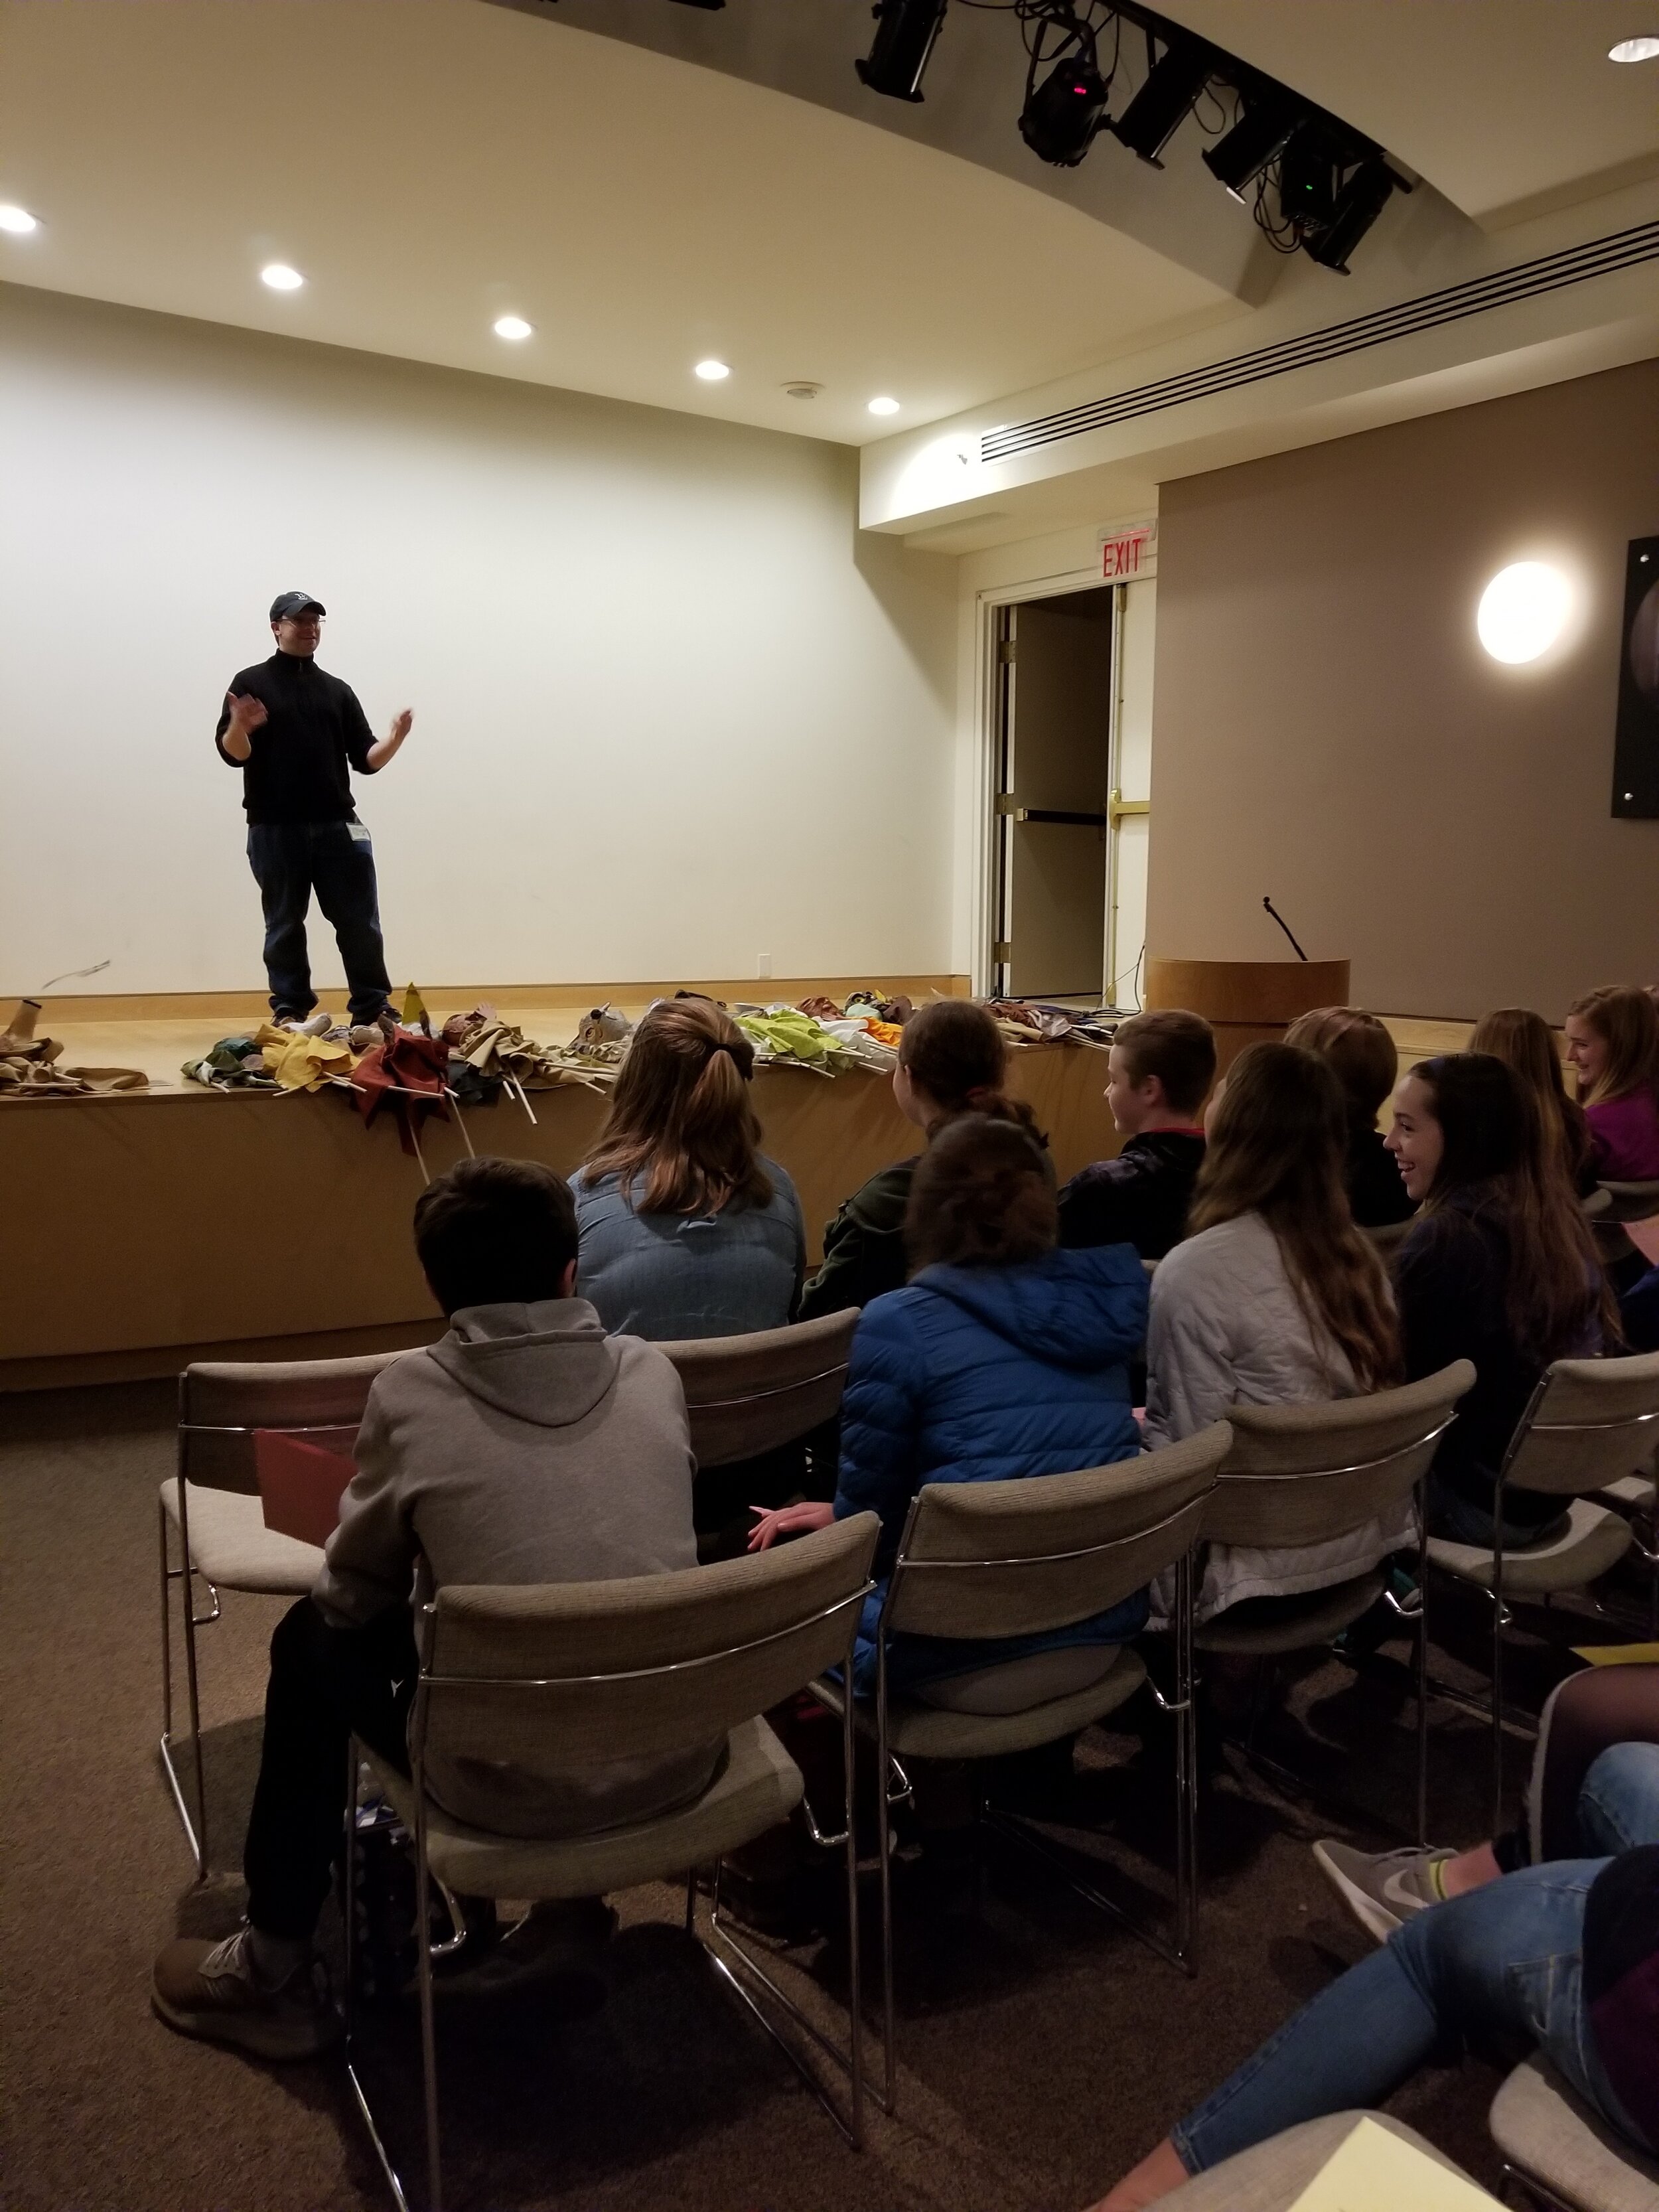
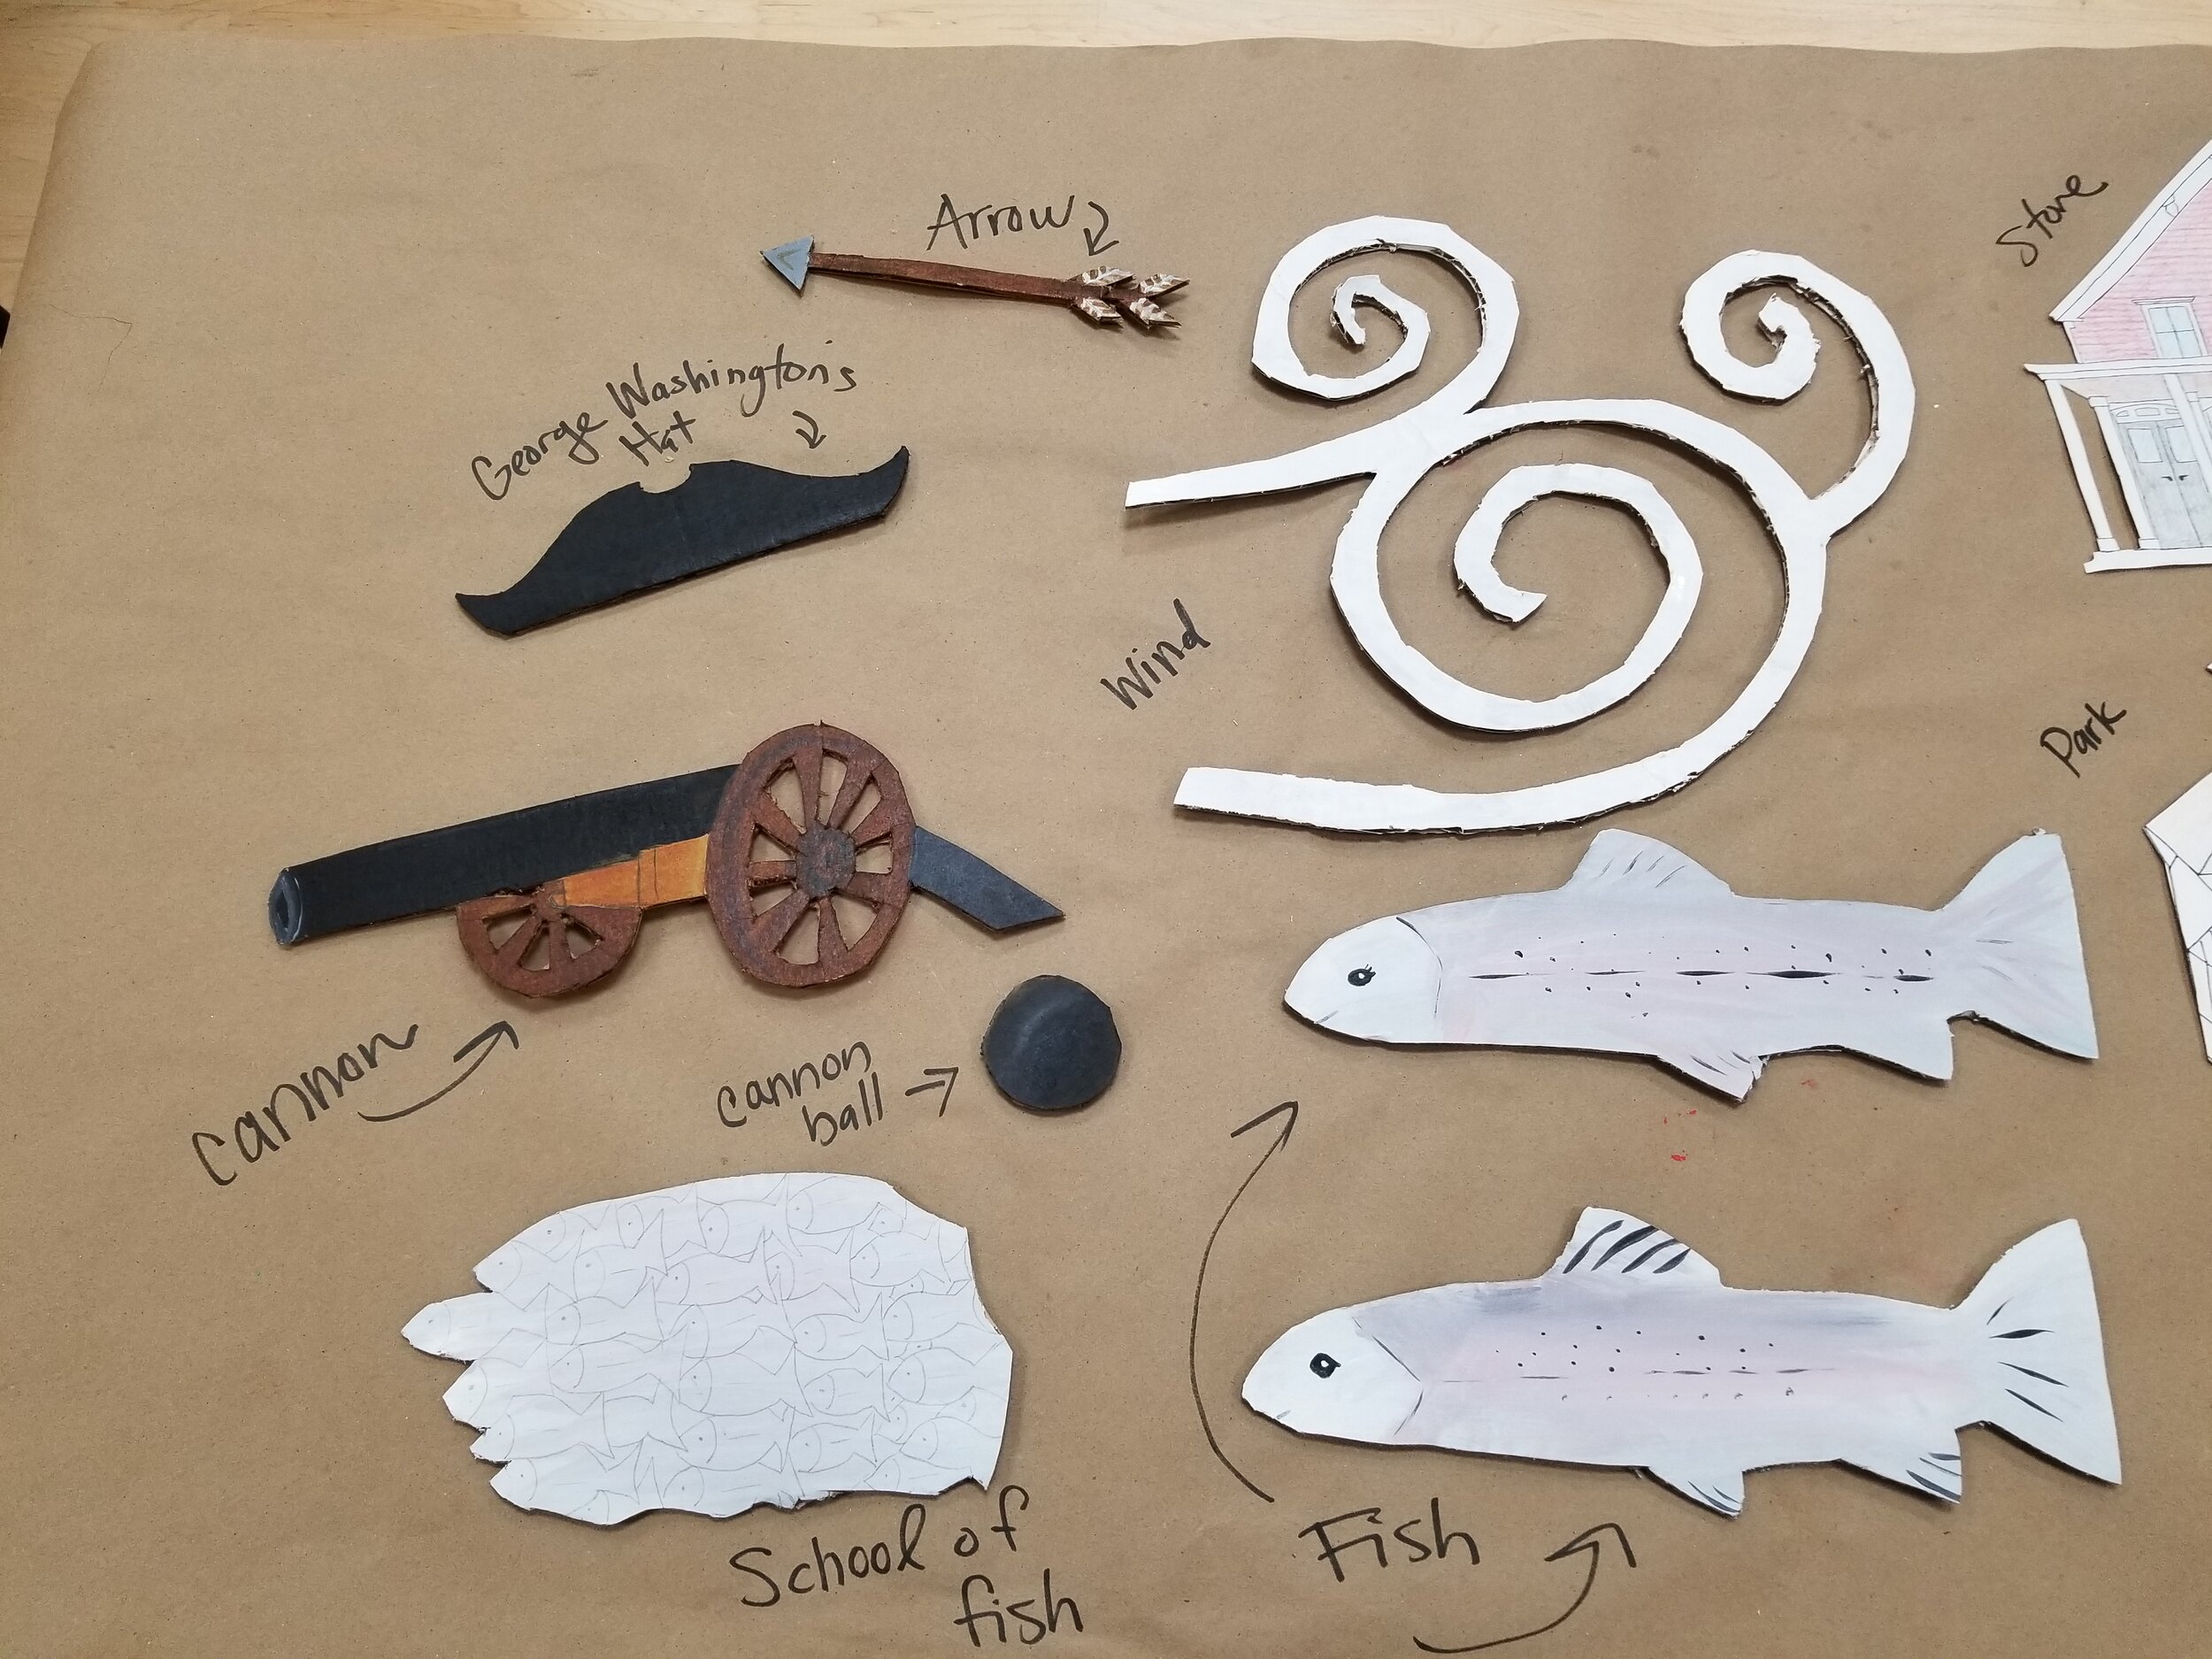
Community Stories: Puppet show
Curricular Connections: Research local history to learn about people and places of your community. Consider what stories are told and what stories are untold.
Reflect + Create: Based on your research create scripts to share the history of your town. You may wish to create a historical fiction, a biography of an important person or people, or develop a historical documentary.
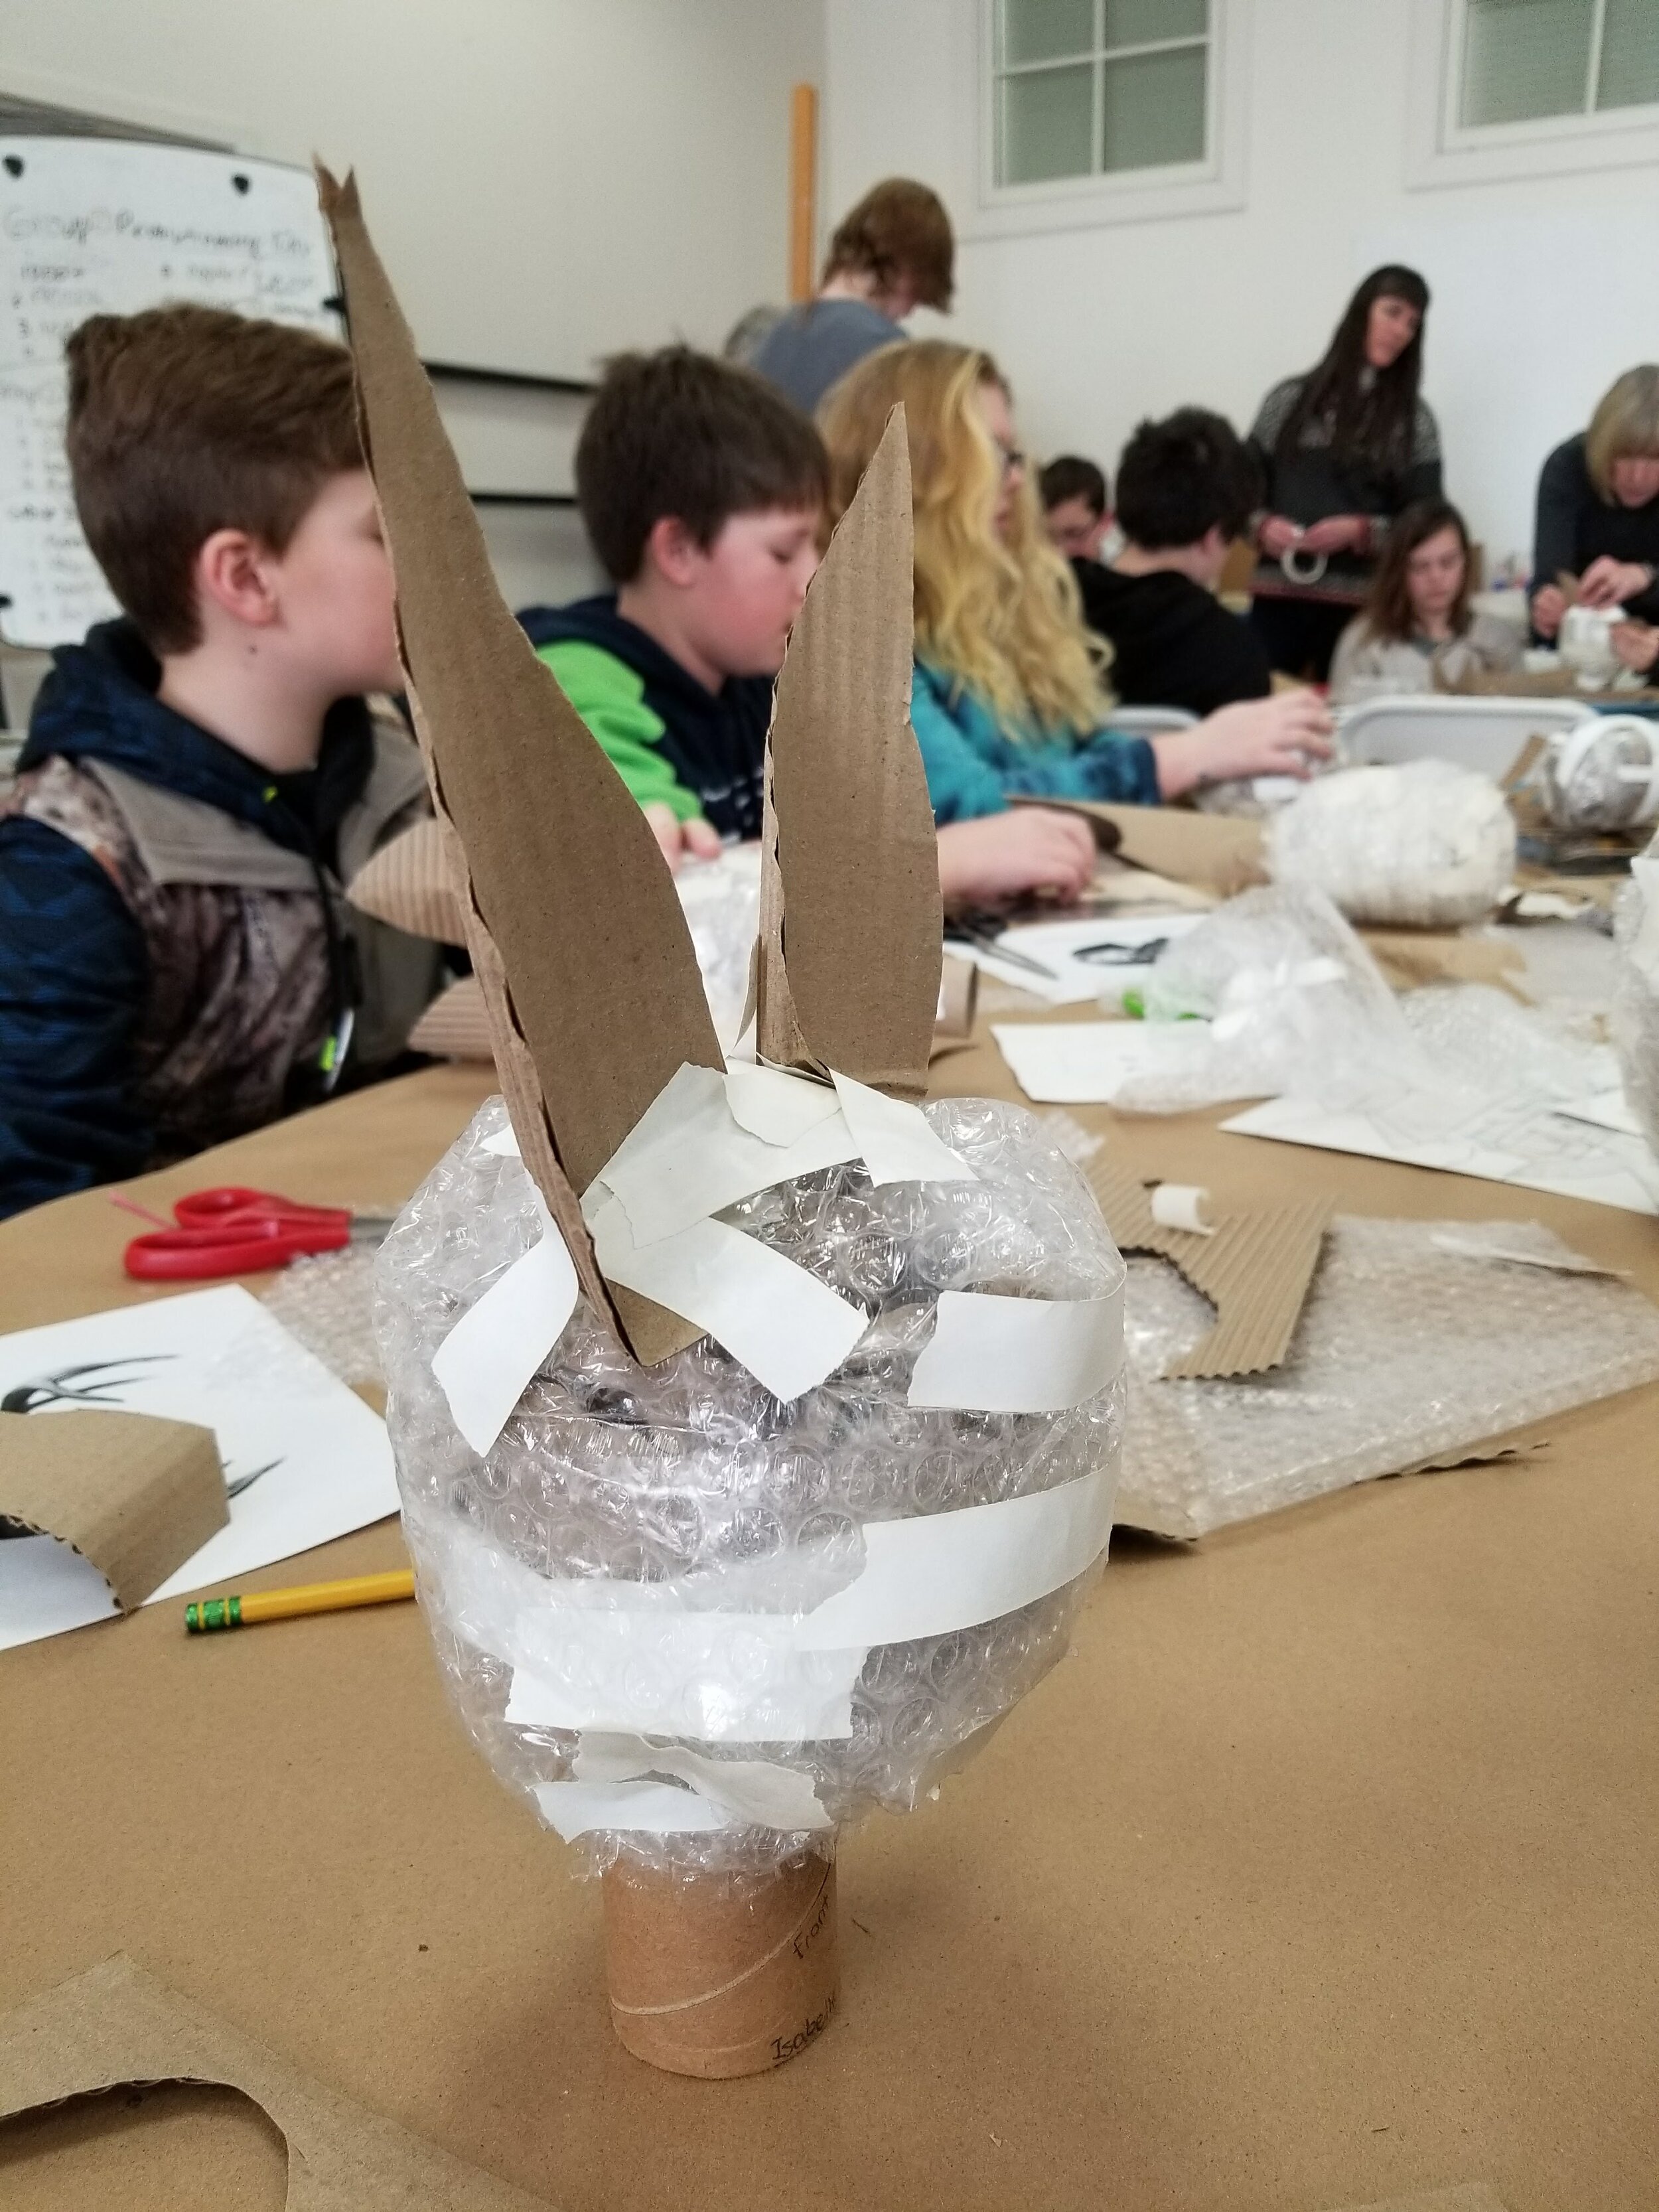
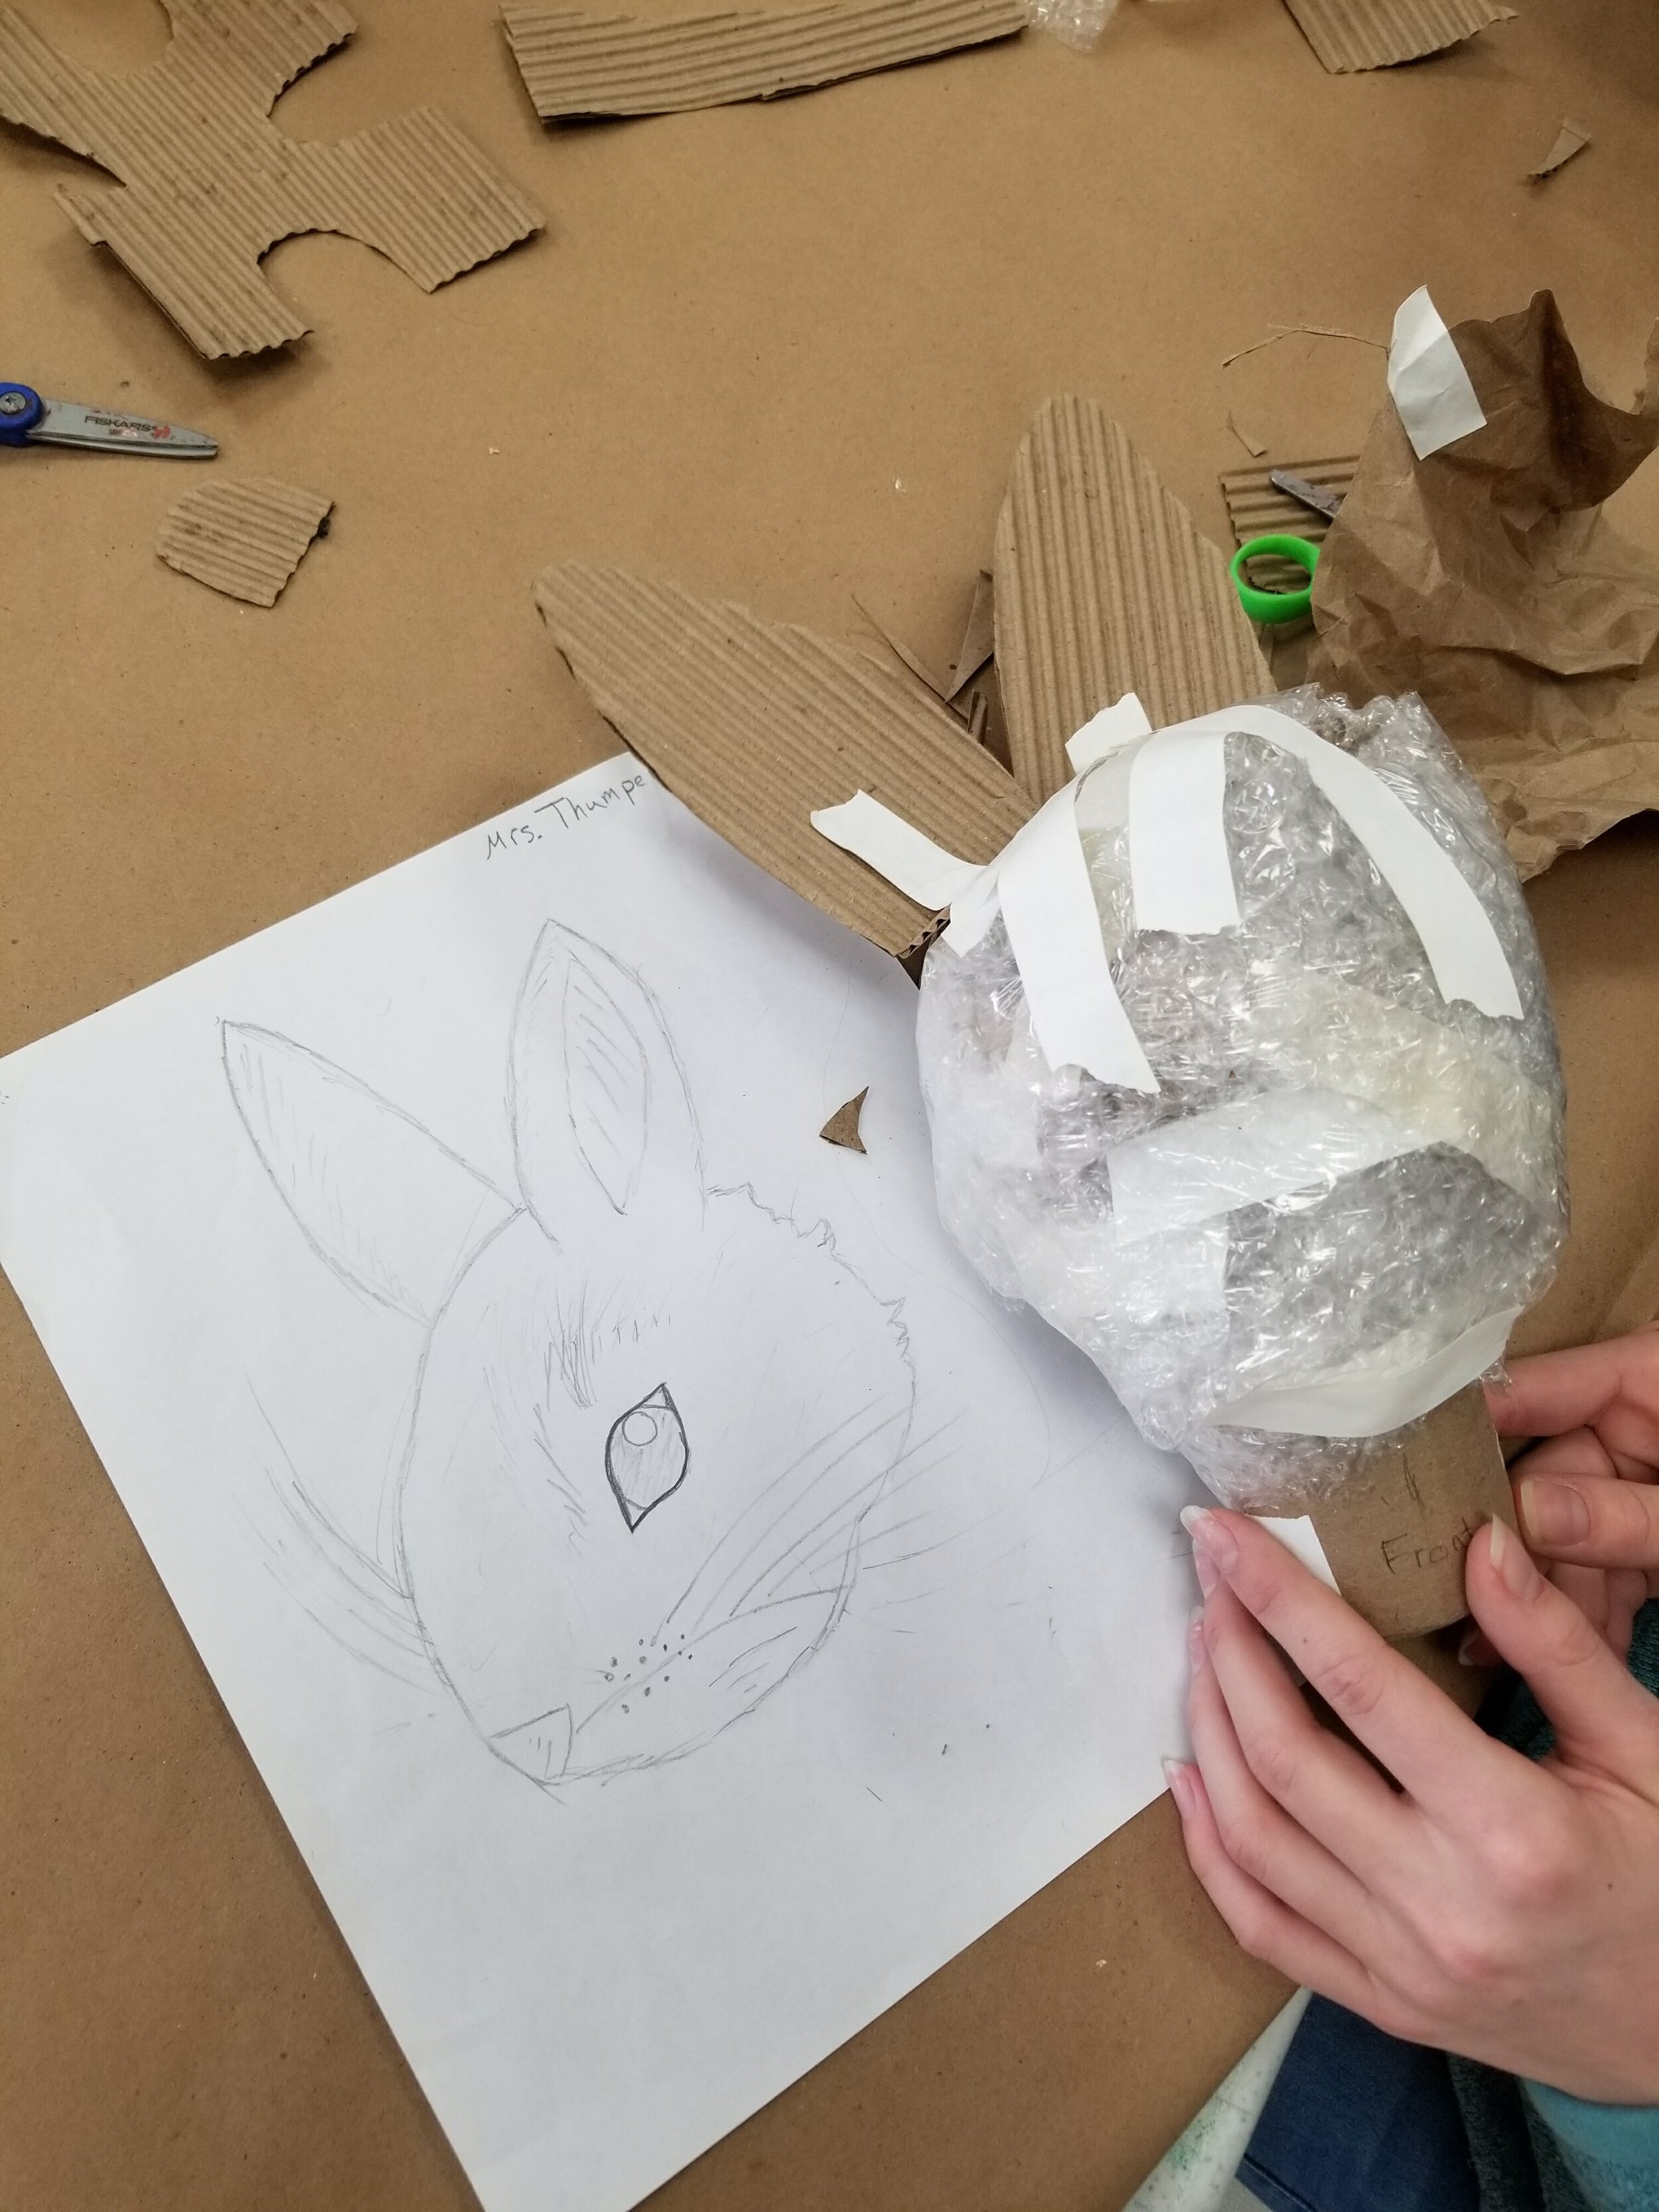
Create: Create puppets to perform your story. Consider voice and movement. How can you “show” your story? What backdrops do you require? Consider issues of representation as you develop your puppets.
Reflect + Revise: Practice your performance! Give each other feedback and coordinate how you will move throughout each scene.
Exhibition: Share your story with a live performance or document it on video! Create a book to accompany your project.
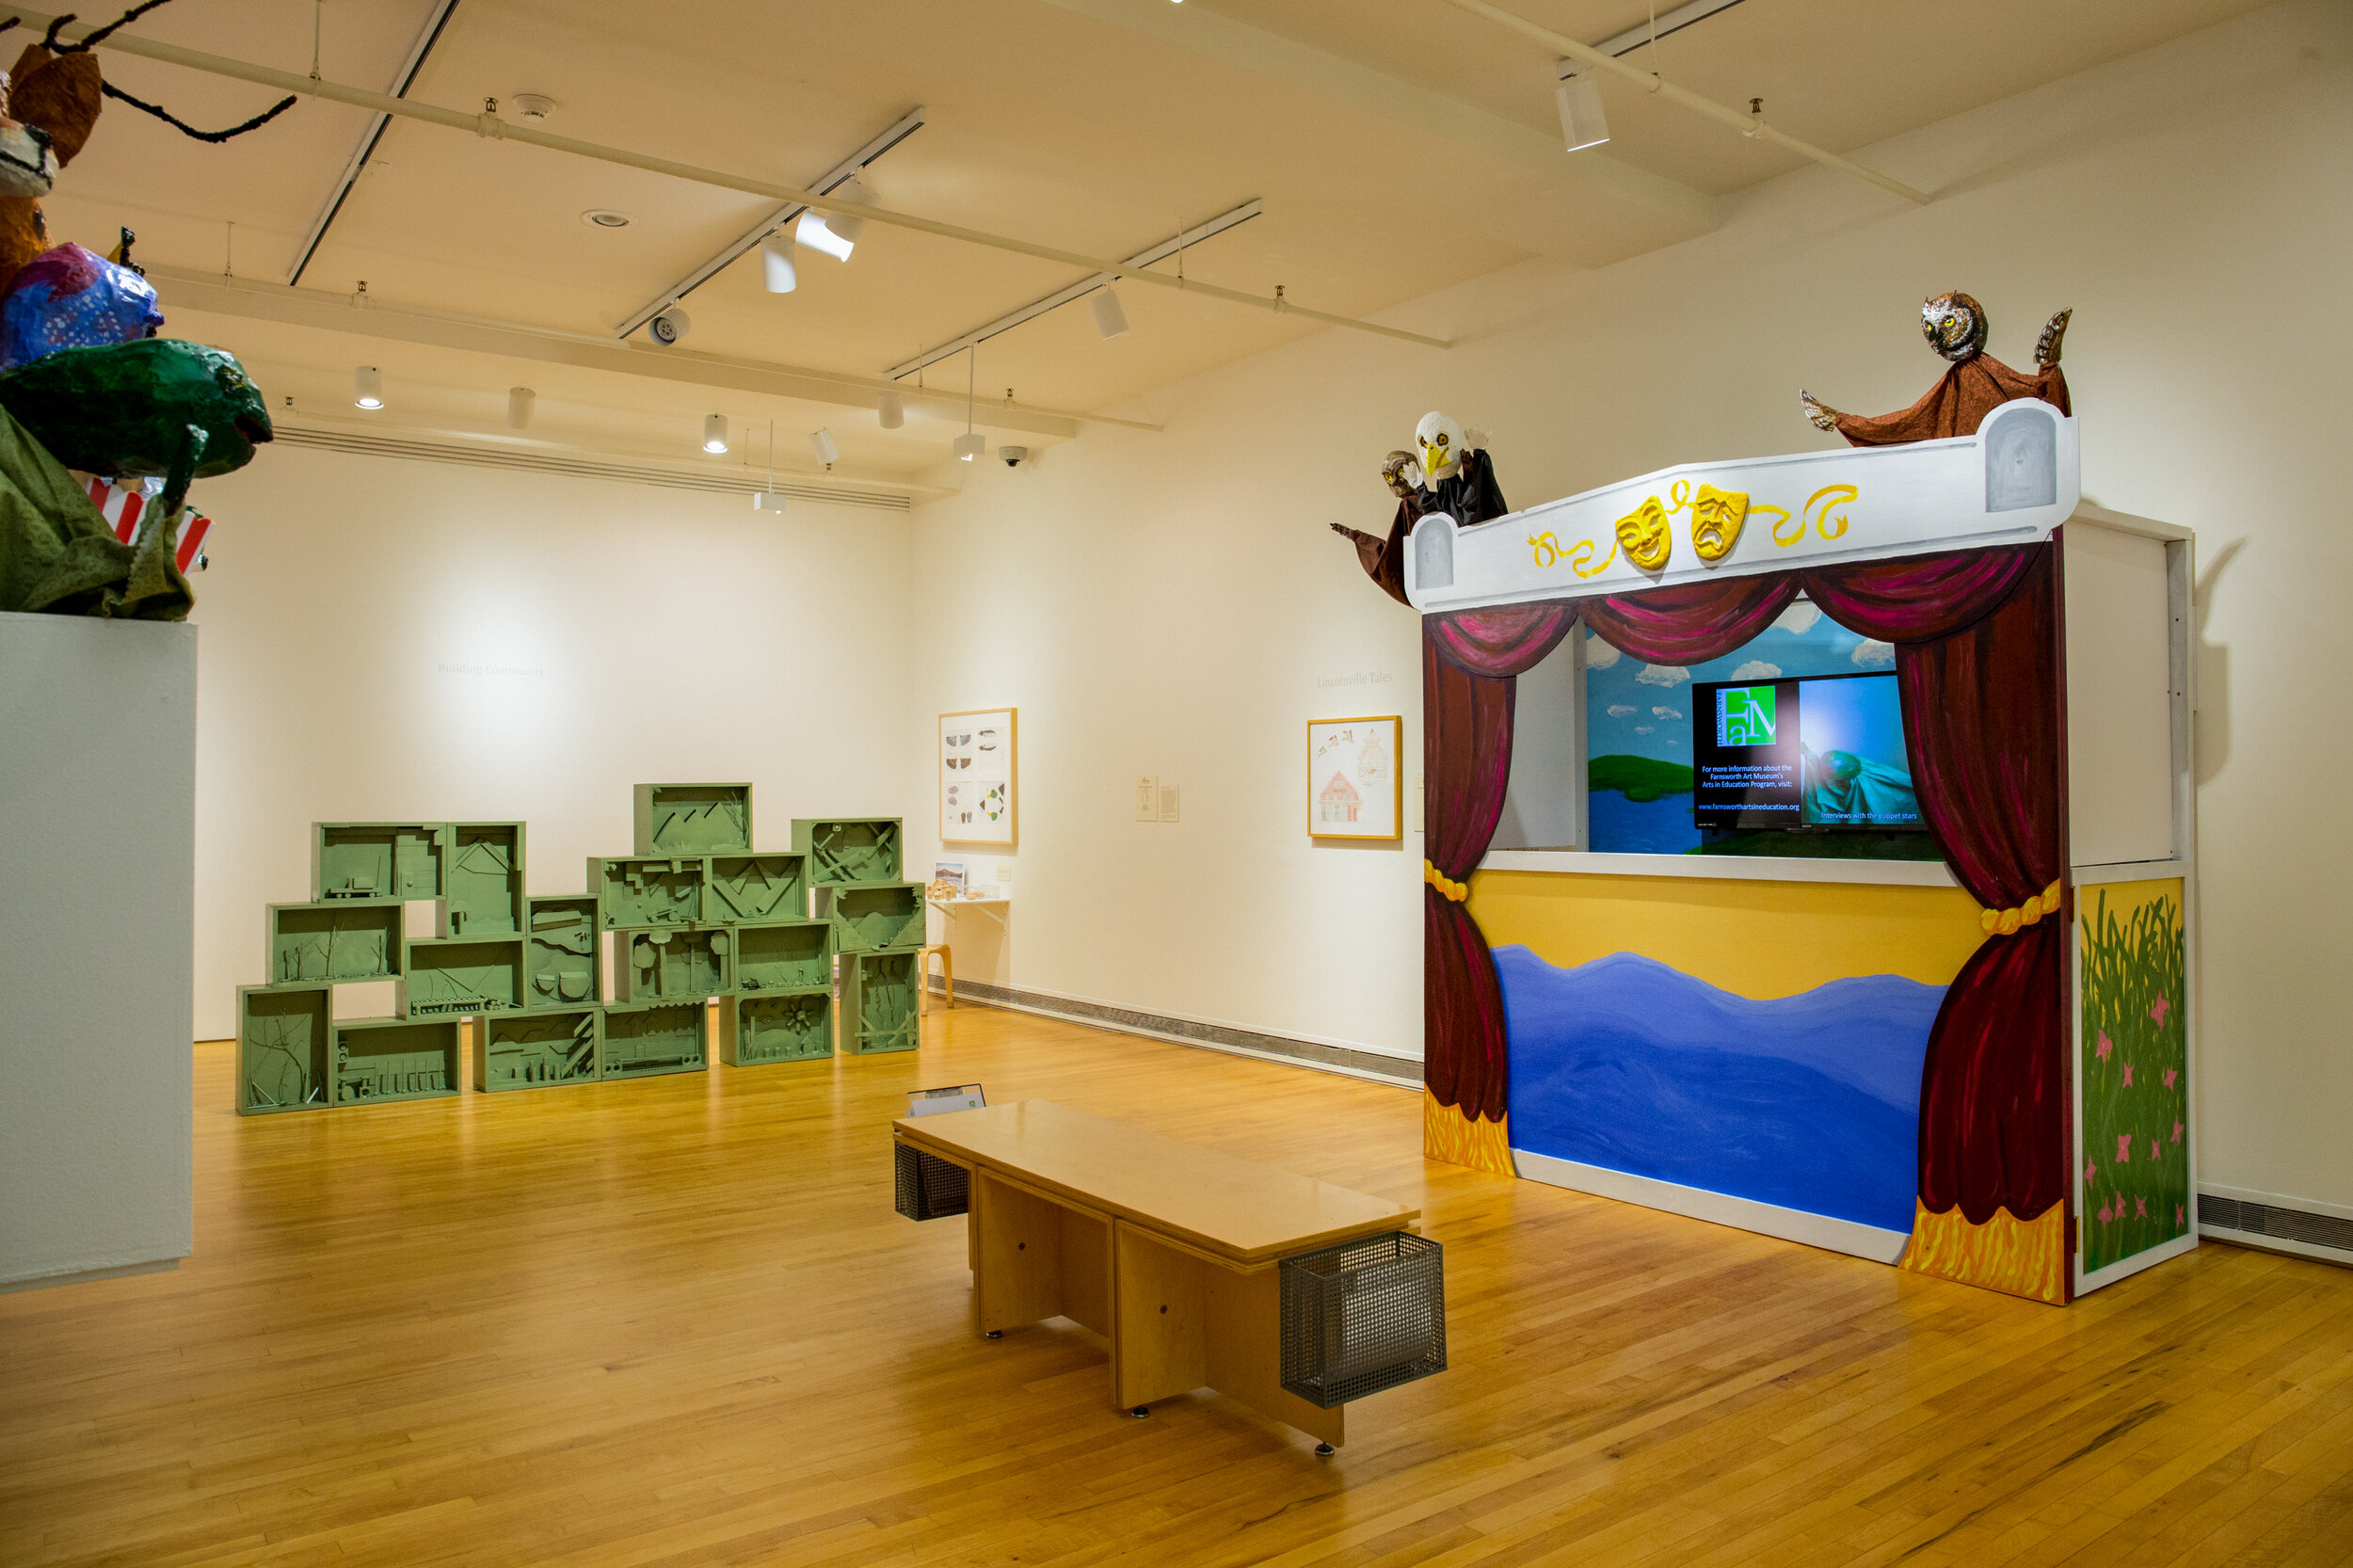
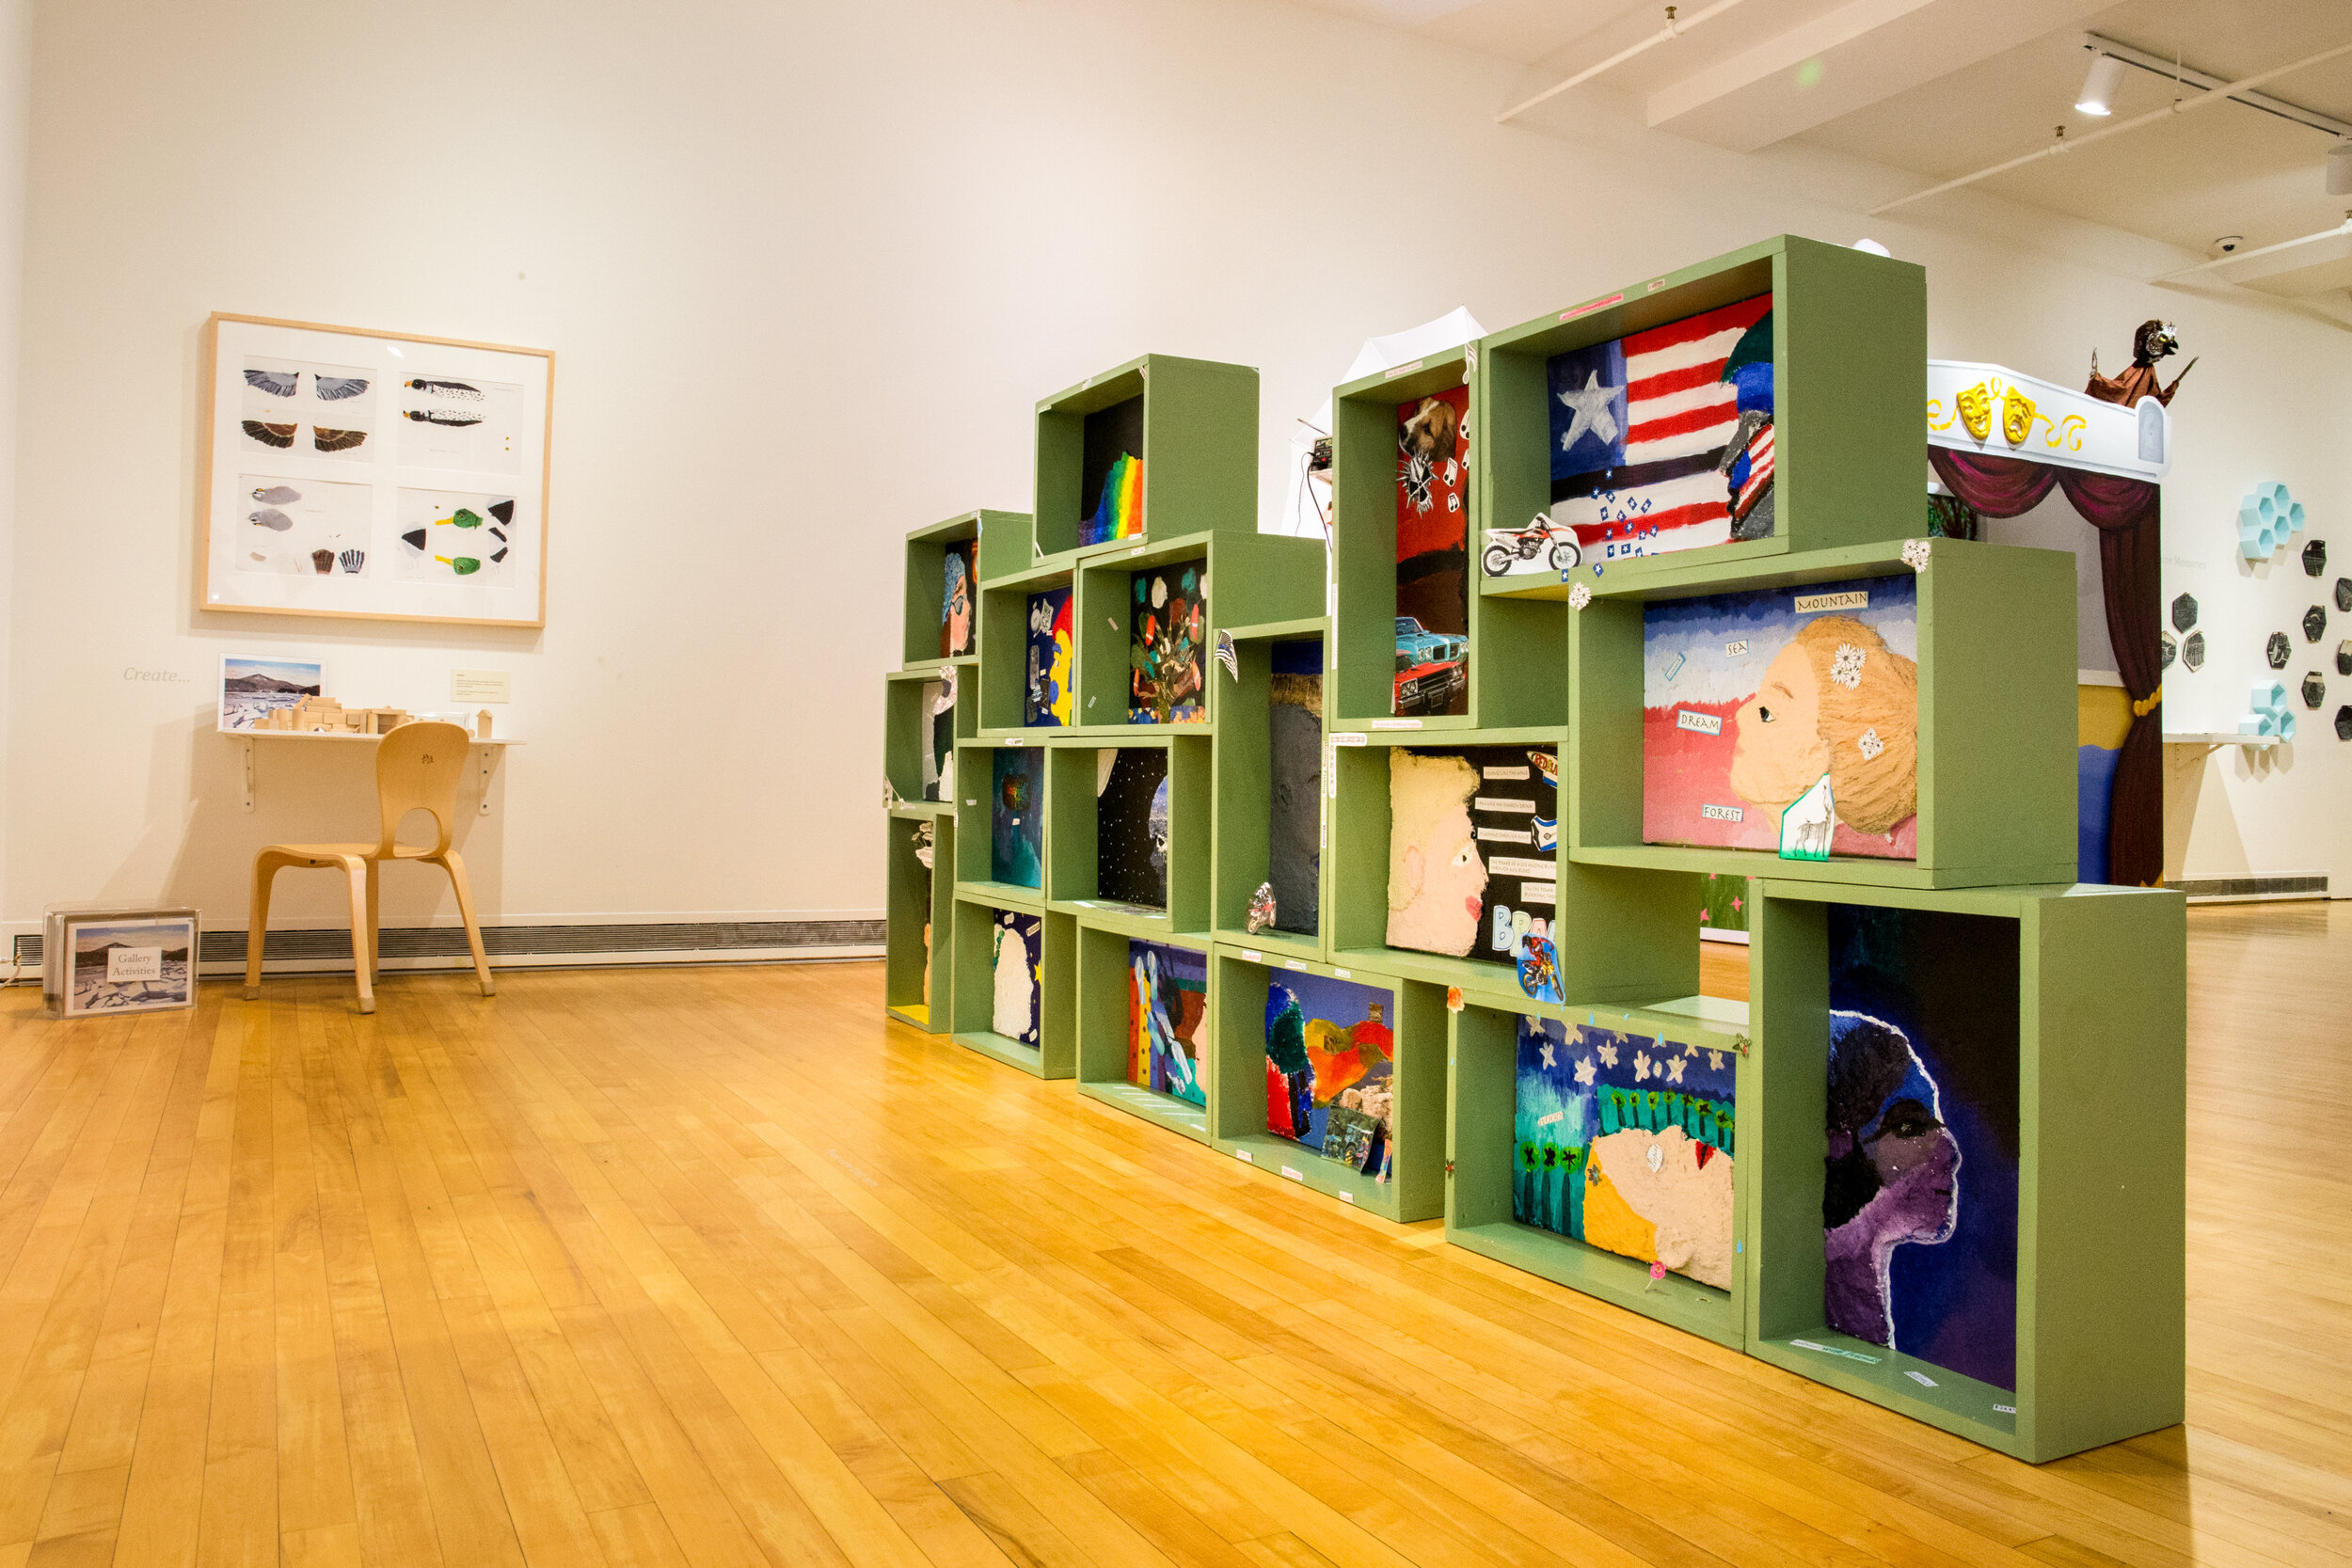
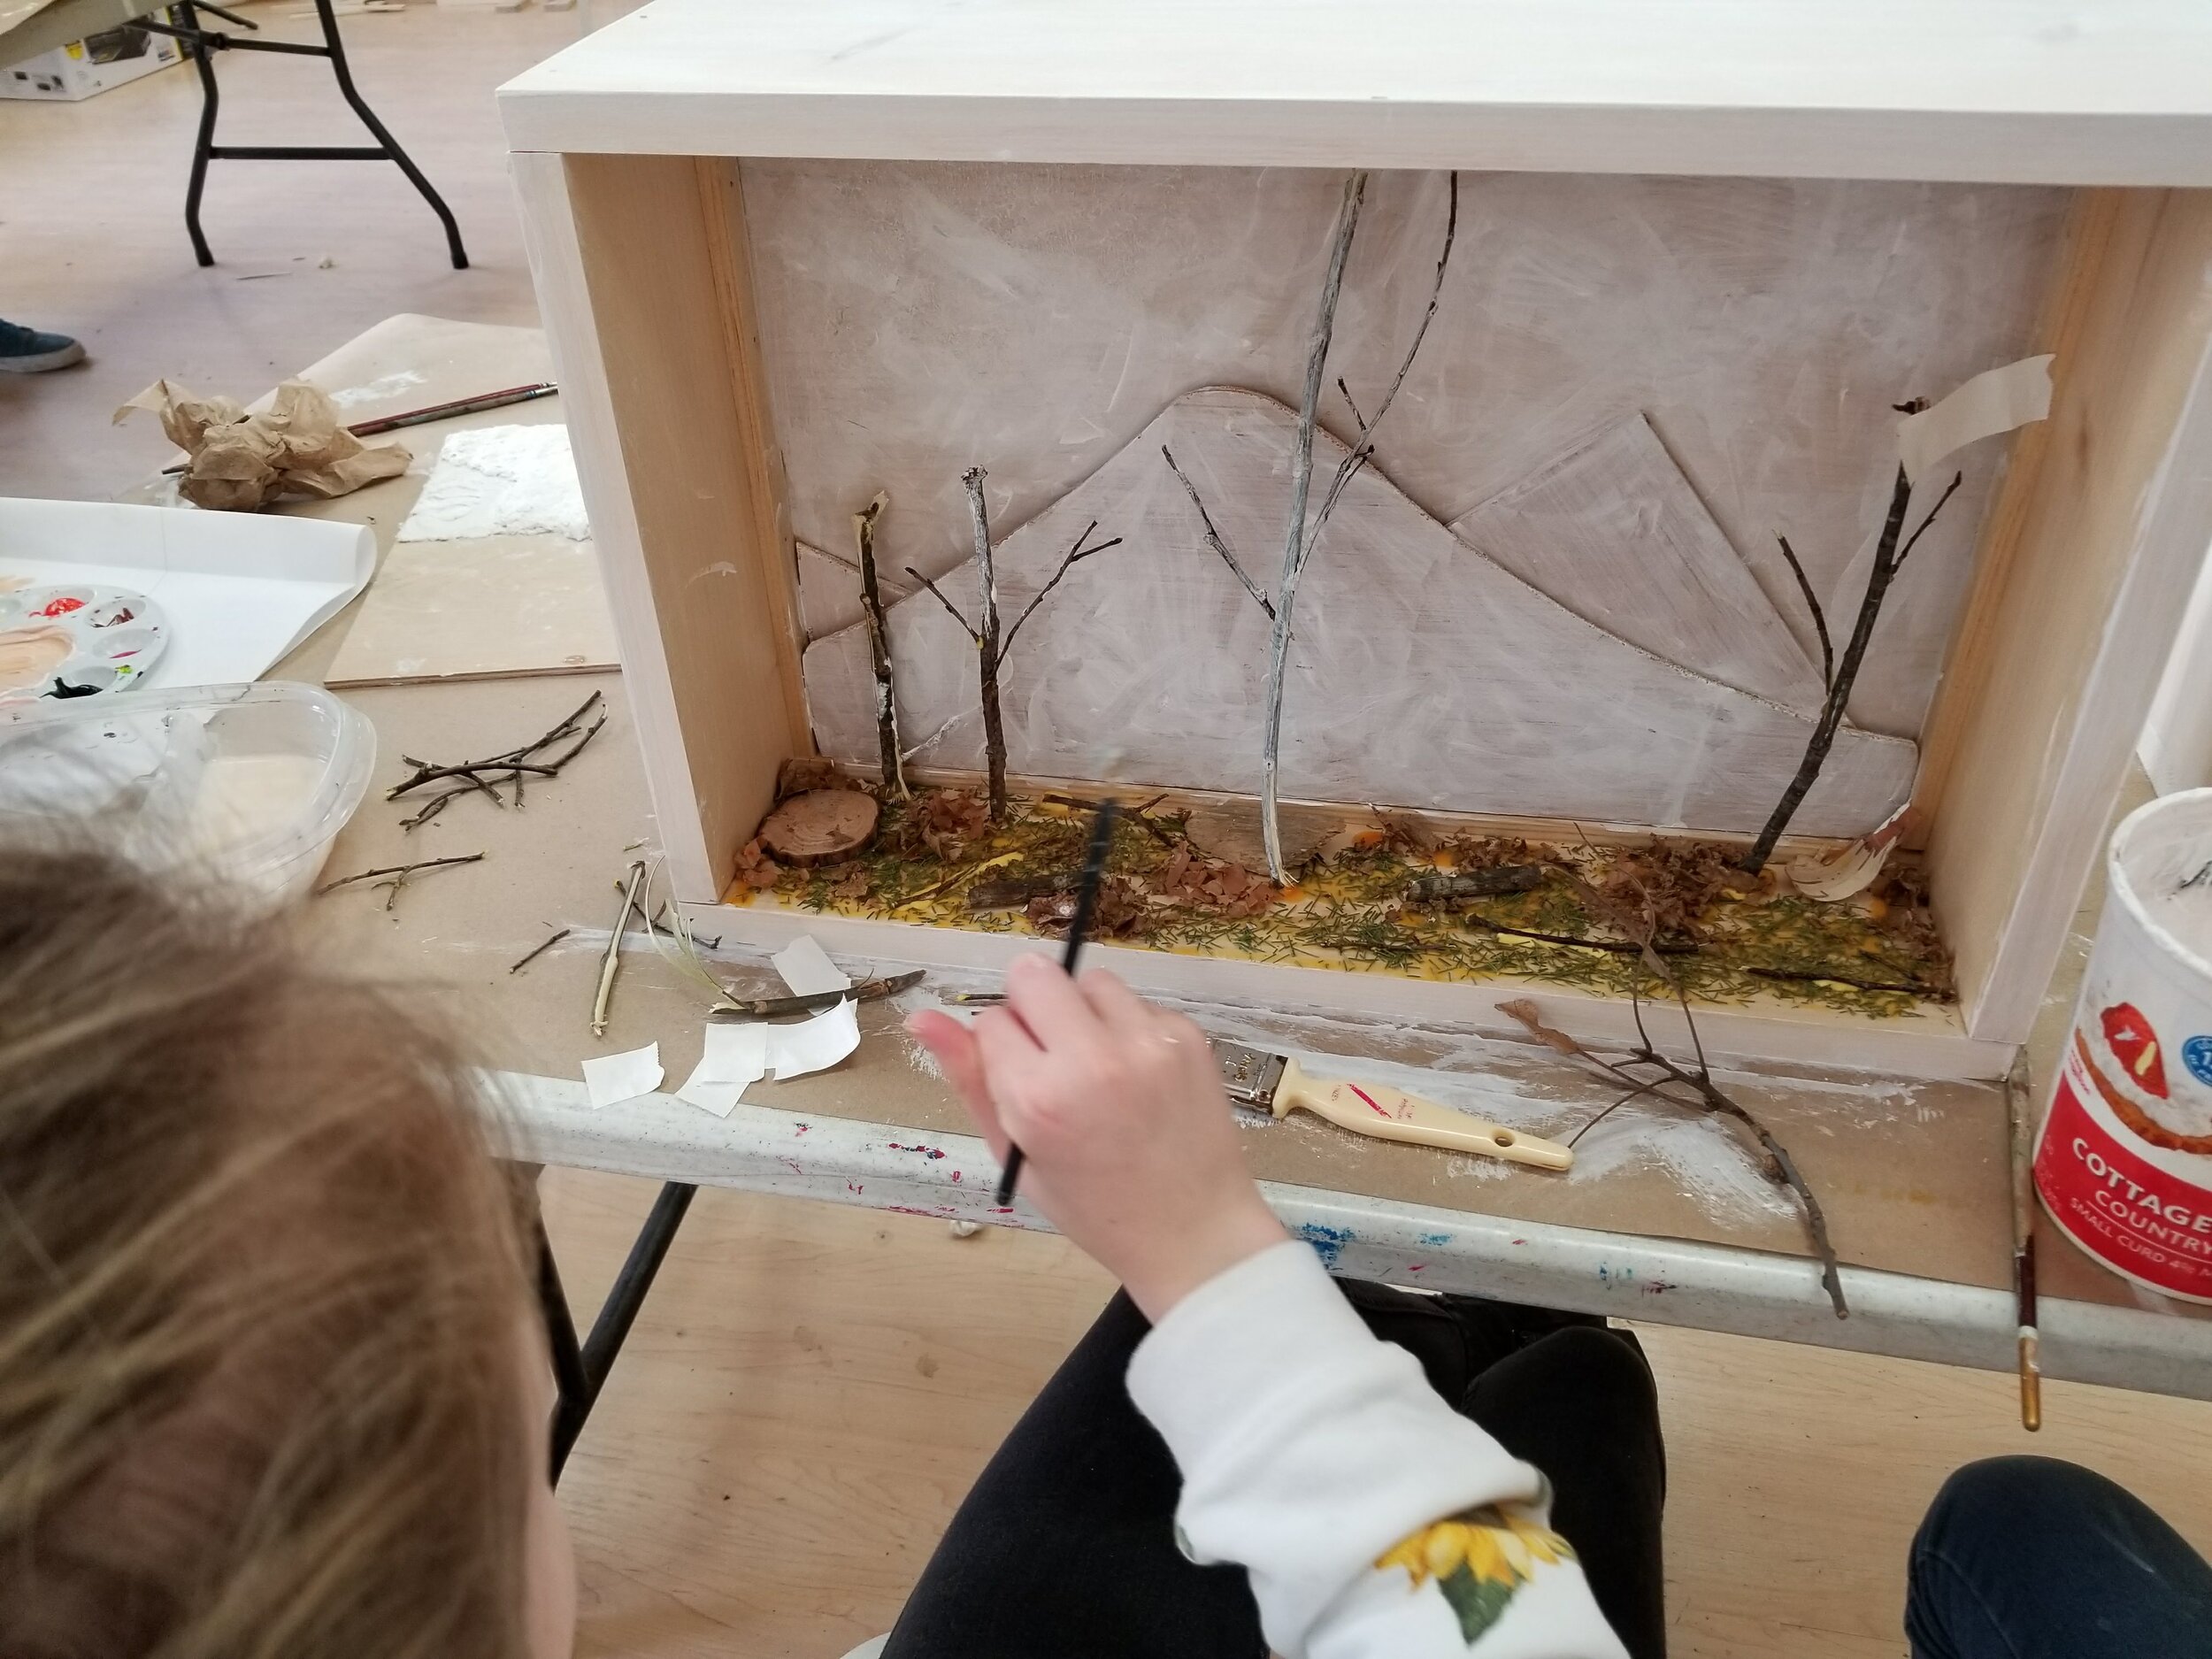
Community Sculpture
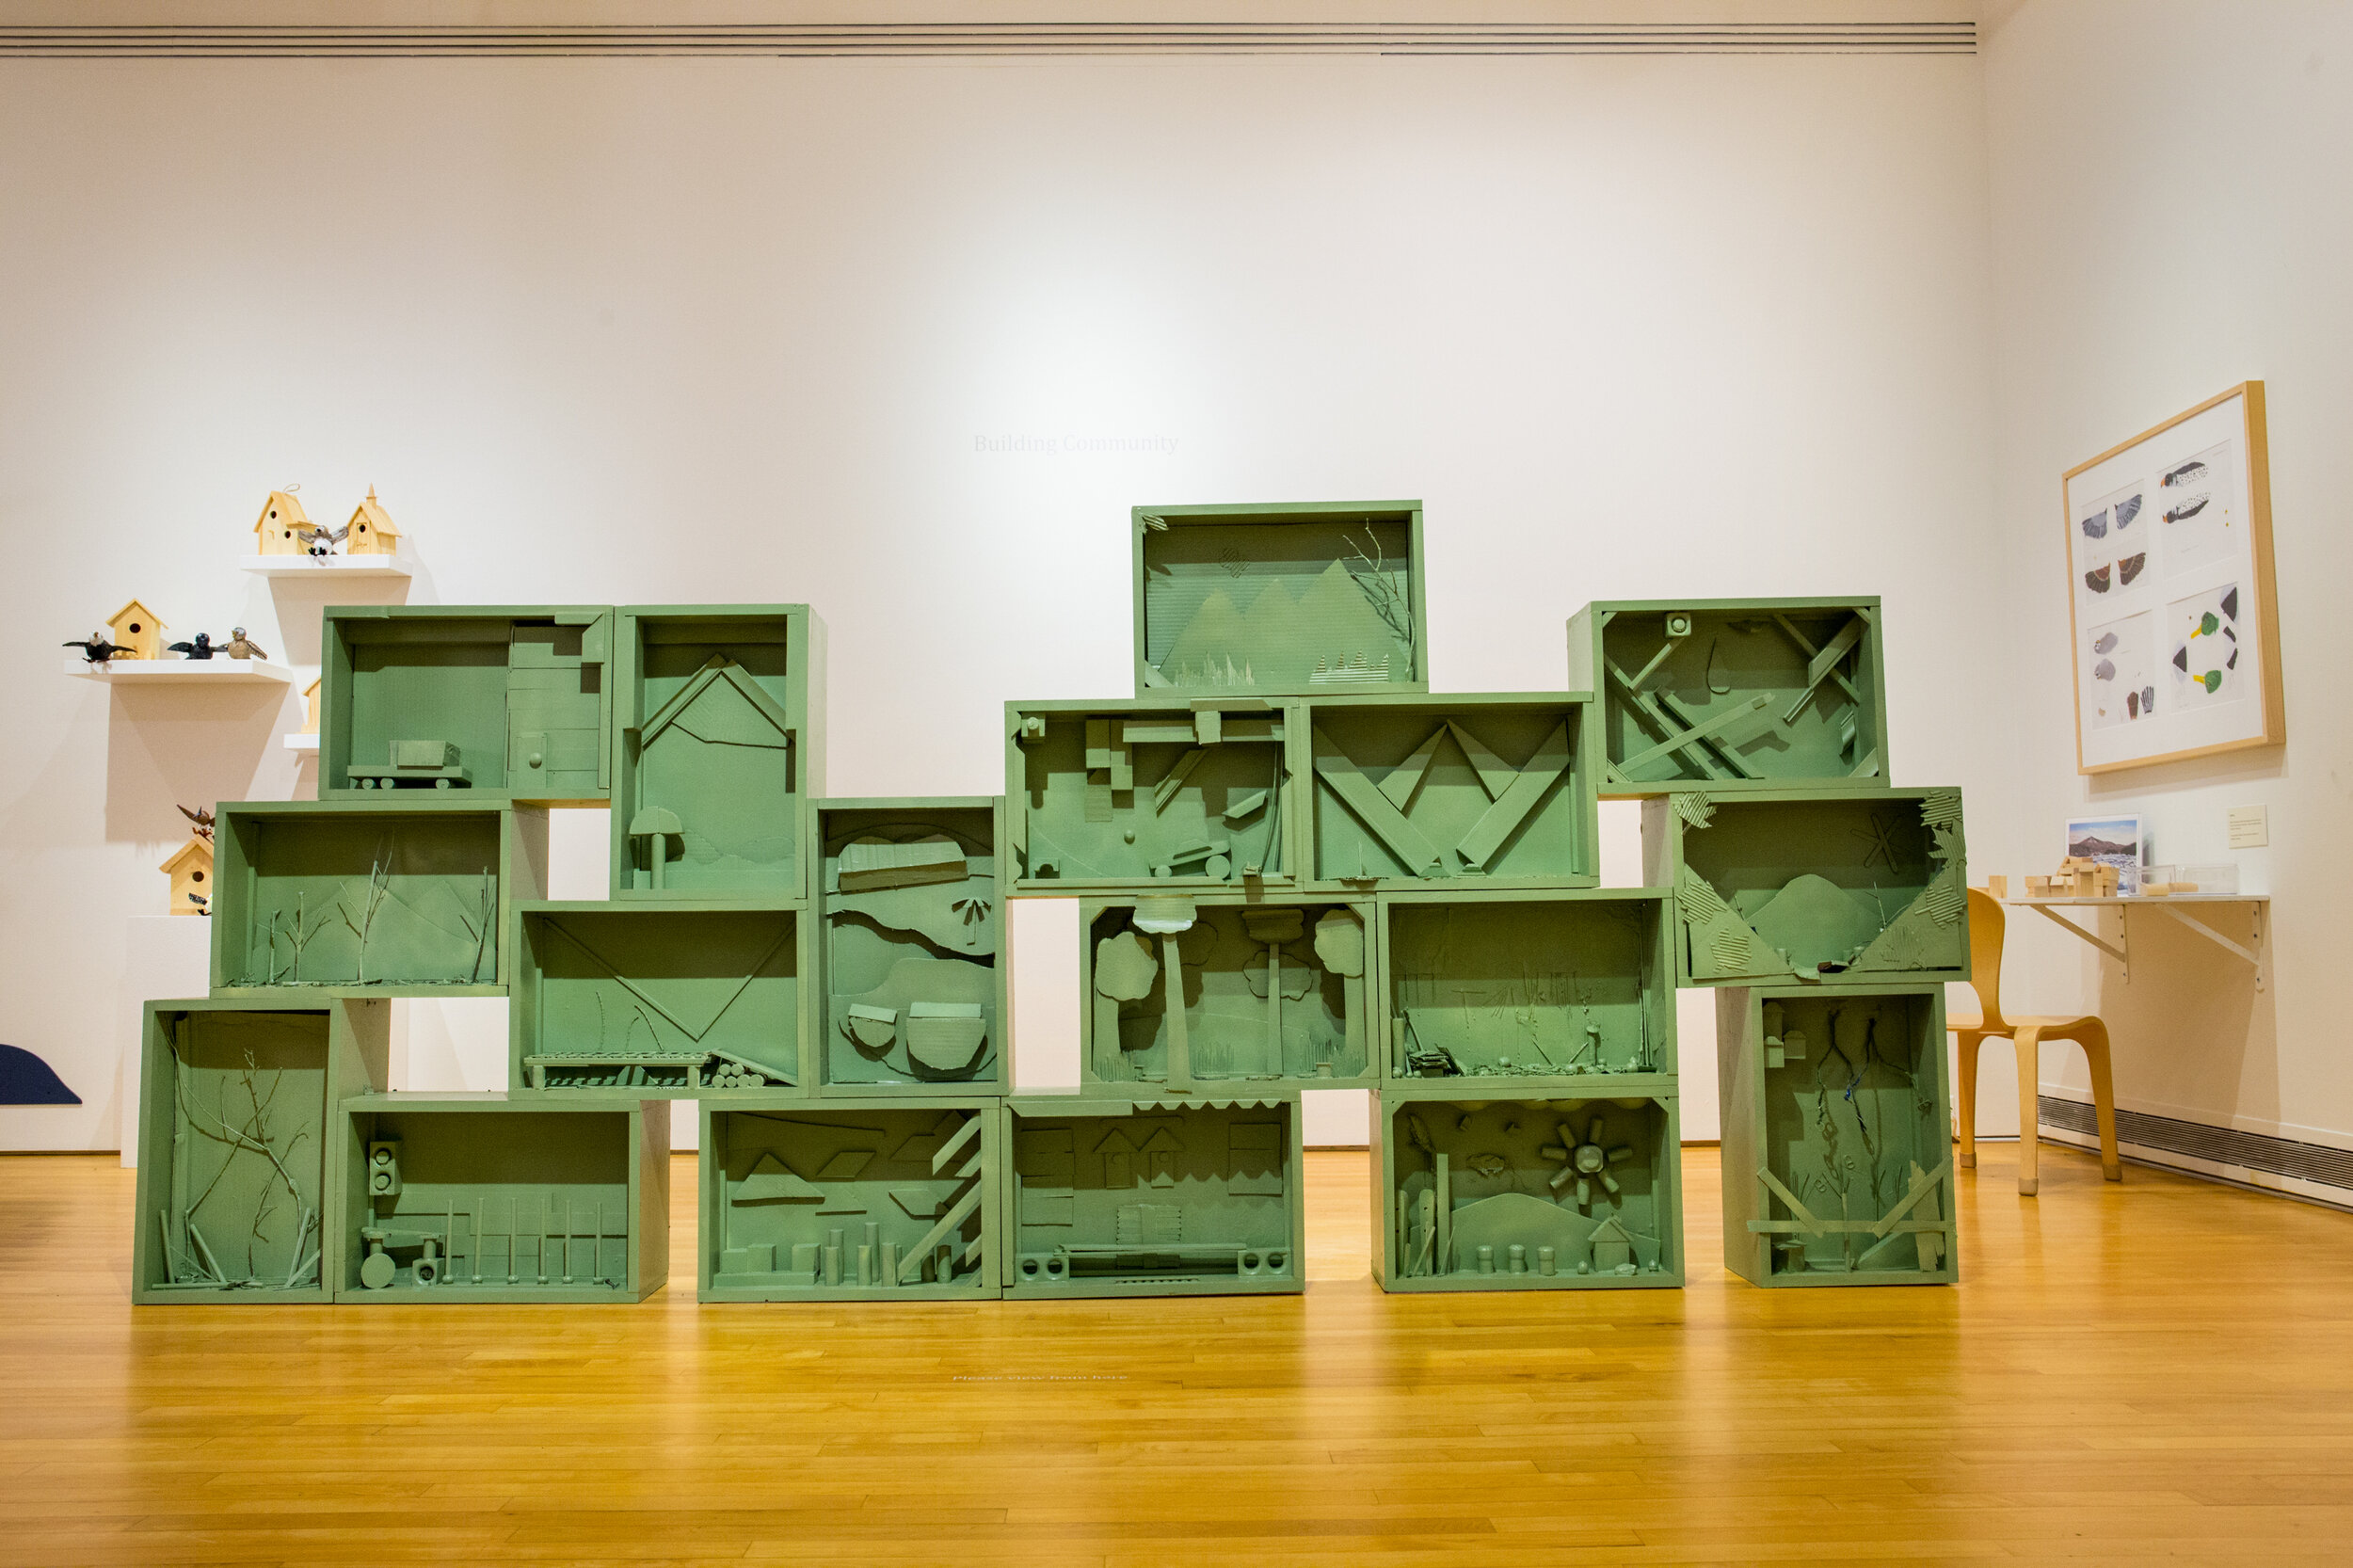
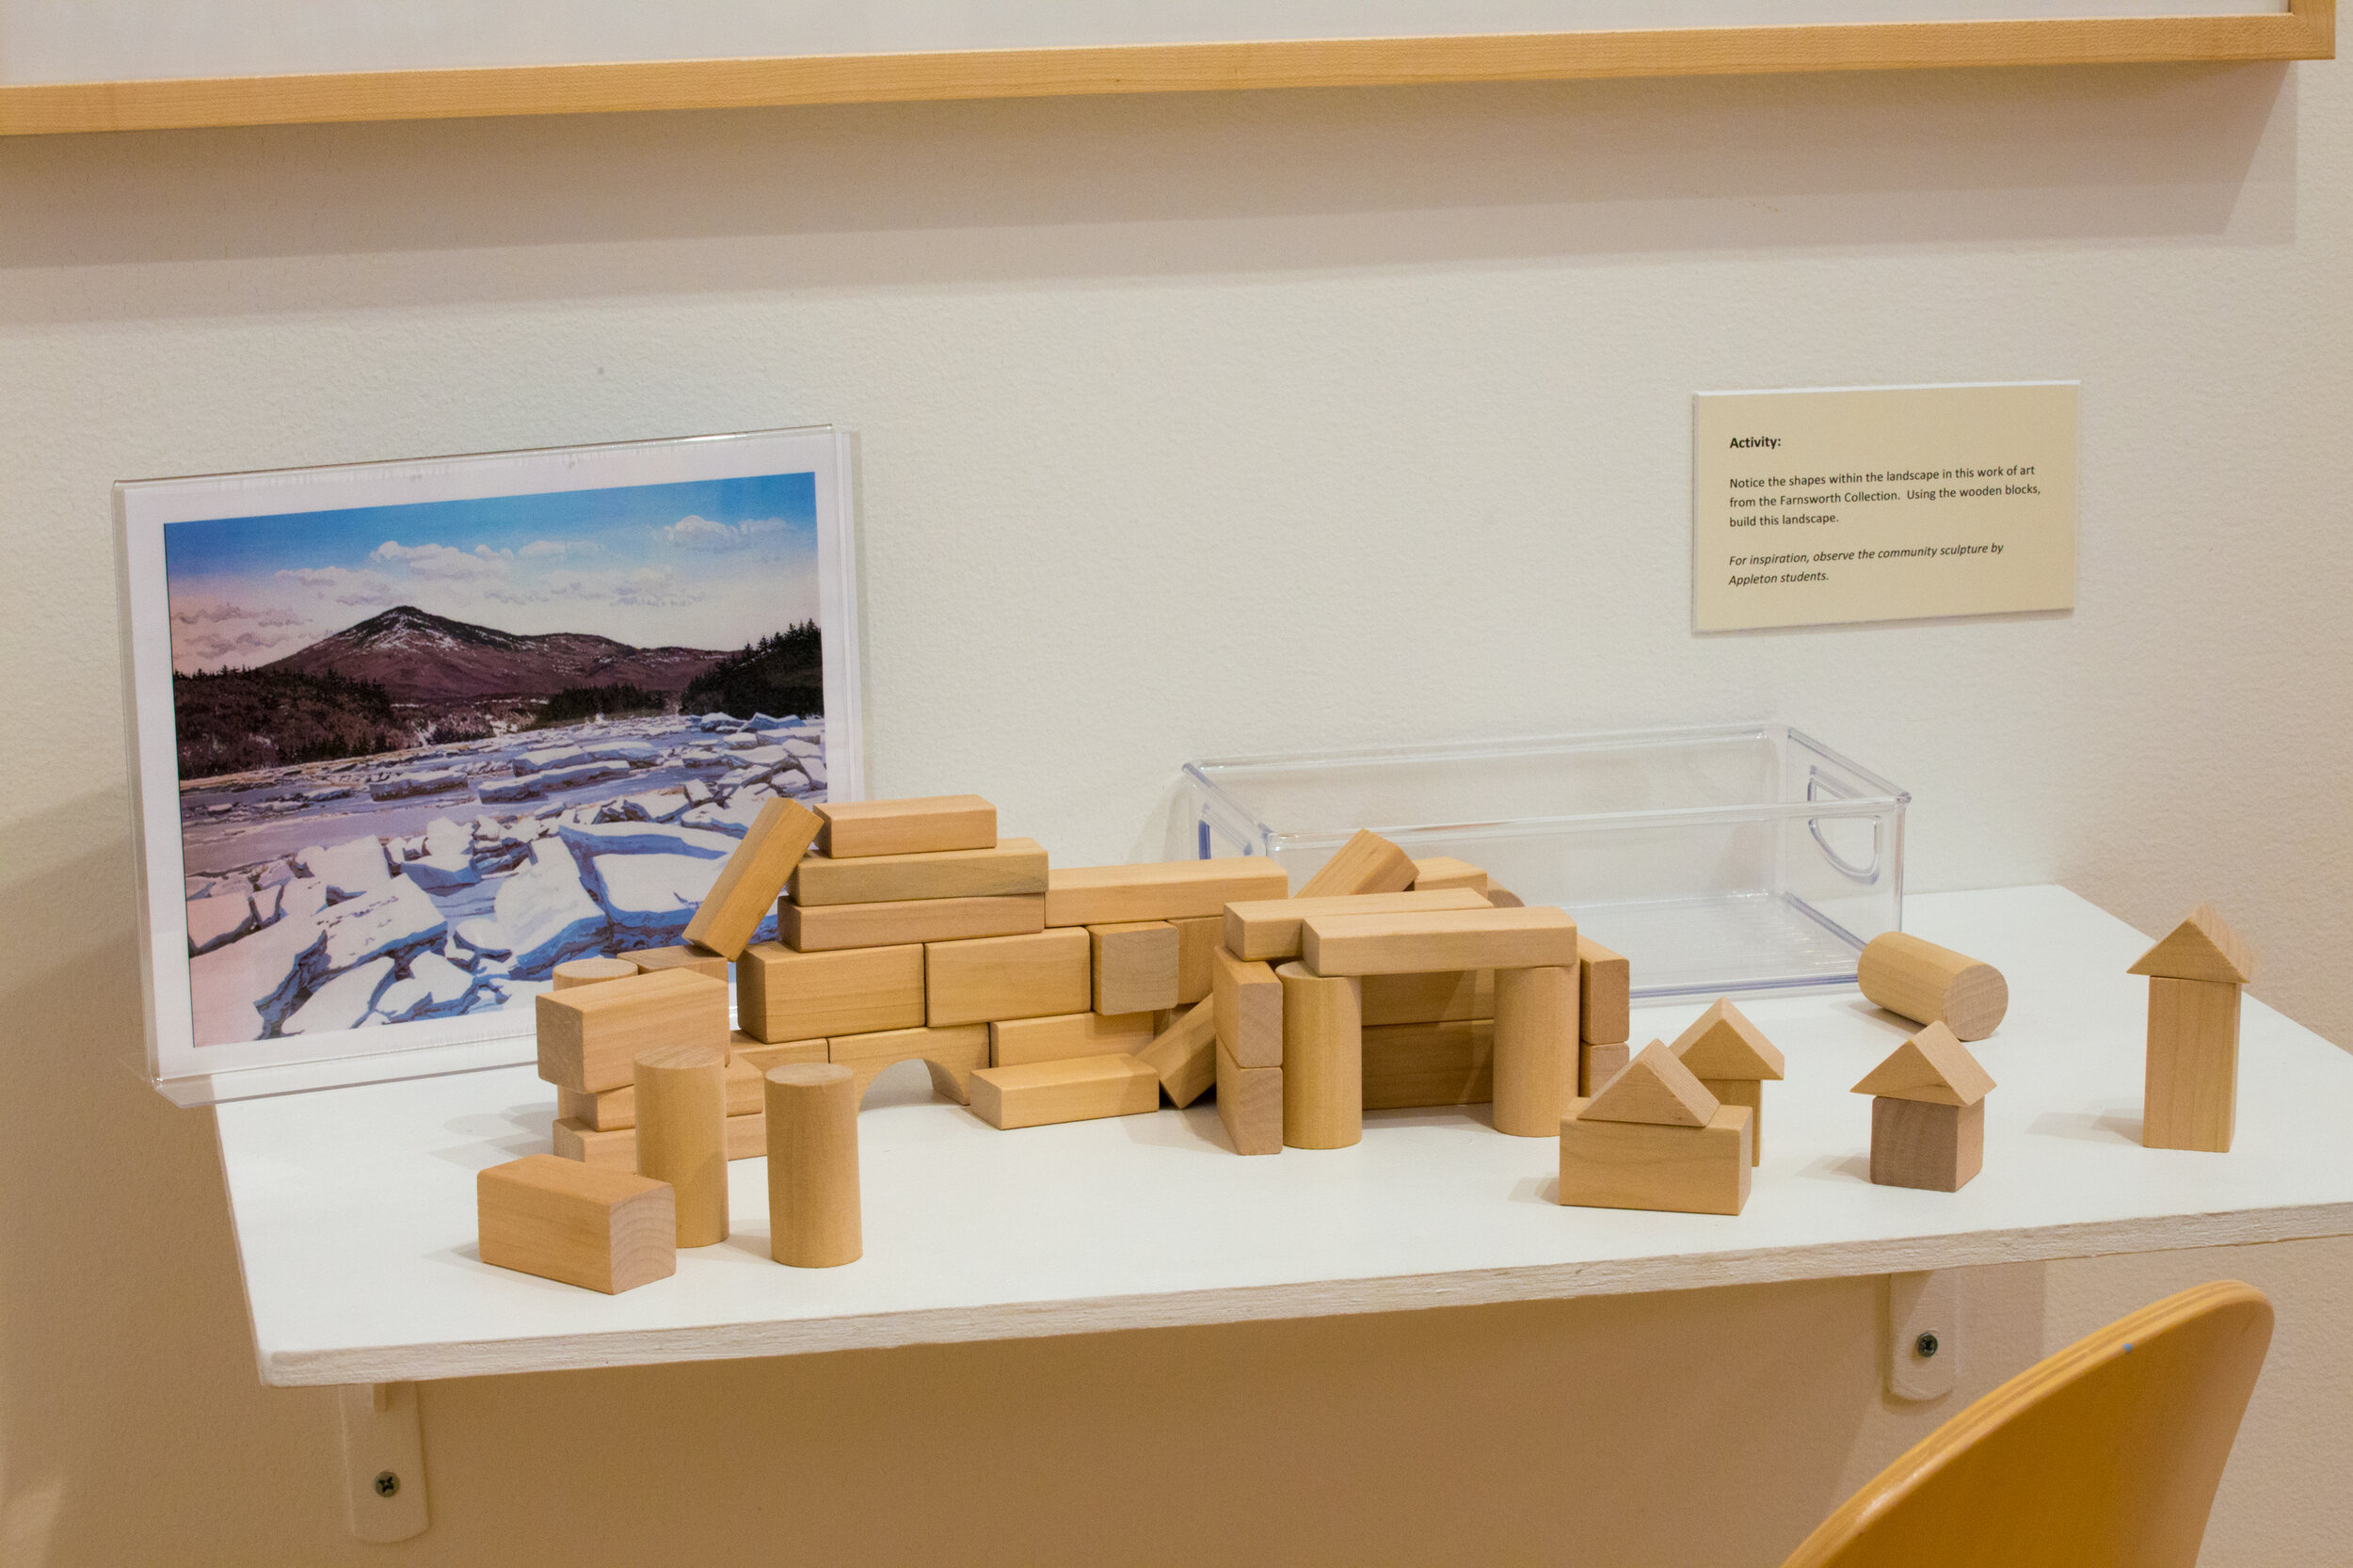
Notice: Notice land formations in your community landscape. What shapes do you see? Create a list and document your findings with photographs and sketches.
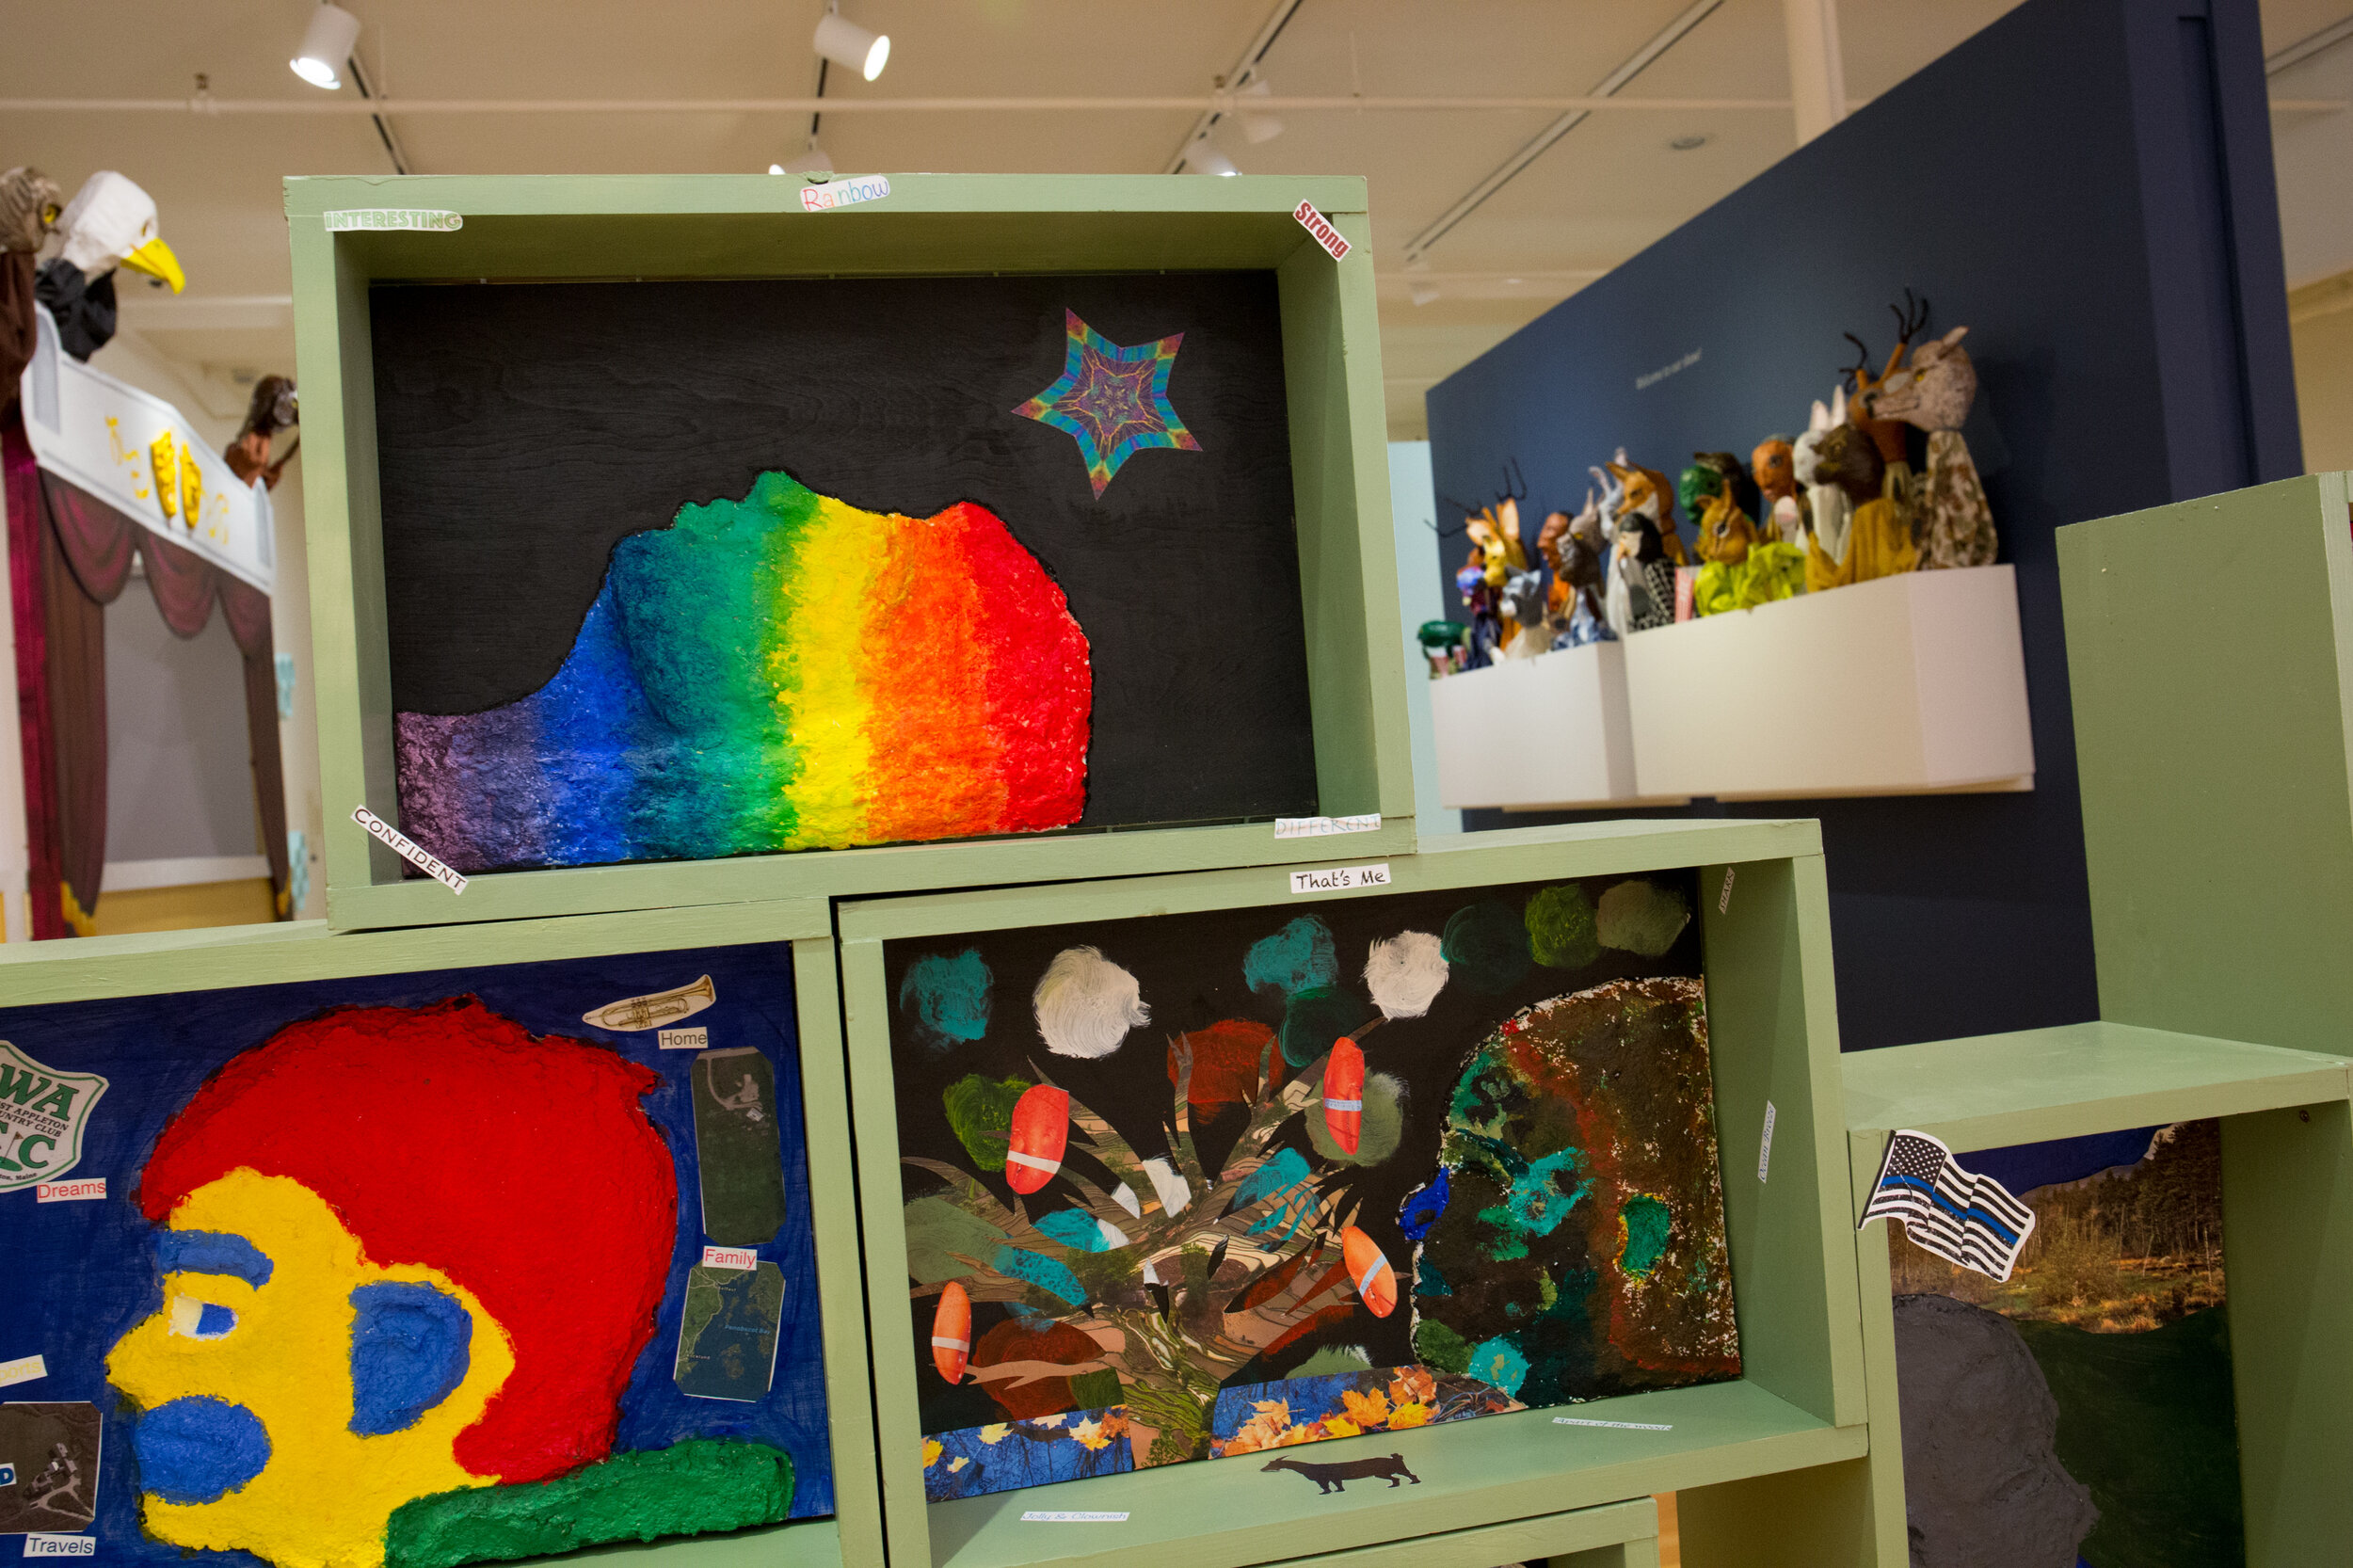
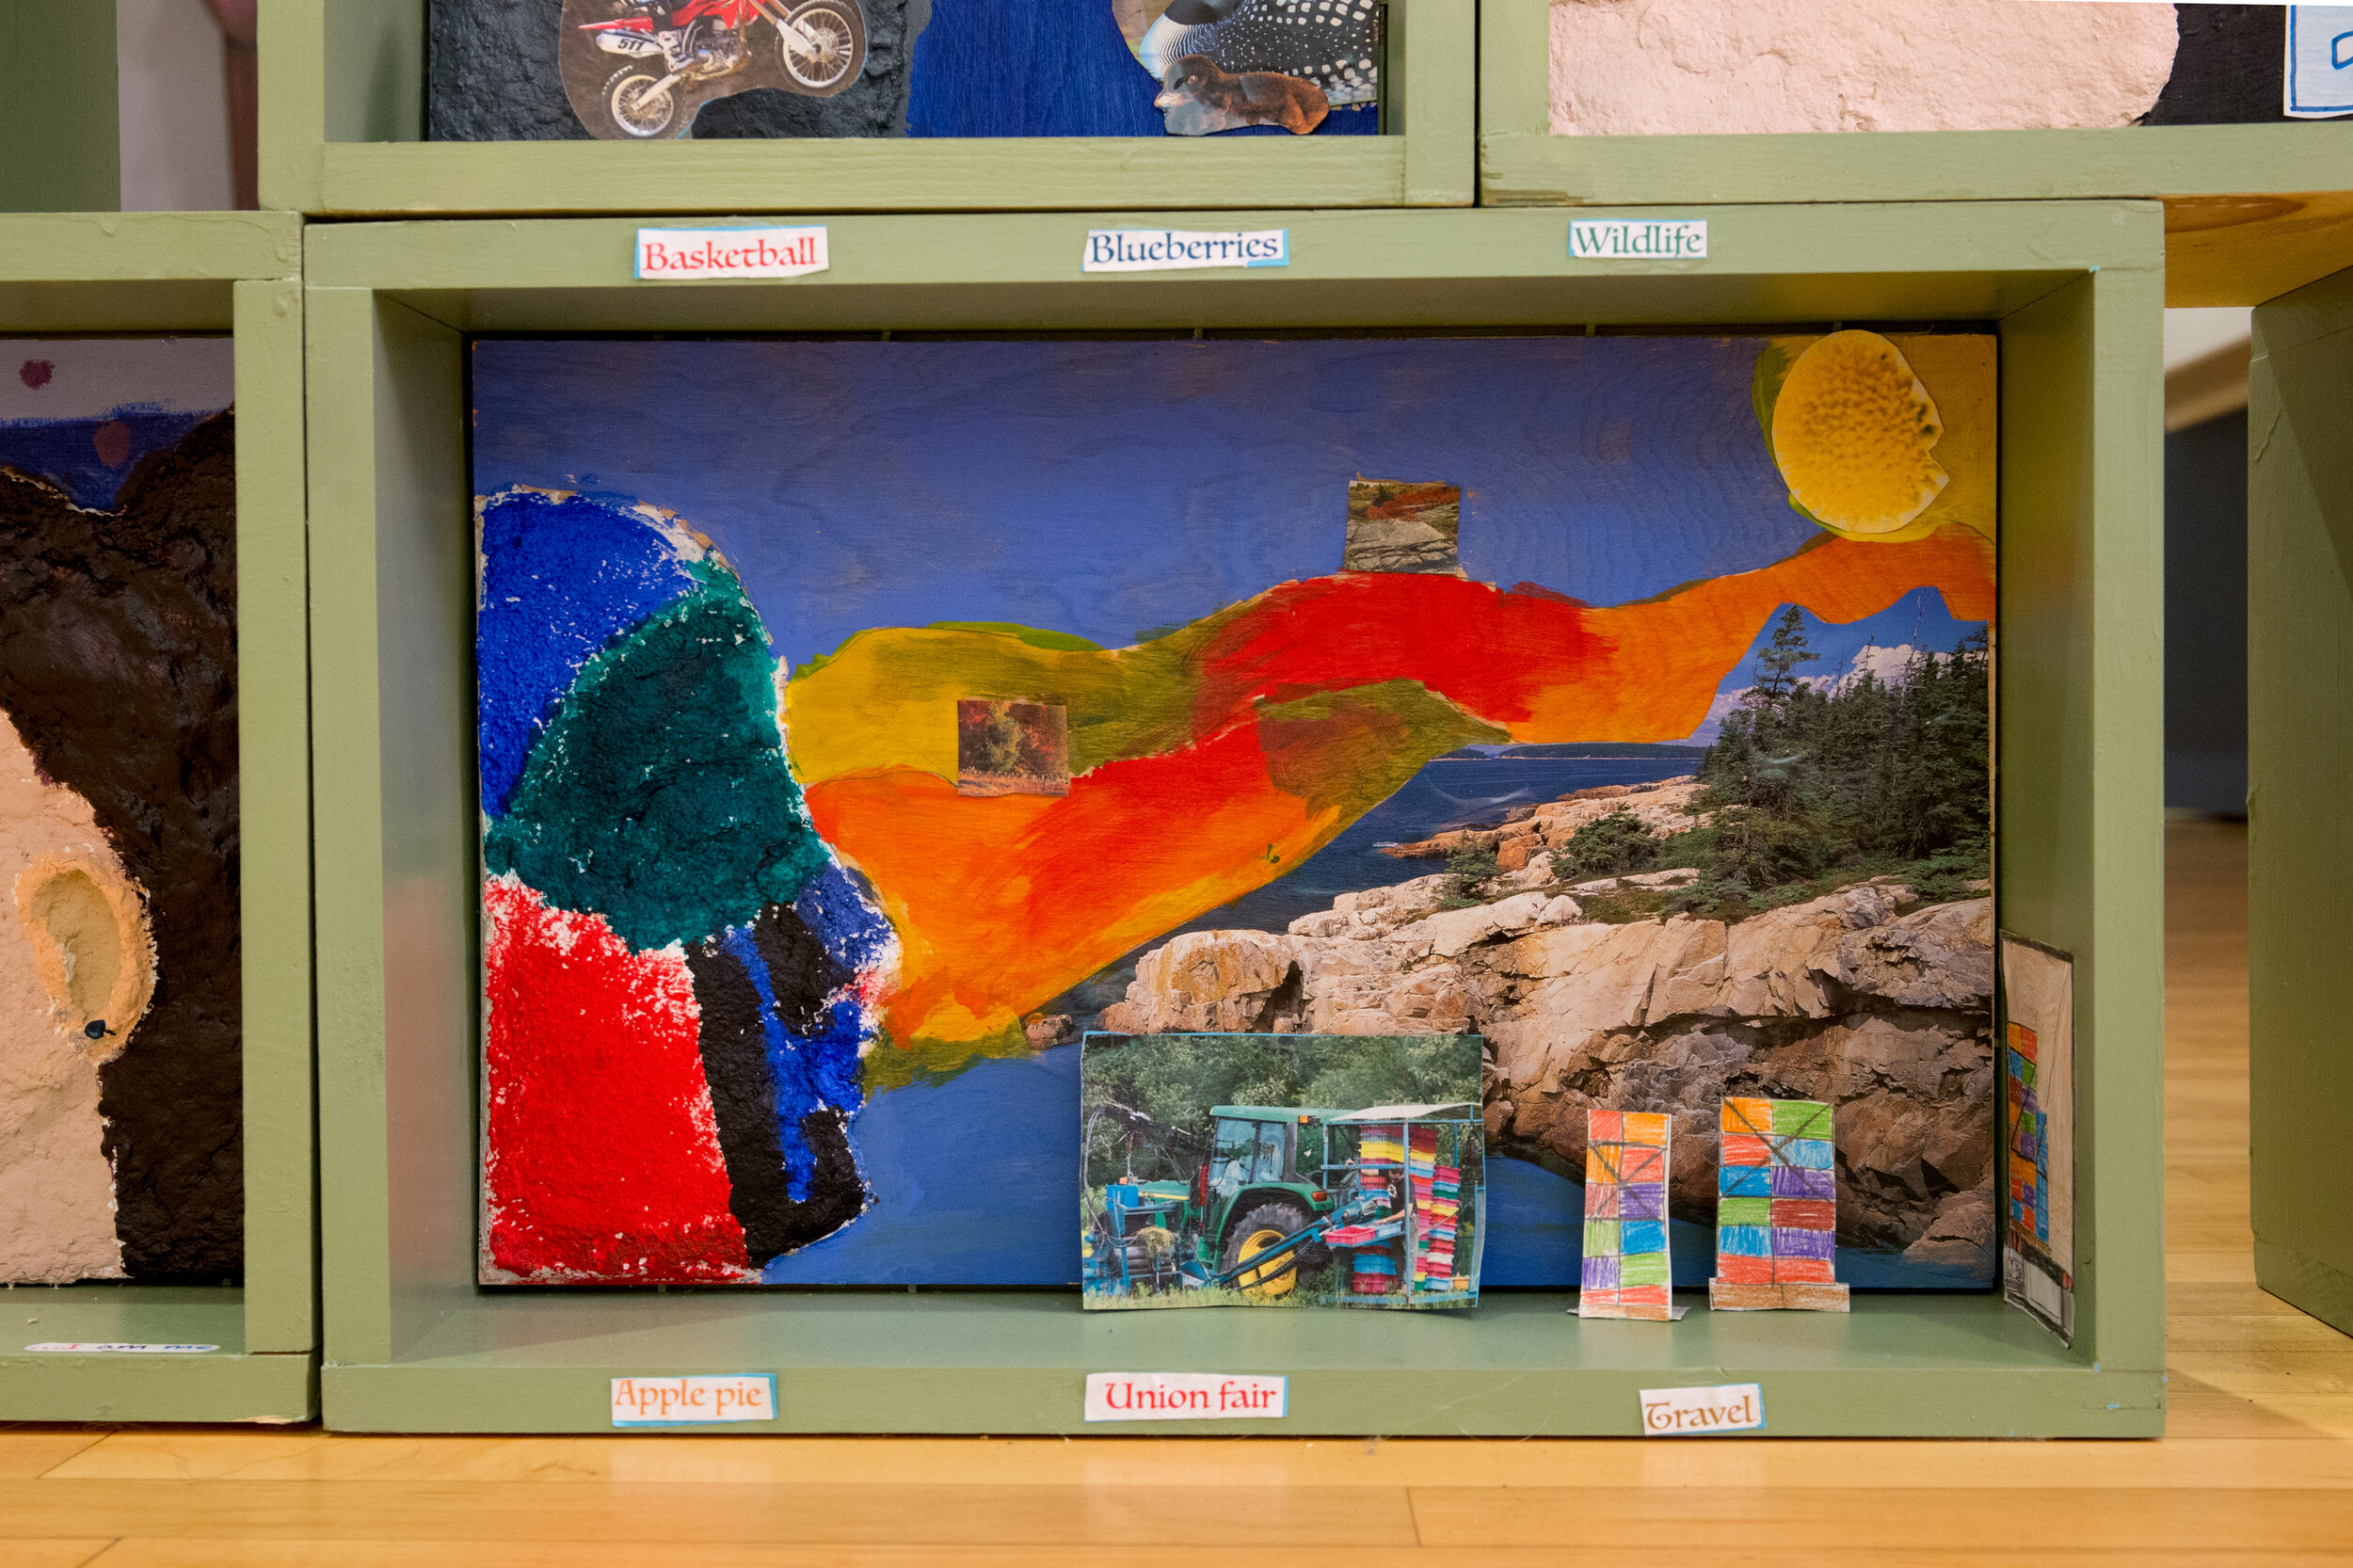
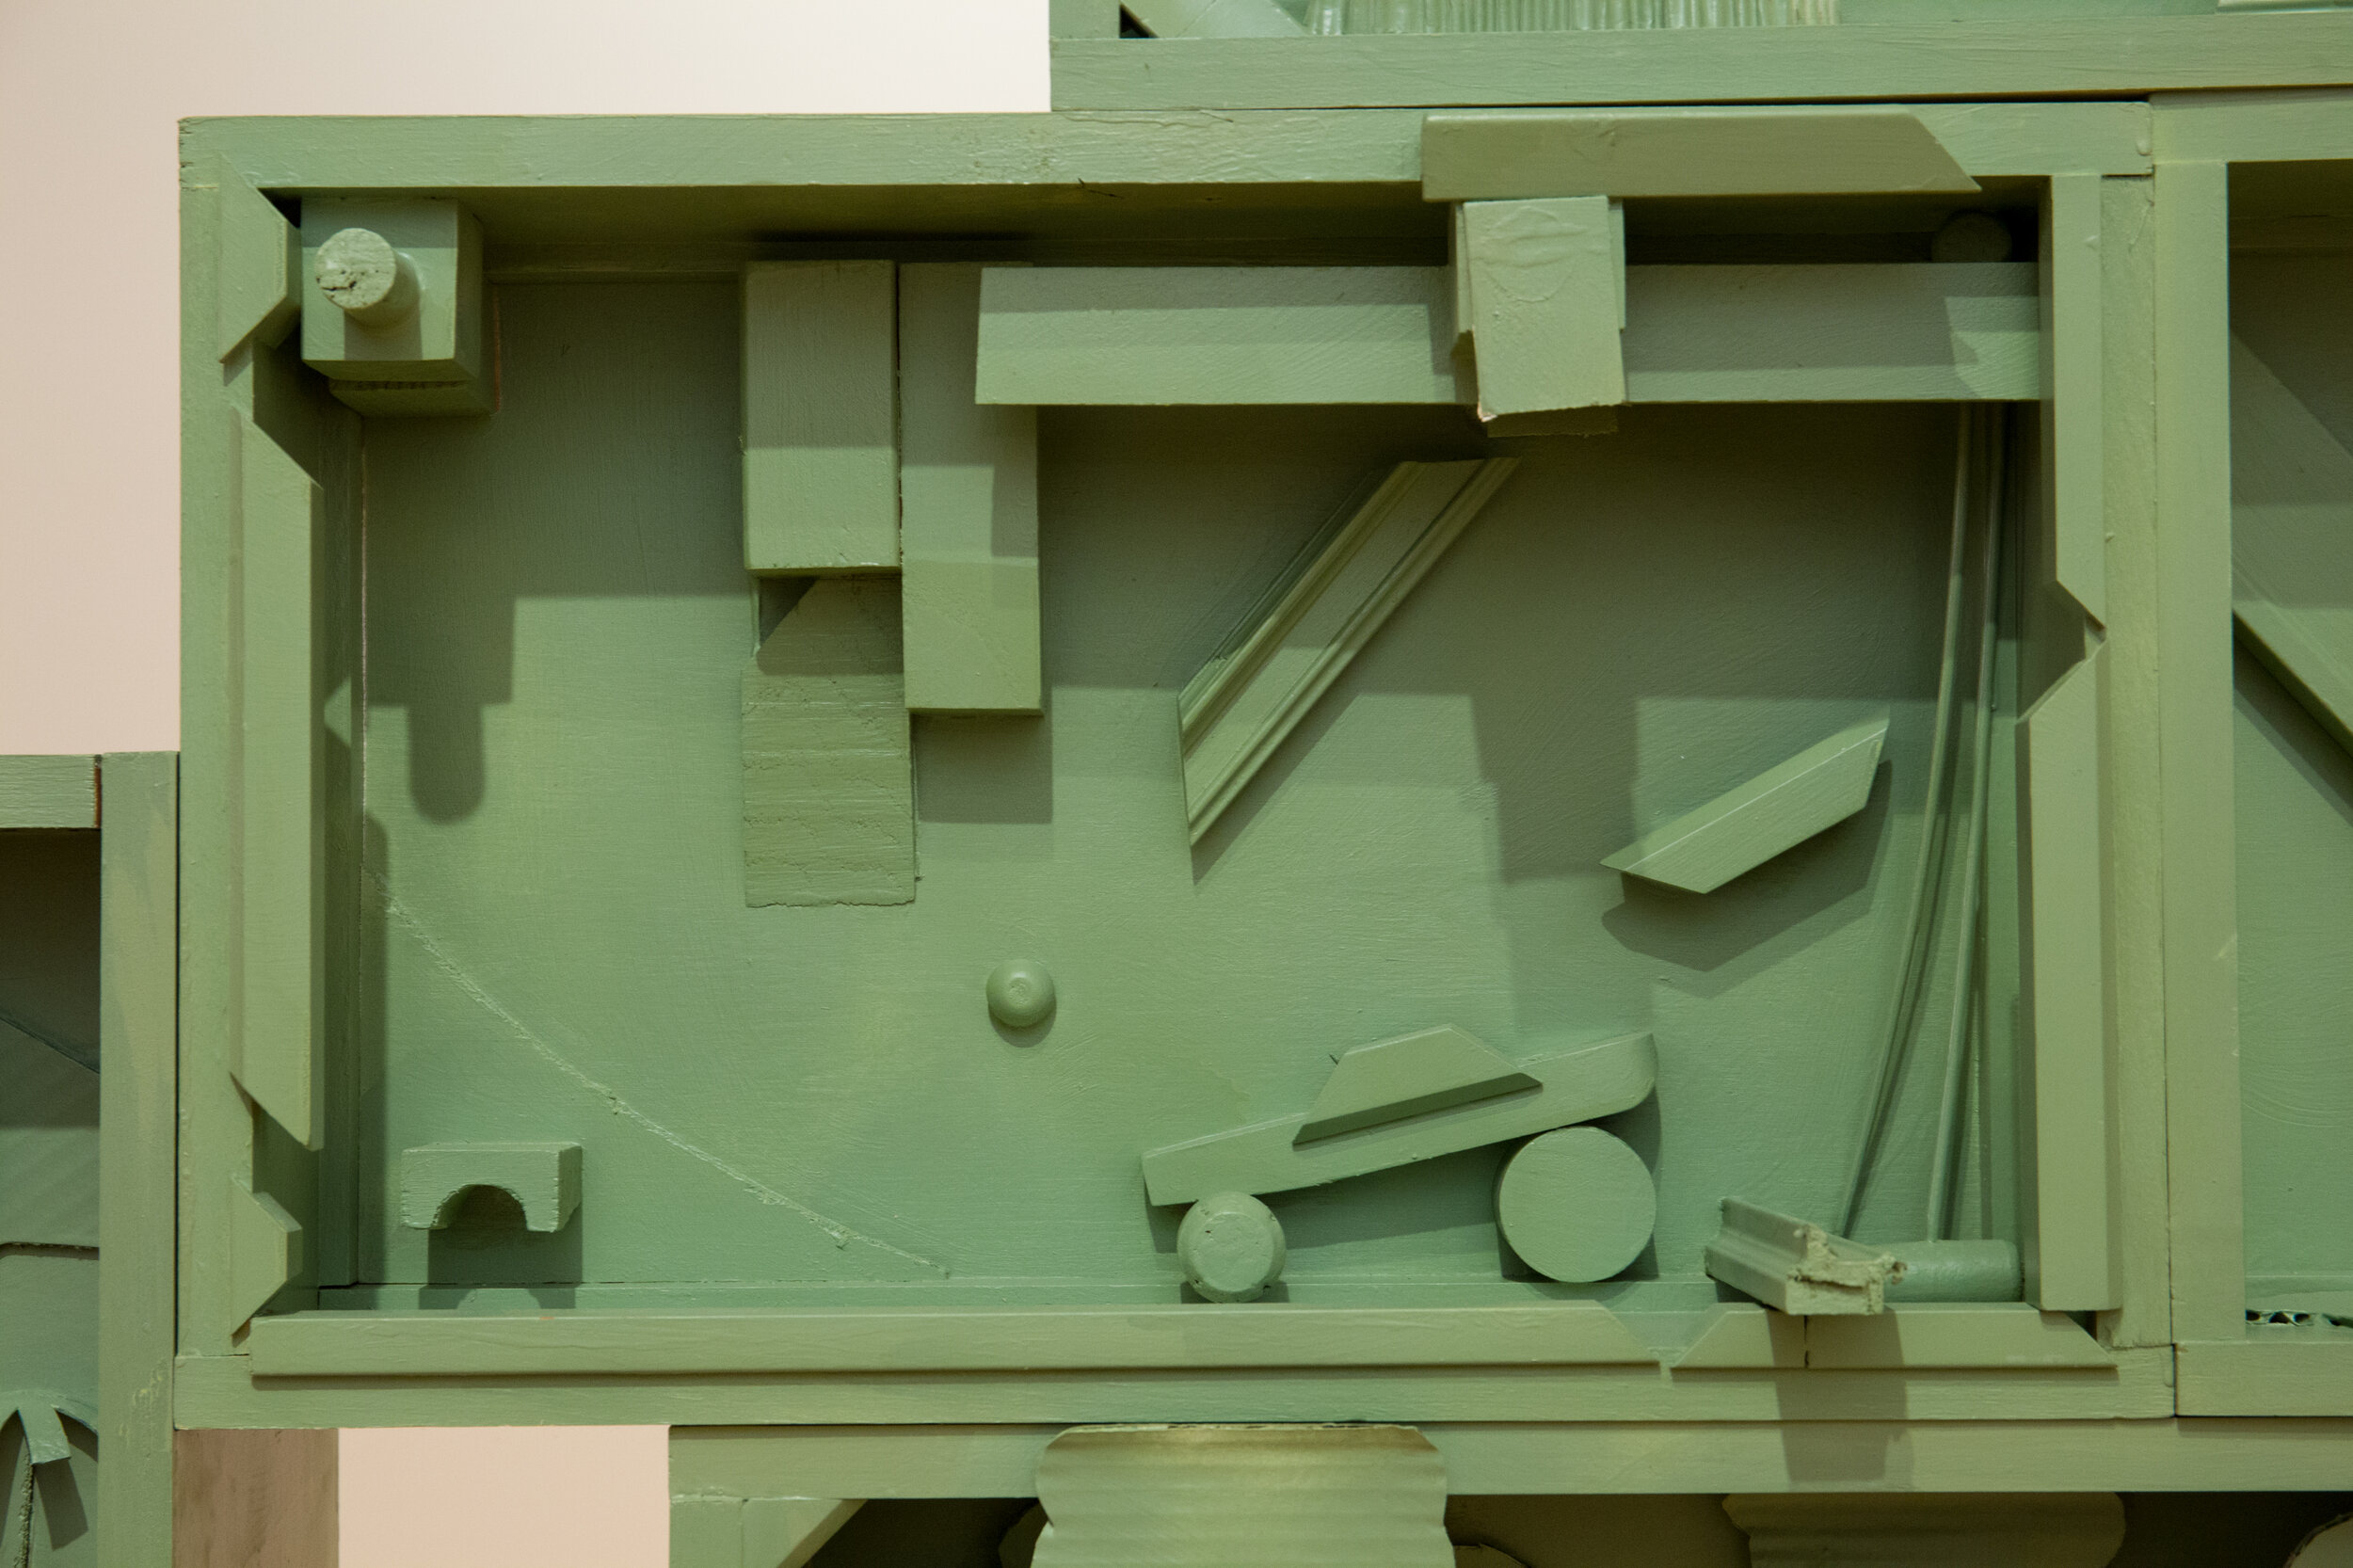
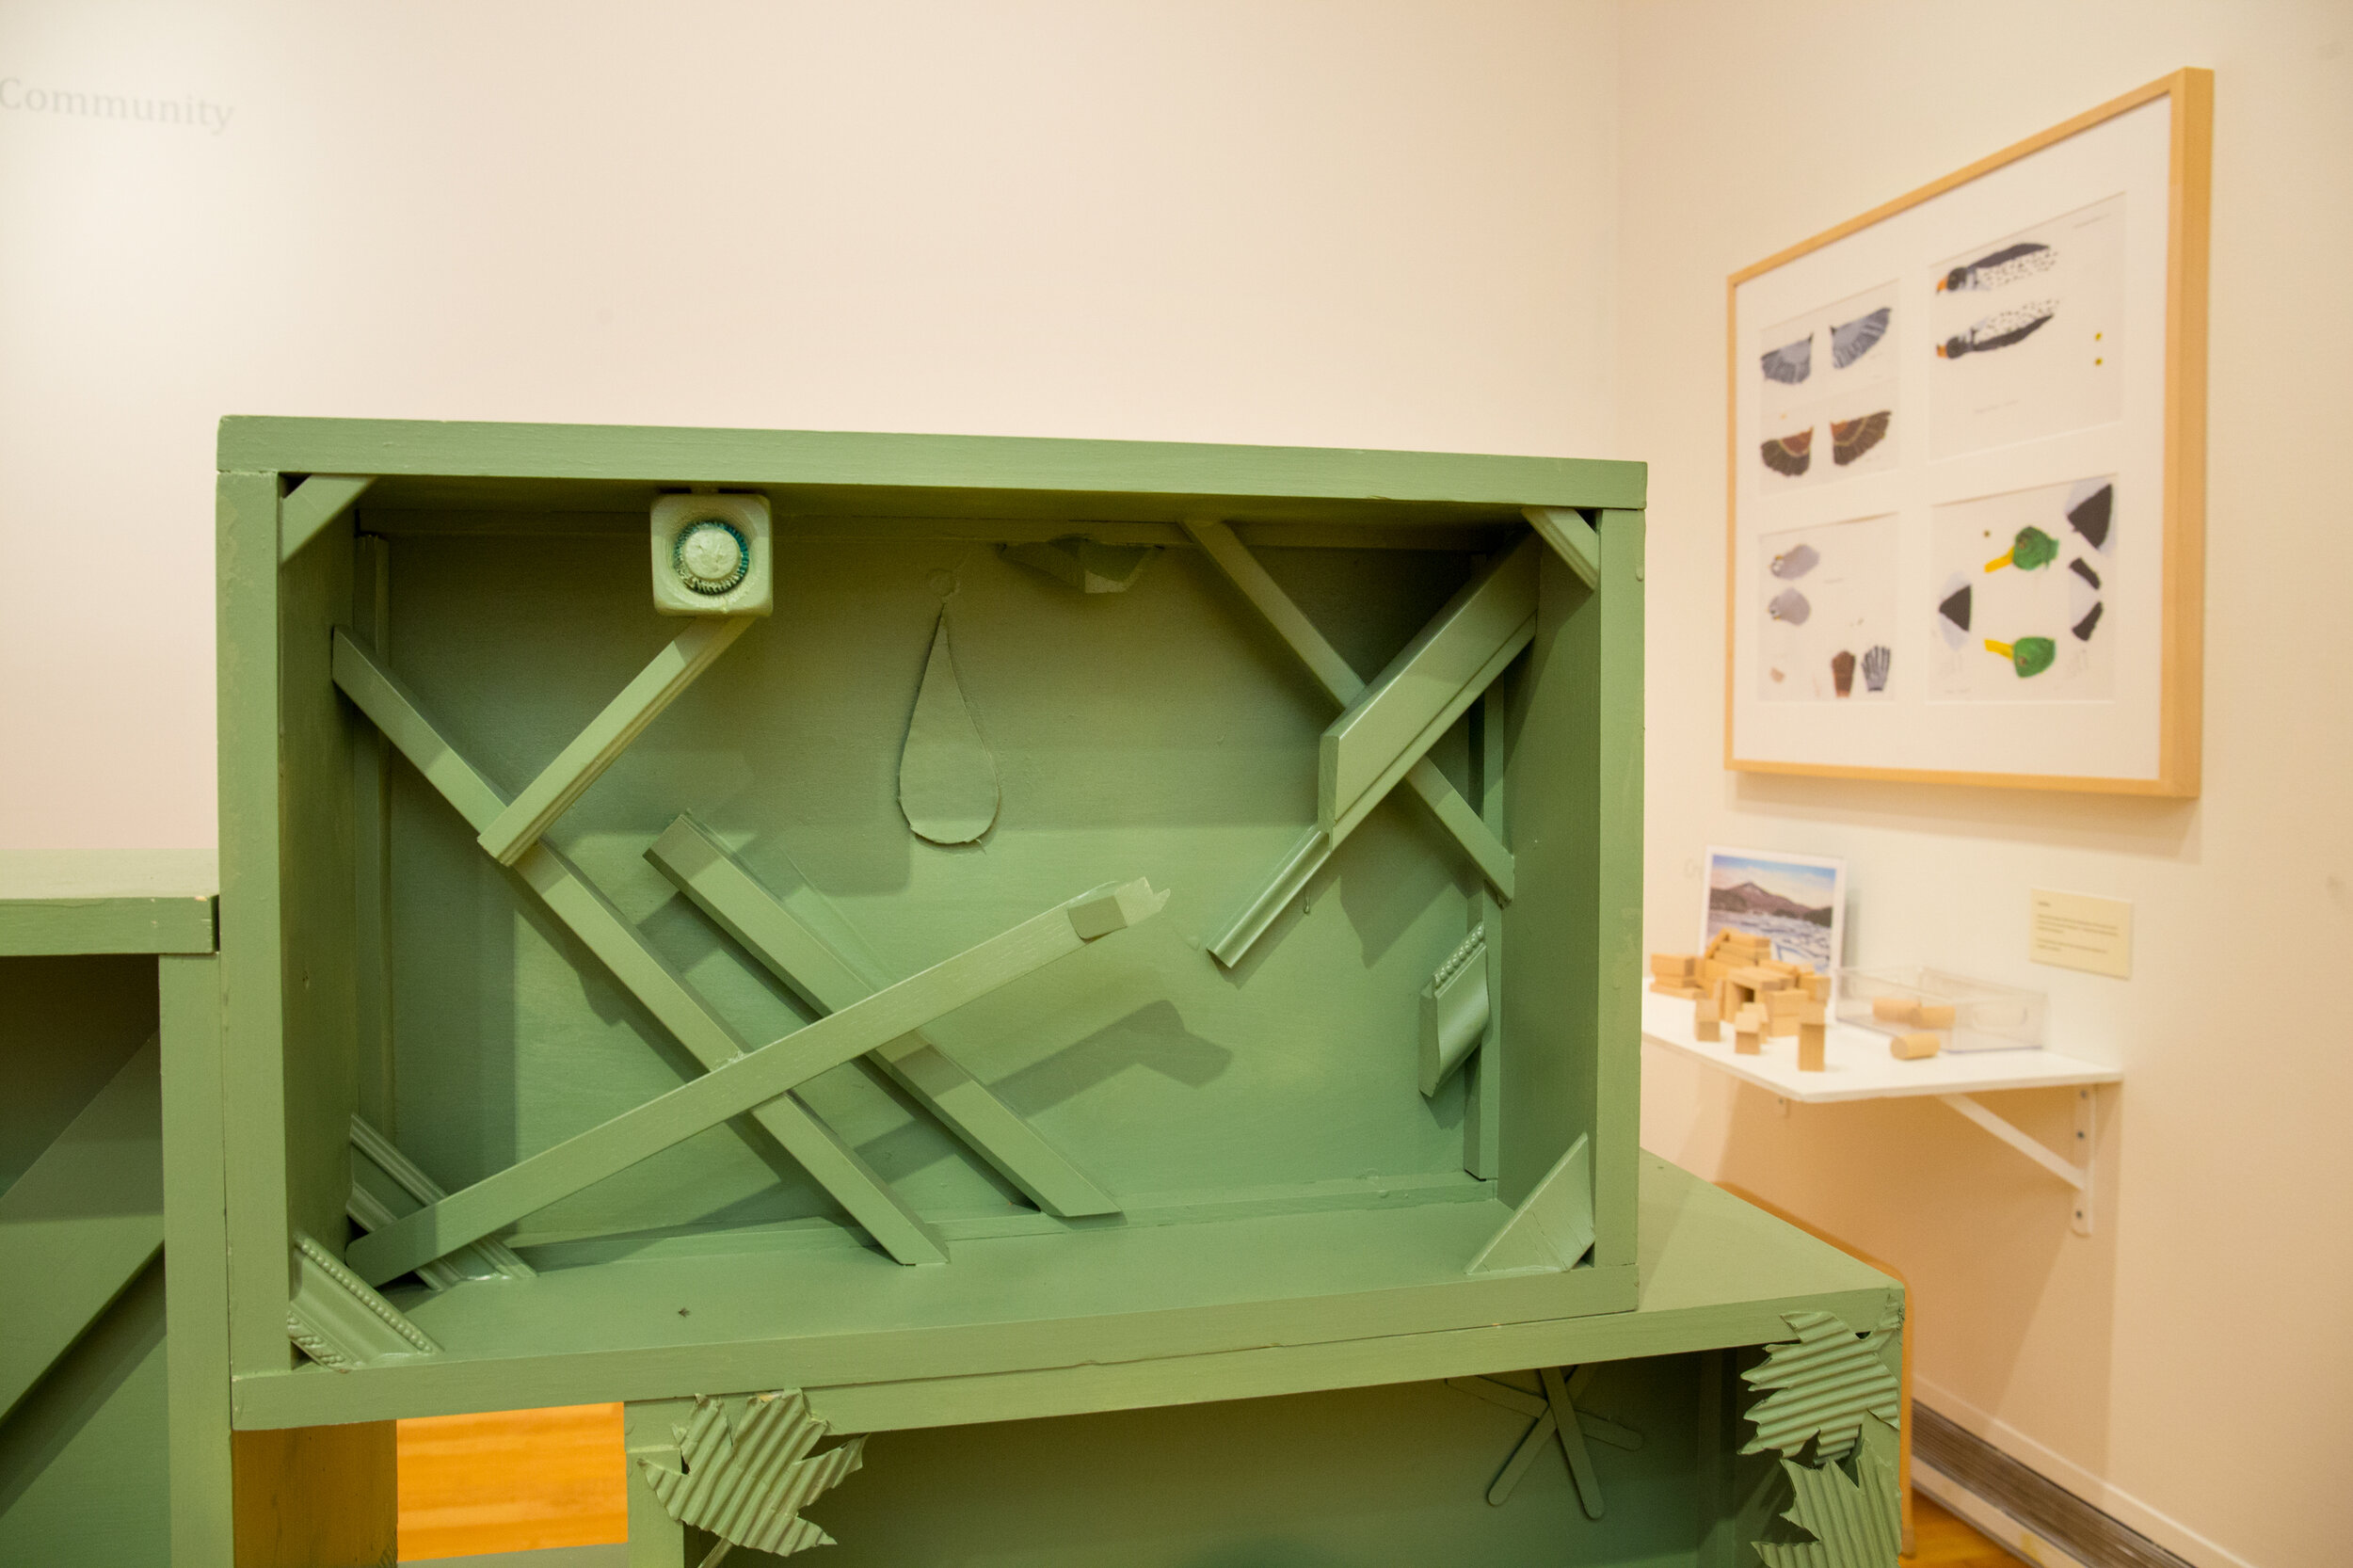
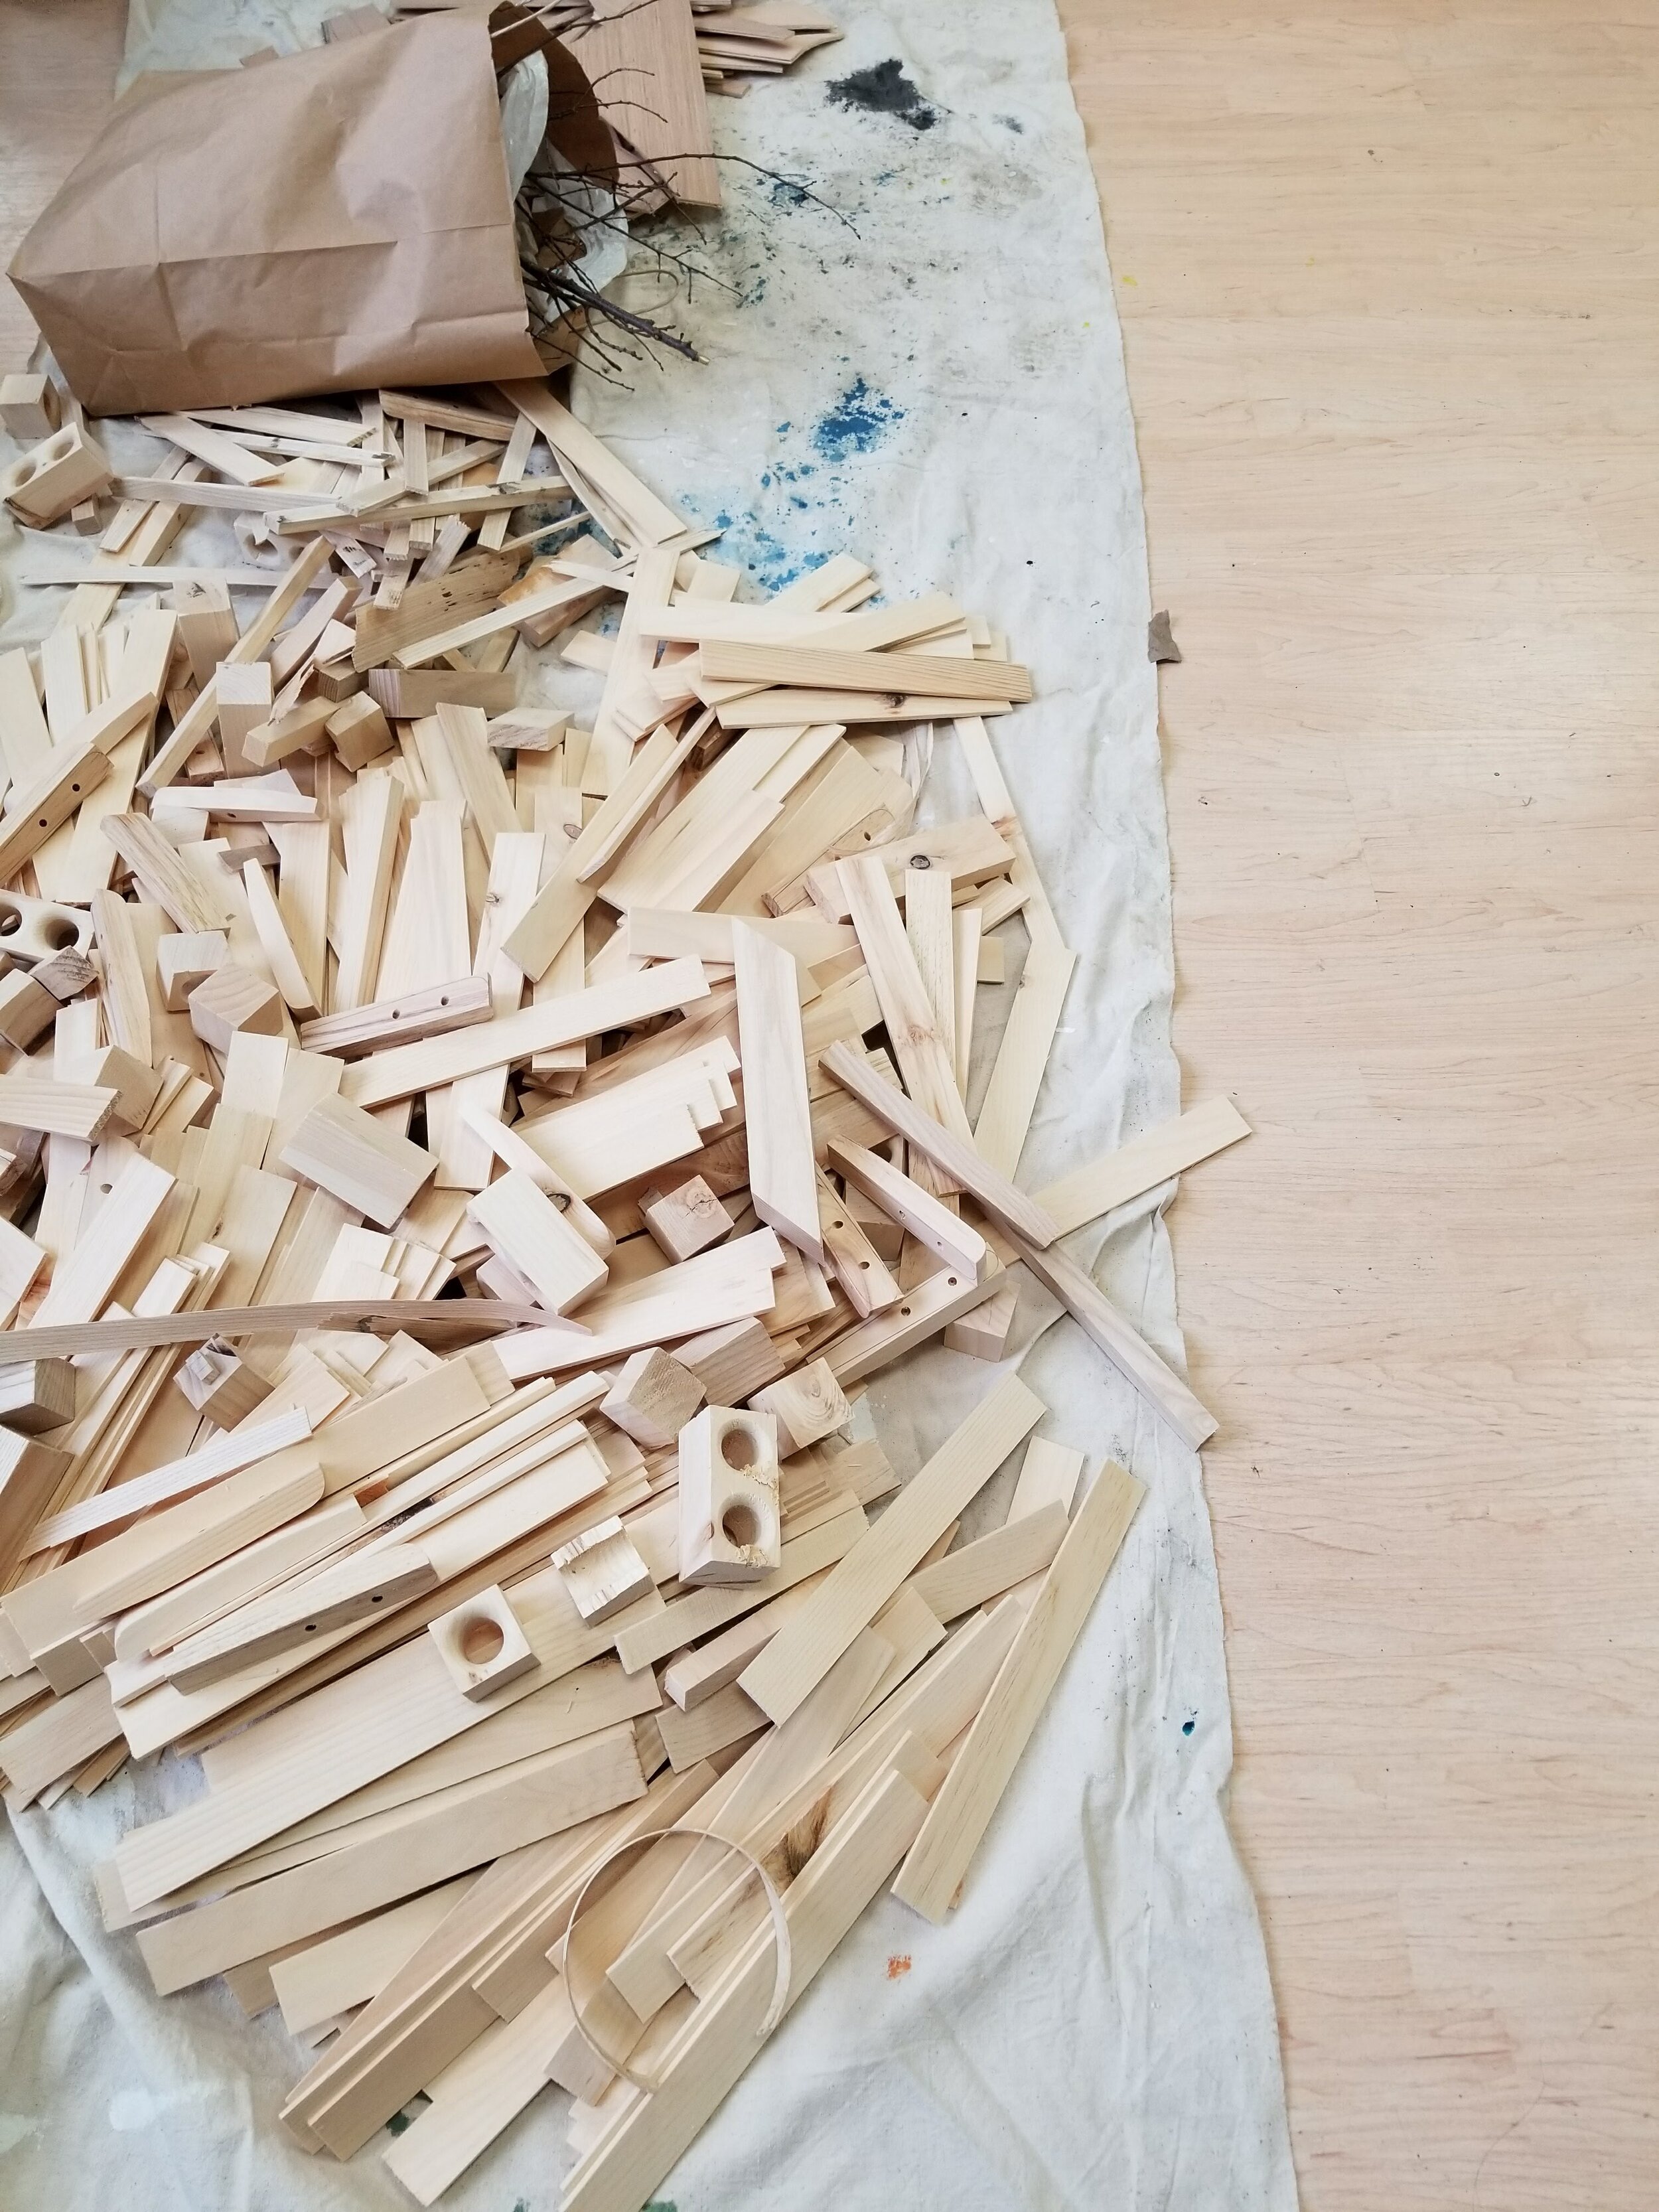
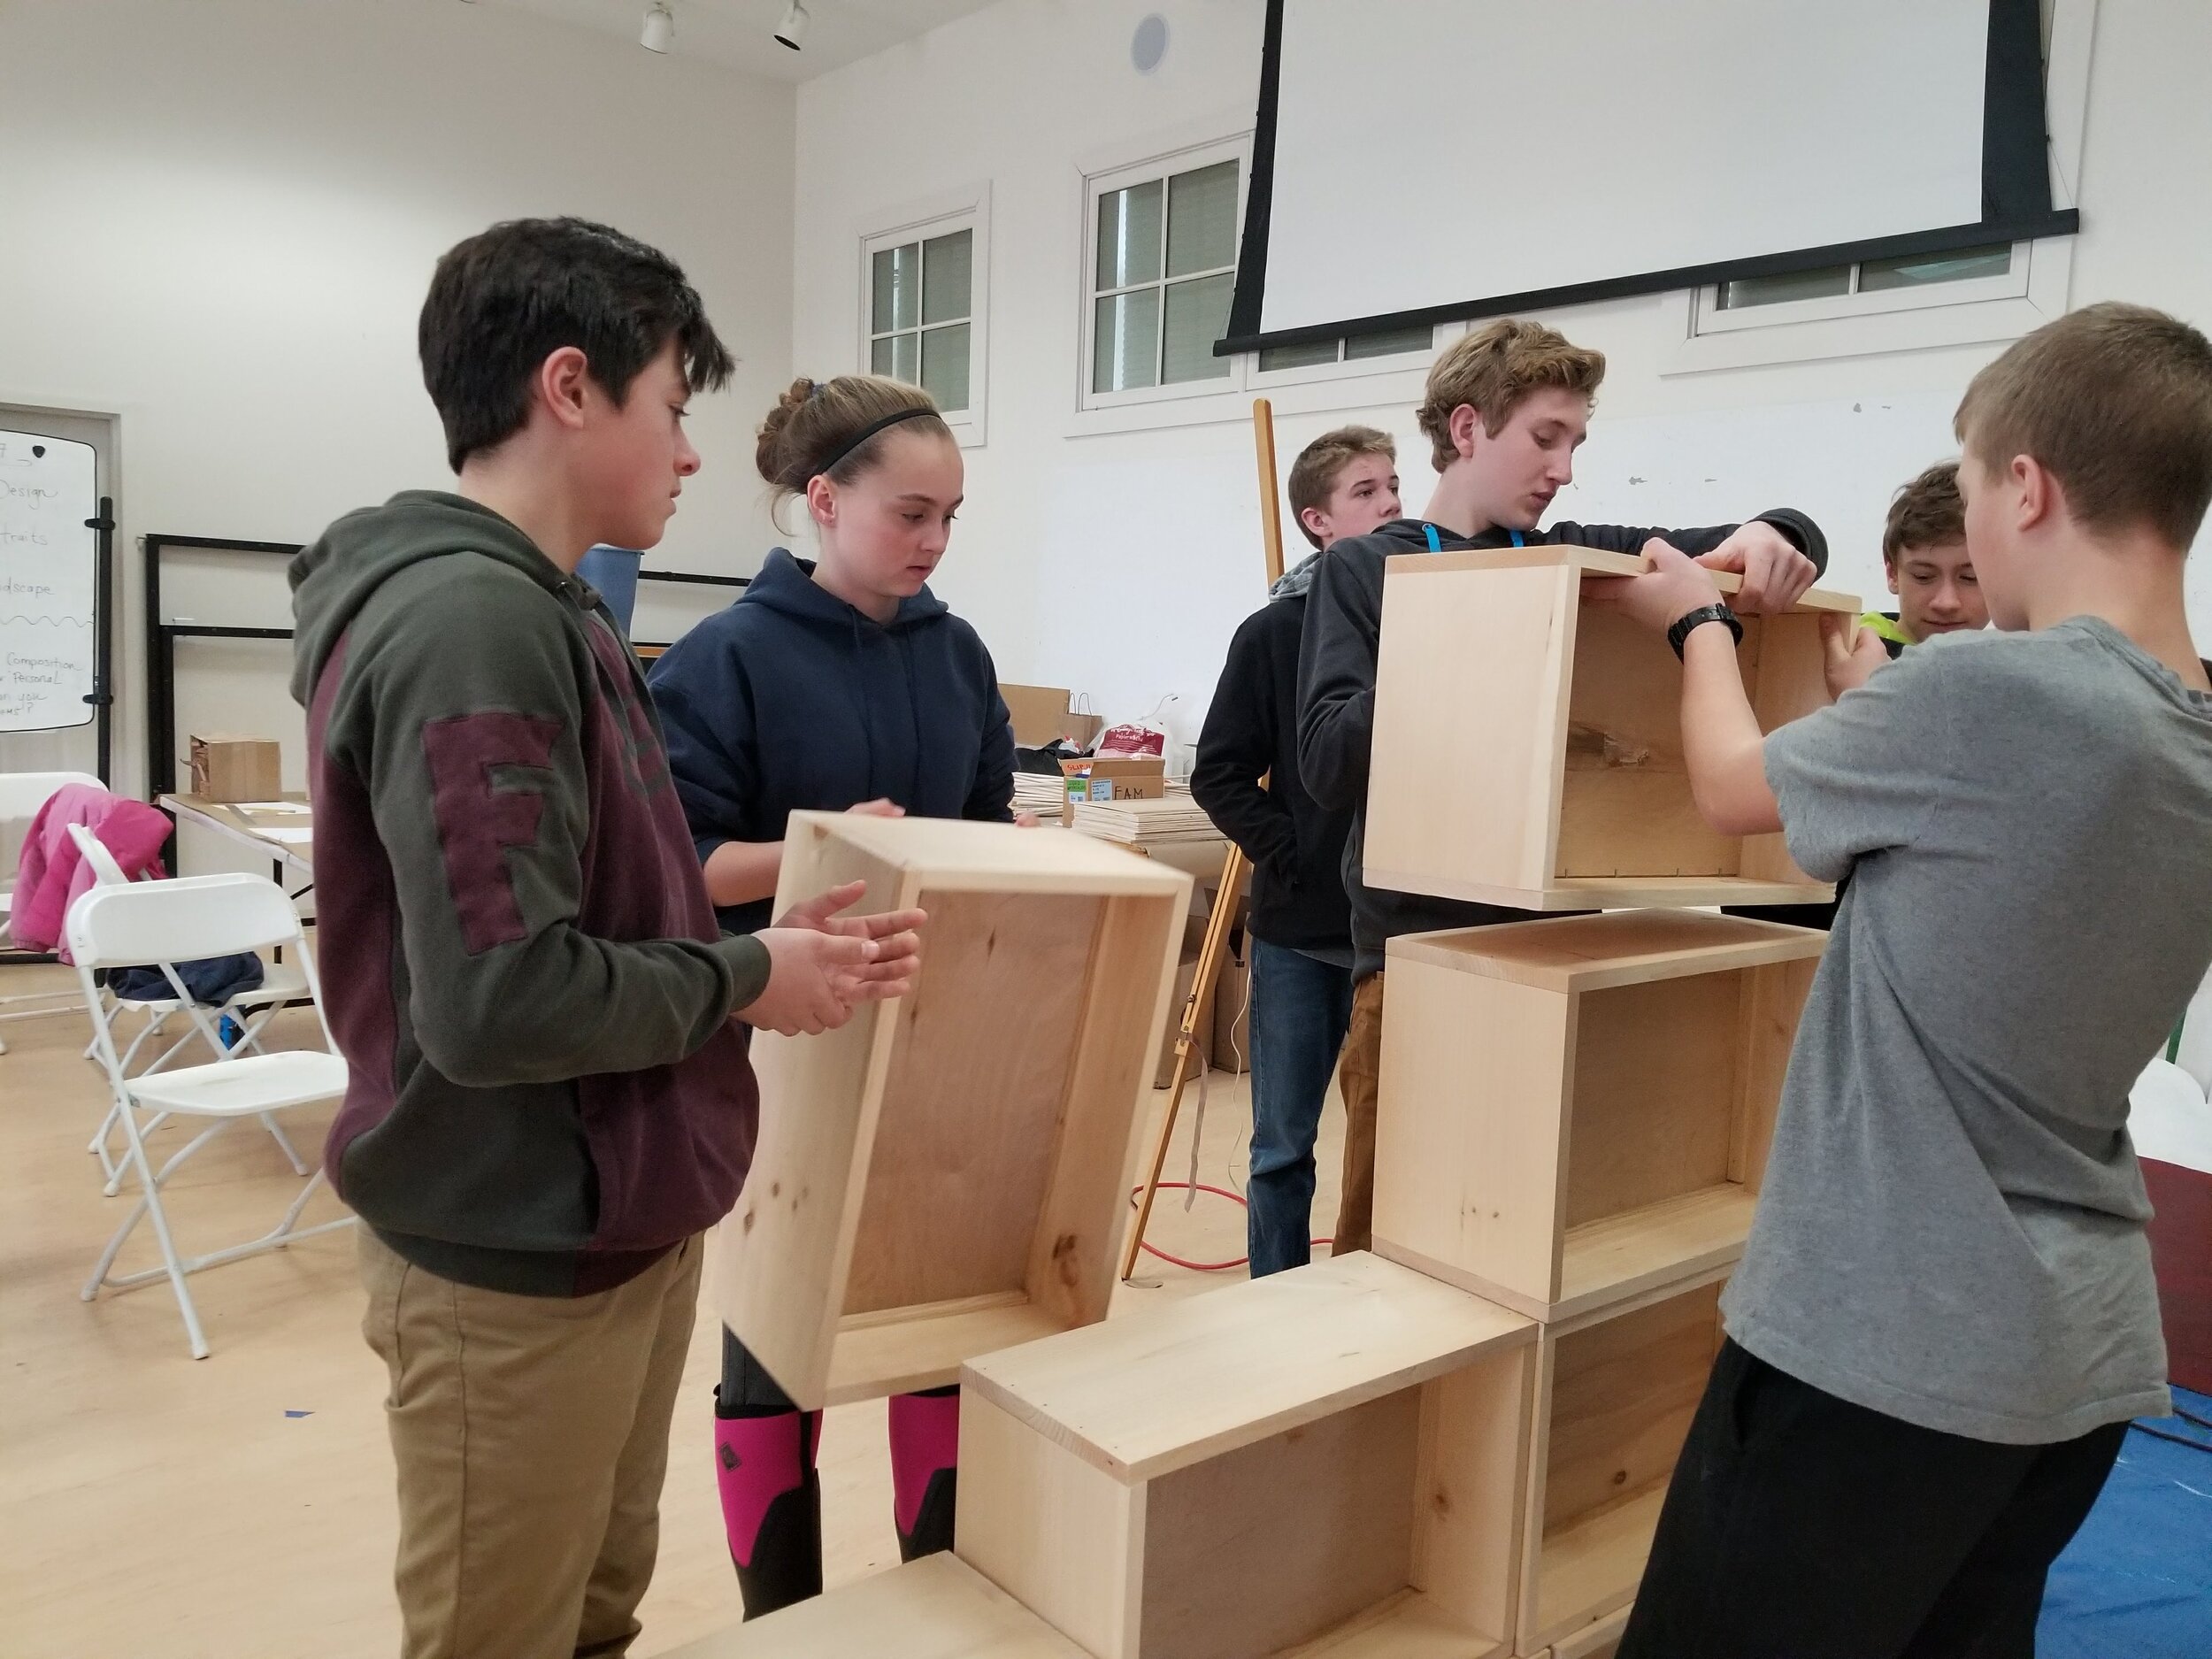
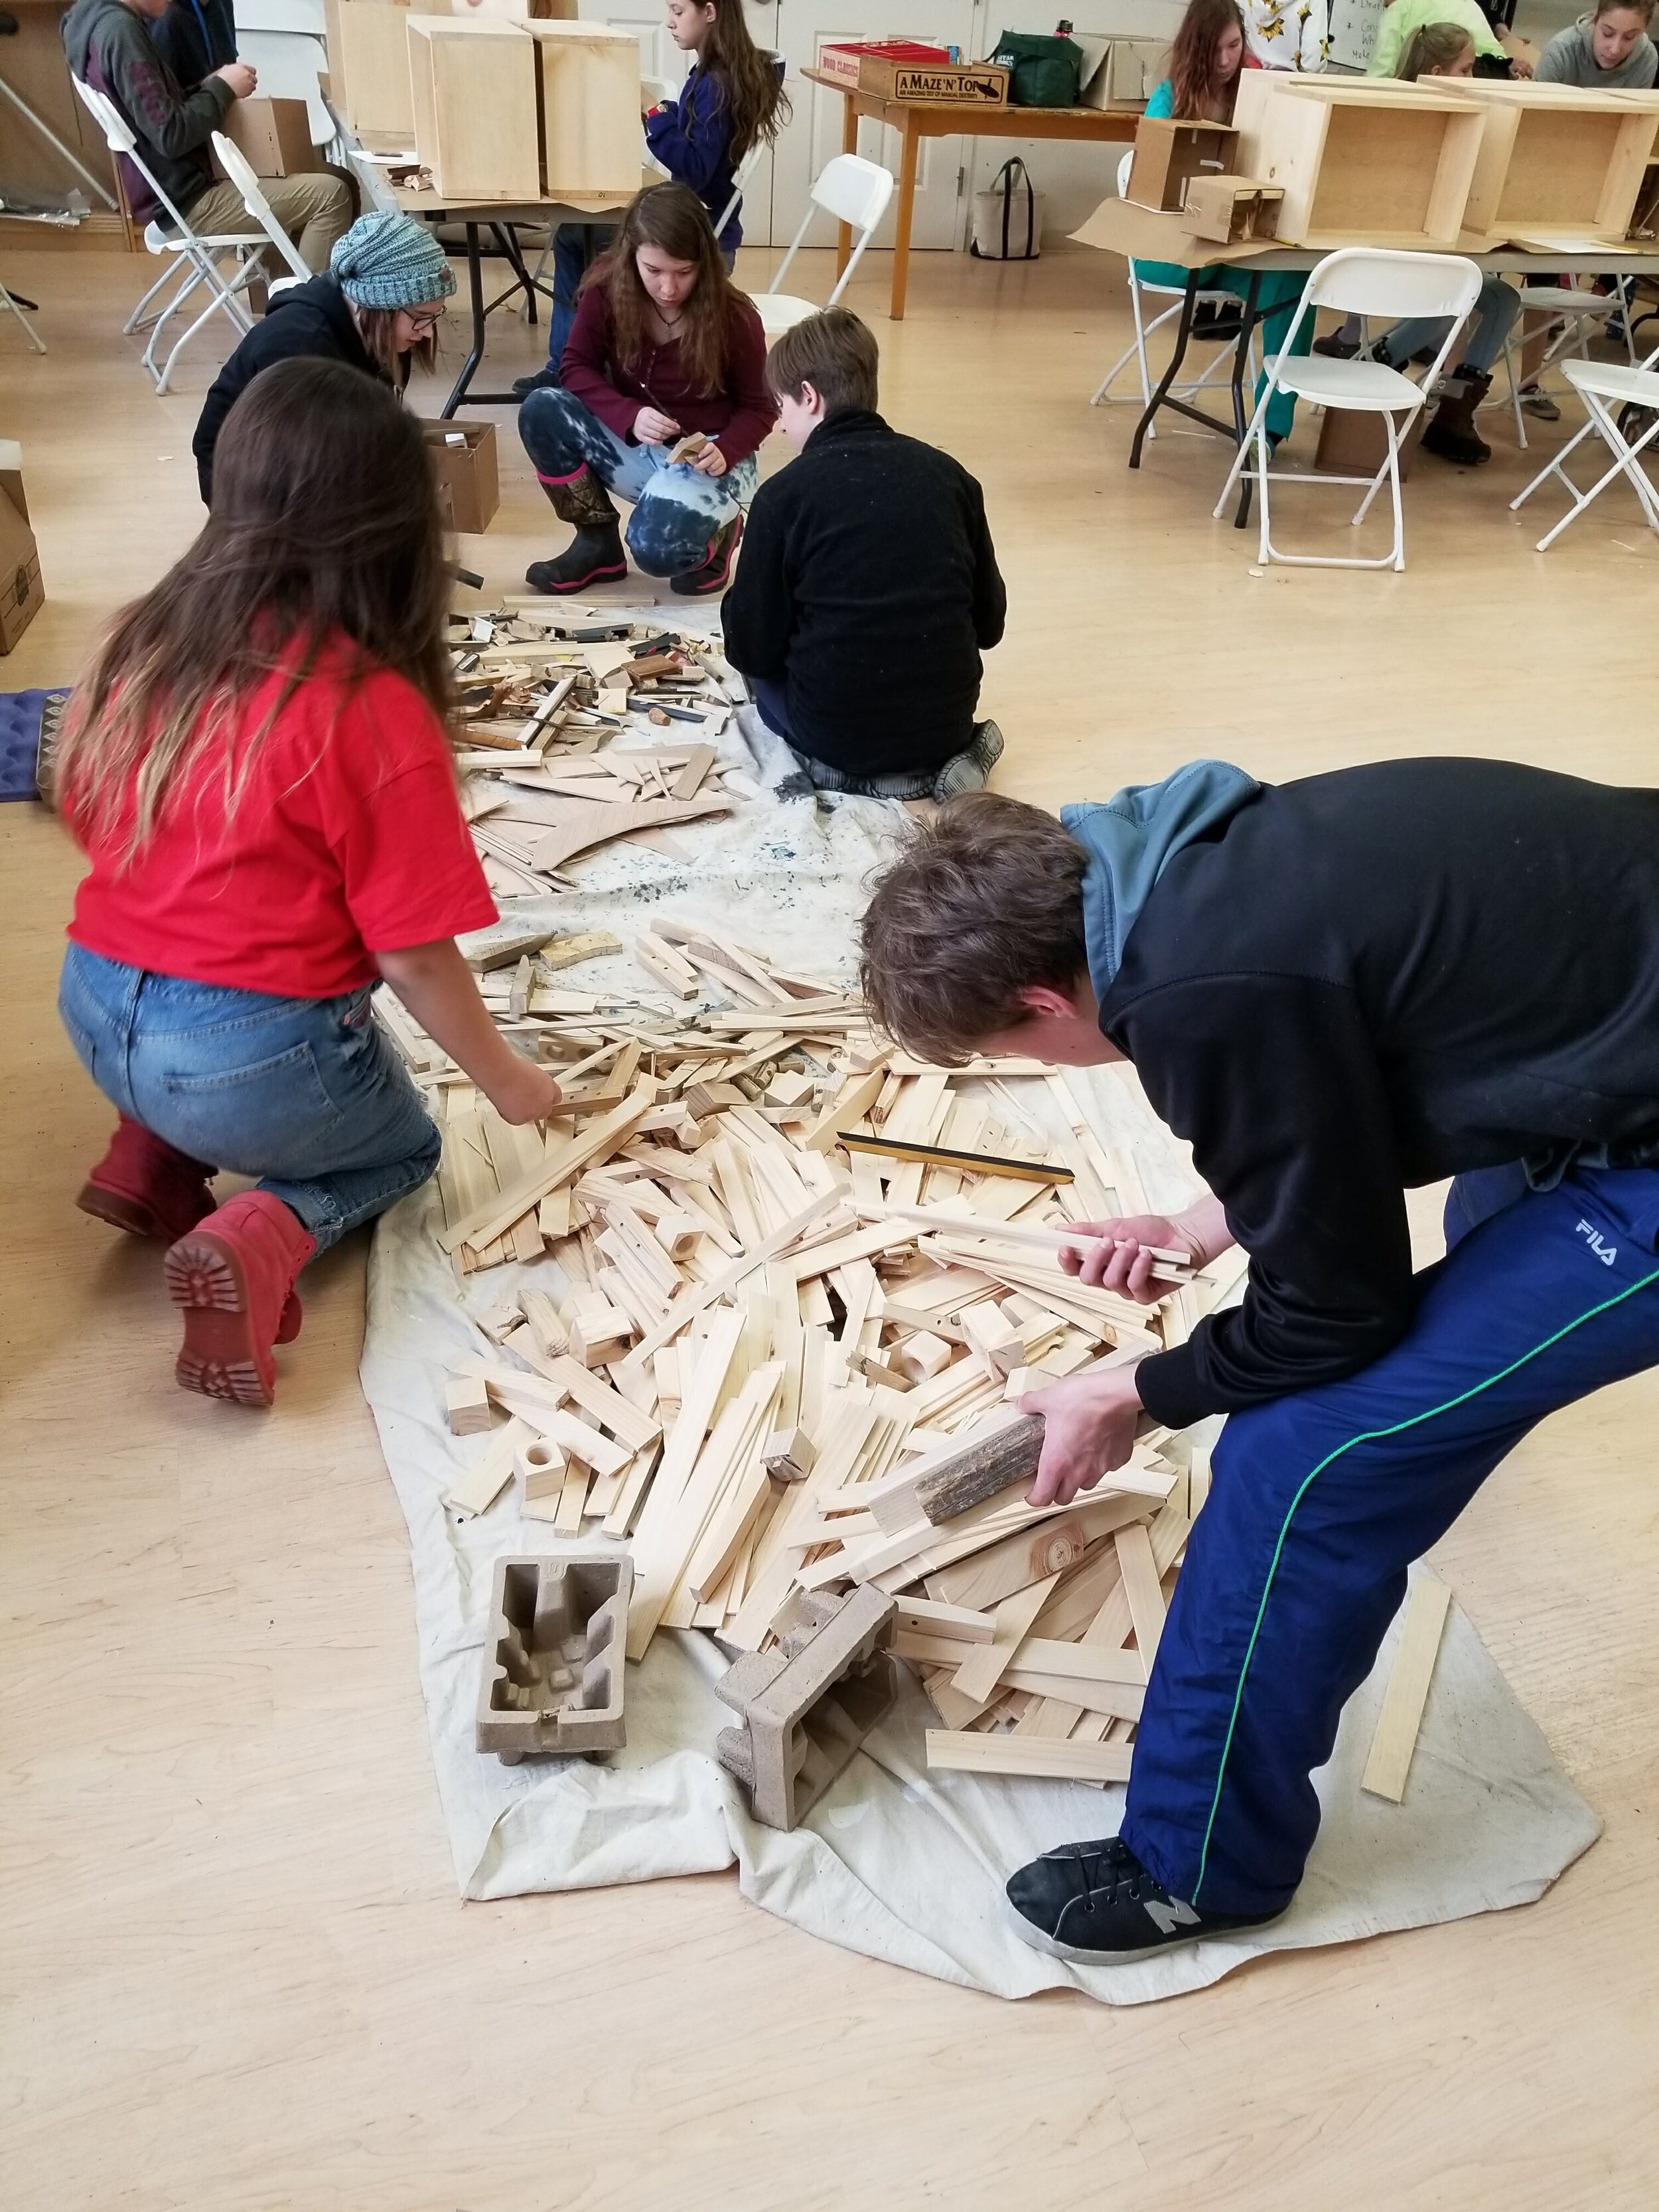
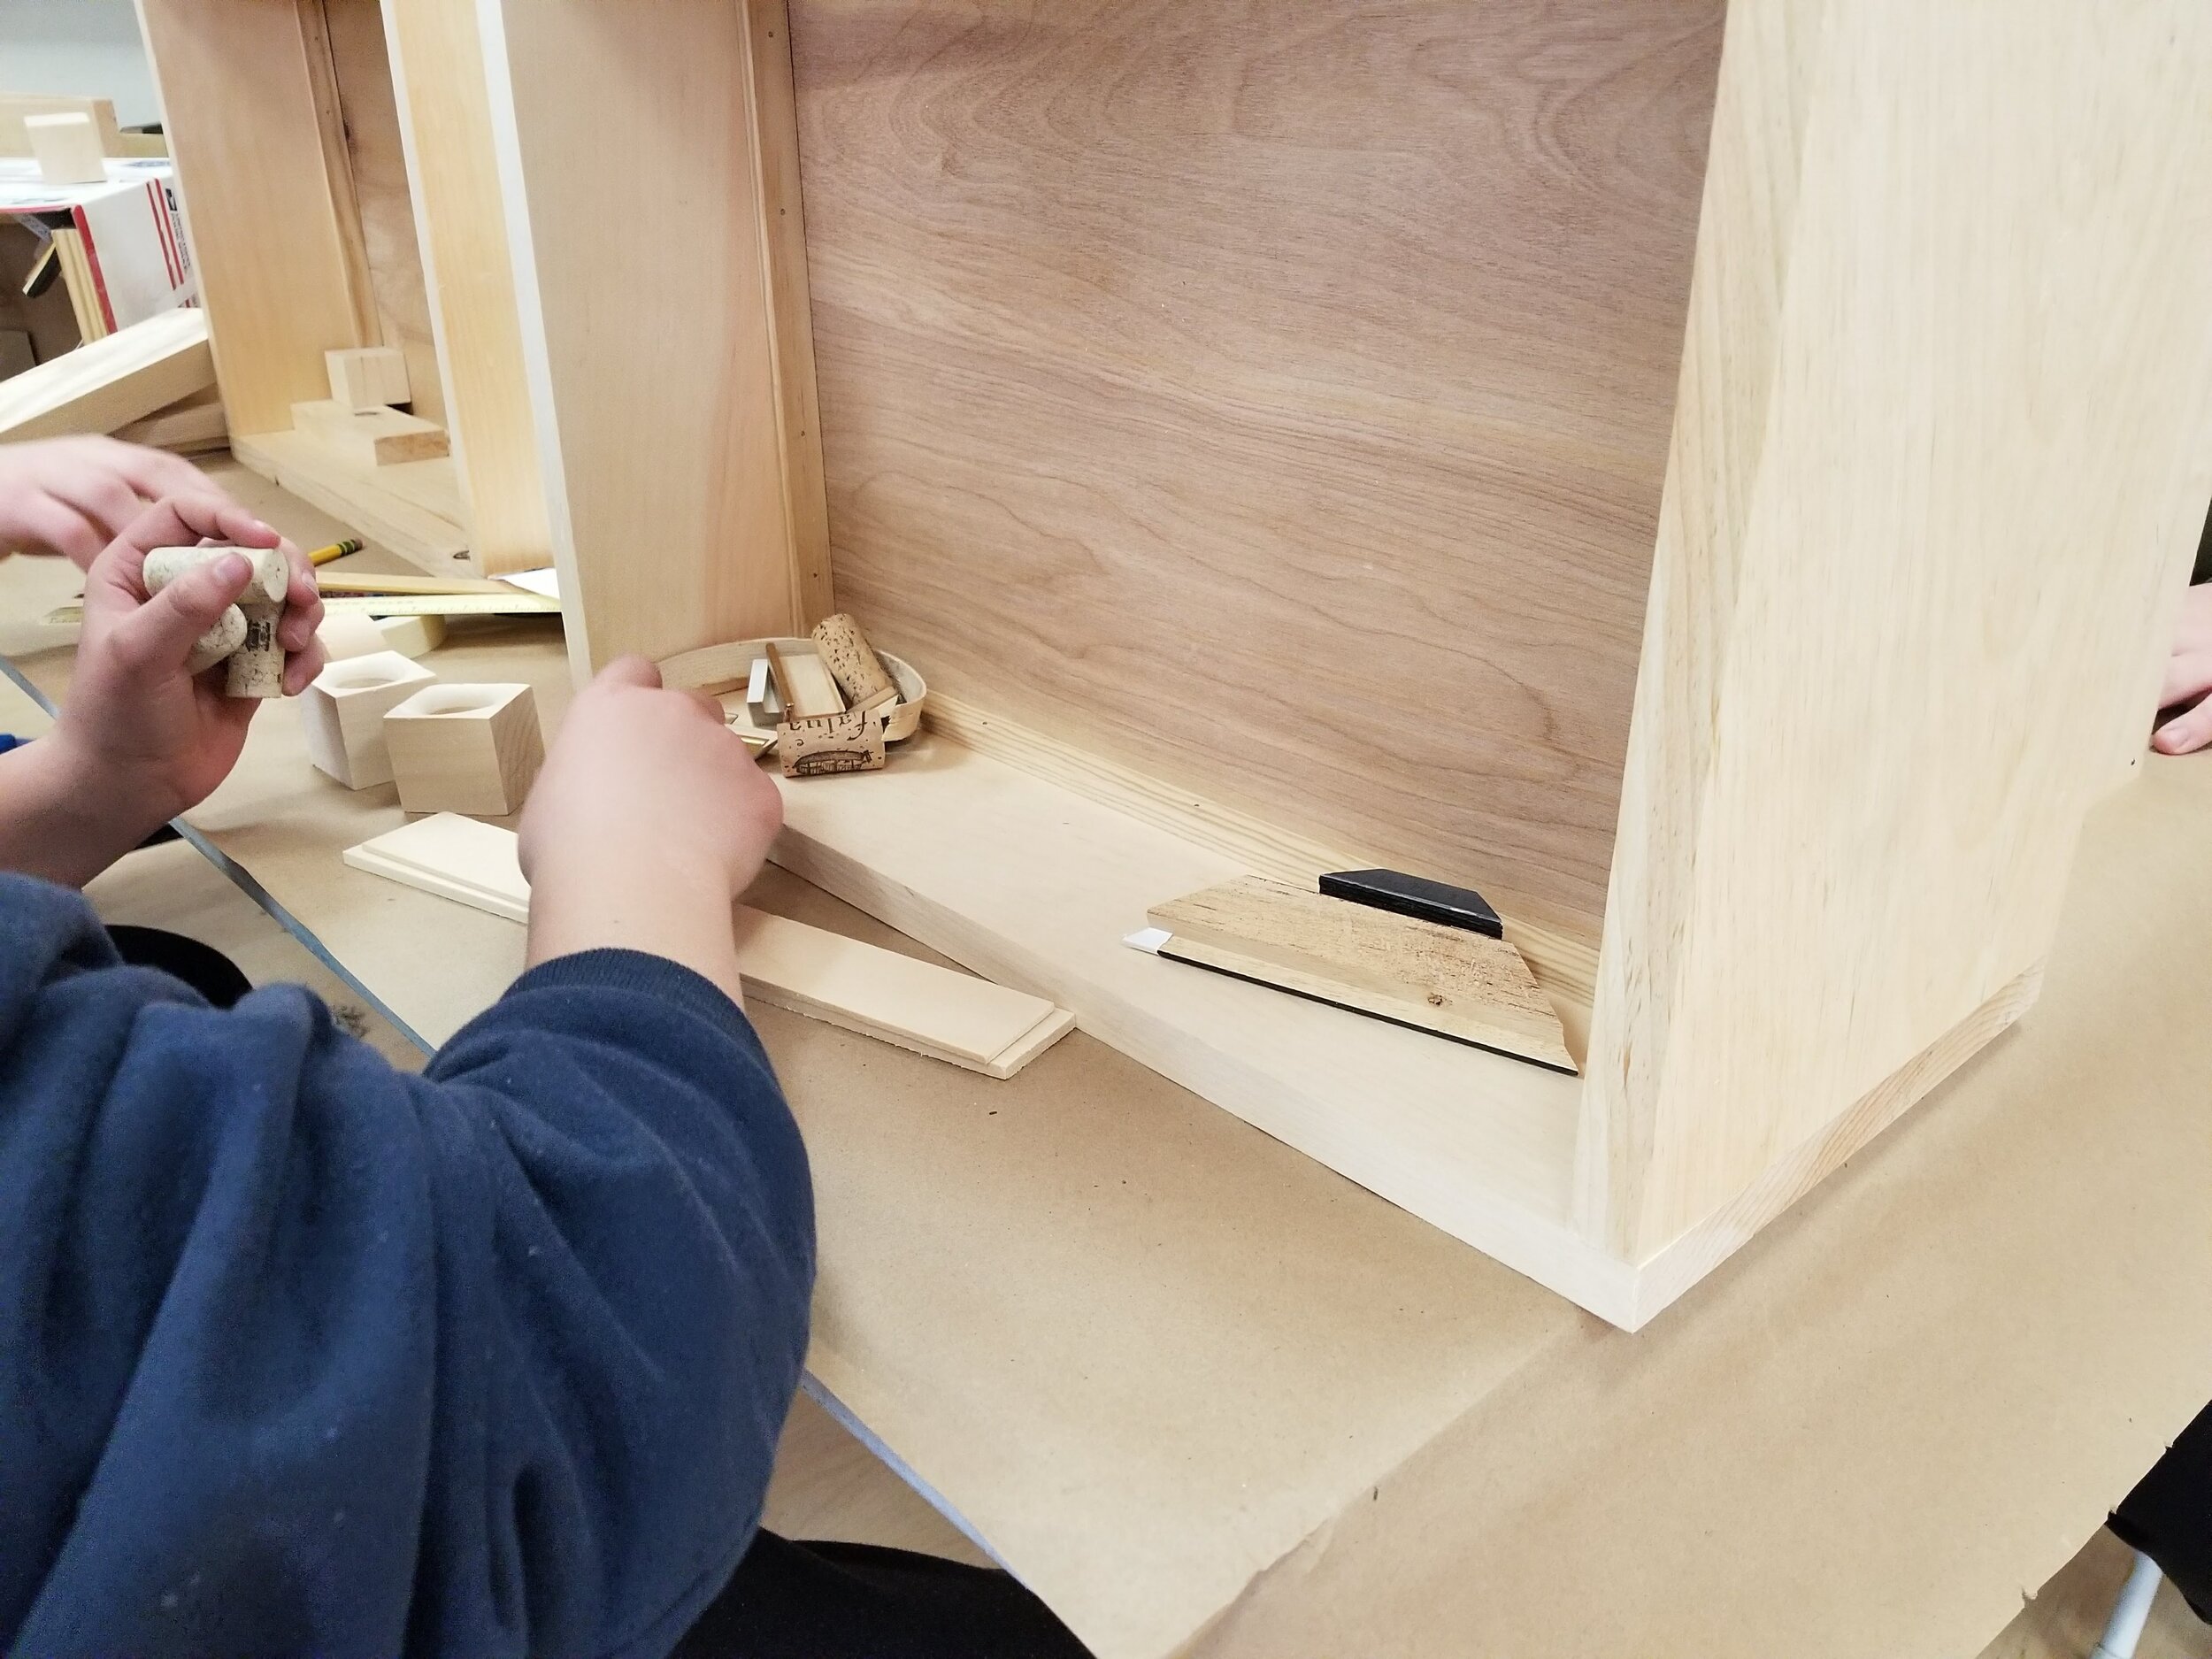
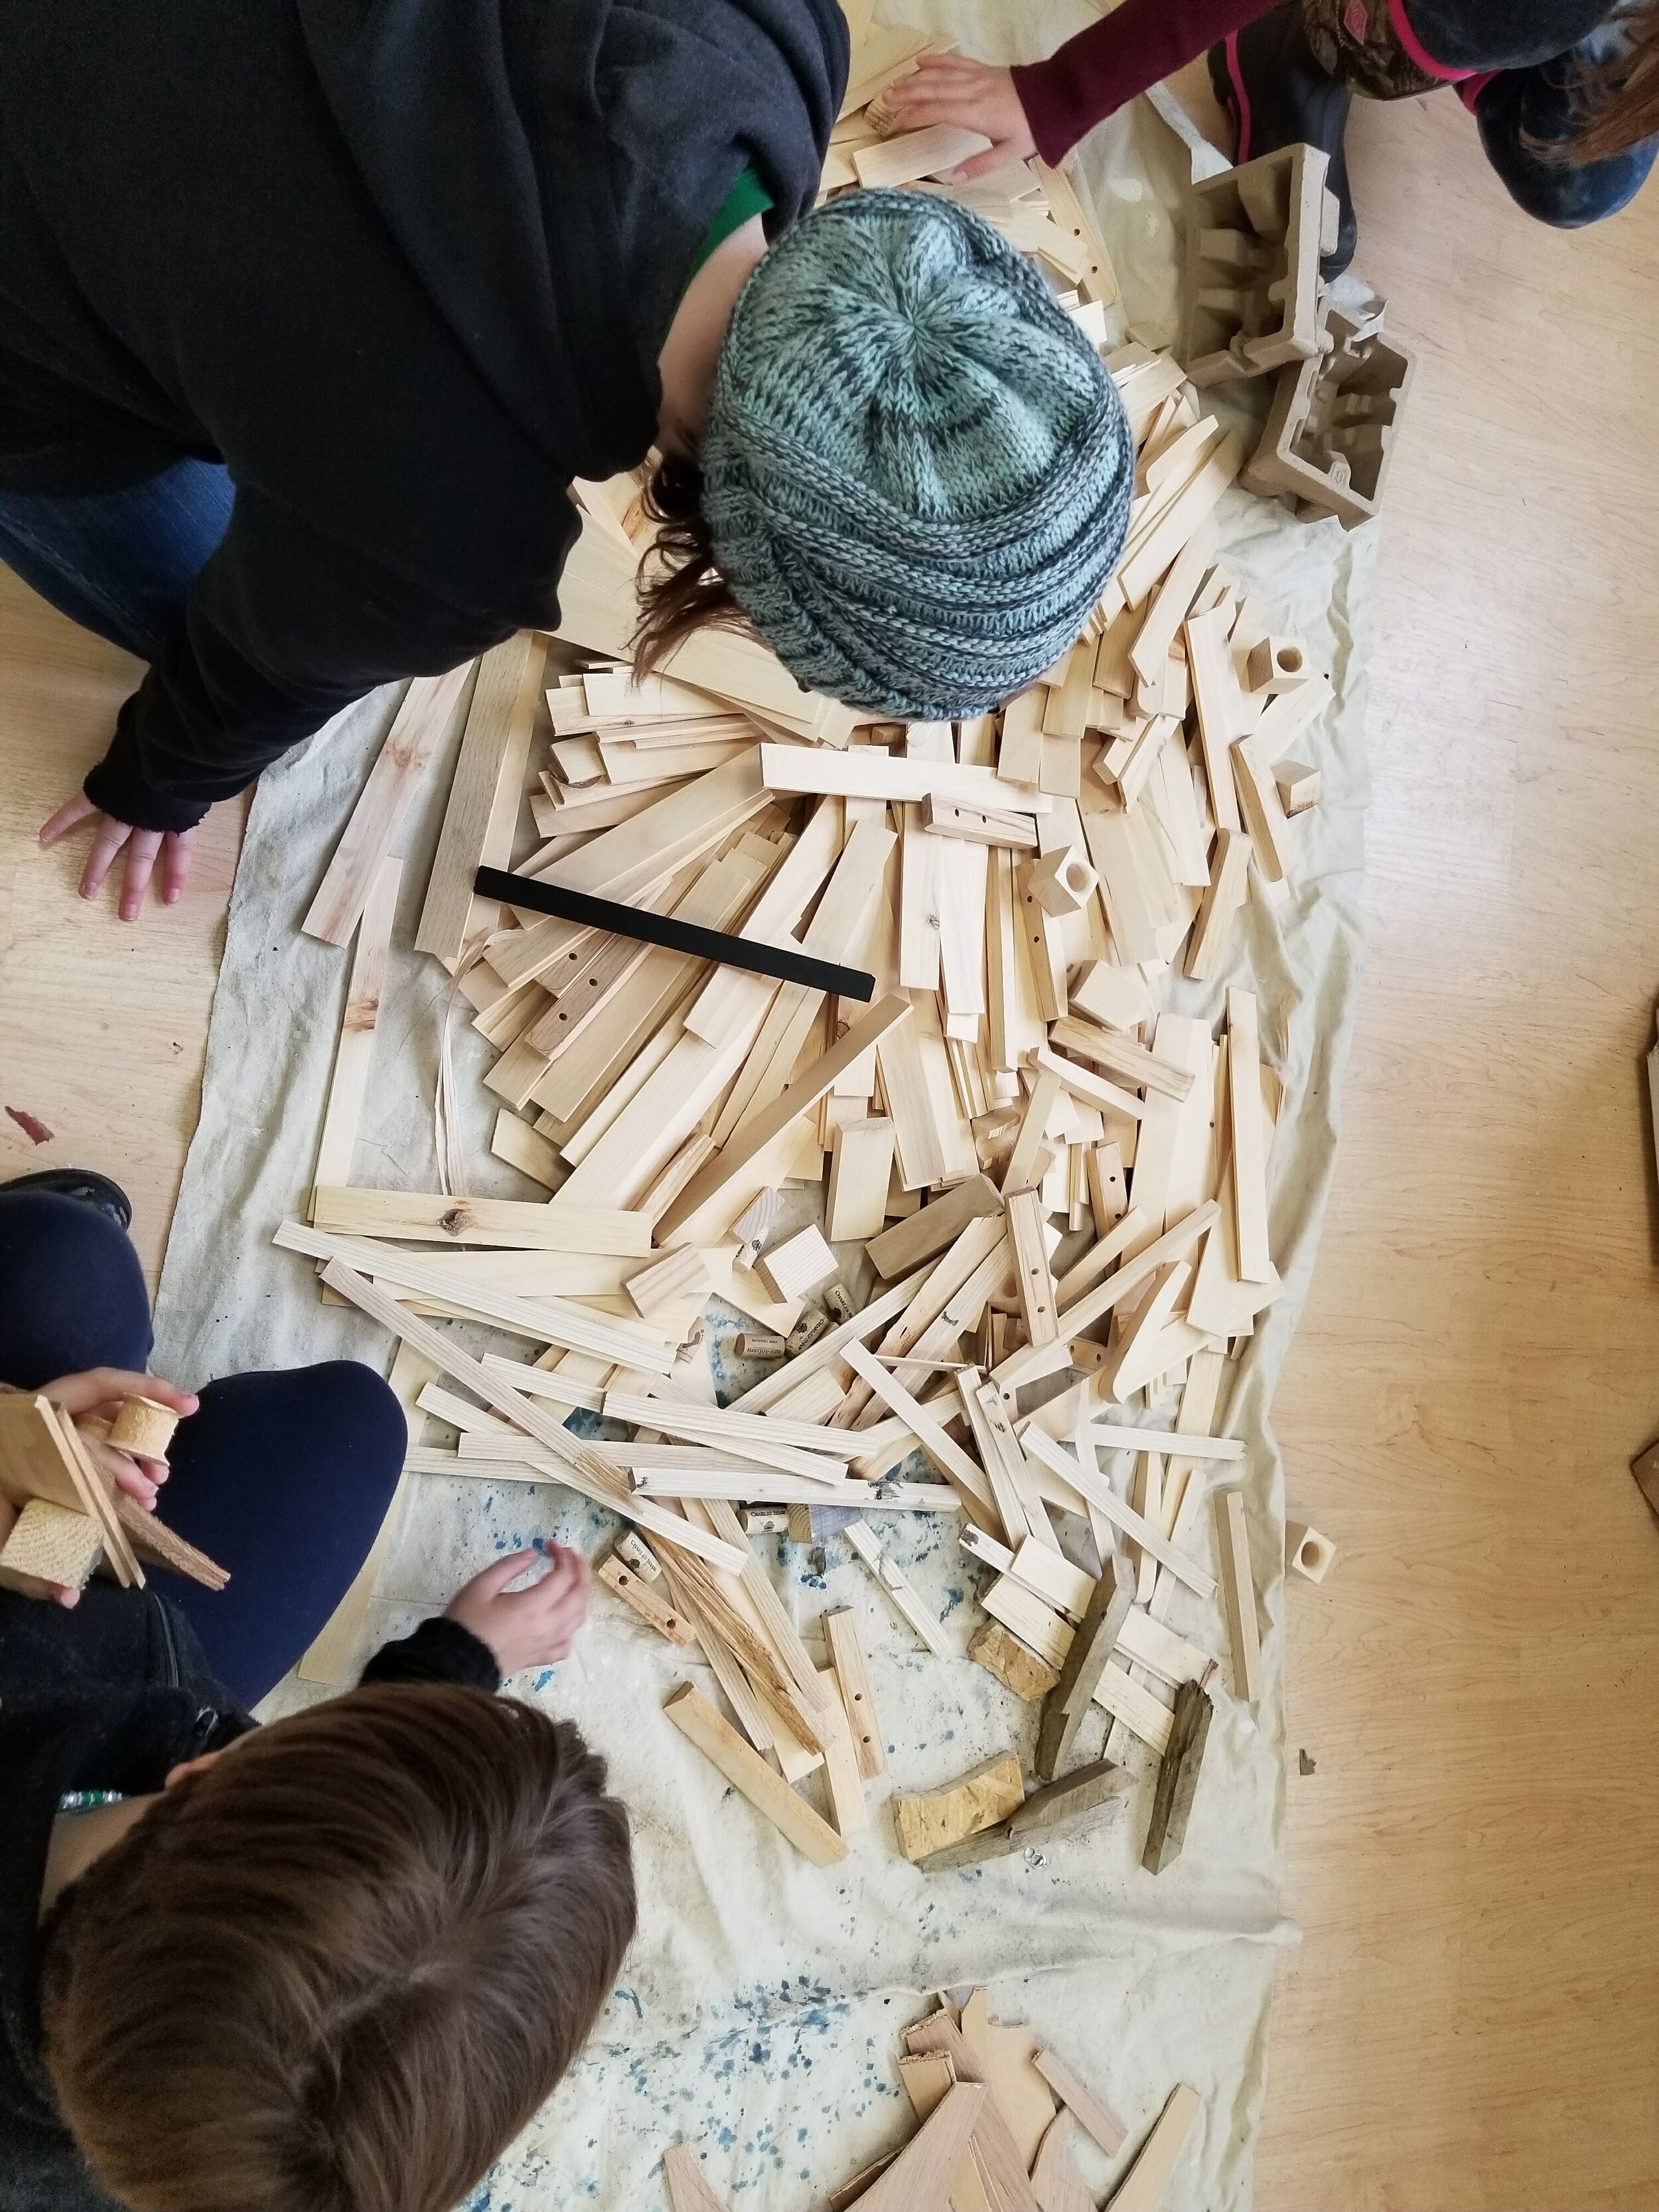
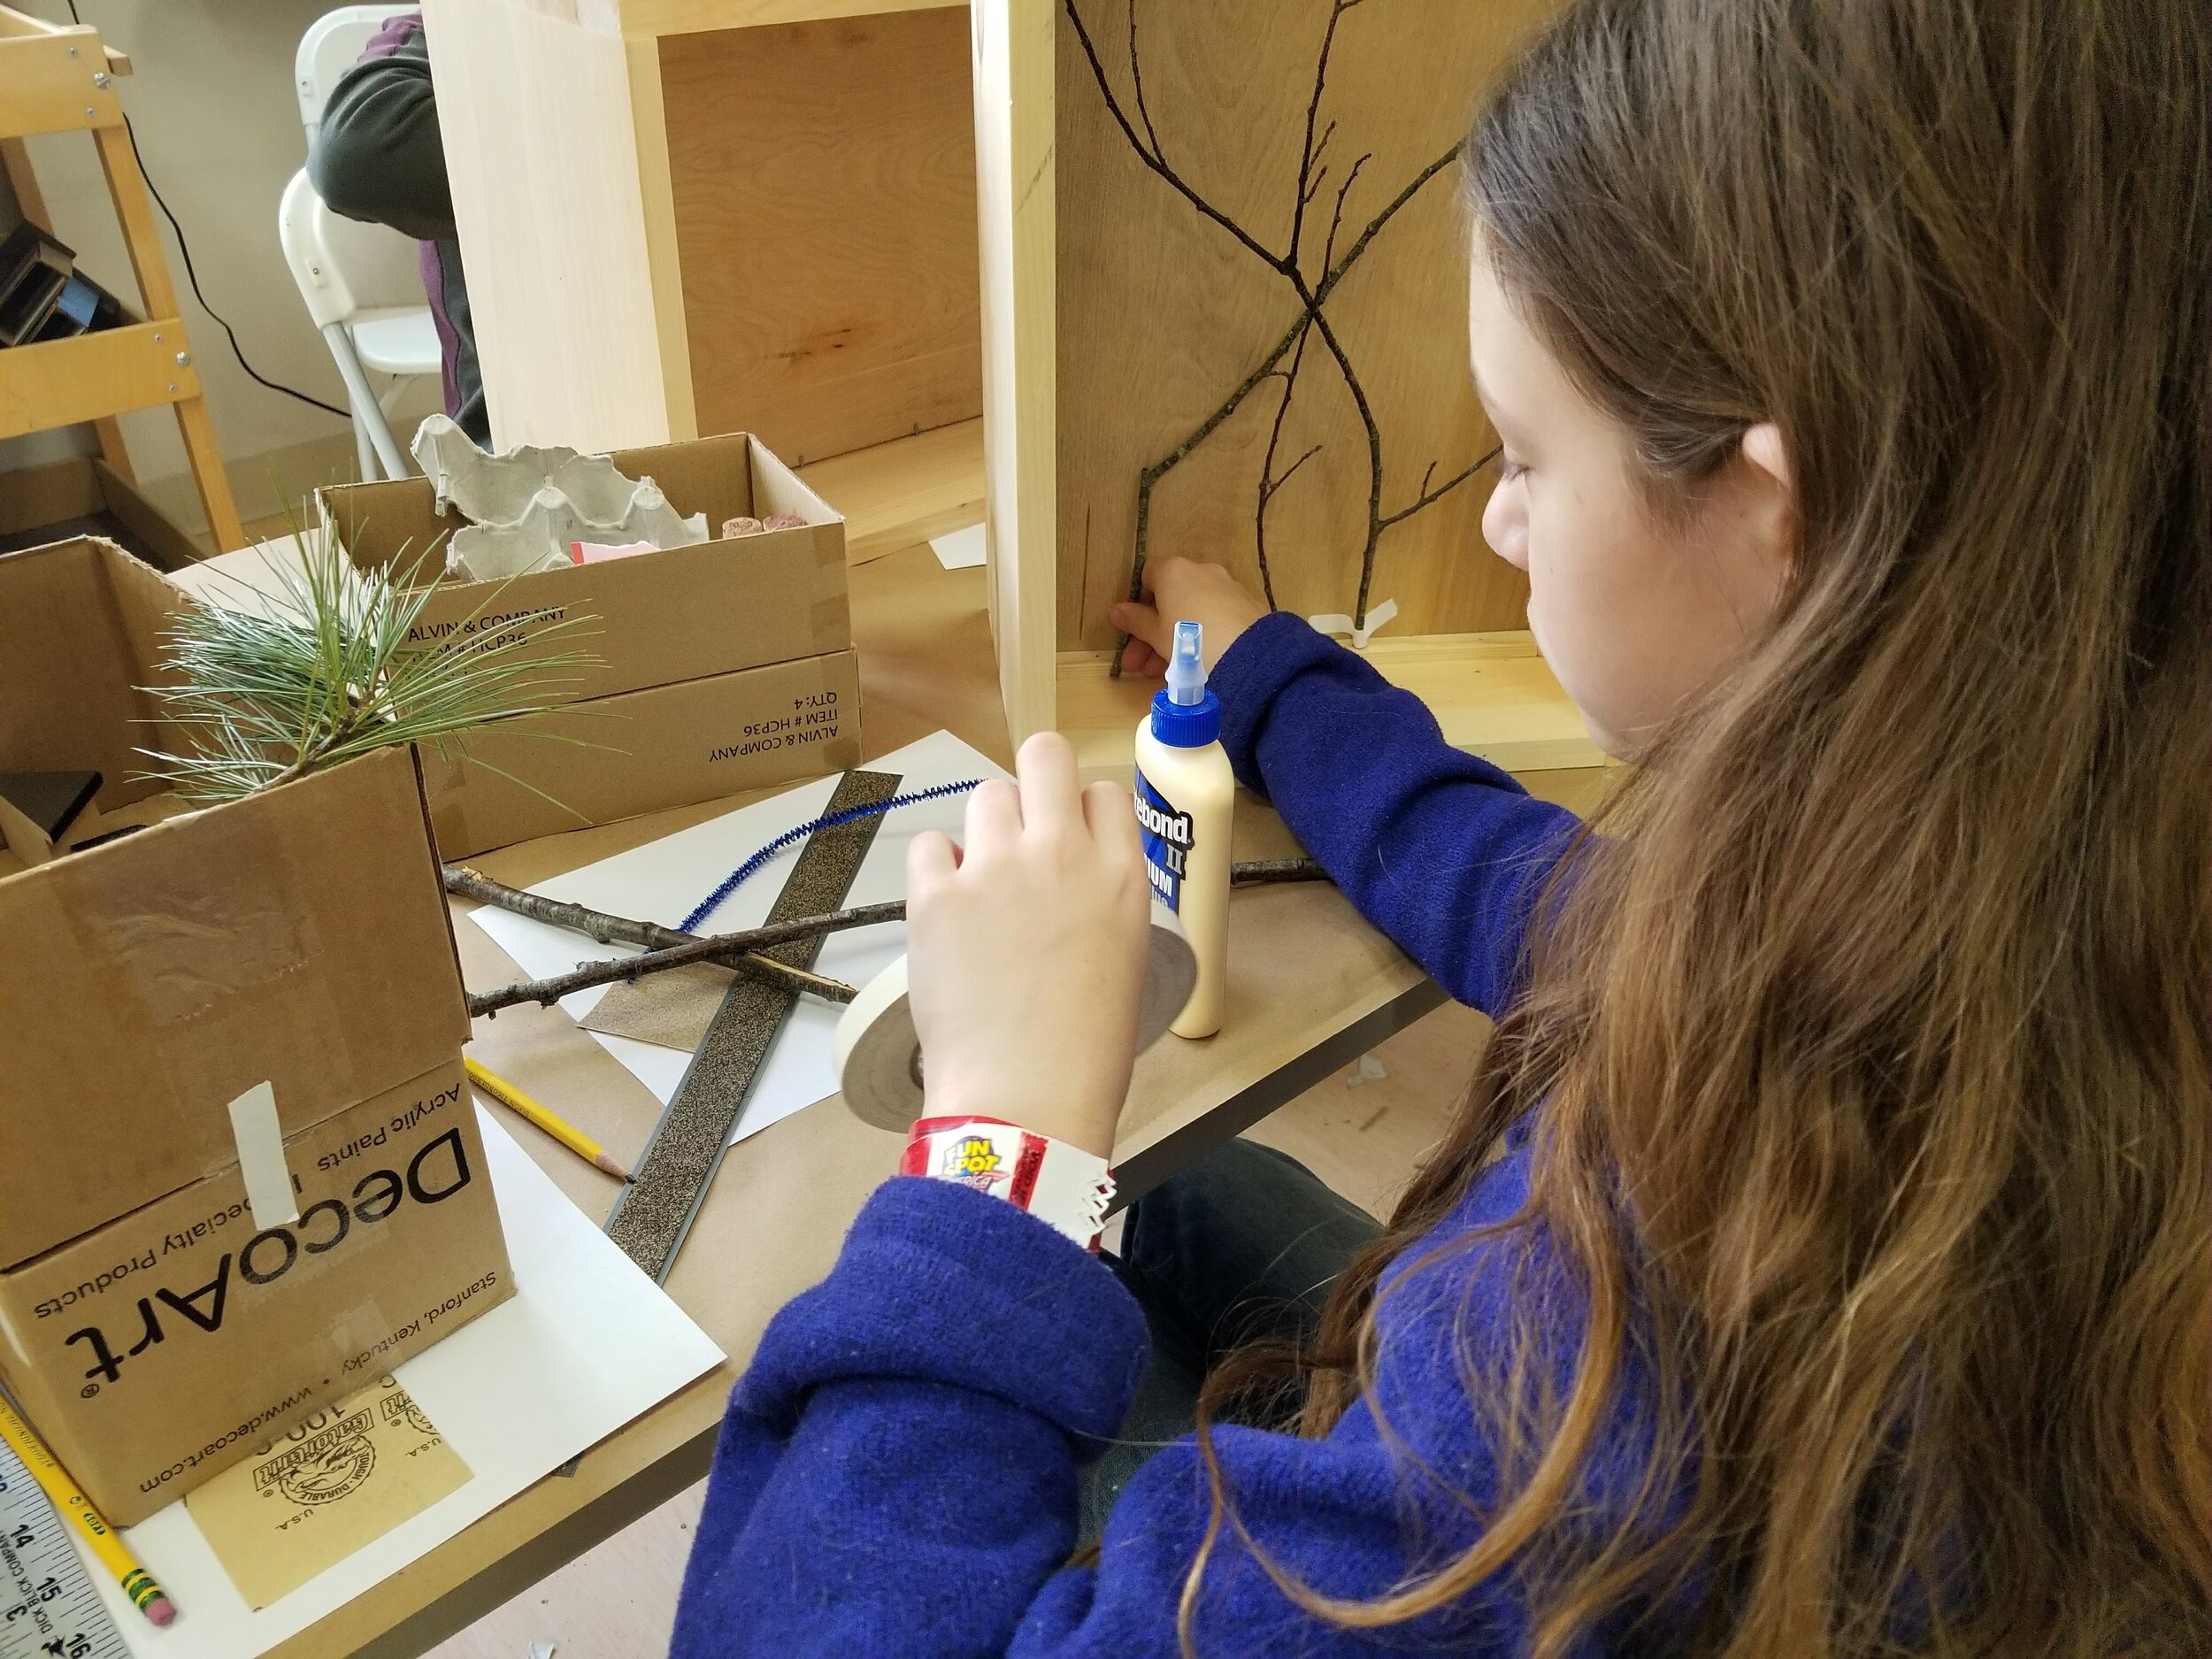
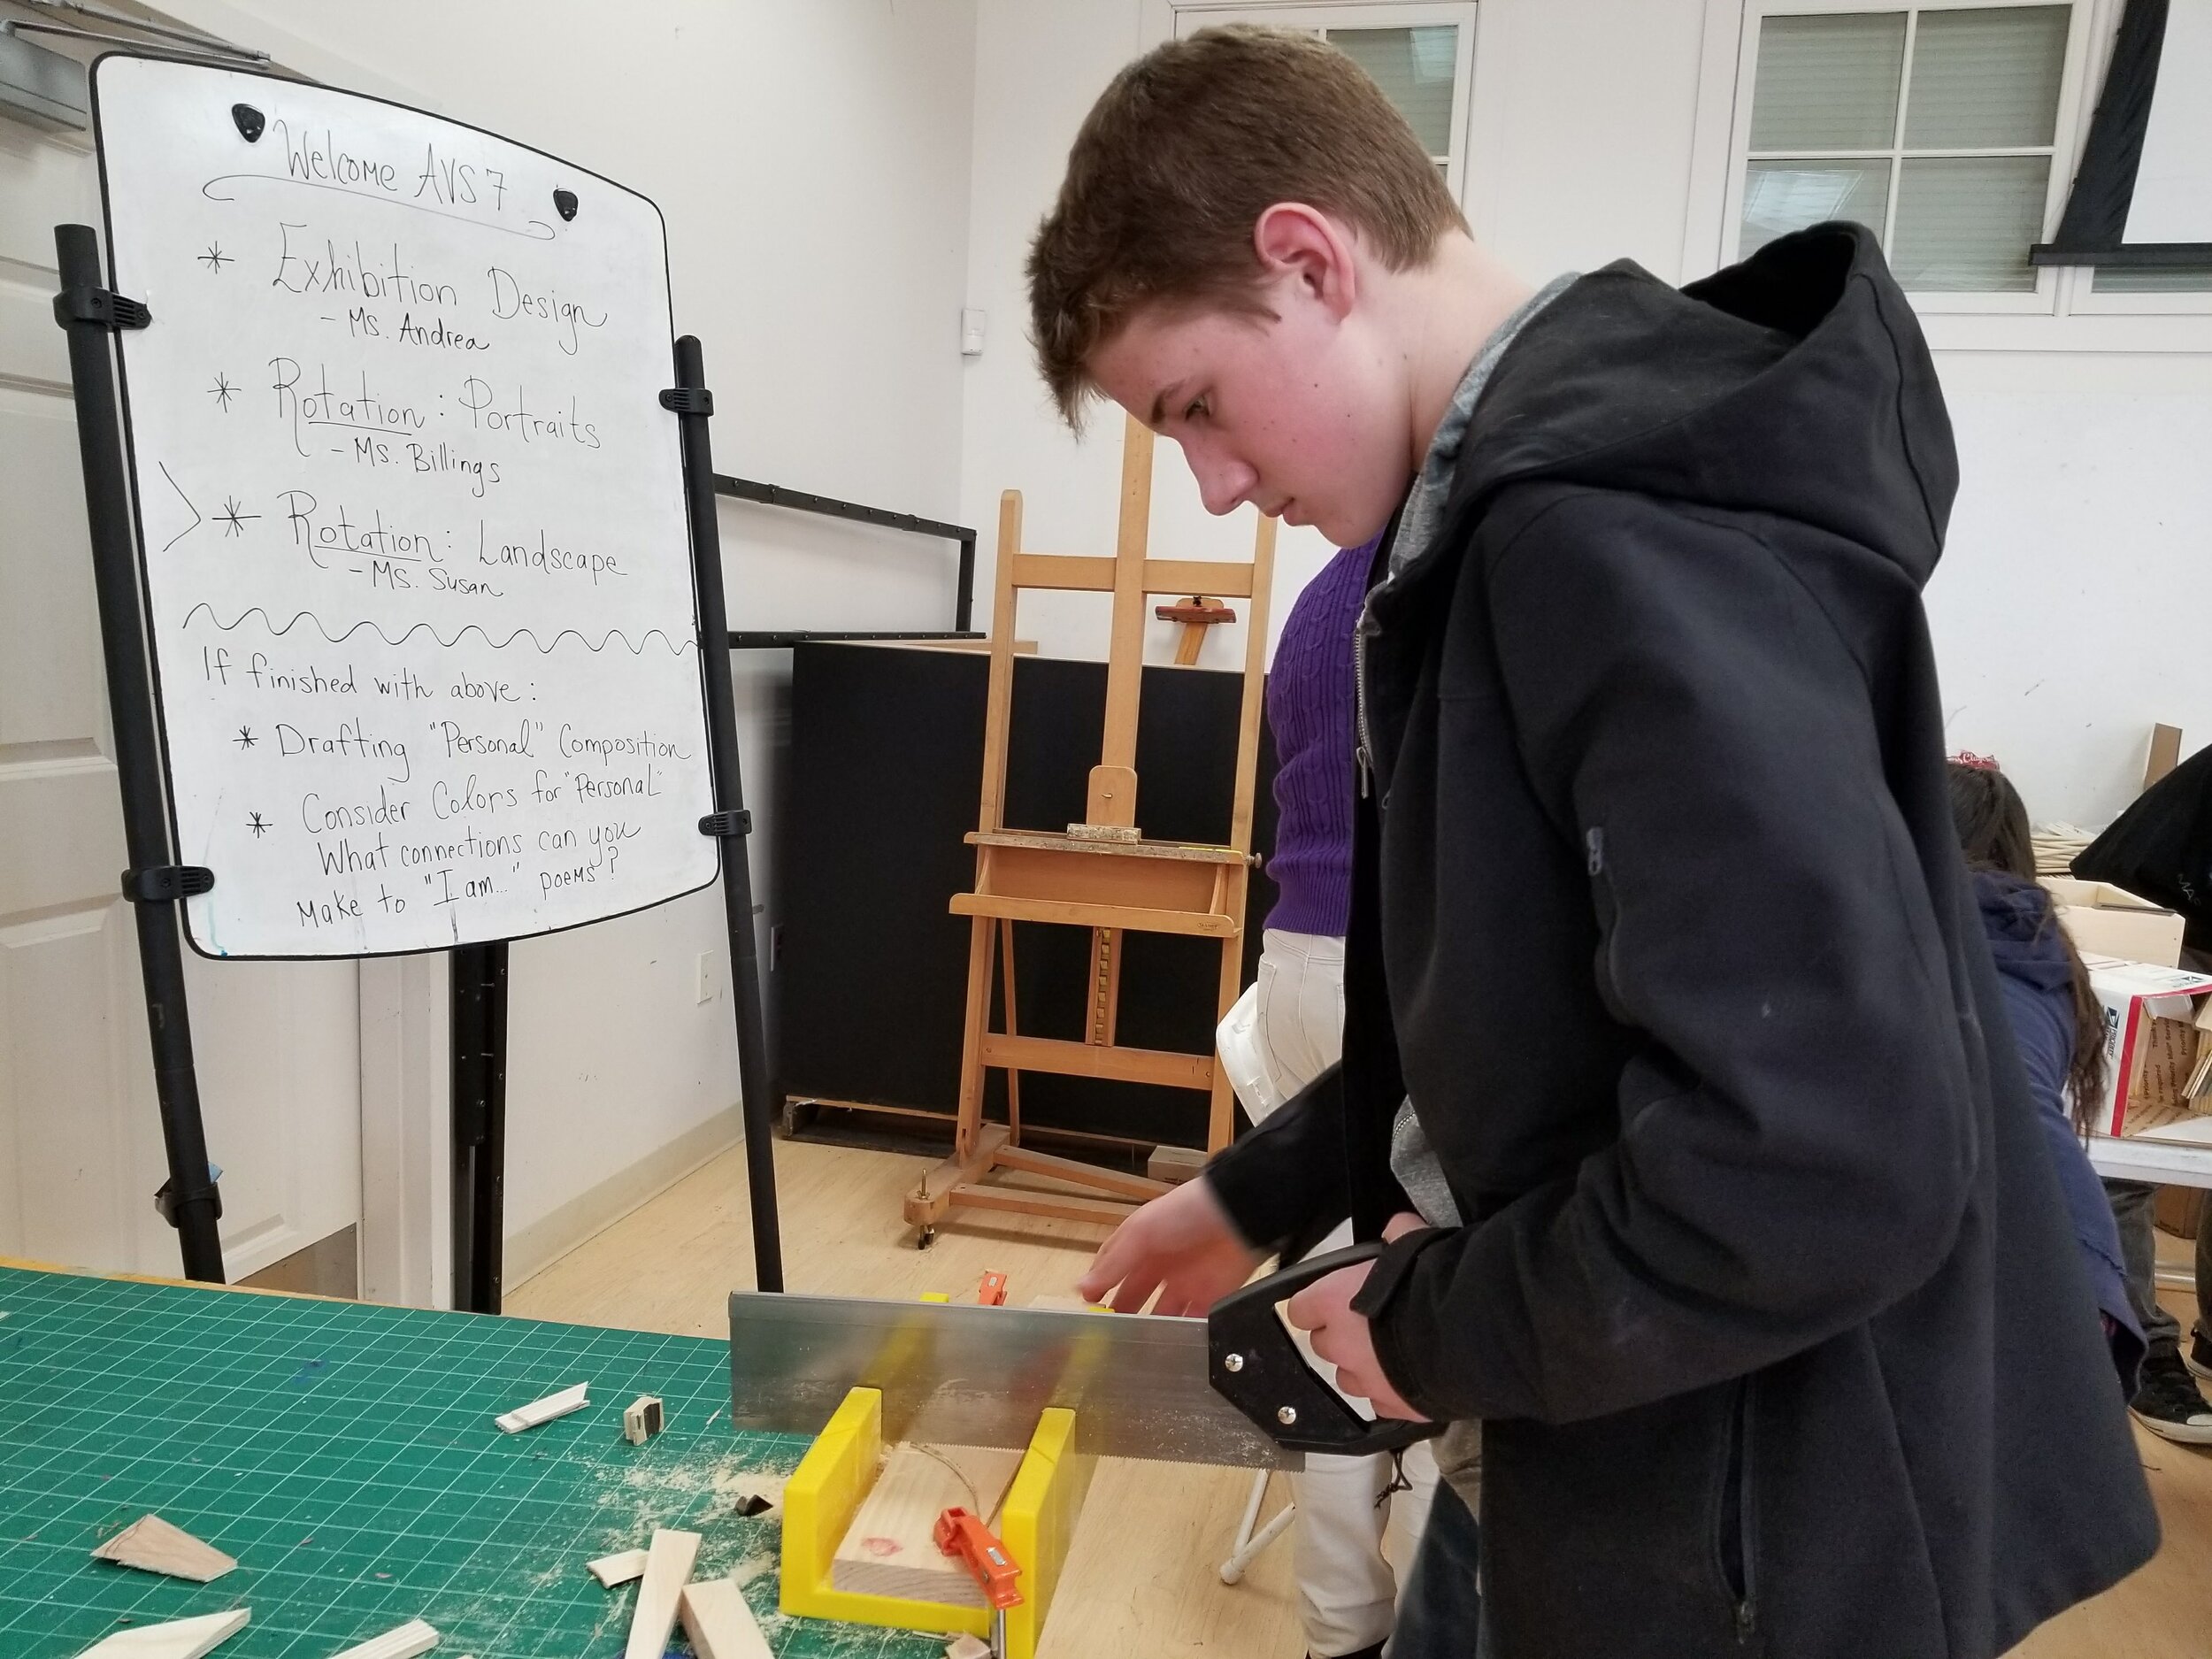
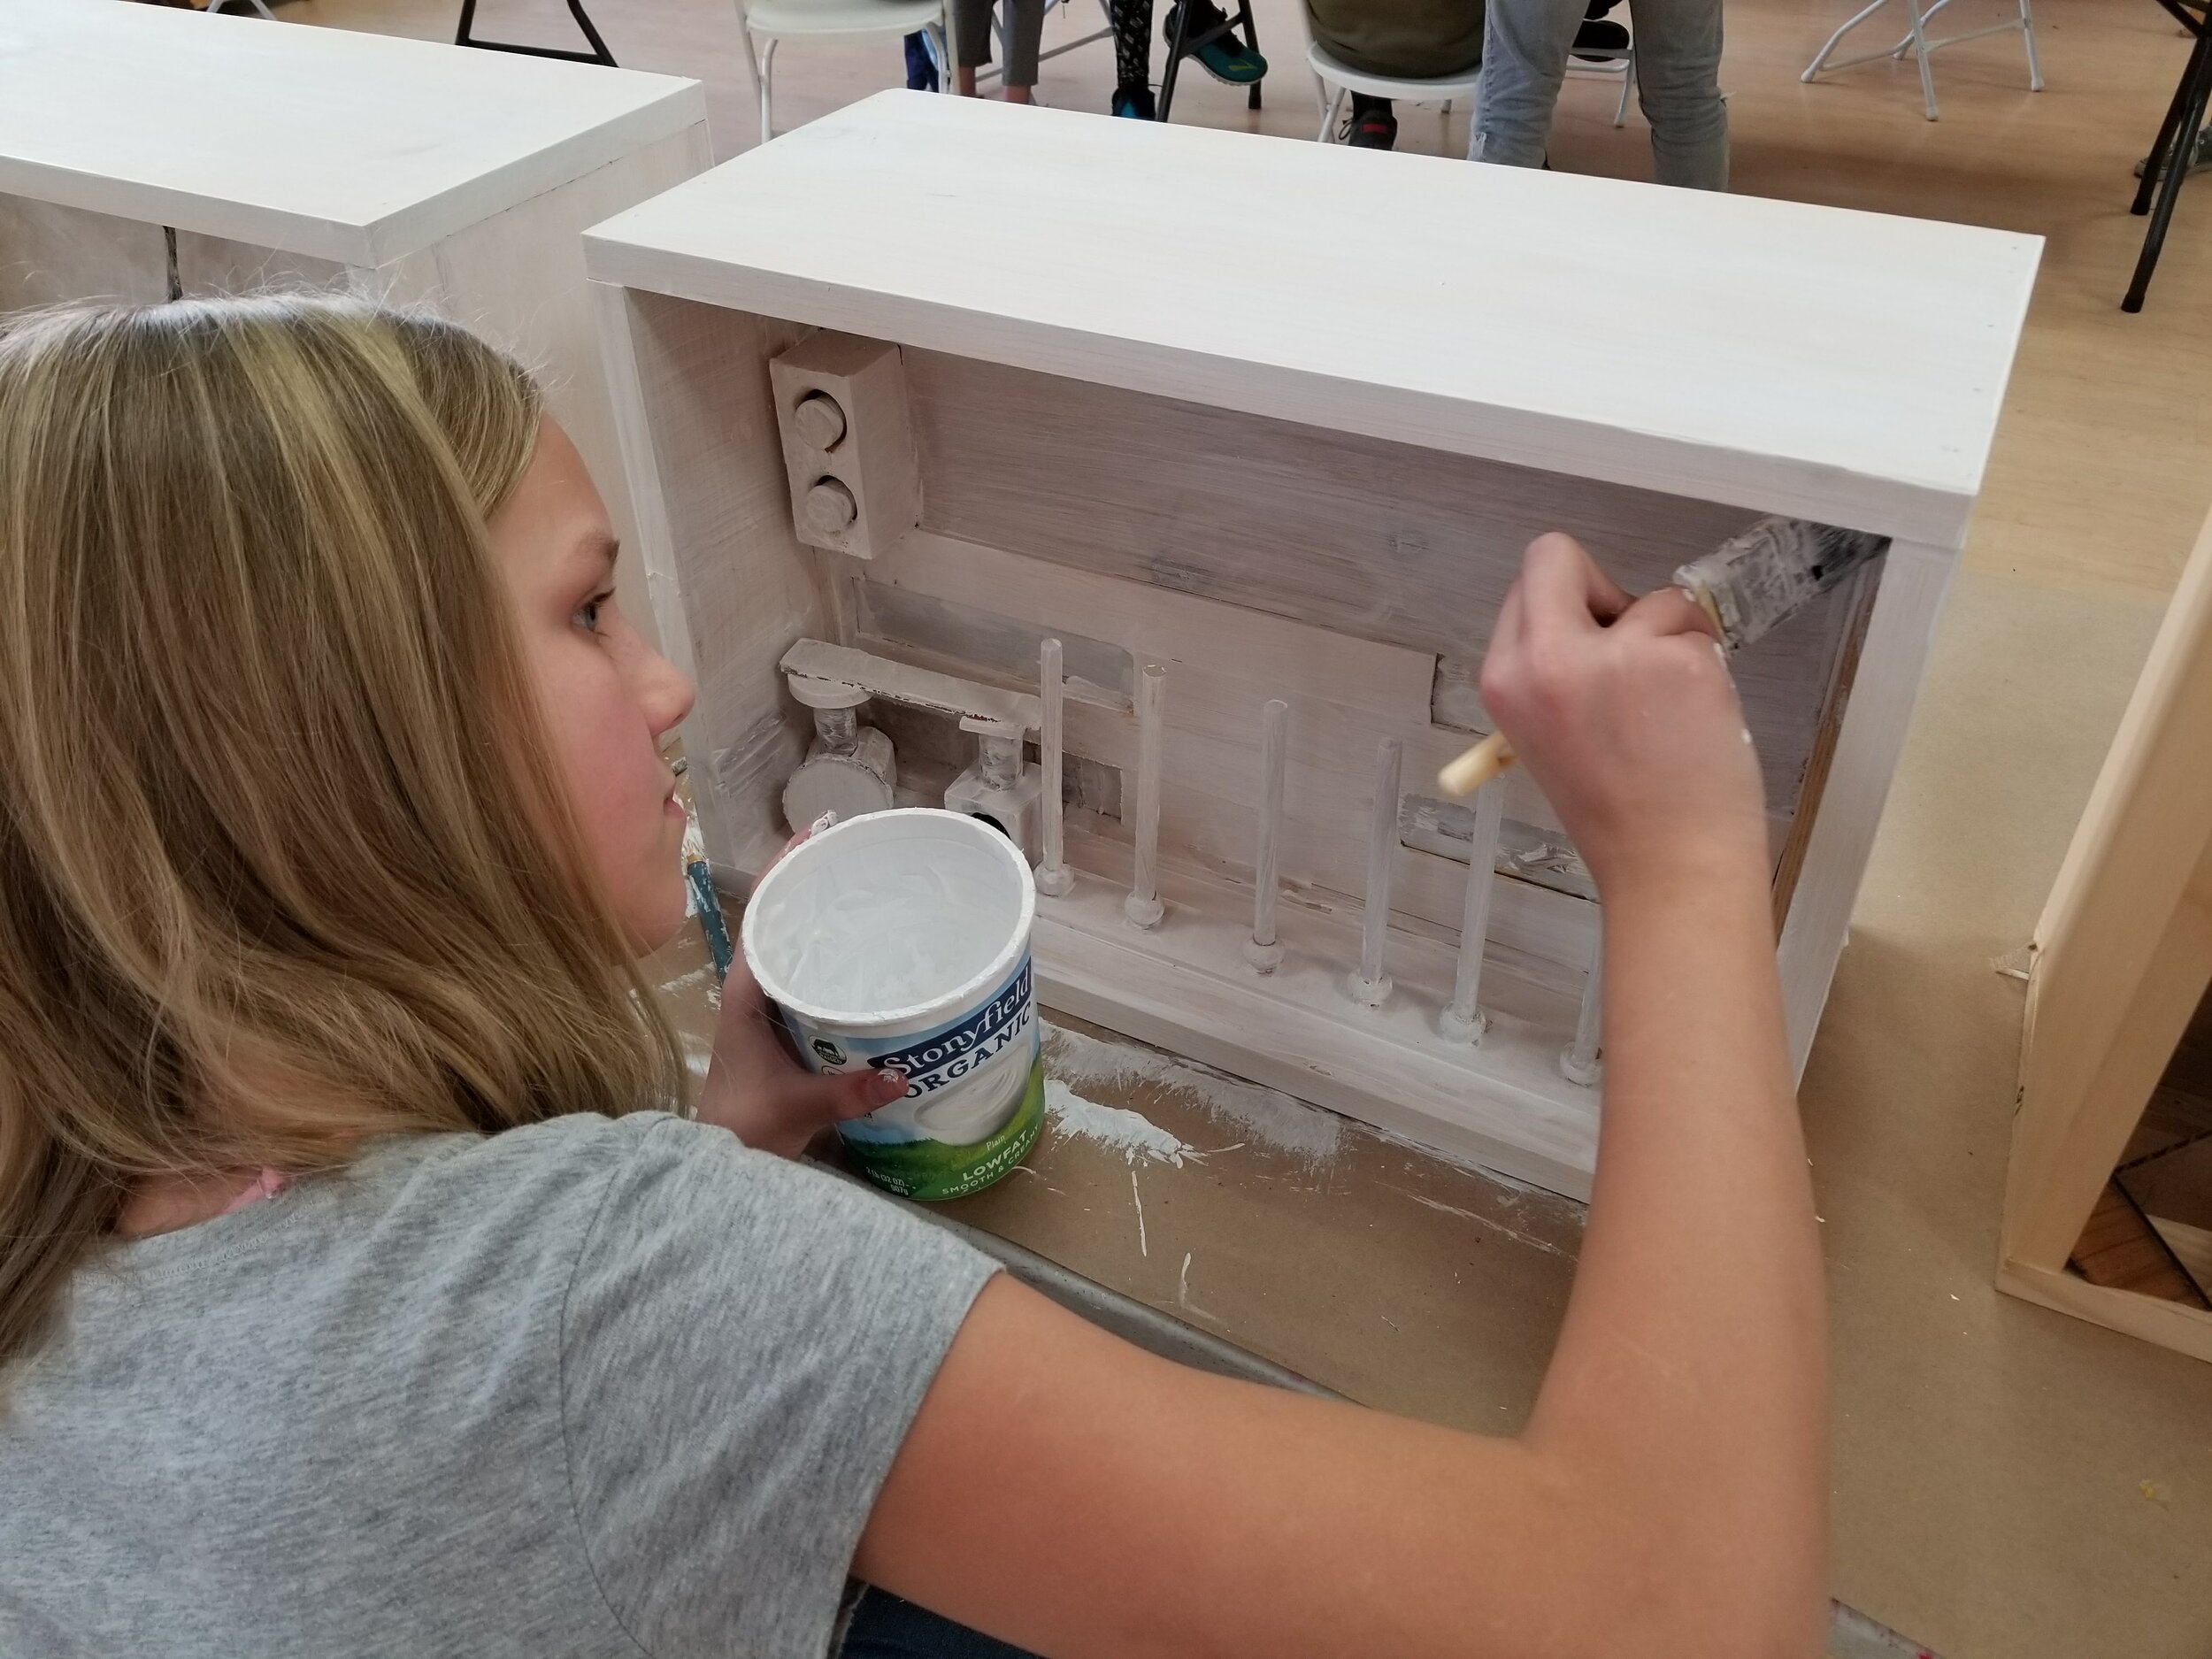
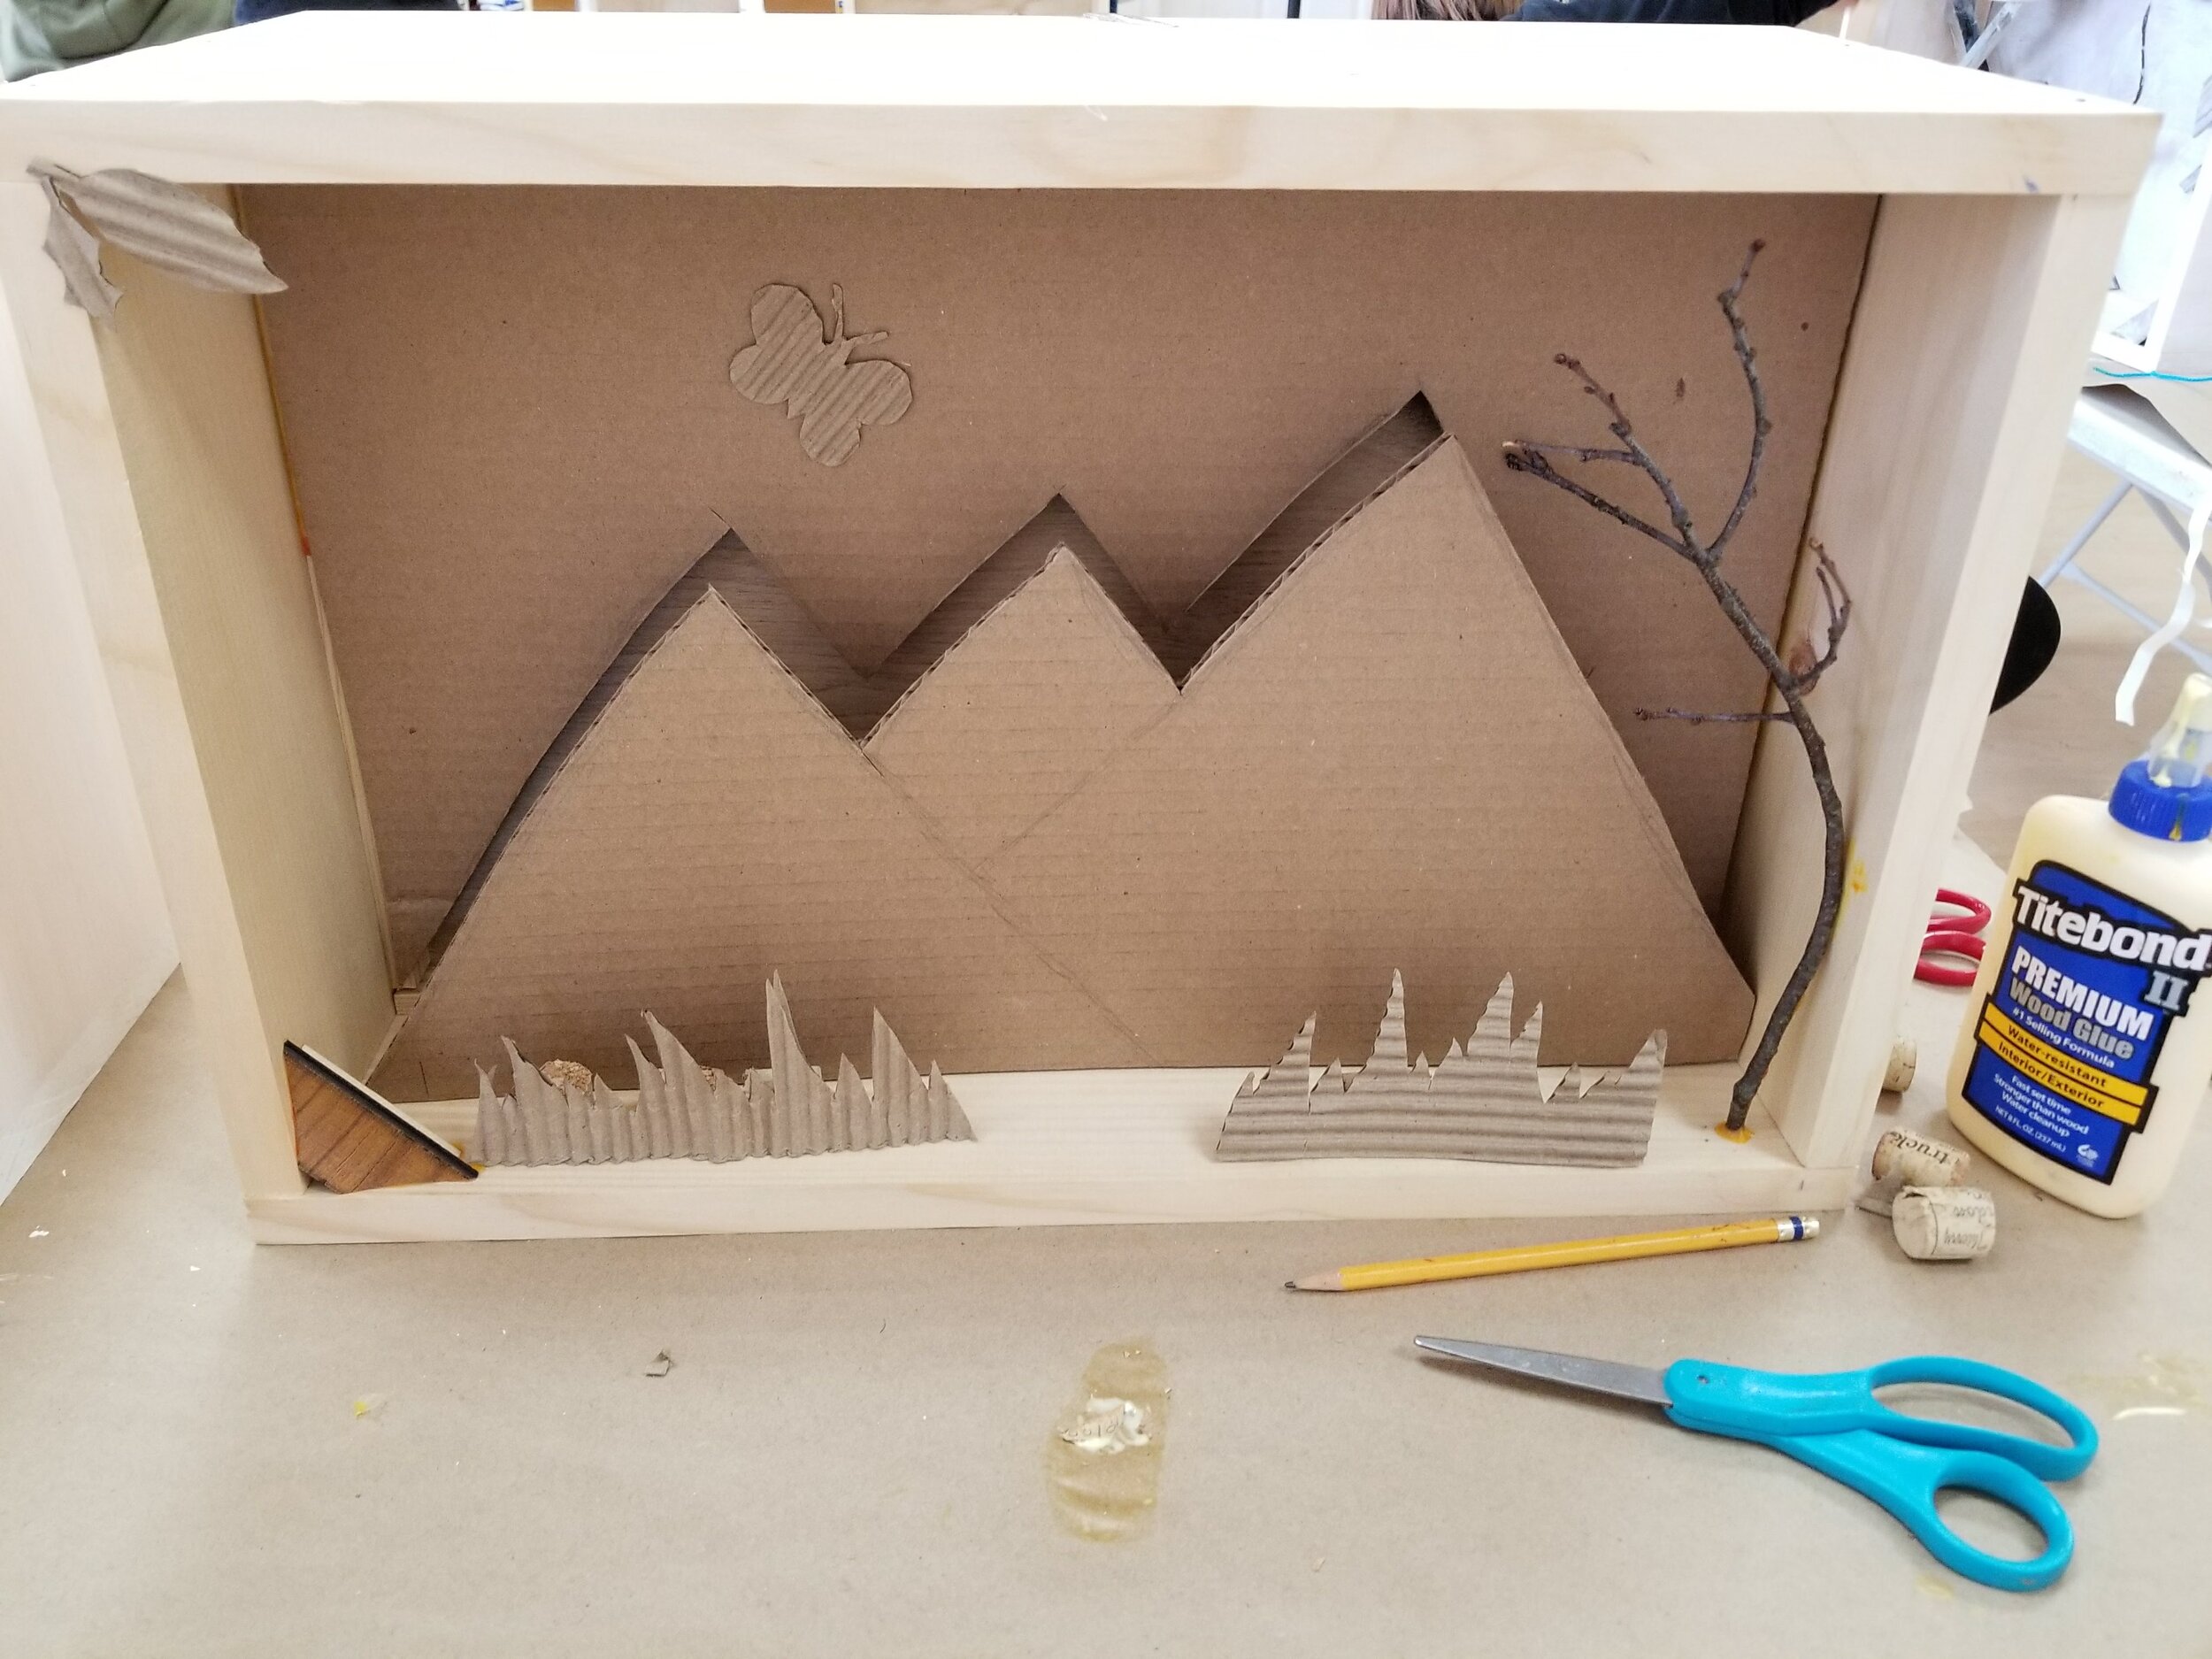
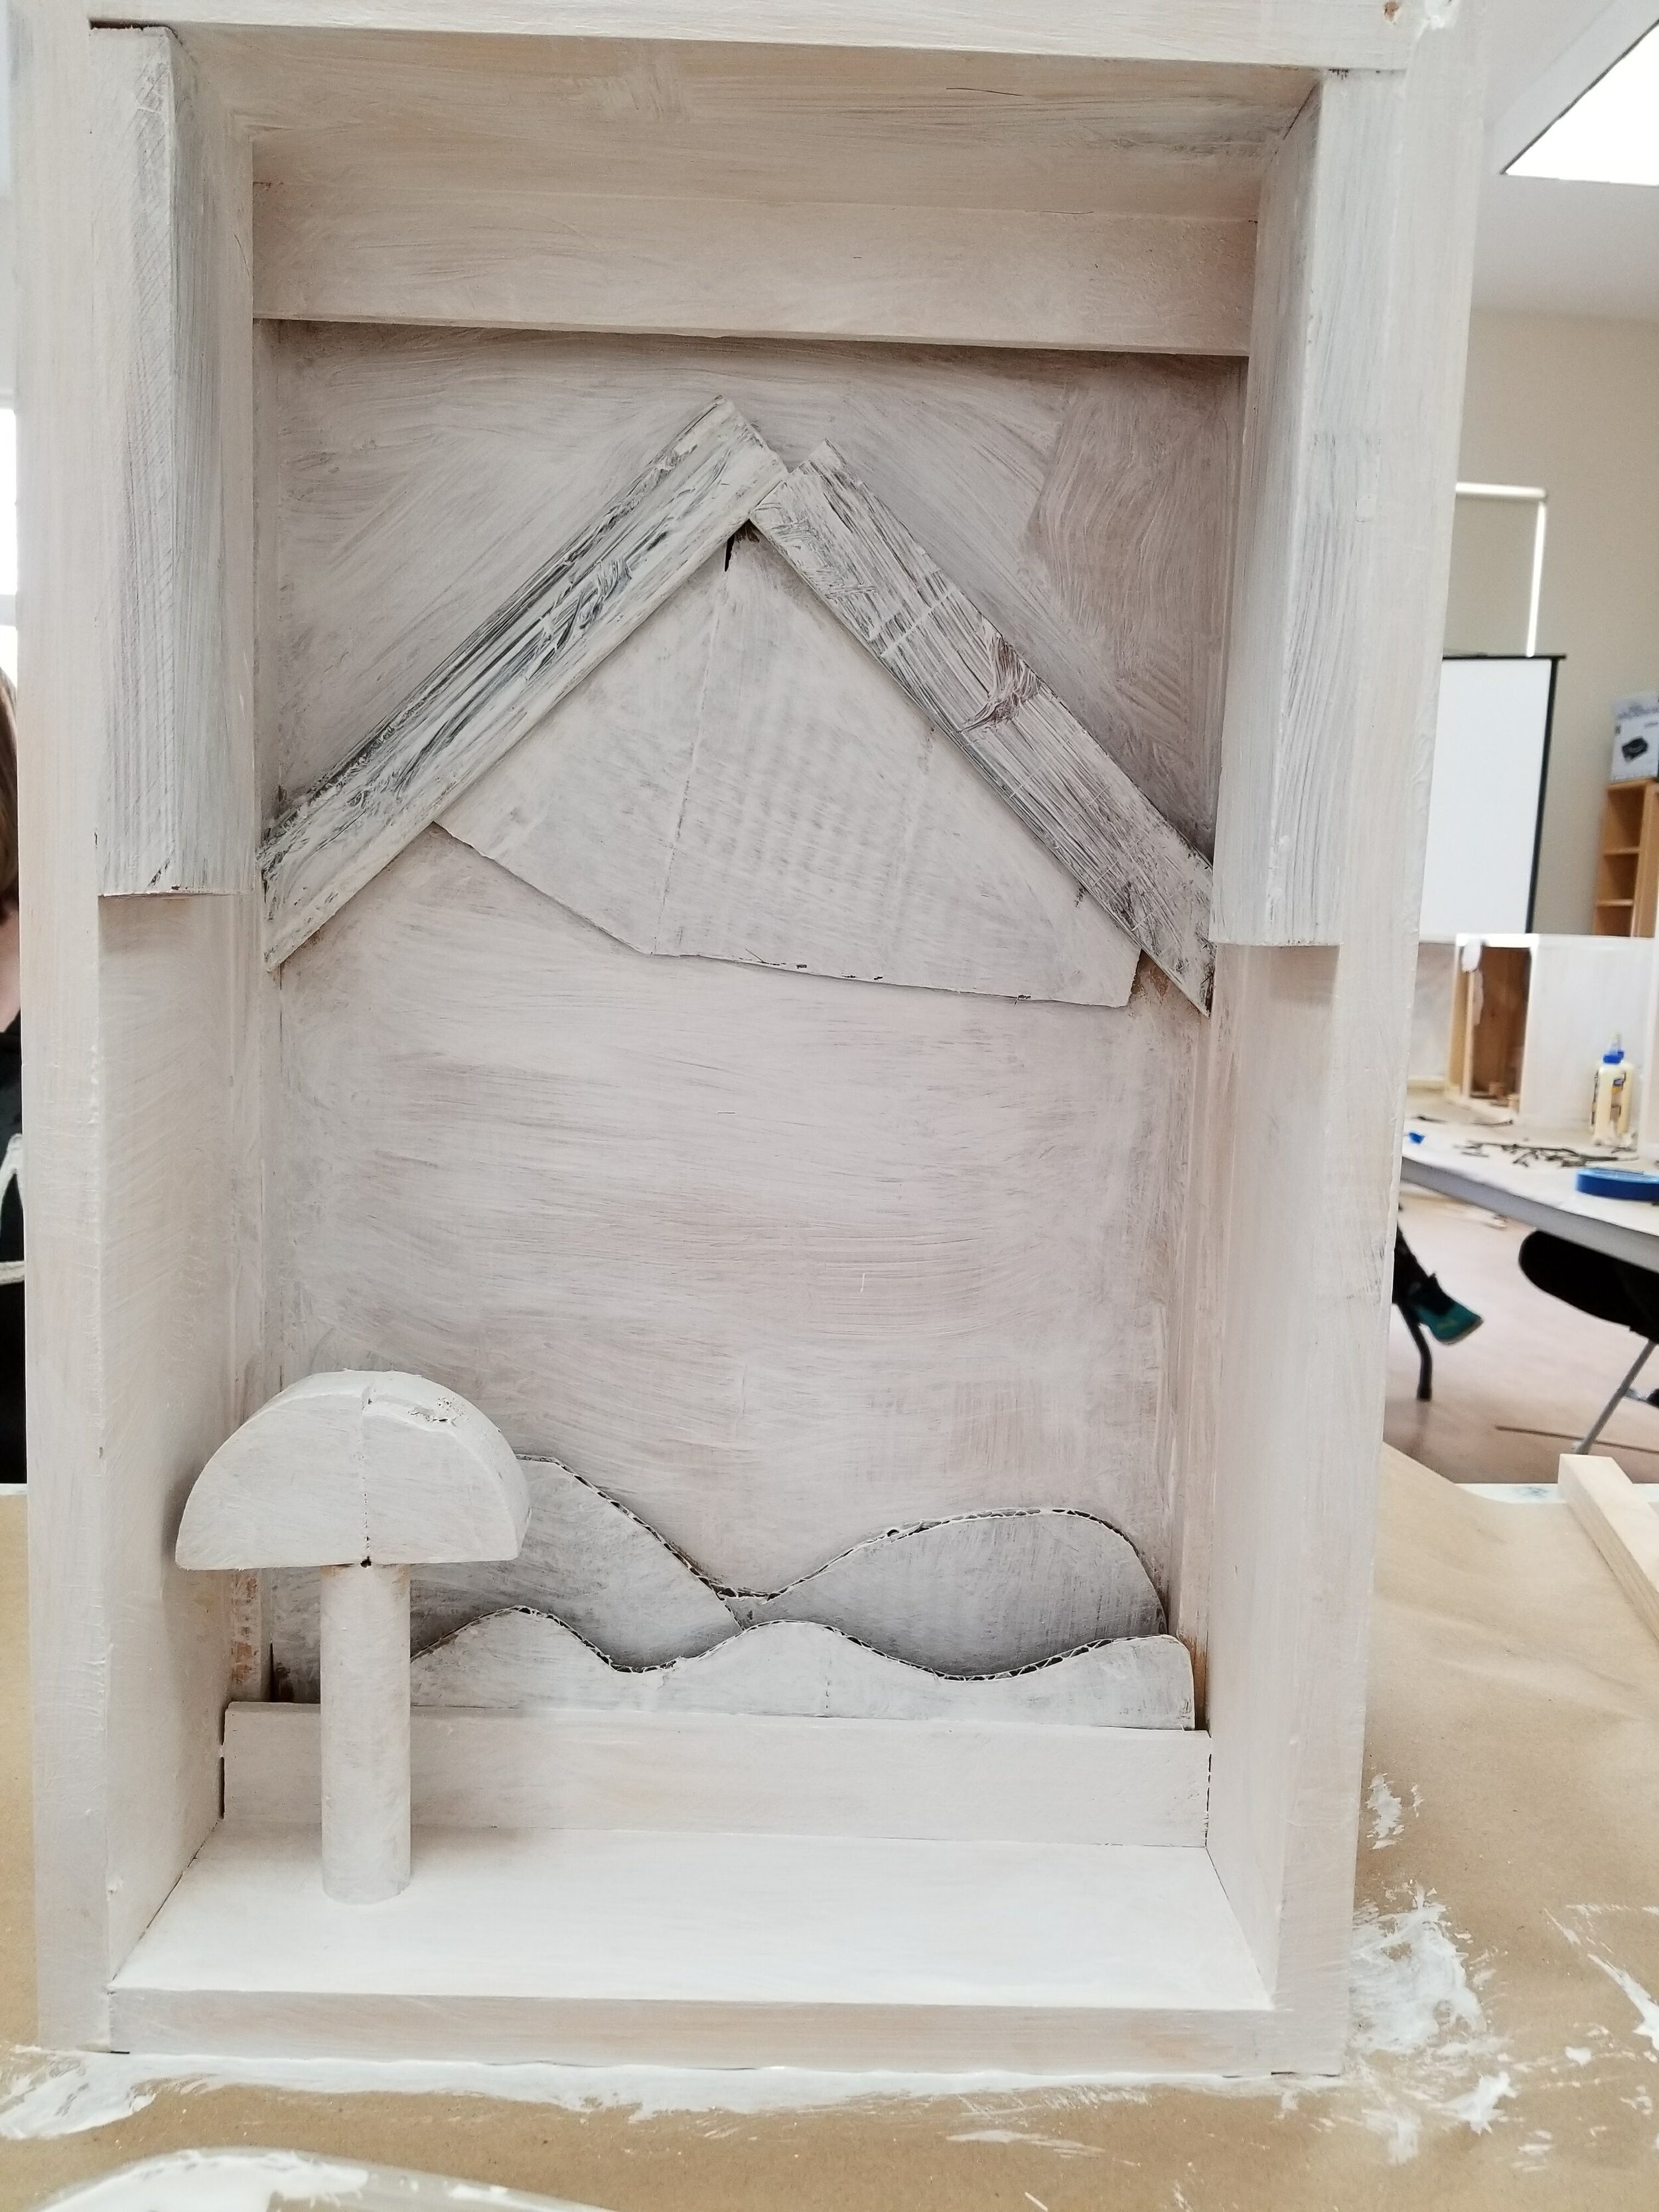
Create: Collect found objects such as discarded pieces of cardboard, wood scraps, or other items you no longer have use for. Layout these items by shape. How can you recreate a picture of your community’s landscape using these materials? Arrange and rearrange your objects to create a 3-dimensional landscape. Step back and reflect on your layout as you work. How does shape and texture inform your composition?
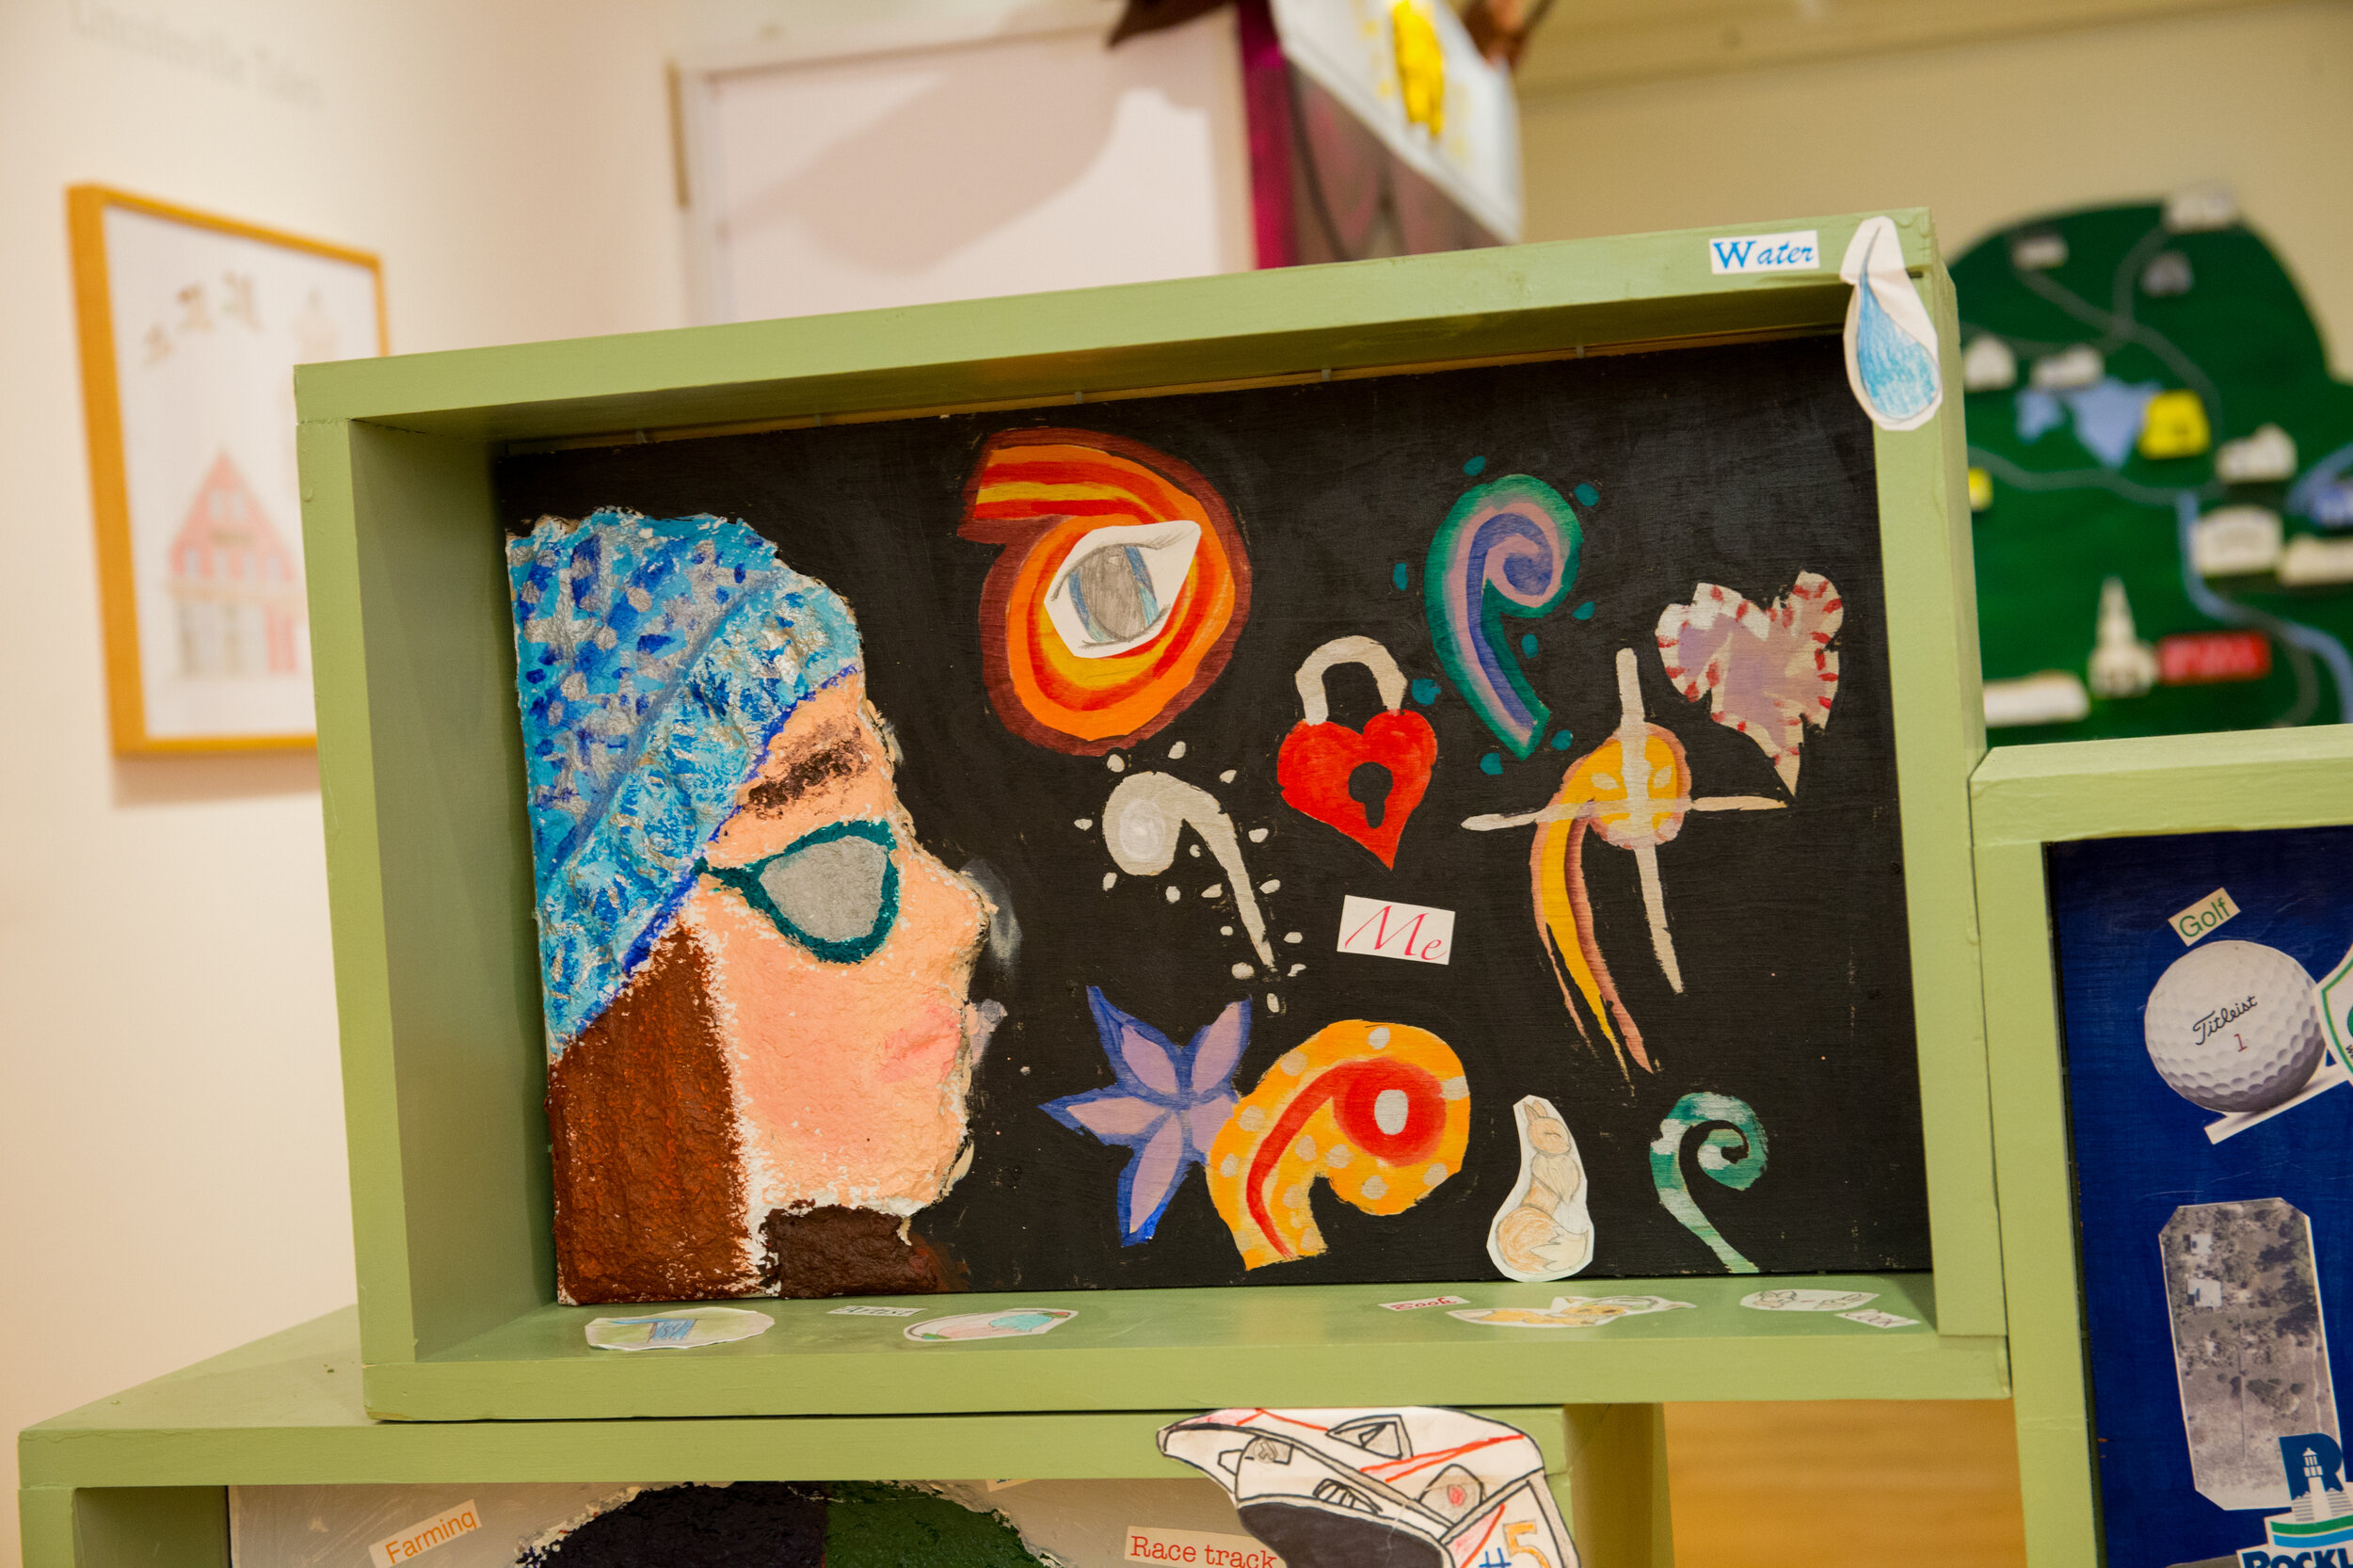
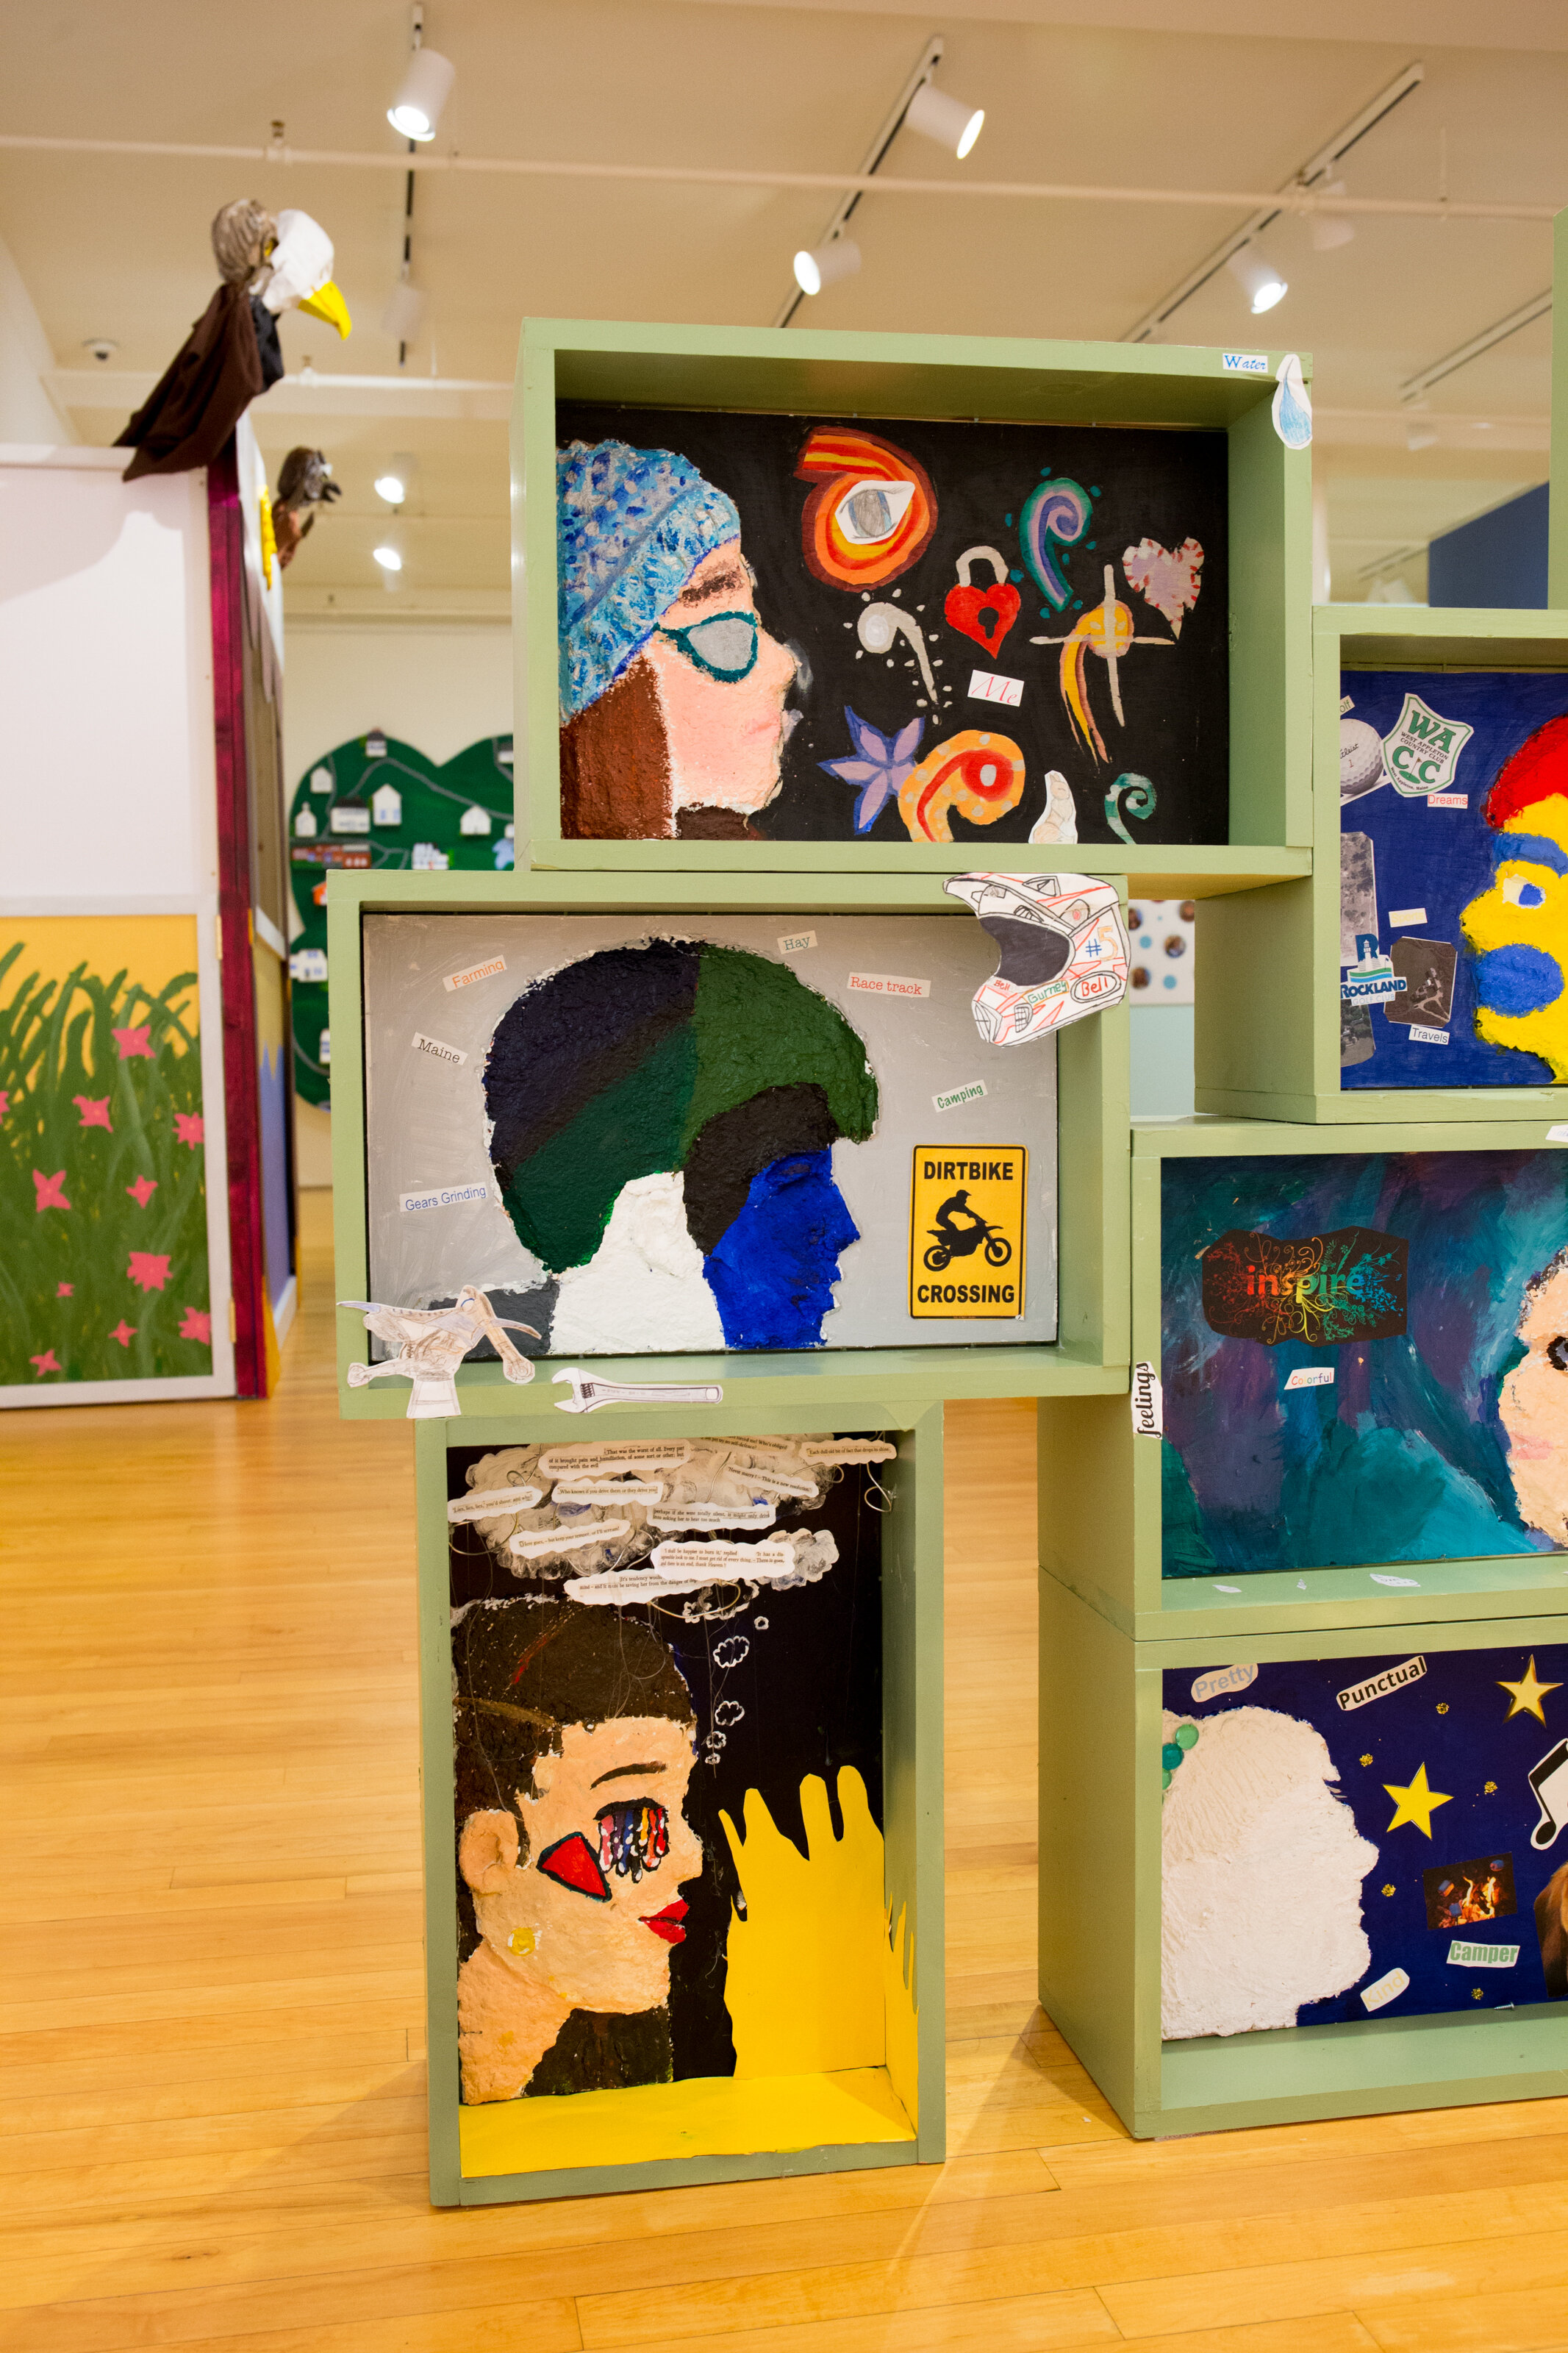
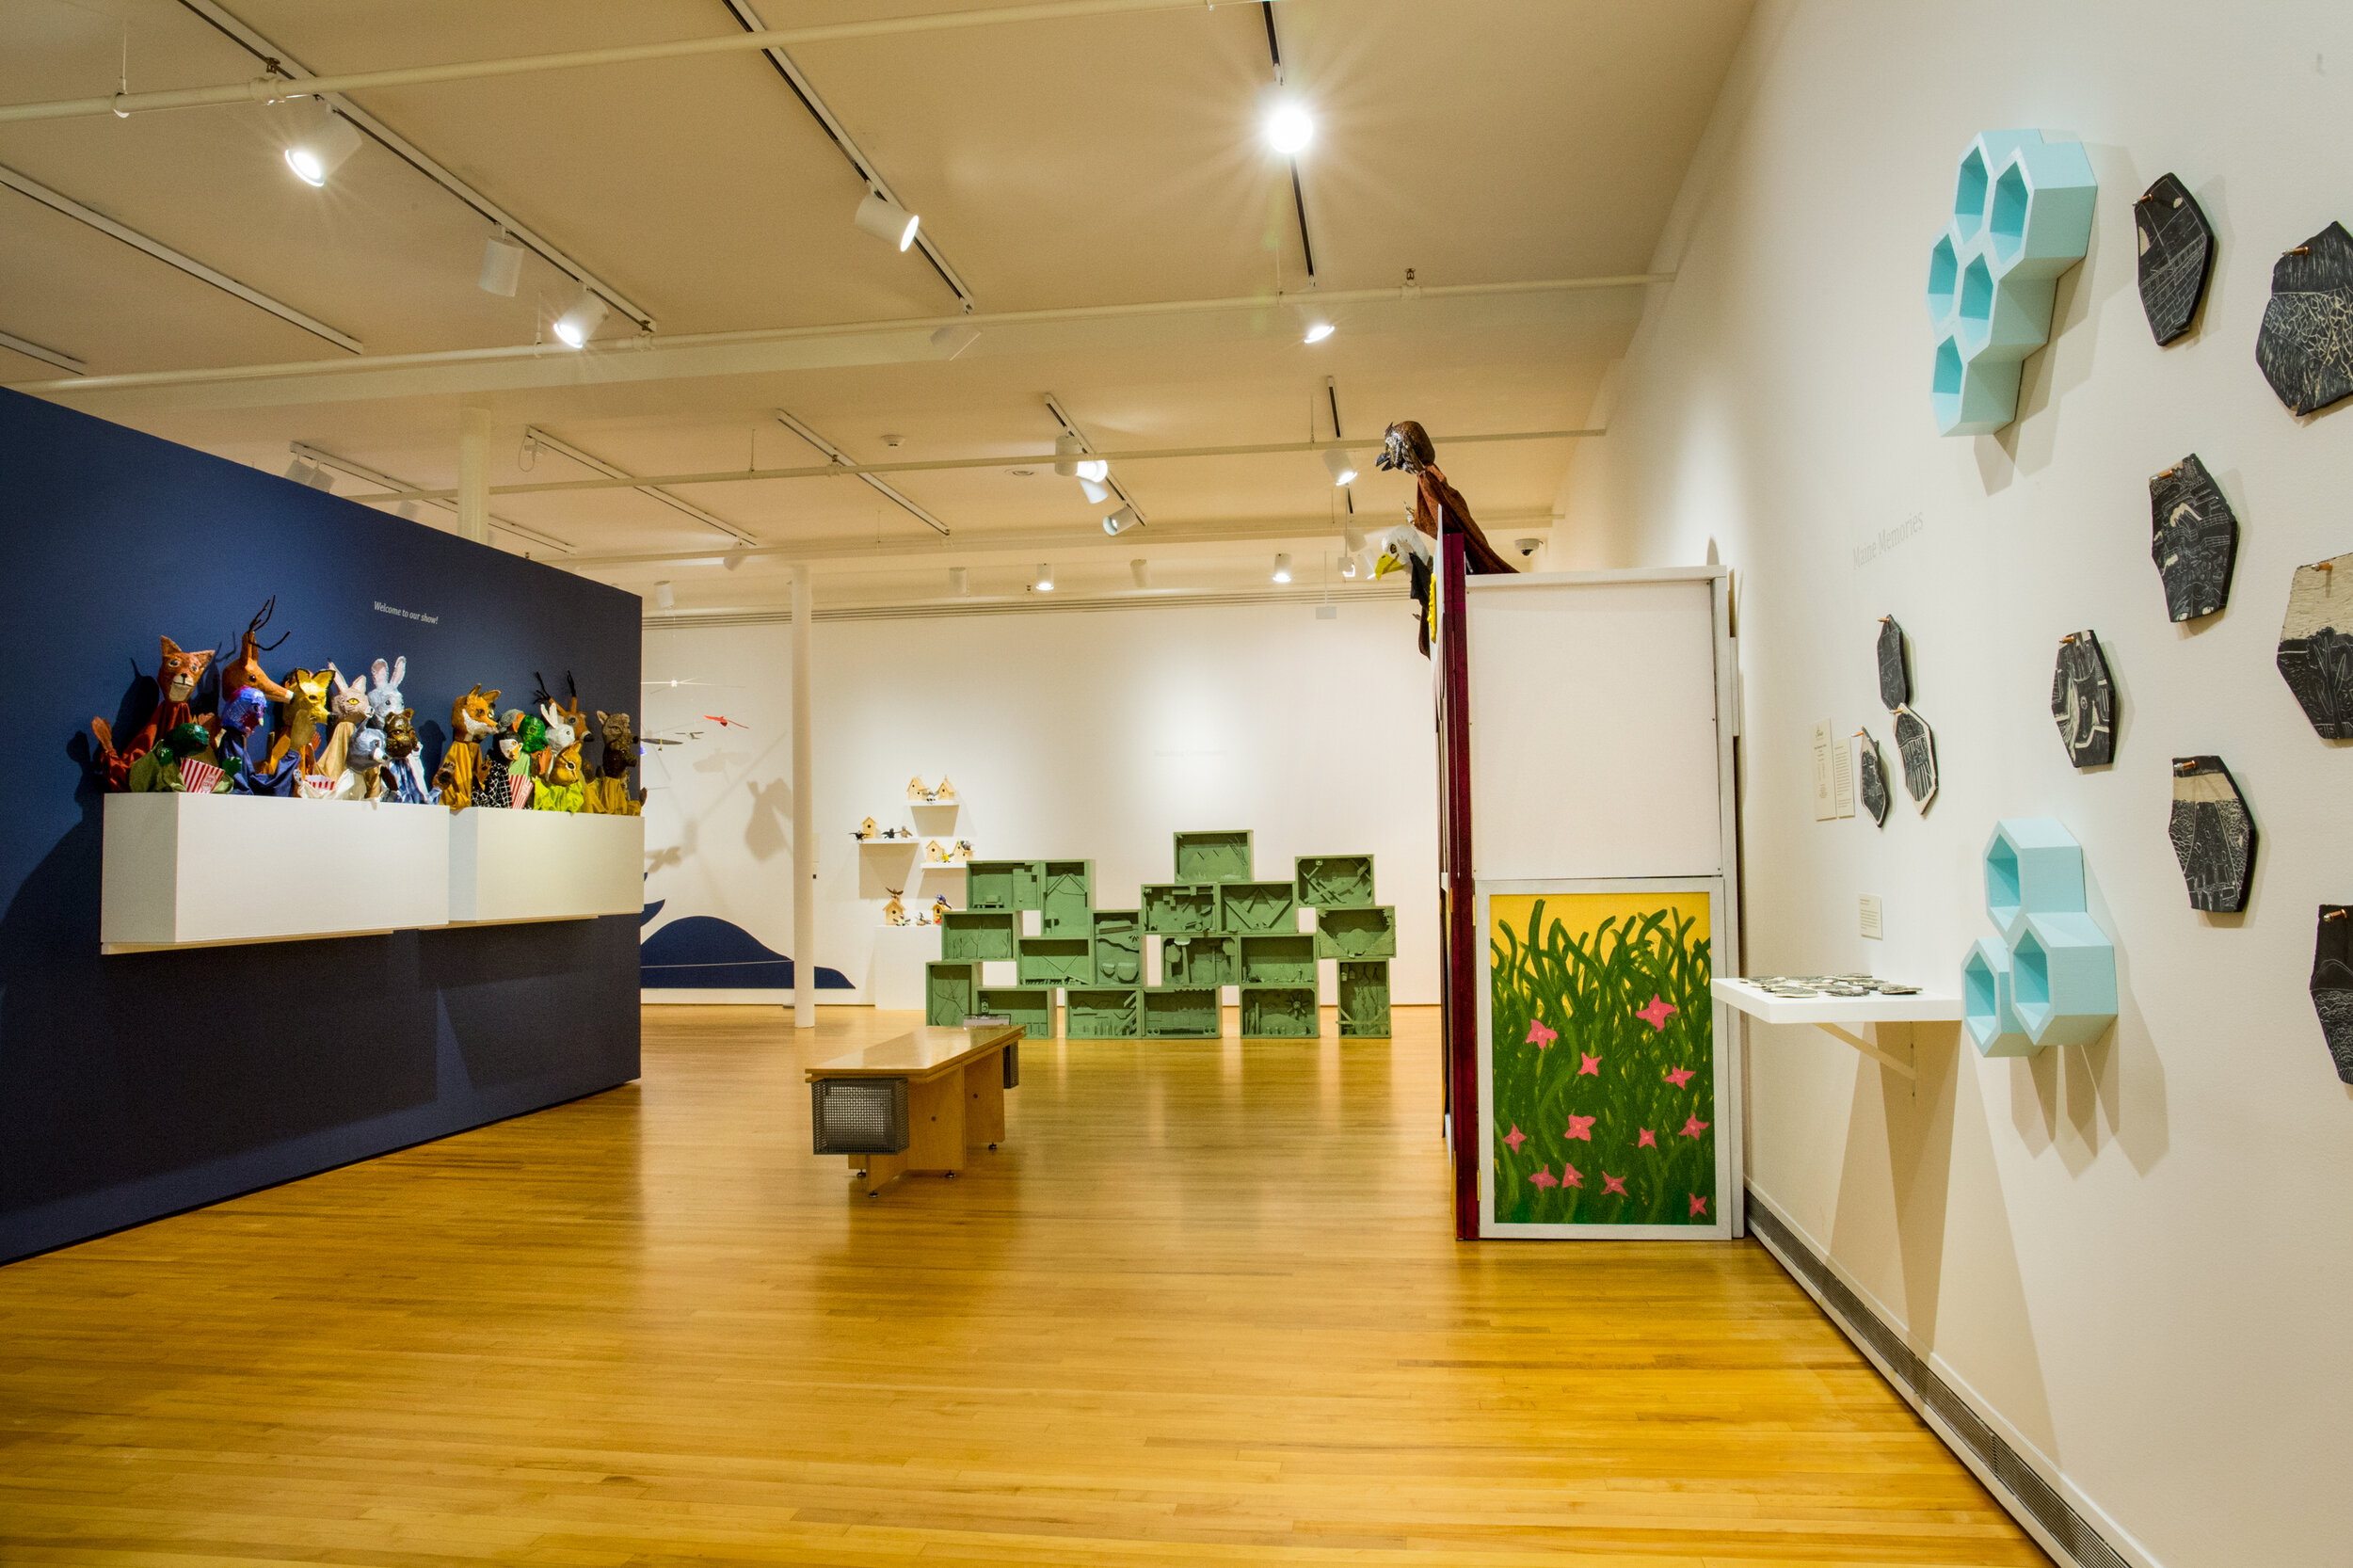
Option #1: Inspired by Louise Nevelson’s sculptures, select one color to paint your landscape. Nevelson often use white, black or gold. Select a color that has meaning to you and your community. Reflect on how this color may alter your sculpture? What impact does it have on the shapes? What is better seen and what is now blended or unified?
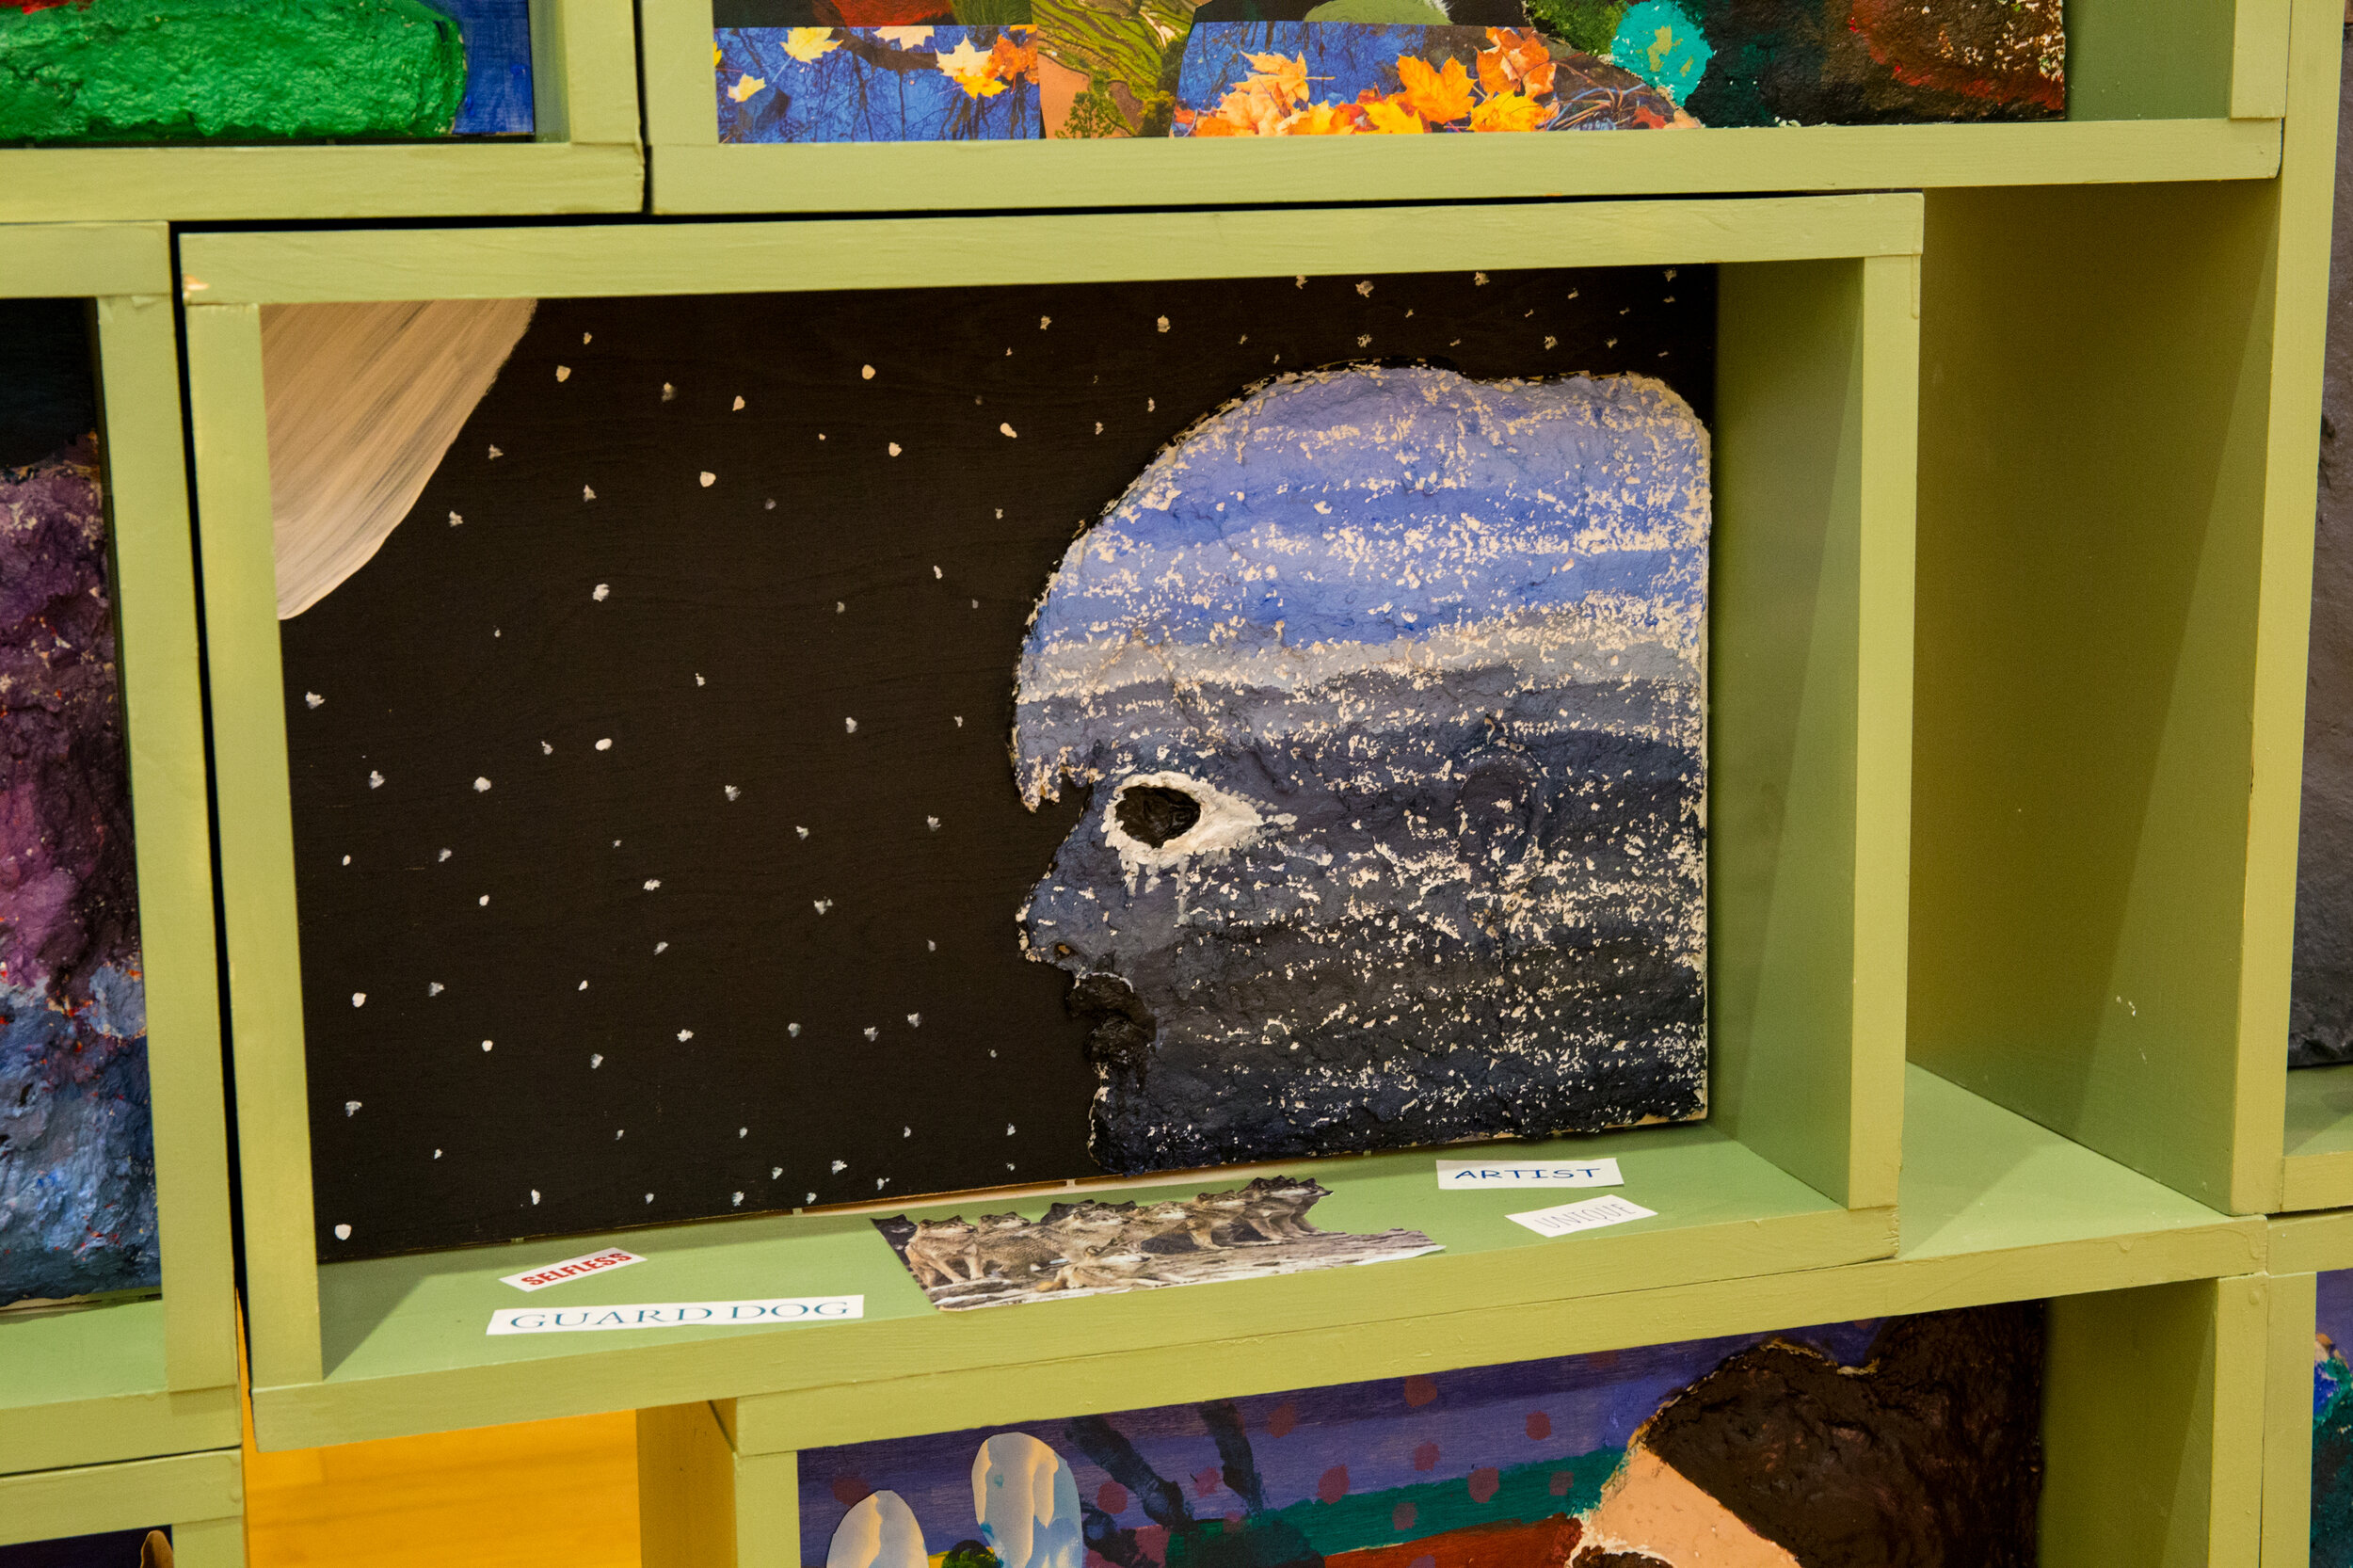
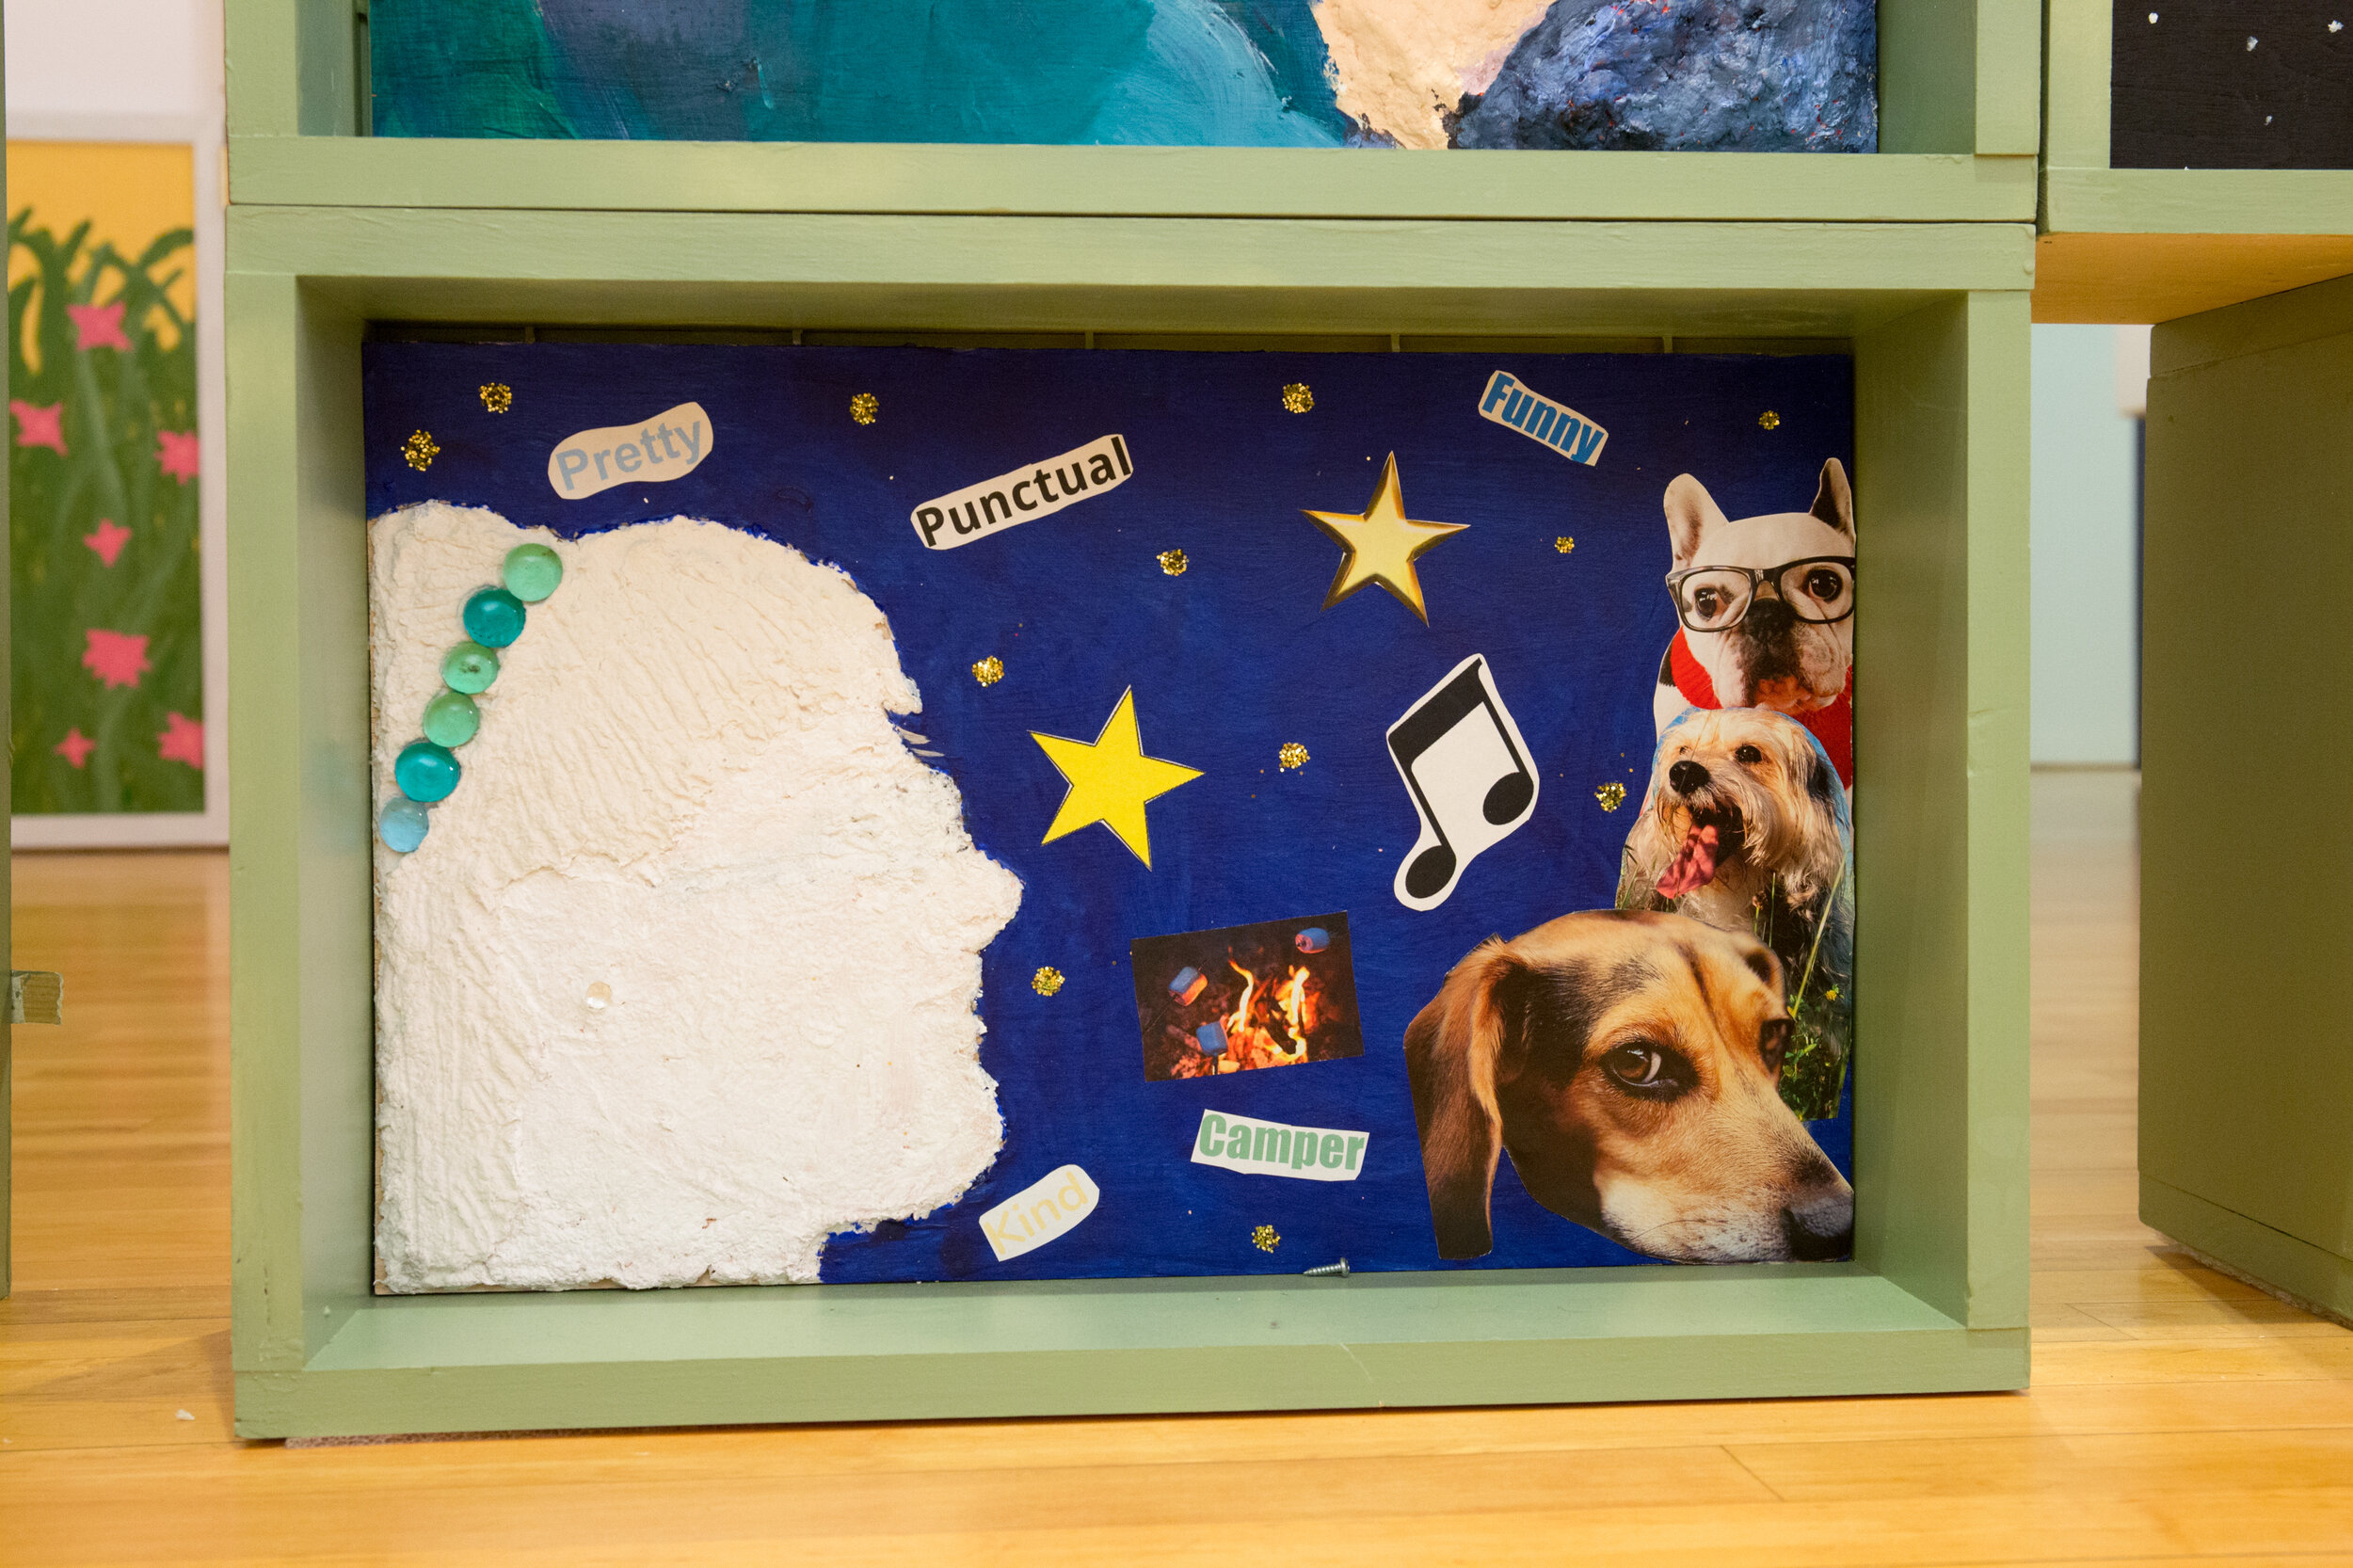
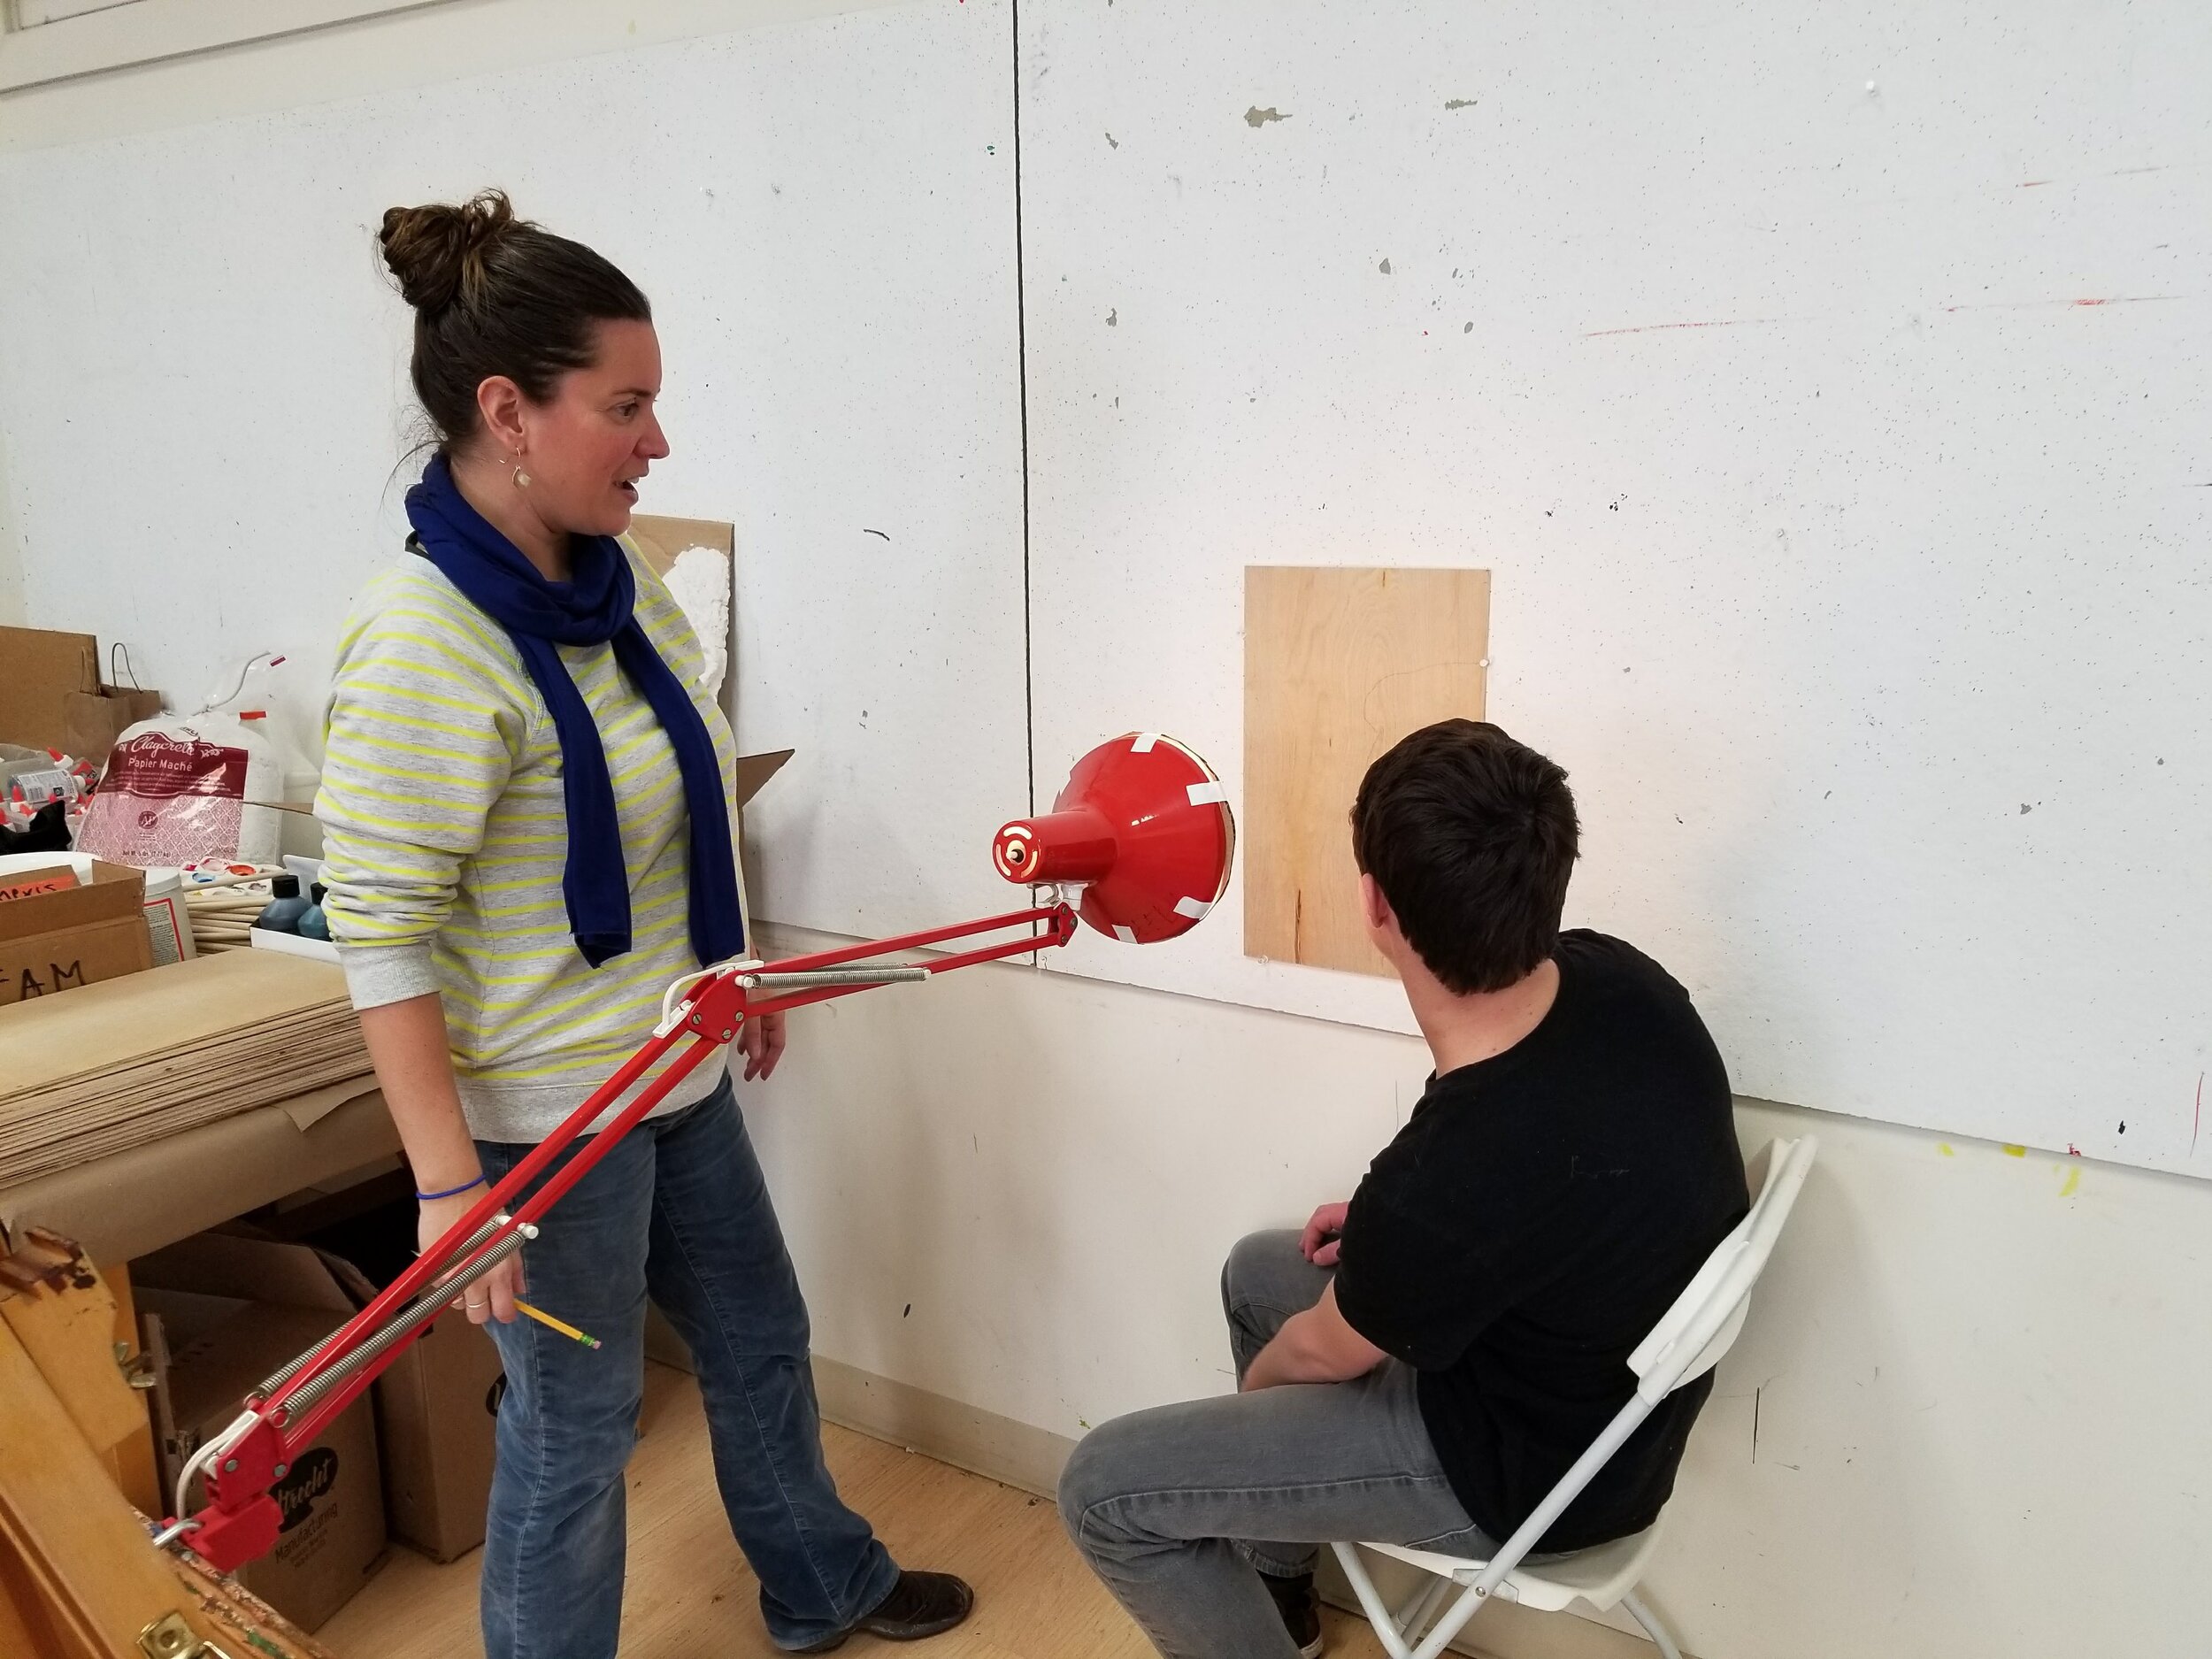
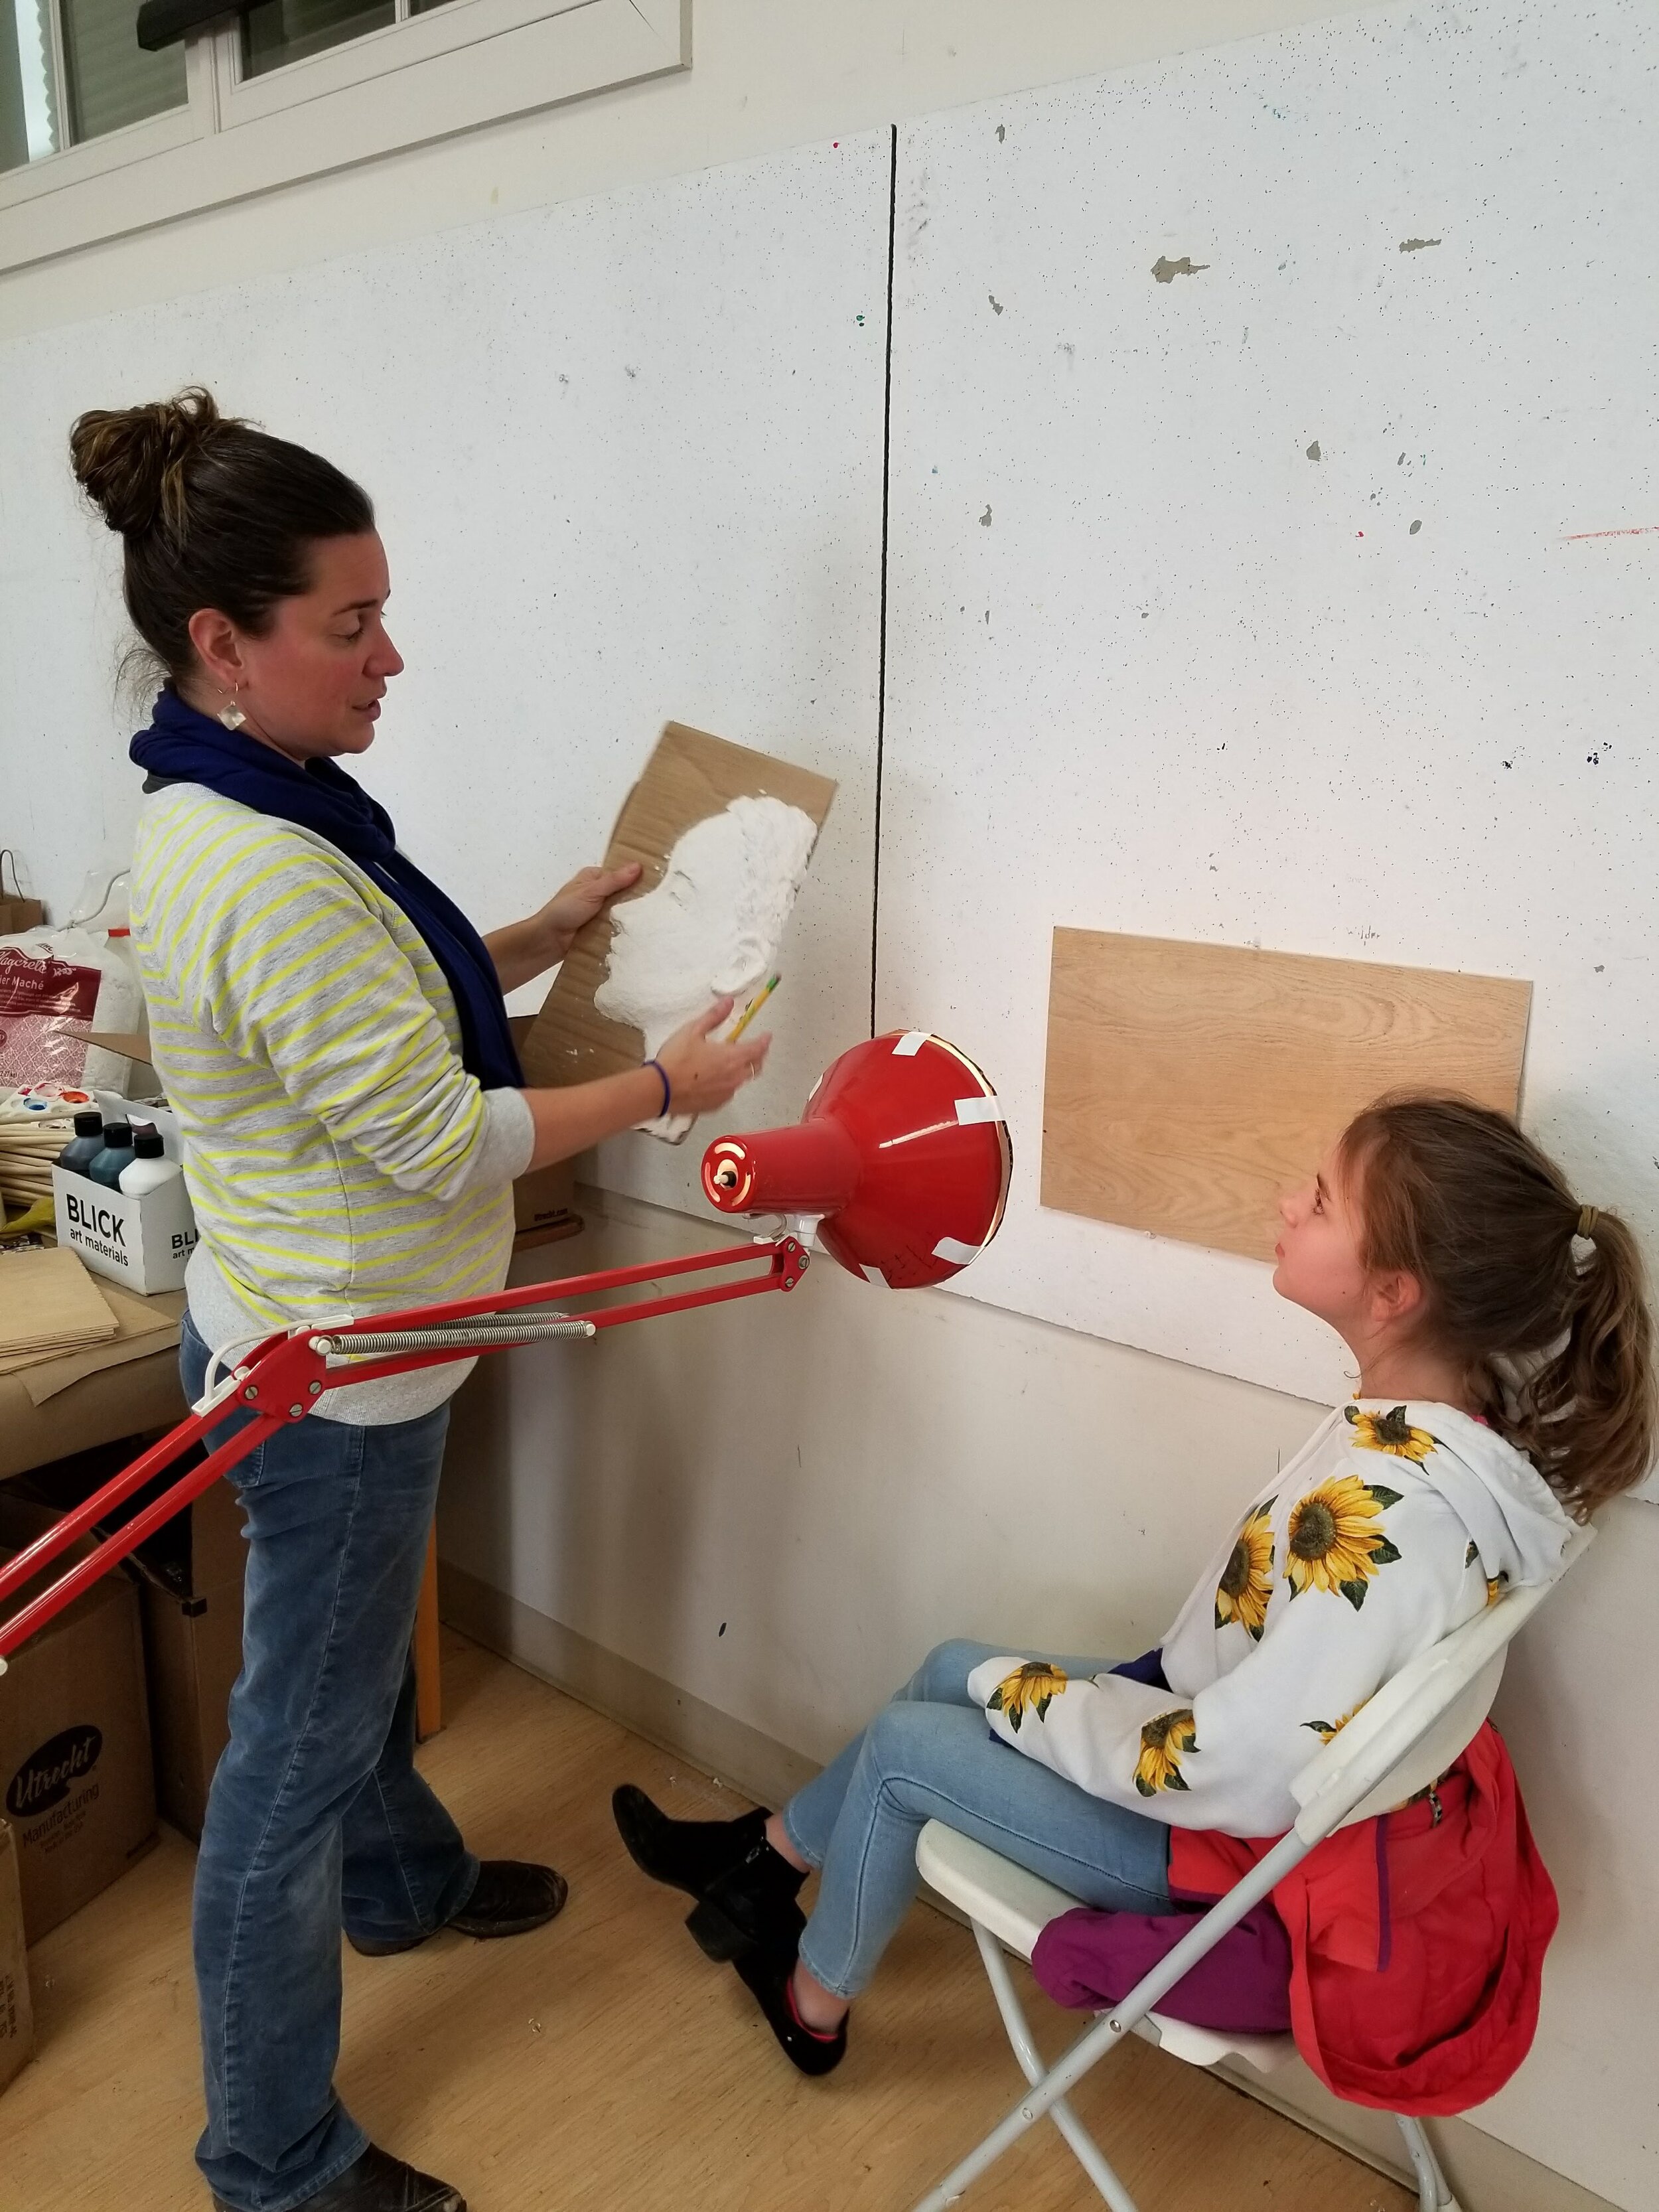
Option #2: On the backside of your sculpture, create an individual portrait box. Use colors that represent you. You may include meaningful words, poetry, and your own silhouette in your design.
Stories of the Land and Its People
The Stories of the Land and Its People program encourages student participants to learn about people and places in their community. For more student project examples, visit our Student Exhibitions page.
Developed By:
Andrea L. Curtis, Education Program Manager
Farnsworth Art Museum
Deb Benner, Classroom Educator
Farnsworth Stories Program
Cheryl Berry, Classroom Educator
Farnsworth Stories Program
Holly Billings, Classroom Educator
Farnsworth Stories Program
Coral Coombs, Classroom Educator
Farnsworth Stories Program
Ferolyn Curtis, Classroom Educator
Farnsworth Stories Program
Robbie Lewis, Classroom Educator
Farnsworth Stories Program
Sarah Michaud, Classroom Educator
Farnsworth Stories Program
Torrie Sprauge, Classroom Educator
Farnsworth Stories Program
Not pictured:
Laura Freeman, Art Educator
Wendy Jacques, Classroom Educator
Anthony Lufkin, Art Educator
Contributors:
Greta Van Campen, Teaching Artist
Farnsworth Art Museum
Alesix Iammarino, Teaching Artist
Farnsworth Art Museum
Susan Beebe, Teaching Artist
Farnsworth Art Museum
Claire Horne, Arts in Education Project Assistant
Farnsworth Art Museum
Not pictured:
Terri Lea Smith, Farnsworth Teaching Artist
Developed by Andrea L. Curtis, Farnsworth Art Museum, Arts in Education Program, 2021


